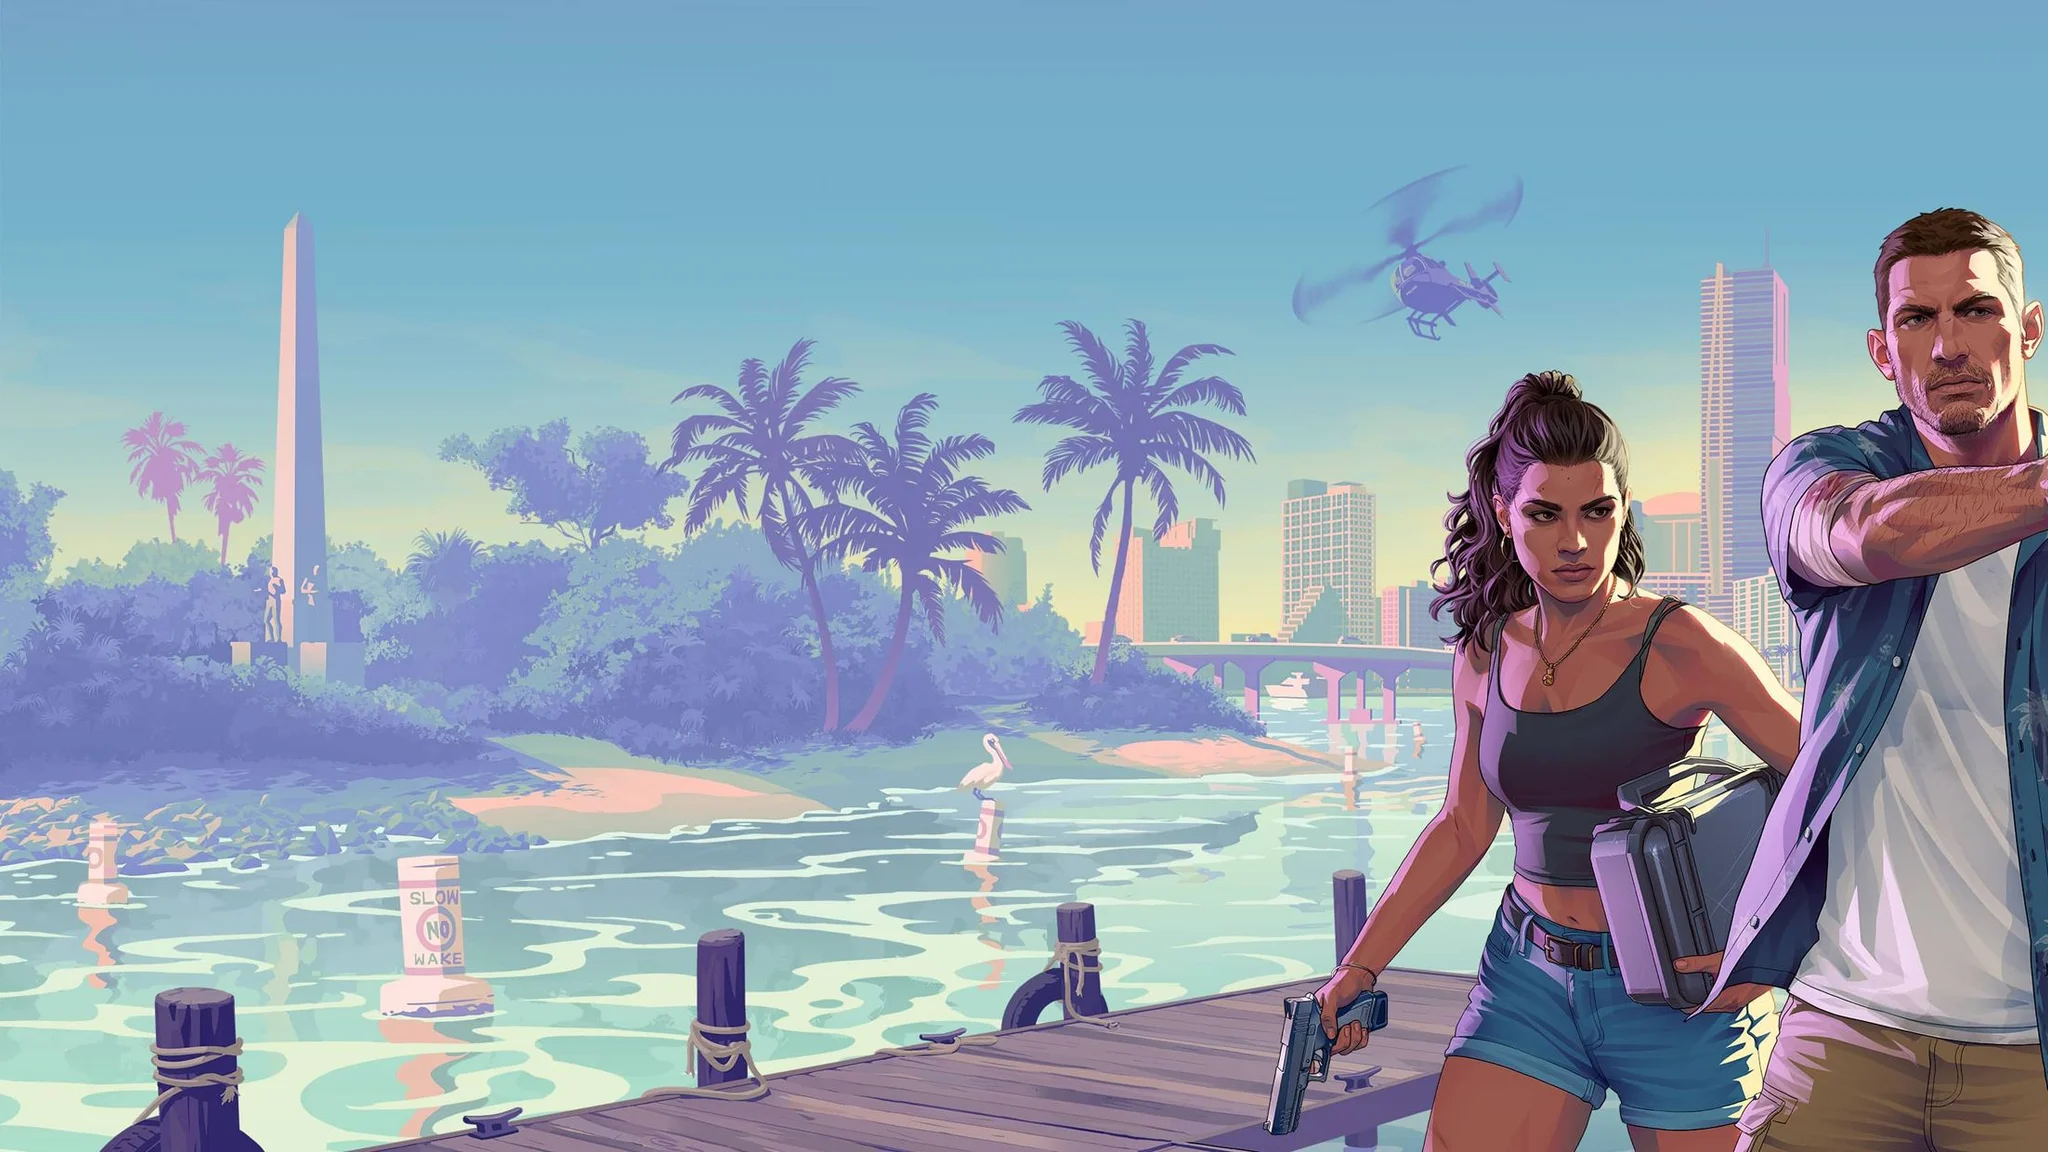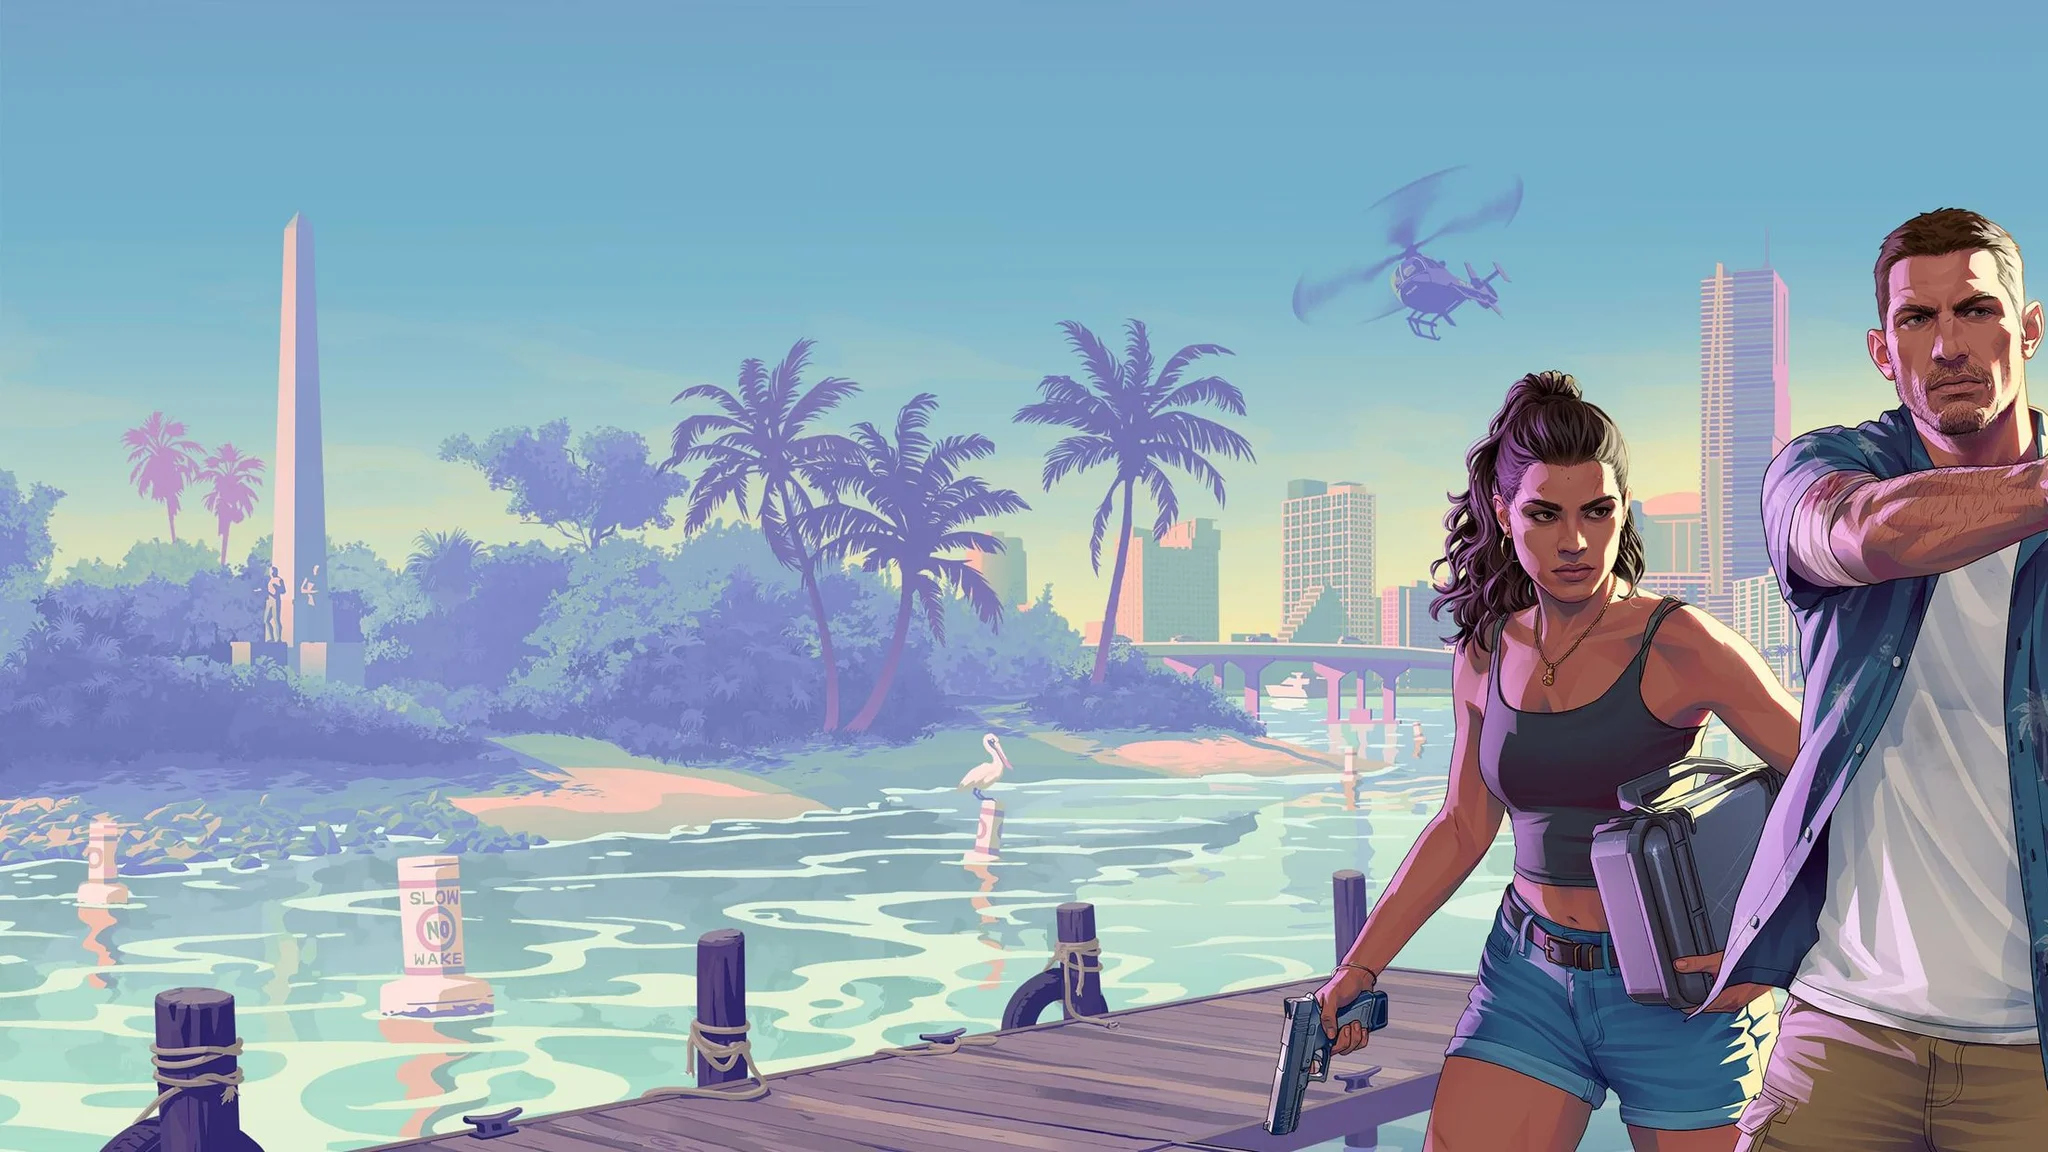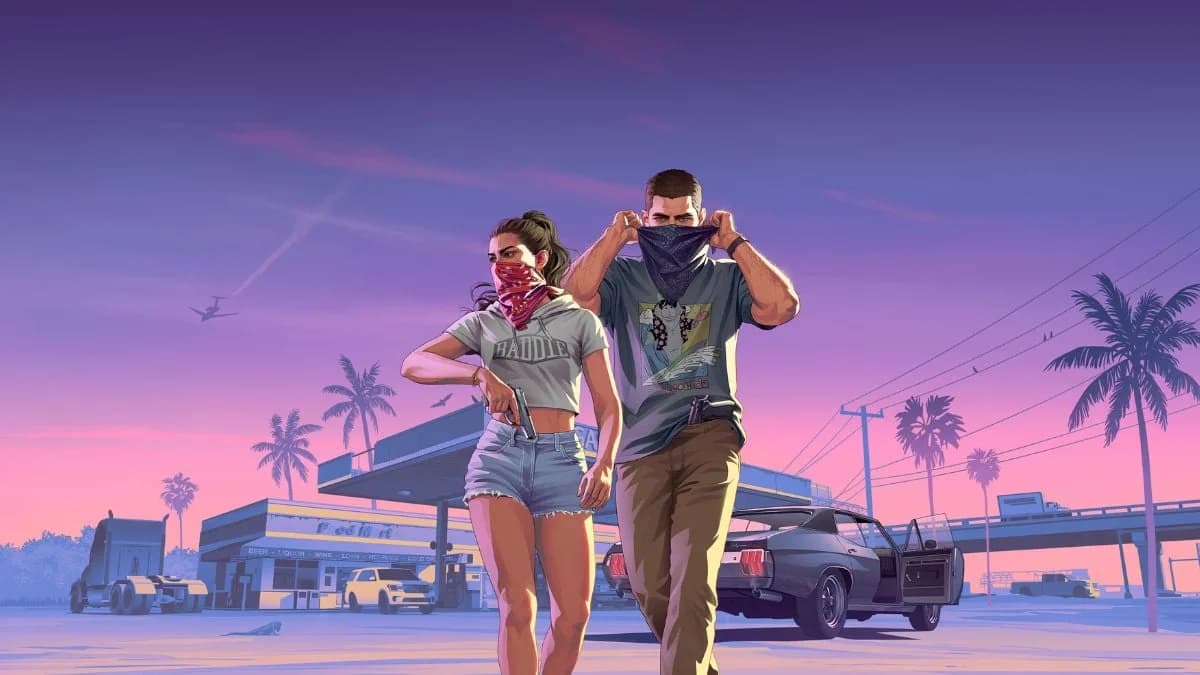

Plan around an assault rifle, a pistol, and a shotgun for a provisional mission and free-roam loadout. Revealed footage of Grand Theft Auto 6 shows a pistol drawn while a rifle stays in the other hand, with a shotgun carried on the back. Those weapons offer a practical starting point for planning complementary selections. The recommendations below are provisional: choose your priorities around the encounter, then adjust to the weapons and carrying rules you encounter in the game. No particular unlock order, attachment combination, or fixed slot count is assumed.
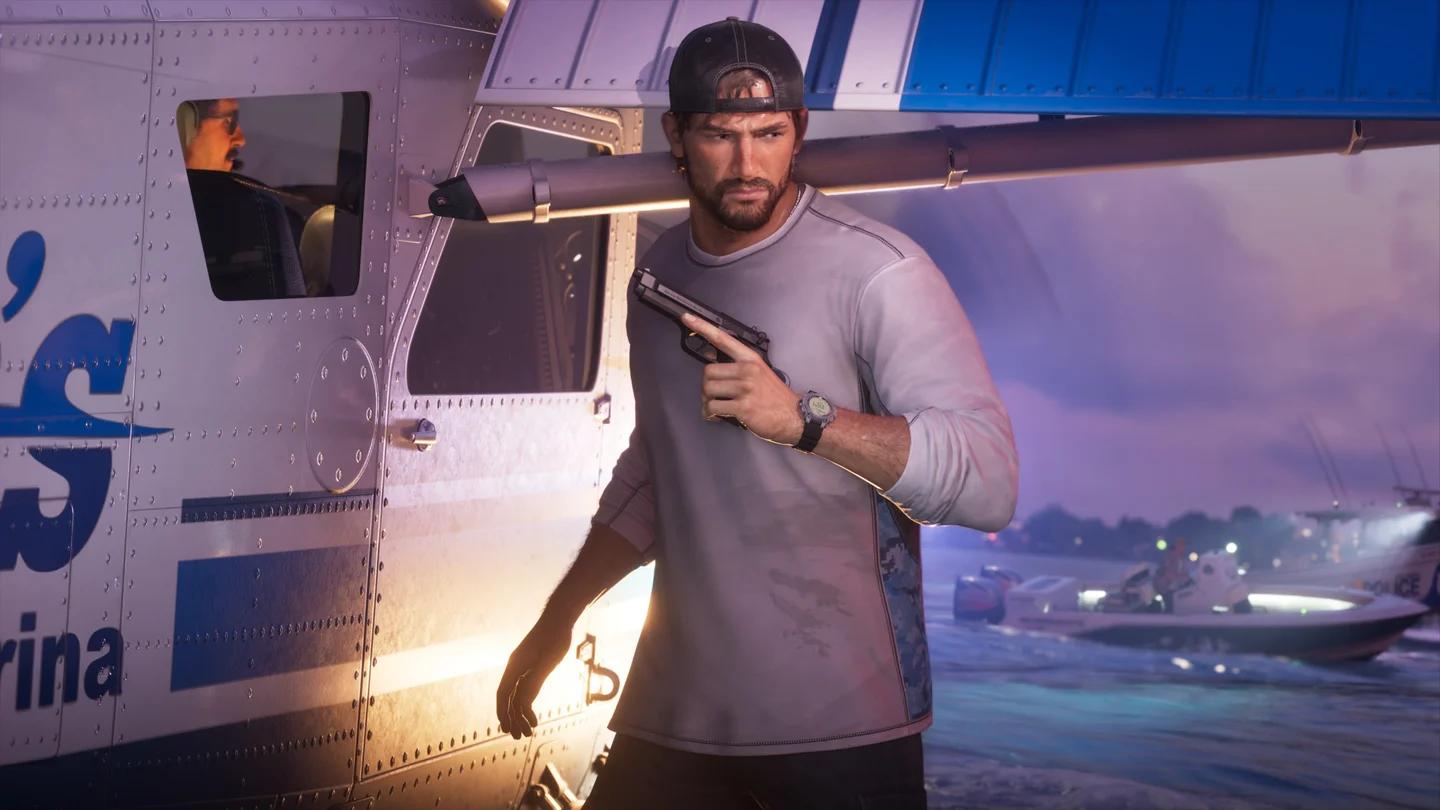
Pistol handling in the reveal
How to choose a balanced weapon loadout


Give each weapon a different job
Choose a main weapon first, then add a backup and a specialist where carrying rules allow. The goal is to have a reason to select each weapon, instead of collecting several options you intend to use in exactly the same circumstances.
These are recommended roles, not measured damage or effective-range rankings:
| Weapon type | Recommended role | When to prioritize it | What would change the choice |
|---|---|---|---|
| Assault rifle | General-purpose primary | Mixed encounters and open sightlines | A mission dominated by confined spaces |
| Pistol | Secondary weapon | A plan built around a long gun | Mission restrictions or ammunition availability |
| Shotgun | Close-range specialist | Interiors and short sightlines | An encounter that stays spread out |
A high position in the provisional Grand Theft Auto 6 weapon tier list is not a reason to select several guns for the same job. Compare individual weapons only after deciding what your current selection needs to do.
Separate selection controls from carrying rules
The weapon wheel is reportedly returning after Rockstar experimented with alternative layouts. A familiar selection interface does not establish how much equipment you can carry or how stored weapons become accessible.
Best early-game weapon setup
Start with the weapons you can actually obtain, and work toward a pistol plus an assault rifle. This is a progression priority, not a claim that either weapon unlocks during a particular opening mission.
Keep your first usable weapon while adding a different role. If you already have a pistol, prioritize access to a general-purpose long gun before planning around multiple specialist choices. Add a shotgun when you have access to one and expect confined encounters.
The Grand Theft Auto 6 weapons list helps identify revealed options, but a weapon appearing in footage does not establish an early unlock. Avoid making your opening setup dependent on one named gun.
Keep the starting plan simple
Use this acquisition order as a decision framework:
- Keep an available weapon you have ammunition for.
- Add a weapon that covers a different intended role.
- Add a specialist when the upcoming encounter gives you a reason to use it.
Do not delay a usable setup while waiting for an exact three-weapon combination. An incomplete plan with ammunition is more practical than a preferred selection you cannot yet assemble.
Best close-range mission loadout
Prioritize a shotgun and pistol for a mission built around interiors or short sightlines. Keep an assault rifle in the plan if the route also includes outdoor fighting and the carrying rules permit it. This recommendation assigns the shotgun a specialist role without assuming a particular one-shot range or damage advantage.
The revealed robbery footage shows a shotgun being used one-handed while bags occupy the other hand and the character's back. That handling is especially relevant when choosing equipment for a mission involving carried loot.
Account for occupied hands
Reloading in that one-handed robbery sequence appears slower. If you're struggling with a similar encounter, leave room in your plan to reload before advancing, instead of assuming that carrying loot leaves weapon handling unchanged.
Treat the pistol as your secondary option, not as proof of a faster emergency swap. The footage establishes that weapons can be handled in different carrying configurations; it does not establish a universal switching-time advantage.
Before selecting the shotgun as your priority, consider the whole route. A confined opening does not necessarily justify building every later encounter around the same weapon.
Best loadout for open-area combat
Make the assault rifle your primary choice for an open-area plan, with the pistol as a secondary. Keep the shotgun as an optional specialist if the route later enters buildings. Do not force a close-range selection into an encounter simply because it suited the previous room.
The reveal includes the on-screen weapon label DUKE 656 ASSAULT RIFLE. It is one named rifle option to recognize, not a demonstrated winner on damage, recoil, or ammunition efficiency.

The revealed Duke 656 rifle
Choose by sightlines, not the place name
Use the space in front of you to choose your priority weapon. The Grand Theft Auto 6 locations guide identifies revealed places, but a location name alone does not tell you whether the next encounter has open sightlines or confined interiors.
Reassess when the route changes. Entering a building is a reason to reconsider your specialist; crossing into an open area is a reason to reconsider your primary. Neither decision needs an invented distance threshold.
Best general-purpose free-roam loadout
For free roam, plan for all three roles when the game's carrying rules allow: a general-purpose primary, a secondary, and a close-range specialist. Unlike a mission-specific selection, this plan does not commit every choice to one known encounter type.
Keep your preferred primary consistent while adjusting the specialist to your next activity. You do not need to rebuild the entire selection whenever you change plans, but you should know which weapon you intend to use first.
Adapt the plan before an activity
Ask three questions before committing:
- What is the immediate task? Choose equipment for the activity you are about to attempt.
- What kind of space will you enter? Prioritize the role that matches its sightlines.
- Can you support the selection? Check access and ammunition before relying on a weapon.
A specialist earns its place when you expect to select it. If your intended activity gives it no clear job, prioritize the weapons you can use and support now.
Managing ammunition between encounters
Check ammunition before starting the next encounter, especially for the weapon you intend to use first. A backup should be ready to fire, not merely present in your selection. Do not assume that changing weapon categories automatically solves an ammunition shortage.
Use deliberate aim when precision is the goal
Revealed footage shows the crosshair tightening when transitioning into full aim from looser hip fire. Use full aim for deliberate shots. That visible change does not establish an automatic switch to single-fire mode, so do not build an ammunition-saving plan around that assumption.
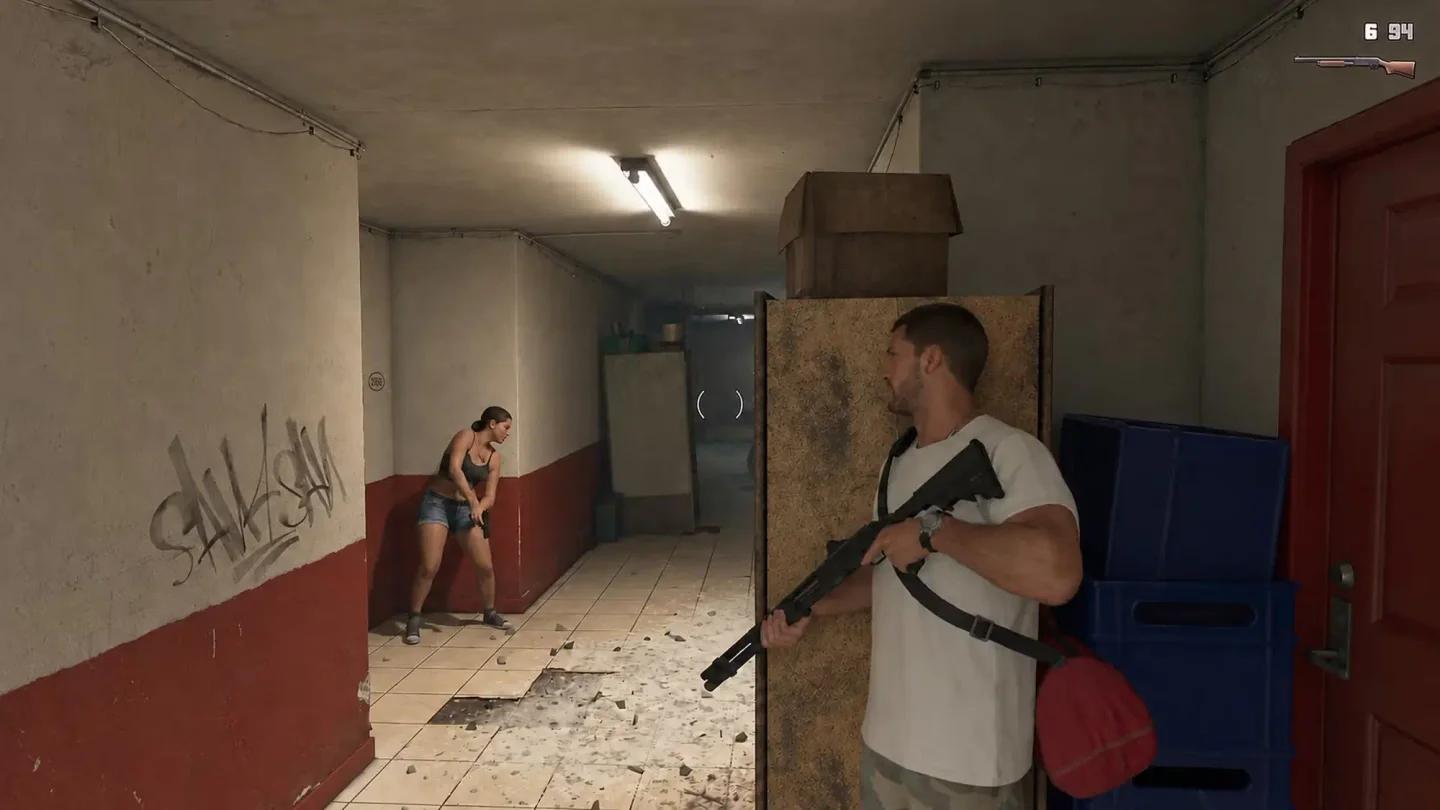
The shooting reticle in gameplay
Between encounters, run a short readiness check:
- Check ammunition for your intended primary.
- Reload when you have a safe opportunity.
- Check that your secondary also has ammunition.
- Reconsider the specialist if the next encounter changes the role you need.
If ammunition forces a compromise, choose the weapon you can support and adjust your approach to it. Do that before entering the next fight, not after discovering that your preferred gun is empty.