

Before your first robbery in Grand Theft Auto 6, scout a small target, pack a mask and spare clothes, and plan your getaway.
Your goal is a payout you can keep, not the biggest target you can find. Build the job around the tools you already have, and make the important decisions outside the building. You should enter knowing what you intend to take, where you will leave, and what will make you abandon the attempt. Keep your first self-directed robbery simple enough that you can concentrate on the people and security around you.
How to start your first robbery


Choose a target your current tools can handle
Jason and Lucia start as small-time criminals who can hotwire cheaper cars and pick basic locks. Higher-value jobs open later in the story, so do not build your opening plan around a bank or jewelry store. A convenience store or gas station is a sensible first target when available.
If you're struggling with basic weapon handling or driving, work through the Grand Theft Auto 6 beginner tips before combining both under pressure. A robbery is a poor place to discover that you cannot comfortably control your aim or getaway car.
Prepare in this order:
- Inspect the location without starting trouble.
- Choose the loot you intend to take.
- Get your equipment and vehicle ready.
- Identify your exit and escape route.
- Begin only when those decisions are settled.
This order keeps you from committing to a target and then discovering that the equipment it needs is still elsewhere.
Scout the target before entering
Drive past the location before approaching it on foot. Look at the entrances, the people inside, and the security around the building. Scouting can reveal another way in, useful safe information, or camera equipment you can deal with before taking anything.

Jason and Lucia inside a store
Check access, security, and witnesses
Use these checks to decide whether the location suits your first attempt. Treat each as a question to answer, not a feature every shop is guaranteed to have.
| What to check | What you are looking for | How it changes your plan |
|---|---|---|
| Entrances | A back entrance or another usable approach | Lets you compare routes before committing |
| Cameras | A way to disable cameras or remove their footage | Helps limit recorded evidence |
| Safe information | The safe's location and a usable code | Helps you decide whether to attempt the safe |
| People inside | Clerks, customers, and potential witnesses | Helps you judge how many people could react |
Police attention can begin through witnesses or an alarm. Disabling a camera does not remove those other risks, so avoid treating one security measure as the whole job.
A fence can provide safe codes as well as buy stolen goods. If you intend to take valuables instead of cash, identify a suitable buyer beforehand. Different types of stolen goods can require different fences.
Decide between the register and the safe
The register is the simpler first-robbery choice. It offers quick cash, while a safe pays more but takes longer to unlock. The decision is about how long you are prepared to remain inside.
| Loot target | Main advantage | Main drawback | Choose it when |
|---|---|---|---|
| Register | Faster access to cash | Lower payout than the safe | You want a short first attempt |
| Safe | Higher payout | Longer time spent unlocking it | You have scouted it and prepared for the extra time |
Set that limit before entering. If you planned a register-only job, do not add a safe attempt simply because you notice one on the way out. Leave the longer attempt for a visit built around it.
Prepare your equipment and getaway vehicle
Pack a mask and a complete change of clothes
Put your mask on before entering, before a witness or camera can identify your uncovered face. Carrying it in the car is preparation; remembering to wear it is the required action.
Your vehicle can store spare outfits and larger weapons, and you can change clothes at the car. Pack a complete replacement outfit. A hat or sunglasses alone will not provide the same disguise change.
Keep face exposure and clothing identification separate in your plan. Covering your face does not change the outfit people can describe or the vehicle they see you leave in.
Choose an accessible car and inspect it
An older, low-end vehicle fits the tools available early on. Newer cars can require a key cloner, so do not choose your getaway around a vehicle you cannot yet open.

Jason beside a car in Leonida
Use the phone's car scan to check the lock, alarm, and tracker before taking a vehicle. A tracker can report the theft to police automatically, creating attention before you even reach the robbery.
Check the fuel as well. Cars need fuel, and a stolen vehicle may already be running low. Make this part of choosing the car, not something you investigate after the job has started.
Drive the chosen car before using it for the job. Learn how it turns and stops on the surrounding streets, then park with your departure in mind. Familiar handling is more useful here than choosing a vehicle purely for its appearance.
Plan your escape before starting
Learn the roads around the target
Take a short drive around the area and choose a route away from the building. Learn the nearby turns instead of relying on a straight-line sprint down the most obvious road. You want to make your first navigation decisions while nobody is chasing you.
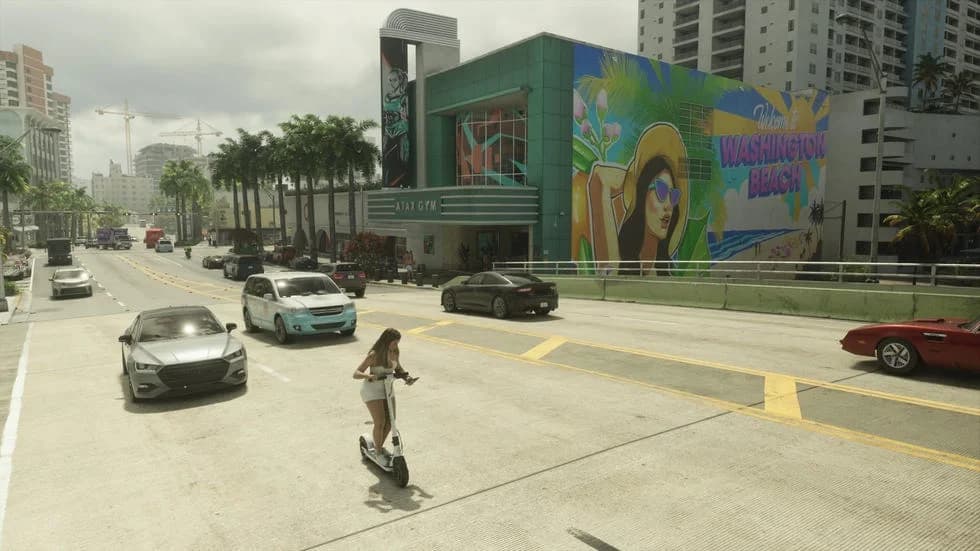
Street traffic in Vice City
Identify somewhere quiet where you can stop after breaking contact. Your preparation should cover the space between leaving the shop and becoming difficult to identify, not merely the distance to the driver's door.
Keep the route flexible. If the situation changes, leaving with less loot is a better first-job decision than staying inside to protect a plan that no longer fits.
Separate losing sight from ending the search
Flashing wanted stars indicate that police have lost sight of you. A red star means you remain inside their search area. Neither should be treated as permission to drive straight back to the store.
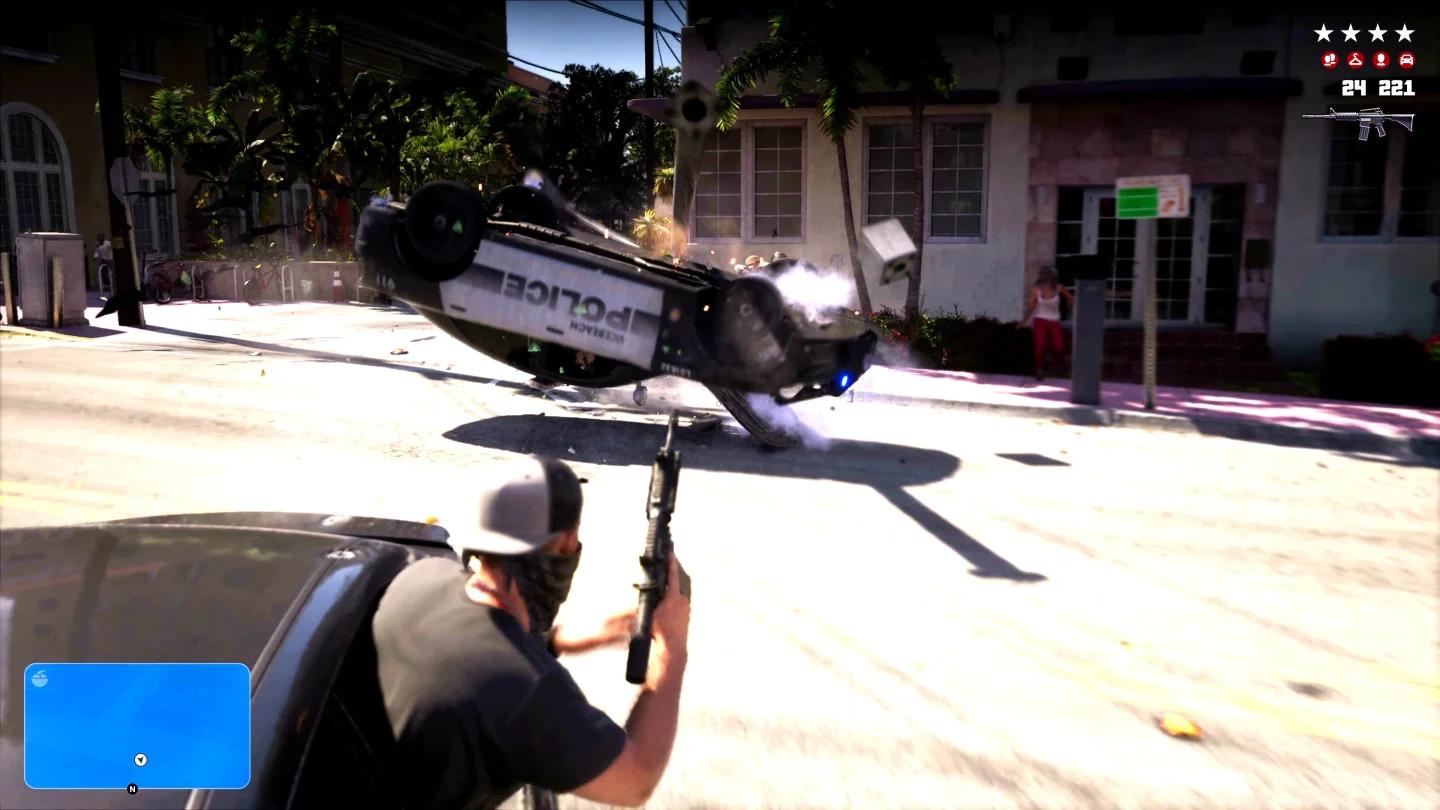
Police vehicles in Leonida
The icons beneath the stars show what police know about your face, outfit, or vehicle. Read those clues before choosing your next move. An escape plan that addresses your clothing alone is incomplete if police still recognize the car.
The Grand Theft Auto 6 wanted levels guide covers the wider pursuit system. For this first attempt, concentrate on breaking sight, addressing the identifying details police have, and clearing the marked search area.
Mistakes to avoid during your first robbery
Do not assume everyone will surrender
Clerks and customers can fight back. Enter expecting reactions, not a room full of people who will remain passive while you collect everything.
Focus slows time and highlights yellow target areas for nonlethal takedowns. If someone resists and you want to avoid killing them, use that option instead of turning the encounter into an uncontrolled shootout. Unnecessary violence affects your criminal profile.
Jason and Lucia have separate criminal profiles. Switching characters does not undo what the original character has done, so keep experiments with escalating violence out of the robbery you intend to build on.
Secure the payout before taking another risk
Cash you carry can be lost if you are wasted or busted. Once the pursuit is over, use an ATM or bank to deposit it; phone deposits are not an option.
If you collect stolen goods, selling them is a separate step from taking them. The Grand Theft Auto 6 money guide can help you compare your next earning options after you have secured this payout.
Finish the current job before starting another one. Bank the cash, sell any loot to the appropriate fence, and replace anything the attempt showed you were missing before choosing your next target.