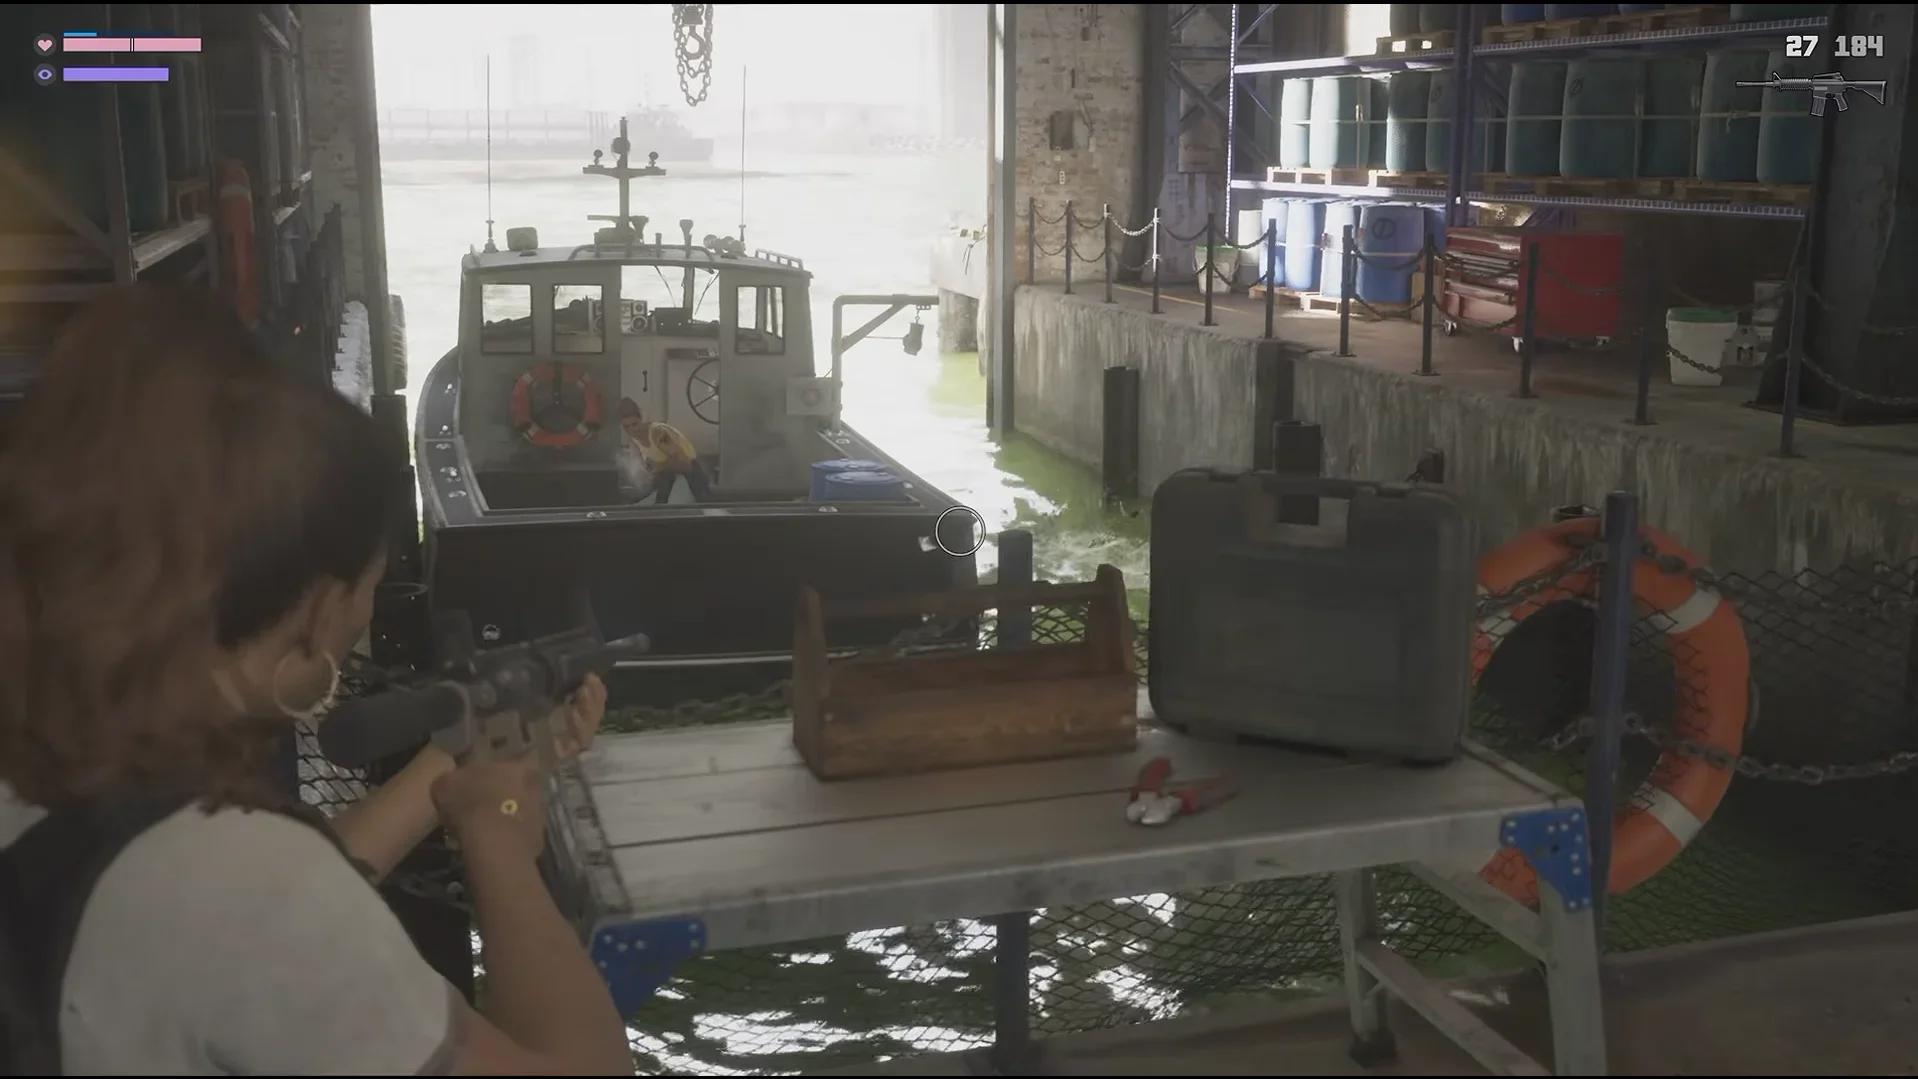

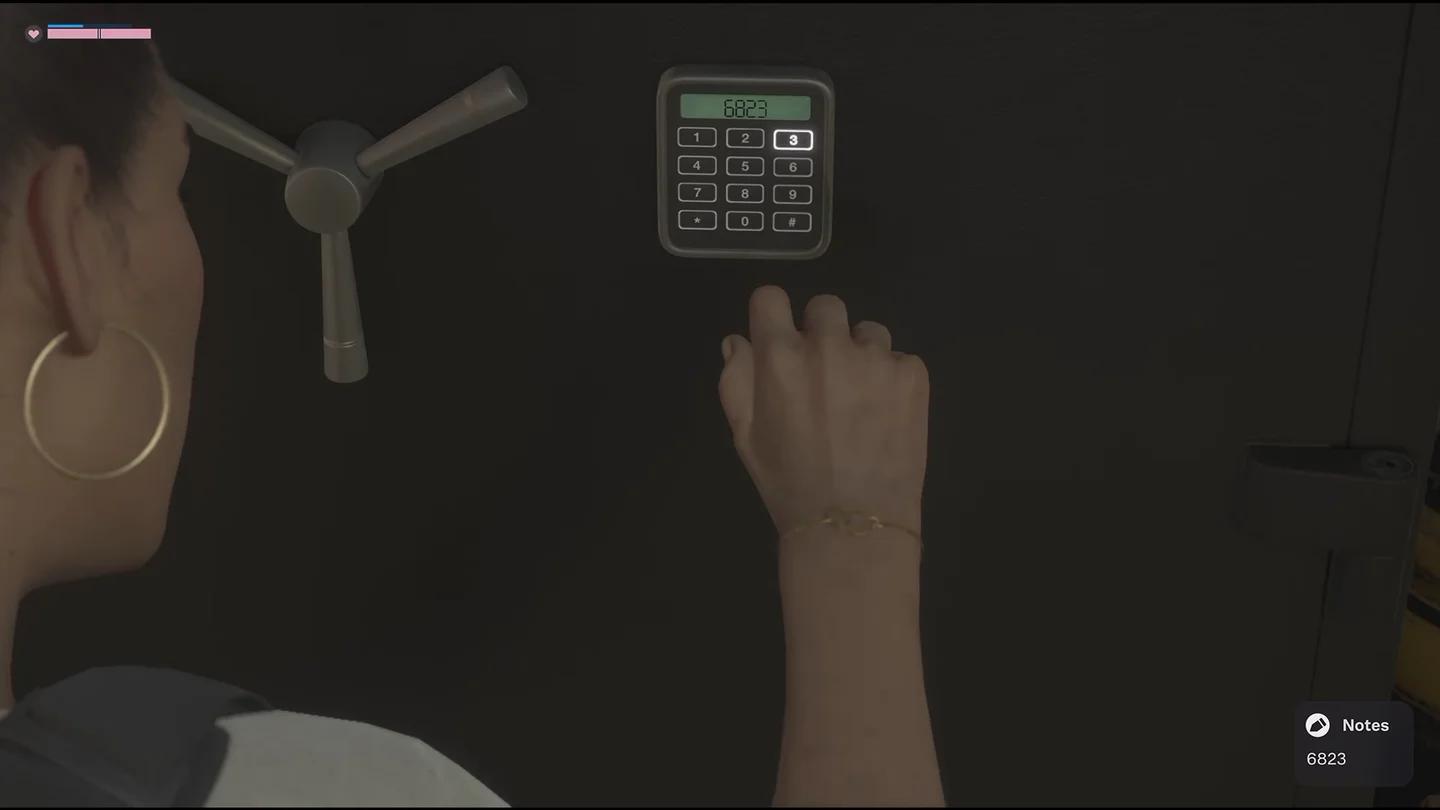
To complete Brooks Boatworks, use safe code 6823, collect all four key valuables, and escape in the Smuggler Caracara. This high-security robbery in Grand Theft Auto 6 takes you into a Kolt & Associates operation around Port Gellhorn during Chapter Two. The compound contains cash, prescription medication, and several weapon pickups, but its loot is spread between buildings. Follow the warehouse sweep below before taking the marked vehicle, then deliver the stolen goods to Dunk to cash out.
Find the Brooks Boatworks safe-code lead
The code lead appears after the mission involving the doctor and Dunk. Drive near Brooks Boatworks and look for a heavy police presence around a nearby side street. The residential building there is connected to the gang.


Search the nearby house
Enter the residential building from the back. Inside, you can collect some cash before recovering the combination:
- Break open the ventilation duct cover and collect the $1,000 hidden inside.
- Open the small safe in the house.
- Take the Brooks Boatworks safe code and leave.
The small safe is the code pickup, not the main robbery target. Its contents point you toward the safes at Brooks Boatworks across the nearby streets, so do not stay in the house searching for the compound's cash stash.
The Smuggler Caracara truck
Enter quietly and collect the Clunker 556
Arrange your carried weapons before approaching the compound. Weapon lockers and trunk loadout management unlock through Grand Theft Auto 6's Gear Up mission if you need to change your selection before the robbery.
Use the hillside fence gap
Approach the main gate, then park on top of the hill to its right. A hole in the fence gives you an alternative entrance without walking through the front gate.
Pass through the gap and head downhill. The guard below has his back toward this approach, giving you an opportunity to eliminate him quietly before moving between the buildings.
Keep the initial approach quiet. Detection can draw guards from around the compound into the fight, making the warehouse search harder while you are carrying loot.
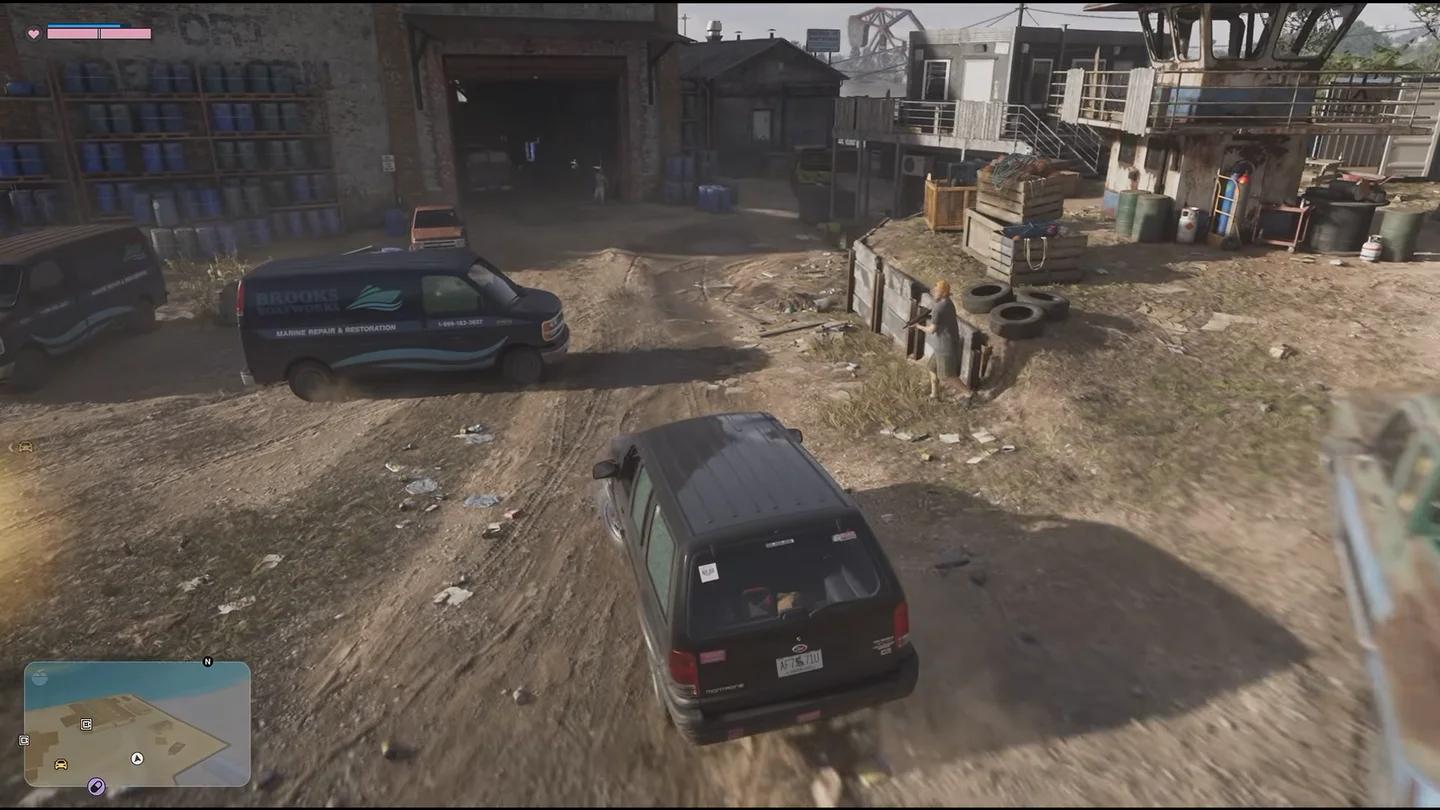
Hillside entry to Boatworks
Search the small right-hand building
Before committing to the main warehouse, search the small building to the right of the main approach. The Clunker 556 is inside. Its weapon menu identifies it as a carbine rifle variant, and its stockless appearance makes it easy to distinguish from a standard rifle pickup.
Inspect the map or poster above the weapon, too. It contains pickup-and-drop-off information and adds map updates when inspected. Collect the medkits in this building so you have healing supplies if the robbery turns into a firefight.
Collect all four key valuables
Brooks Boatworks tracks four key valuables. The completion route covers two safes, the prescription-medication loot, and the Smuggler Caracara. The rifle and explosive weapons are useful extra pickups, but they do not replace the warehouse loot or vehicle in this sweep.
| Key valuable | Where to search | What to collect |
|---|---|---|
| First safe | Upper level of a warehouse | The safe's contents |
| Prescription-medication haul | Warehouse rooms, including the pool table and ground-floor loot areas | The medication bags encountered through the sweep |
| Second safe | The other warehouse section | The second safe's contents |
| Smuggler Caracara | Front courtyard | The marked vehicle, taken after the buildings are looted |
Clear the main warehouse and upstairs safe
Enter the main building and work past its guards quietly where possible. The stairs at the back lead upstairs toward a safe. Open it with the combination from the lead and collect its contents before searching the surrounding rooms.
Search the pool table for bags of pills. These are part of the medication haul, so the upstairs visit should include both the safe and the loose loot in the room.
An upper room also contains sticky bombs, grenades, Molotov cocktails, and a rocket launcher. Pick up the weapons you want before leaving this part of the building, but continue the valuables route afterward. Finding the launcher does not finish the location.
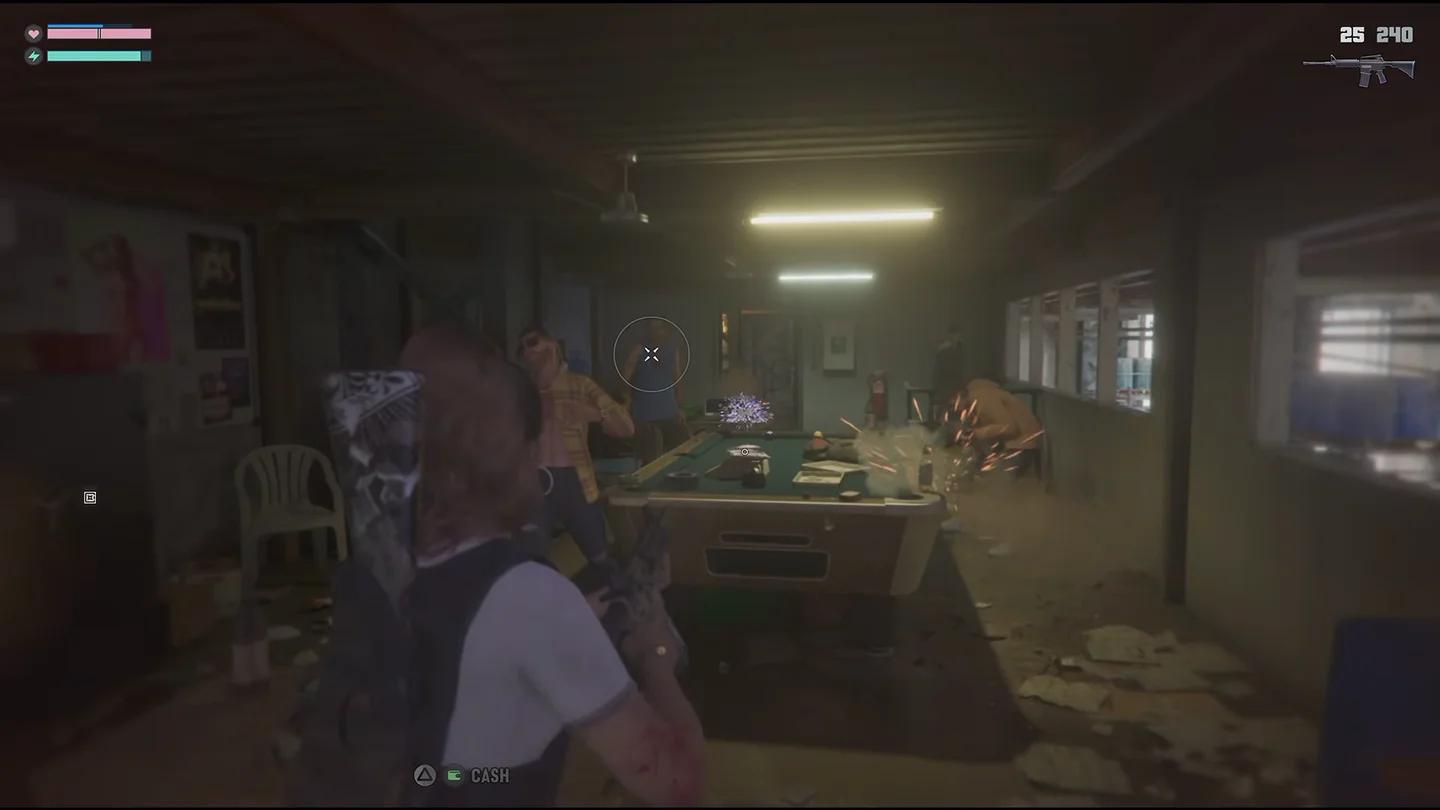
The Clunker 556 carbine
Sweep the smaller building and remaining warehouse rooms
Move toward the second, smaller building on the left. You can avoid groups of guards outside by climbing onto its lower roof and entering through an open window.
Deal with the two guards inside, move into the attached building, and descend to ground level for more medication bags. Keep the loot bag with you as you move, since dropping it leaves some of the haul behind.
Include the second safe in your warehouse sweep. Taking the first upstairs safe alone leaves part of the tracked valuables unfinished. Open and empty the remaining safe before heading back outside.
The compound can be crossed quietly, but a clean entrance does not guarantee a quiet exit. Finish searching the buildings before committing to the vehicle so a pursuit does not pull you away from an unopened safe or an uncollected bag.
Take the Smuggler Caracara and escape
The final key valuable is the orange Vapid Smuggler Caracara in the front courtyard. Look for the yellow car icon. The truck is unlocked and ready to drive, so you do not need to break in or hotwire it.
Entering the truck starts the chase. Make it your last pickup after the warehouse sweep; taking it registers the vehicle portion of the valuables and lets you leave with the haul.
Choose your exit before taking the truck
The front gate cannot be rammed open. You must open it deliberately if you want to use the main entrance as your escape route. An alternative runs past the small building that held the Clunker 556, through breakable fencing, and along the beach.
| Exit route | What it requires | Main consideration |
|---|---|---|
| Main gate | Open the gate deliberately | Driving straight into a closed gate will not force it open |
| Fences toward the beach | Drive past the Clunker 556 building and break through the fencing | Provides a way out without using the main gate |
The location displays All key valuables found when the tracked loot is complete. Once you are clear of the pursuit, take the stolen goods to Dunk to deposit them and receive the money from the robbery.