
Runestones are the closest thing Hytale has to a proper ability system right now, and they are genuinely good. Two active abilities, each with two modifier slots, all built from a single crafting material you farm in the Guttering Hollows. The system is compact but the combinations add up fast, especially once you unlock the full modifier list by repairing the Compressor. Here is everything you need to know.
What are runestones in Hytale?
Runestones are craftable items that slot into the runebinder's lattice inside the forgotten temple, granting active combat abilities and modifying how those abilities behave. There are two categories: ability runes and modifier runes.
You can have 2 ability runes active at once. Each ability rune accepts up to 2 compatible modifier runes, so your full loadout is 2 abilities and 4 modifiers running simultaneously.
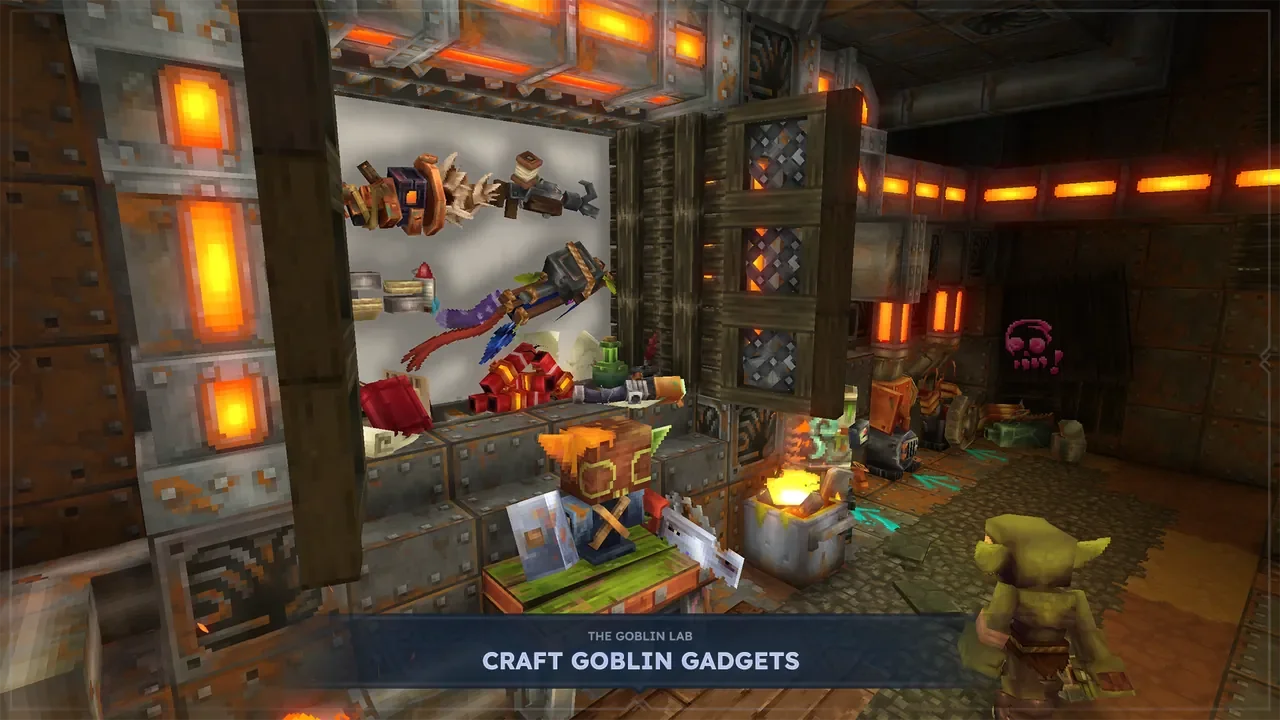
All runes are crafted at the goblin tinkerer's workbench, which sits to the left of the memories shrine in the goblin-themed building inside the forgotten temple. The runebinder's lattice is just to the right before the memories shrine.
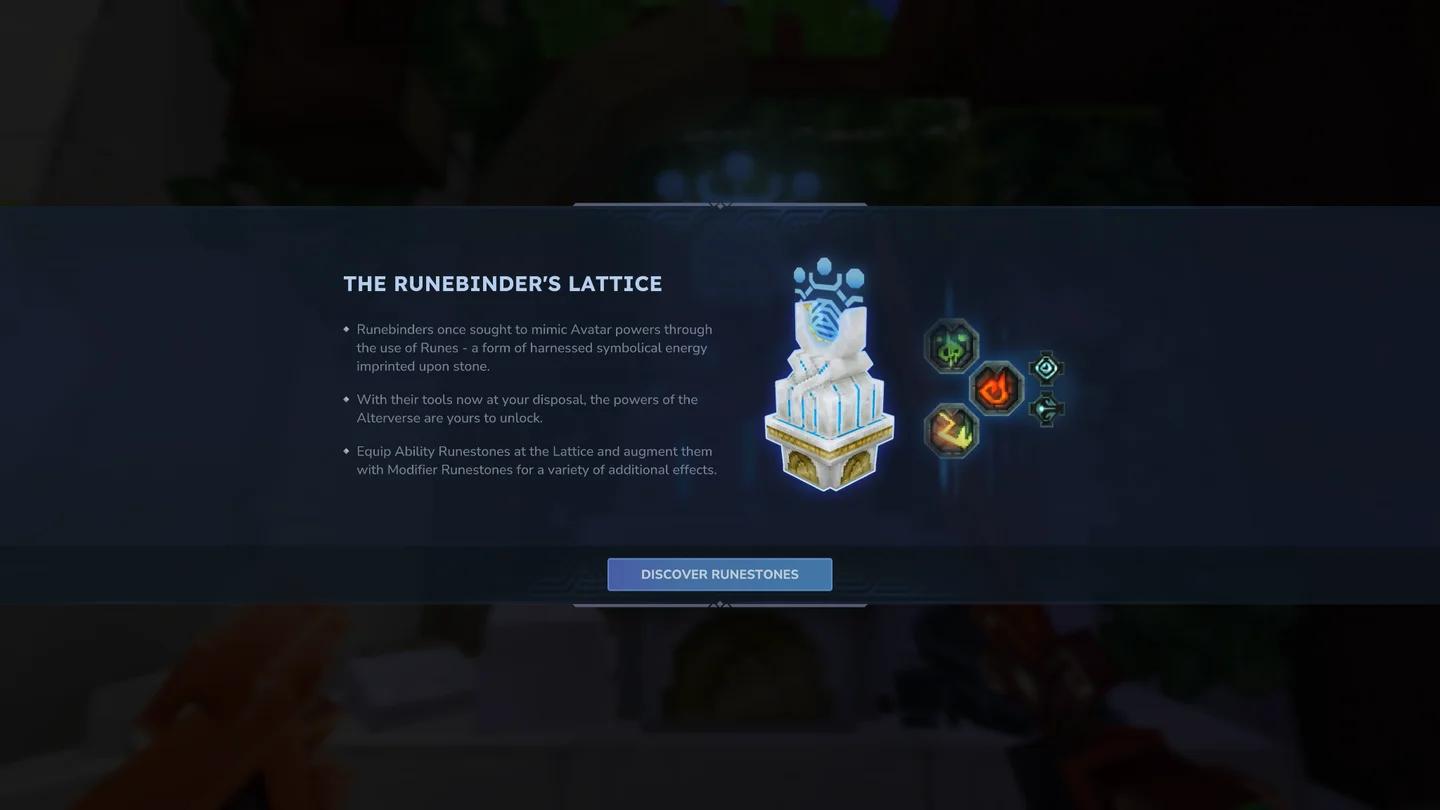
Runebinder's Lattice slot view

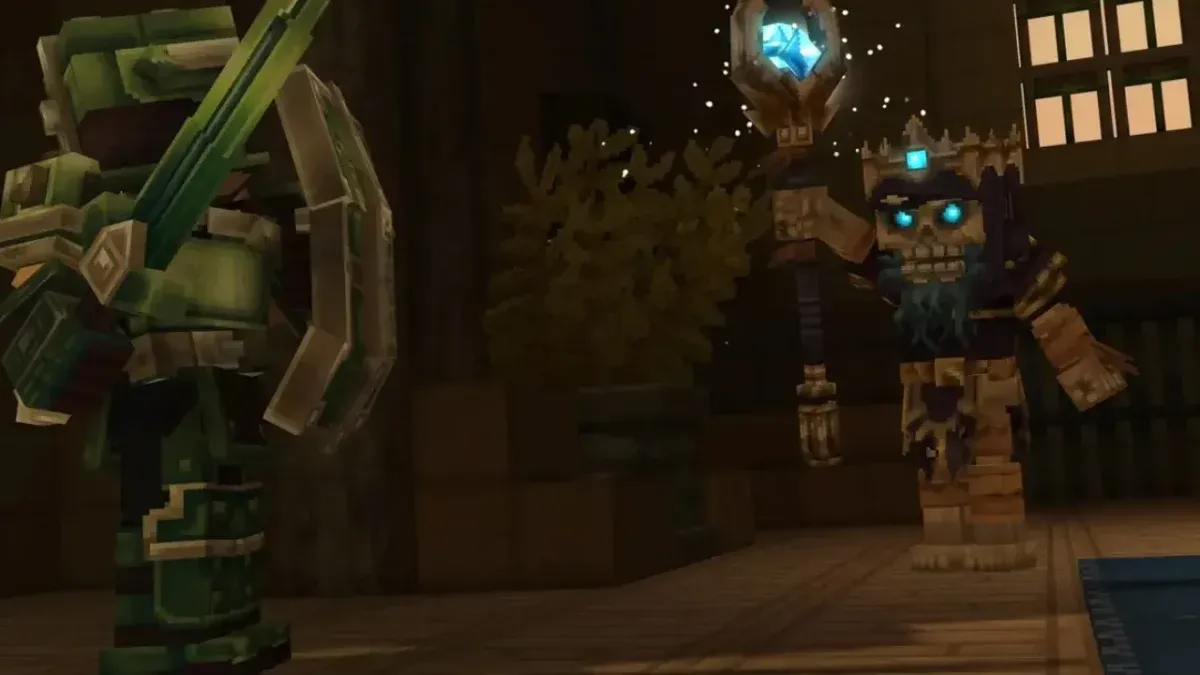
How to get runestone shards
Every rune recipe requires runestone shards, and they all come from one place: the Guttering Hollows. This is the first dungeon in the game, accessed either through a goblin breach portal that spawns once every 30 minutes after you activate the goblin power generator in the forgotten temple, or via a Fragment Orbis: The Guttering Hollows item used at an Ancient Gateway (a late-game option).
Inside the Guttering Hollows, shards drop from:
- Mining shiny scrap piles
- Killing goblin burners
- Killing goblin feastmasters
- Killing revenant guardians
- Killing void fiends
For a deeper look at farming materials inside the Guttering Hollows, check the Hytale Void Crystal Shards guide for breach timing and mob farming strategies that apply directly to shard runs.
How to unlock all modifier rune recipes
Here is the part most players miss. When you first access the goblin tinkerer's workbench, the modifier rune recipes are locked. To unlock them, you need to repair the Compressor in the Goblin Lab at the forgotten temple.
The Compressor is a separate station from the Goblin Breach Console. The Console extends your breach timer. The Compressor unlocks workbench recipes. Do not mix them up.
Compressor repair materials
| Material | Amount required |
|---|---|
| Scraps | 75 |
| Voidheart | 3 |
| Bundled Treasure | 2 |
| Goblin Totem | 1 |
Once you hand in all four materials, return to the goblin tinkerer's workbench and check the Runestones tab. The modifier recipes will now be available.
All ability runes: stats and effects
Every ability rune costs 2 runestone shards to craft.
| Ability rune | Damage type | Mana cost | Cooldown | Key effect |
|---|---|---|---|---|
| Chain Hook | Physical | 50 | 6s | Pulls all targets near impact to you, briefly slows them |
| Charged Shot | Water | 35 | 4s | Charged freezing bolt; full charge briefly slows first target |
| Enrage | None | 45 | 4s | +30% damage for 8s, but increased vulnerability |
| Fireball | Fire | 30 | 2s | AOE fireball that explodes on impact |
| Ground Slam | Earth | 40 | 5s | Melee AOE spike that launches enemies into the air |
| Imbue Poison | Poison | 40 | 4s | Weapon buff for 8s; up to 3 stacks of 2 poison damage/s for 6s |
| Wind Strike | Wind | 30 | 2s | Sword buff; next 3 strikes fire a piercing wind arc |
Chain Hook
Physical damage, 50 mana, 6-second cooldown. Launches a chain that pulls every enemy near the impact point toward you and briefly slows them. Strong opener for melee builds. Compatible modifiers: Rebound, Rend, Splinter, Thrift, Wither.
Charged Shot
Water damage, 35 mana, 4-second cooldown. Hold to charge; movement slows while charging. A fully charged bolt slows the first target hit. Compatible modifiers: Rebound, Rend, Splinter, Thrift, Wither.
Enrage
No damage type, 45 mana, 4-second cooldown. Grants 30% bonus physical, elemental, and projectile damage for 8 seconds at the cost of increased vulnerability to weapon and elemental hits. Best paired with Enduring or Quickening. Compatible modifiers: Enduring, Quickening, Thrift.
Fireball
Fire damage, 30 mana, 2-second cooldown. The fastest cooldown ability in the set. Launches an exploding fireball with AOE impact. The broadest modifier compatibility of any rune. Compatible modifiers: Colossal, Quickening, Rebound, Rend, Splinter, Thrift, Wither.
Ground Slam
Earth damage, 40 mana, 5-second cooldown. Melee-only. Slams the ground and launches a stone spike that sends enemies airborne. Requires Battleaxe, Longsword, or Mace. Compatible modifiers: Colossal, Quickening, Rend, Thrift, Wither.
Imbue Poison
Poison damage, 40 mana, 4-second cooldown. Buffs your weapon for 8 seconds. Each melee or ranged hit applies a poison stack (up to 3), each dealing 2 poison damage per second for 6 seconds. Compatible modifiers: Enduring, Quickening, Thrift.
Wind Strike
Wind damage, 30 mana, 2-second cooldown. Imbues your sword so the next 3 strikes each fire a piercing wind arc. Tied with Fireball for the fastest cooldown. Compatible modifiers: Colossal, Enduring, Quickening, Rend, Thrift, Wither.
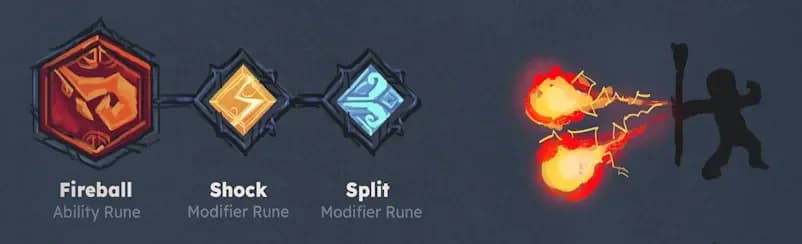
Fireball rune recipe view
All modifier runes: effects and trade-offs
Every modifier rune costs 1 runestone shard to craft. Compatibility is ability-specific, so always check the in-game tooltip before crafting.
Colossal Support Rune
Compatible trait: AOE. Makes the ability larger with stronger direct hits, but slows projectile speed and raises mana cost. Best for: Fireball and Ground Slam builds where you want a bigger blast radius and can accept slower travel.
Enduring Support Rune
Compatible trait: Buff. Increases effect duration by 50%, but extends cooldown by 60% and raises mana cost by 30%. Best for: Enrage and Imbue Poison, where keeping the buff active longer is worth the wait between casts.
Quickening Support Rune
Compatible traits: AOE, Buff. Reduces cooldown by 30%, mana cost by 20%, and increases projectile speed by 40%. Drawback: 25% less damage and effects expire 20% sooner. Best for: players who want to cast more often and can absorb the damage reduction.
Rebound Support Rune
Compatible trait: Projectile. Projectiles bounce up to 2 additional times at 40% higher speed, but lose 20% damage per bounce. Cooldown rises 30%, mana cost rises 25%. Charged Shot requires full charge. Best for: Chain Hook and Charged Shot against grouped enemies.
Rend Support Rune
Compatible traits: Any damage type except Poison. Hits apply Rend for 6 seconds: 2 physical damage per second plus 15% reduced physical resistance on the target. Costs 25% longer cooldown, 20% more mana, and 20% less ability damage. Best for: sustained damage setups where the bleed and resistance debuff outweigh the upfront loss.
Splinter Support Rune
Compatible trait: Projectile. Projectiles split into 2 on first hit. Split projectiles carry 30% reduced damage, size, and AOE and cannot split again. Cooldown rises 20%, mana cost rises 25%. Charged Shot requires full charge. Best for: hitting multiple targets with a single cast.
Thrift Support Rune
Compatible traits: Any. Reduces mana cost by 25% at the cost of 20% less ability damage. The broadest compatibility of any modifier. Best for: mana-hungry builds or when you want to squeeze more casts out of high-cost abilities like Chain Hook.
Wither Support Rune
Compatible traits: Any damage type except Poison. Applies a 2-second debuff: targets move 10% slower and deal 15% less physical, elemental, and projectile damage. Trade-offs are 30% less ability damage, 20% more mana, and 30% longer cooldown. Best for: softening dangerous enemies before engaging in melee.
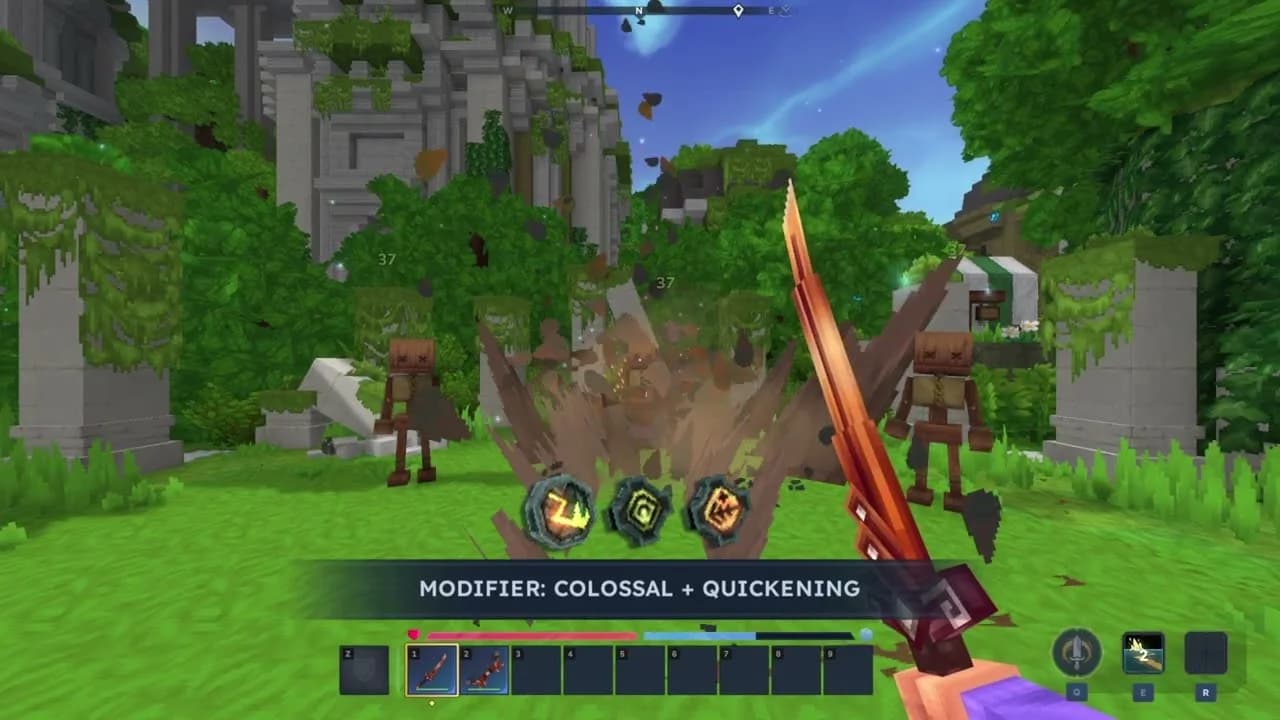
Modifier rune slot assignment
What are the best modifier combinations?
The mistake most players make is chasing the modifier with the biggest positive number without reading the trade-off. Here are the combinations worth testing first:
- Fireball + Colossal: Larger blast radius with stronger direct hits. The slower projectile speed is barely noticeable at close-to-medium range.
- Enrage + Enduring: 50% longer duration on a 30% damage buff is a meaningful uptime gain for melee builds, even with the extended cooldown.
- Imbue Poison + Quickening: Faster reapplication of the poison buff matters more than the 25% damage reduction when you are stacking poison ticks.
- Chain Hook + Rend: Pull enemies in, then let Rend tick while you follow up with melee. The 6-second bleed window lines up well with the 6-second cooldown.
- Wind Strike + Wither: Weakening enemies before your melee follow-up is strong, especially against enemies that hit hard. The 30% ability damage loss on Wind Strike's arcs hurts less than getting chunked.
For more on building out your character with the right gear to back up these abilities, the Hytale ultimate mining guide covers copper, iron, cobalt, and rare ore locations so you can get the weapons Ground Slam actually needs.
Frequently asked questions
Why can't I see modifier rune recipes at the workbench? They are locked until you repair the Compressor in the Goblin Lab. You need 75 Scraps, 3 Voidhearts, 2 Bundled Treasures, and 1 Goblin Totem.
How many runes can I have active at once? 2 ability runes, each with up to 2 modifier runes, for a maximum of 6 rune slots active simultaneously.
Can I swap runes after crafting them? Yes. You can store and swap runes at the runebinder's lattice as your preferred setup changes.
Does Rend stack with Wither? Both can be applied through different abilities. Rend deals physical damage over time and reduces physical resistance; Wither reduces the enemy's damage output and movement speed. They target different stats, so running both on separate abilities is a valid setup.
Is Charged Shot worth fully charging every time? For Rebound and Splinter, yes, full charge is required for the modifier to activate. For raw damage without those modifiers, a partial charge still fires but loses the slow effect.
For a broader look at everything available in Hytale's current content, browse the full Hytale strategy guides collection to find farming routes, ore locations, and more.