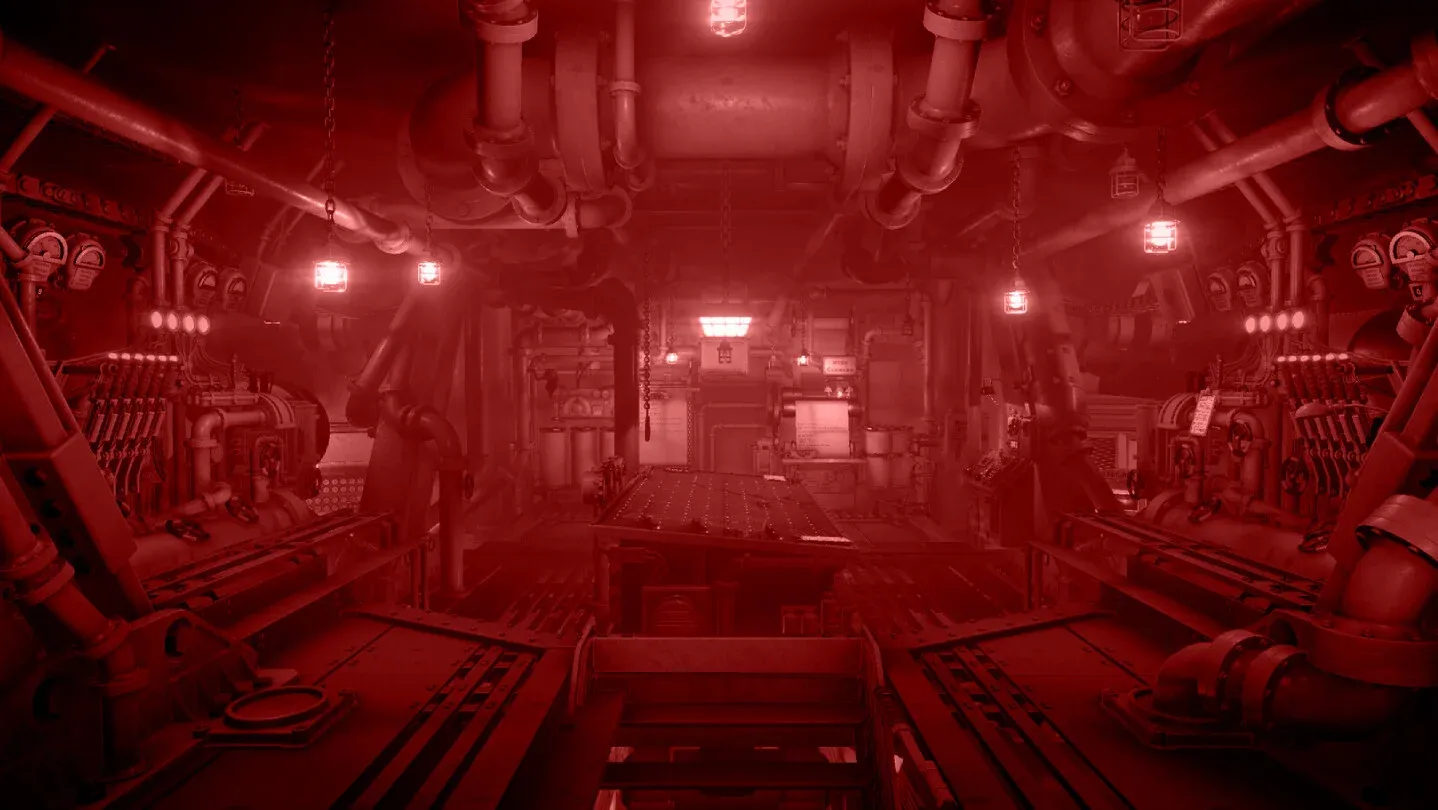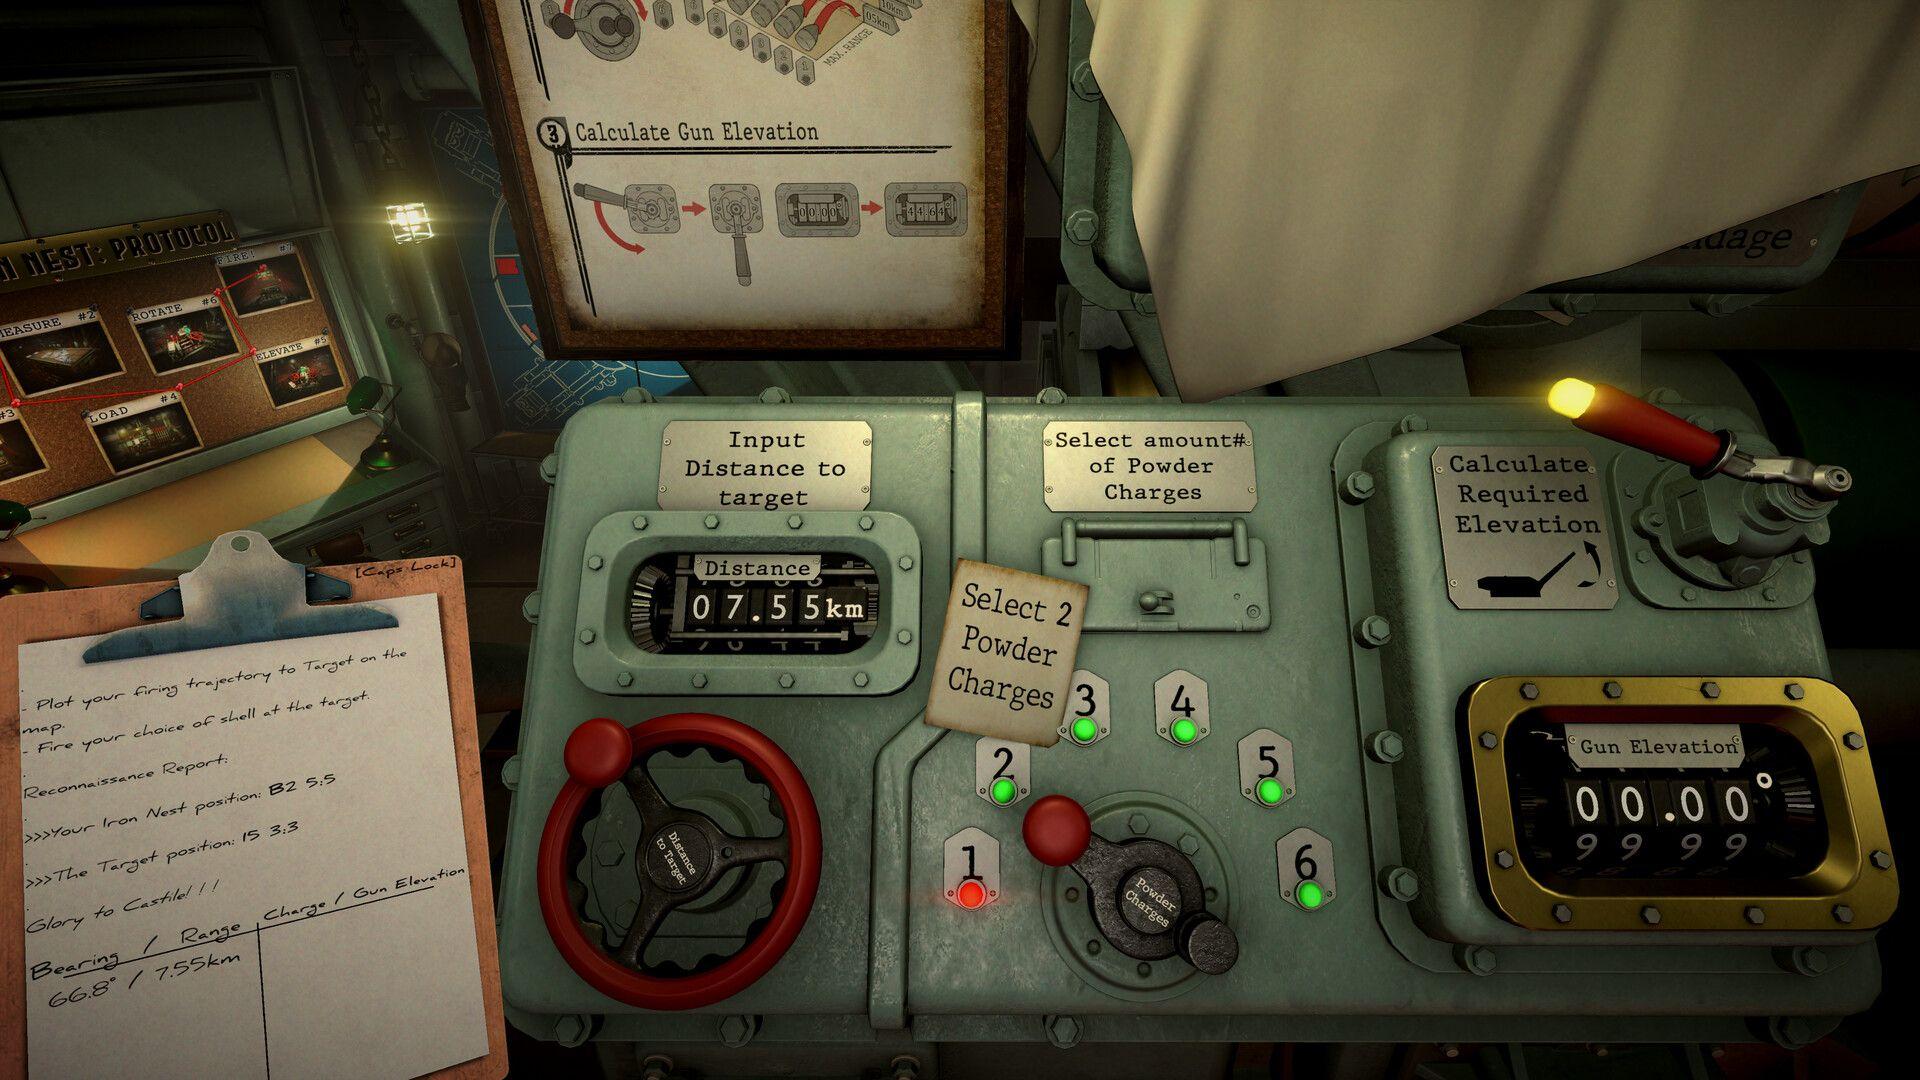

Getting every Gold medal in Iron Nest: Heavy Turret Simulator is harder than it looks, mostly because the game never tells you what the requirements actually are. They exist in the installation files, not on any in-game screen, which means most players either stumble into Bronze and call it a day or spend hours guessing. This guide lays out every Gold medal condition for all 14 campaign missions, both skirmishes, and explains what each metric actually measures so you can plan your run before you fire a single shell.
What do the medal metrics actually mean?
Before jumping into the mission-by-mission breakdown, it helps to know what the game is actually tracking. Several of these stats are opaque even to experienced players.
Ally kills counts every allied unit that dies during a mission, regardless of whether you caused it directly. Zero is the Gold target in almost every mission that tracks this.
Average accuracy has a value range of 50 to 250, which is wider than the standard 0-100% shot accuracy. The working theory is that it measures how far a missed shell lands from the nearest enemy, with tighter misses scoring better. STAR shells don't appear to affect this stat since they don't impact the ground. The practical advice: just don't miss.
Consecutive kill shots resets to zero the moment you fire a non-lethal shell or miss entirely. Every shot in your streak has to be a killing blow.
Counter-battery time left is the countdown timer visible above the paper rolls at the back of the Iron Nest during counter-battery missions. You want as much time remaining as possible when the mission ends. Gold typically requires 260 seconds or more.
Kills-per-shot ratio is enemy kills divided by total shots fired, and it only counts toward a medal once you've hit a minimum of 10 enemies killed. A ratio of 2 means every shot you fire kills at least two enemies on average, which requires consistent multi-kill shells.
Recons requisitioned means you completed the mission without spending requisition on aerial scout planes. Buying even one recon invalidates this medal.
Requisition spent rewards frugality. The DRIL shell costs only 3 requisition, making it the go-to option once unlocked. Several missions have Gold thresholds you simply can't hit with early-game shells, so returning after unlocking better ammunition is a legitimate strategy.
Seconds until first shot measures the time from the start of the mission until your first shell fires. Get out of bed, load immediately, and aim while the loading animation plays.
Triple kill time window measures the elapsed time between your first and third killing impacts in a three-kill sequence. A shorter window scores better. The Gold threshold is 10 seconds or less in most missions that track this, though Counter-Battery has a known typo that may award Gold at up to 45 seconds.
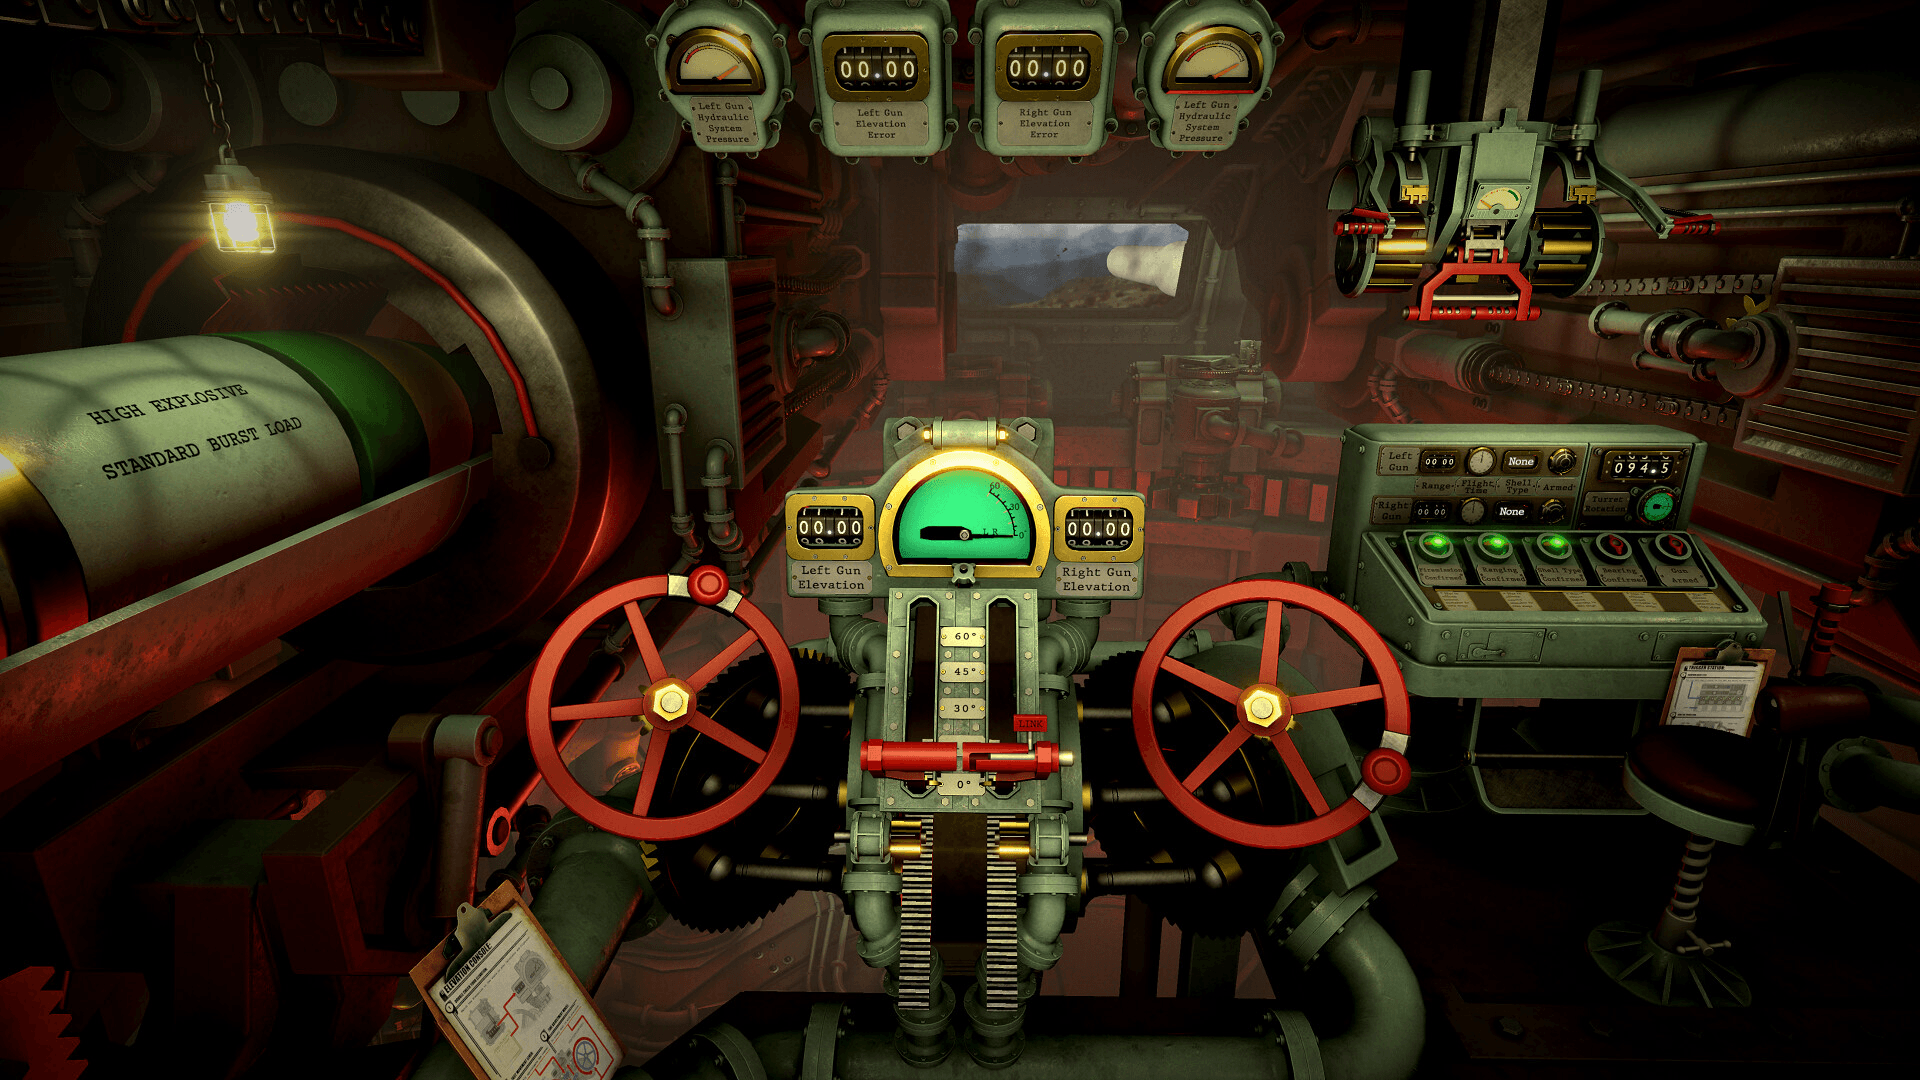
Iron Nest: Heavy Turret Simulator Guide: All Gold Medal Requirements
Gold medal requirements for every campaign mission
The early missions are single-condition affairs. By mid-campaign, you're juggling four separate requirements simultaneously.
Calibration Fire and Fire and Light
These two are the tutorial-adjacent missions. Calibration Fire has one condition: fire 1 shot or fewer. Fire and Light asks for 4 shots or fewer. Both reward patience over speed. Take your time to line up a perfect shot rather than firing and adjusting.
| Mission | Condition | Gold Requirement |
|---|---|---|
| Calibration Fire | Shots fired | 1 or fewer |
| Fire and Light | Shots fired | 4 or fewer |
Liberation
Liberation is where the game stops holding your hand. Four medals, and the 30-or-less requisition threshold is effectively impossible on a first playthrough because cheaper shells haven't been authorized yet. Flag this one to revisit.
| Condition | Gold Requirement |
|---|---|
| Allies killed | 0 |
| Average accuracy | Best possible (see above) |
| Consecutive kill shots | 6 or more |
| Requisition spent | 30 or less |
Counter-Battery
The triple kill time window Gold requirement is listed as 10 seconds in the files, but a known typo means it may currently award Gold at up to 45 seconds. Take the easier window while it lasts.
| Condition | Gold Requirement |
|---|---|
| Triple kill time window | 10 seconds or less (possibly 45 due to typo) |
| Counter-battery time left | 260 seconds or more |
| Requisition spent | 30 or less |
| Enemies killed | 10 |
Iron Road
The kills-per-shot ratio of 2 with a minimum of 10 enemies killed is one of the steeper early requirements. You need multi-kill shots consistently, not just occasionally.
| Condition | Gold Requirement |
|---|---|
| Allies killed | 0 |
| Consecutive kill shots | 20 or more |
| Kills-per-shot ratio | 2 or higher (min. 10 kills) |
| Recons requisitioned | 0 (with enemy kill requirement) |
Siege of Cartagena
| Condition | Gold Requirement |
|---|---|
| Allies killed | 0 |
| Enemies killed | 15 |
| Recons requisitioned | 0 (with enemy kill requirement) |
| Requisition spent | 50 or less |
The Gorge
The Gorge's 30-enemy Gold threshold is one of the highest in the campaign. Combined with a kills-per-shot ratio of 2, you need almost every shell to be a multi-kill.
| Condition | Gold Requirement |
|---|---|
| Allies killed | 0 |
| Consecutive kill shots | 10 or more |
| Enemies killed | 30 |
| Kills-per-shot ratio | 2 or higher (min. 10 kills) |
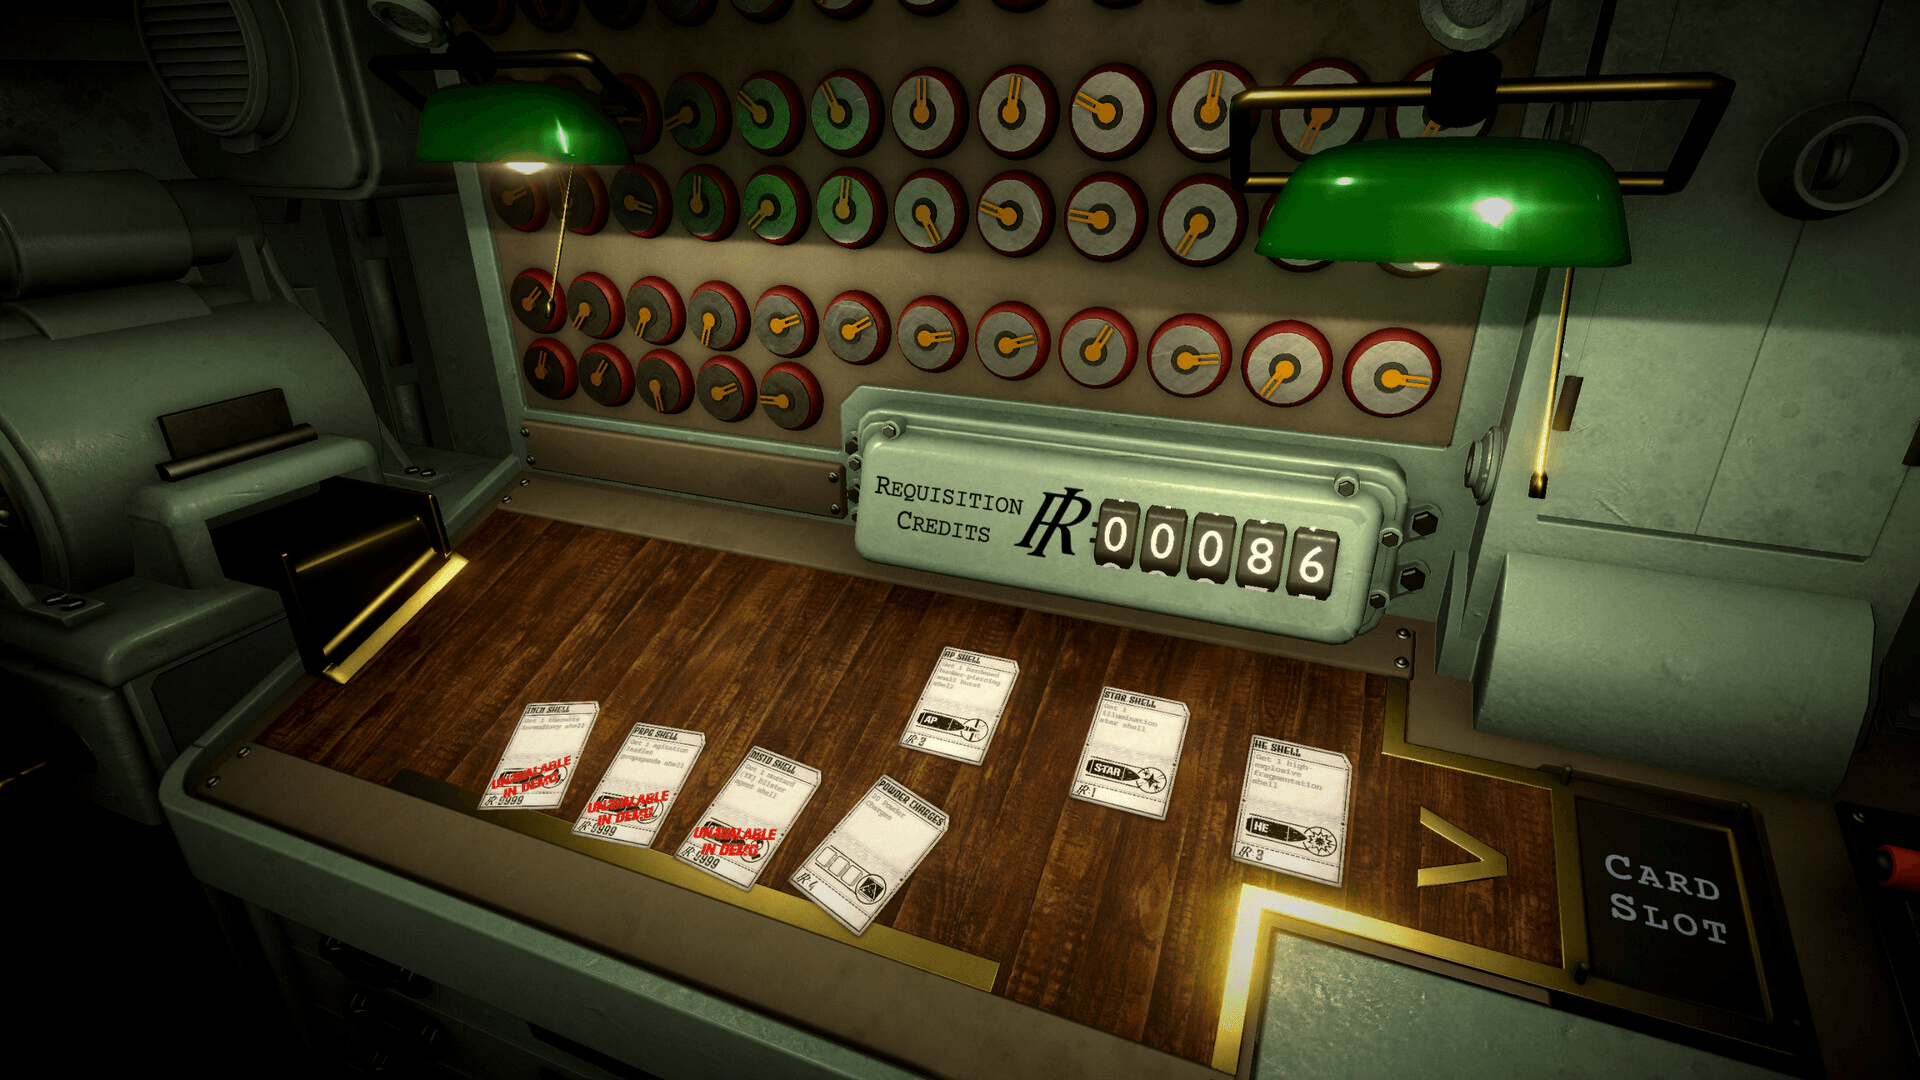
Iron Nest: Heavy Turret Simulator Guide: All Gold Medal Requirements
Rock of Gibraltar
Rock of Gibraltar has the tightest requisition ceiling in the game at 10 or less for Gold. That's essentially one or two DRIL shells maximum. Plan every spend carefully.
| Condition | Gold Requirement |
|---|---|
| Allies killed | 0 |
| Enemies killed | 2 |
| Recons requisitioned | 0 (with enemy kill requirement) |
| Requisition spent | 10 or less |
Dead Reckoning
| Condition | Gold Requirement |
|---|---|
| Allies killed | 0 |
| Consecutive kill shots | 6 or more |
| Enemies killed | 15 |
| Requisition spent | 30 or less |
Fire on Call
Fire on Call pushes enemy kill counts to 30 again while also demanding a 2:1 kills-per-shot ratio and a clean recon record. This is one of the most demanding four-condition missions in the campaign.
| Condition | Gold Requirement |
|---|---|
| Allies killed | 0 |
| Enemies killed | 30 |
| Kills-per-shot ratio | 2 or higher (min. 10 kills) |
| Recons requisitioned | 0 (with enemy kill requirement) |
High Tide
High Tide currently has the consecutive kill shots medal listed twice in the game files, which effectively means you have one fewer unique condition to meet. A quirk worth knowing.
| Condition | Gold Requirement |
|---|---|
| Consecutive kill shots | 6 or more |
| Triple kill time window | 10 seconds or less |
| Average accuracy | Best possible |
Blind Fire
| Condition | Gold Requirement |
|---|---|
| Requisition spent | 50 or less |
| Consecutive kill shots | 6 or more |
| Enemies killed | 20 |
| Recons requisitioned | 0 (with enemy kill requirement) |
Phantom Battery
Phantom Battery combines the counter-battery timer pressure with accuracy demands and a no-recon restriction. Staying accurate under that clock is the real test here.
| Condition | Gold Requirement |
|---|---|
| Recons requisitioned | 0 (with enemy kill requirement) |
| Enemies killed | 9 |
| Average accuracy | Best possible |
| Counter-battery time left | 260 seconds or more |
Final Harvest
Final Harvest is the hardest campaign mission for Gold. The 50-second first-shot window means you need to be loading before the mission fully loads in. Thirty enemy kills and a clean recon record on top of that makes this the most demanding run in the game.
| Condition | Gold Requirement |
|---|---|
| Allies killed | 0 |
| Recons requisitioned | 0 (with enemy kill requirement) |
| Enemies killed | 30 |
| Seconds until first shot | 50 seconds or less |
What are the skirmish Gold medal requirements?
The two skirmishes have their own medal sets, and one of them flips the usual requisition logic entirely.
Skirmish: Challenge (Counter Battery Timer)
| Condition | Gold Requirement |
|---|---|
| Recons requisitioned | 0 (with enemy kill requirement) |
| Seconds until first shot | 50 seconds or less |
| Kills-per-shot ratio | 1.5 or higher (min. 20 kills) |
| Consecutive kill shots | 20 or more |
Skirmish: Chill (Uncontested Front)
The Chill skirmish requires spending 600 or more requisition, which is the opposite of every other spending medal in the game. There's also a unique condition requiring at least one shell to kill 5 or more enemies in a single impact.
| Condition | Gold Requirement |
|---|---|
| Kills-per-shot ratio | 1.5 or higher (min. 20 kills) |
| Consecutive kill shots | 20 or more |
| Requisition spent | 600 or more |
| Kills with a single shell | 5 or more |
Iron Nest: Heavy Turret Simulator Guide: All Gold Medal Requirements
General strategies for Gold medal runs
A few principles apply across almost every mission in the game.
Prioritize zero ally kills above everything else. Friendly fire is the most common reason players miss Gold on multi-condition missions. Slow down before firing near allied positions, even if it costs you a streak.
Build kill streaks by planning shot order, not reacting to it. Consecutive kill shots reset on any non-lethal fire. Map out which targets you can one-shot before the mission starts, and prioritize those in sequence.
Return to earlier missions after unlocking new shell types. Liberation's 30-requisition cap and Rock of Gibraltar's 10-requisition cap are designed around shells that aren't available on a first pass. This is intentional, not a difficulty spike.
For accuracy-tracked missions, treat every shot as a commitment. Once you understand that average accuracy may measure miss distance rather than hit percentage, the goal shifts from "hit more" to "never fire unless you're confident."
For more on the game's systems and hidden mechanics, the full Iron Nest: Heavy Turret Simulator strategy guides cover everything from elevation mechanics to shell selection. If you're also working through the cat customization system alongside your medal runs, the Iron Nest cat guide has everything you need. Iron Nest sits in a niche alongside other demanding puzzle games that reward methodical thinking over reflexes, and the medal system is exactly that kind of test.