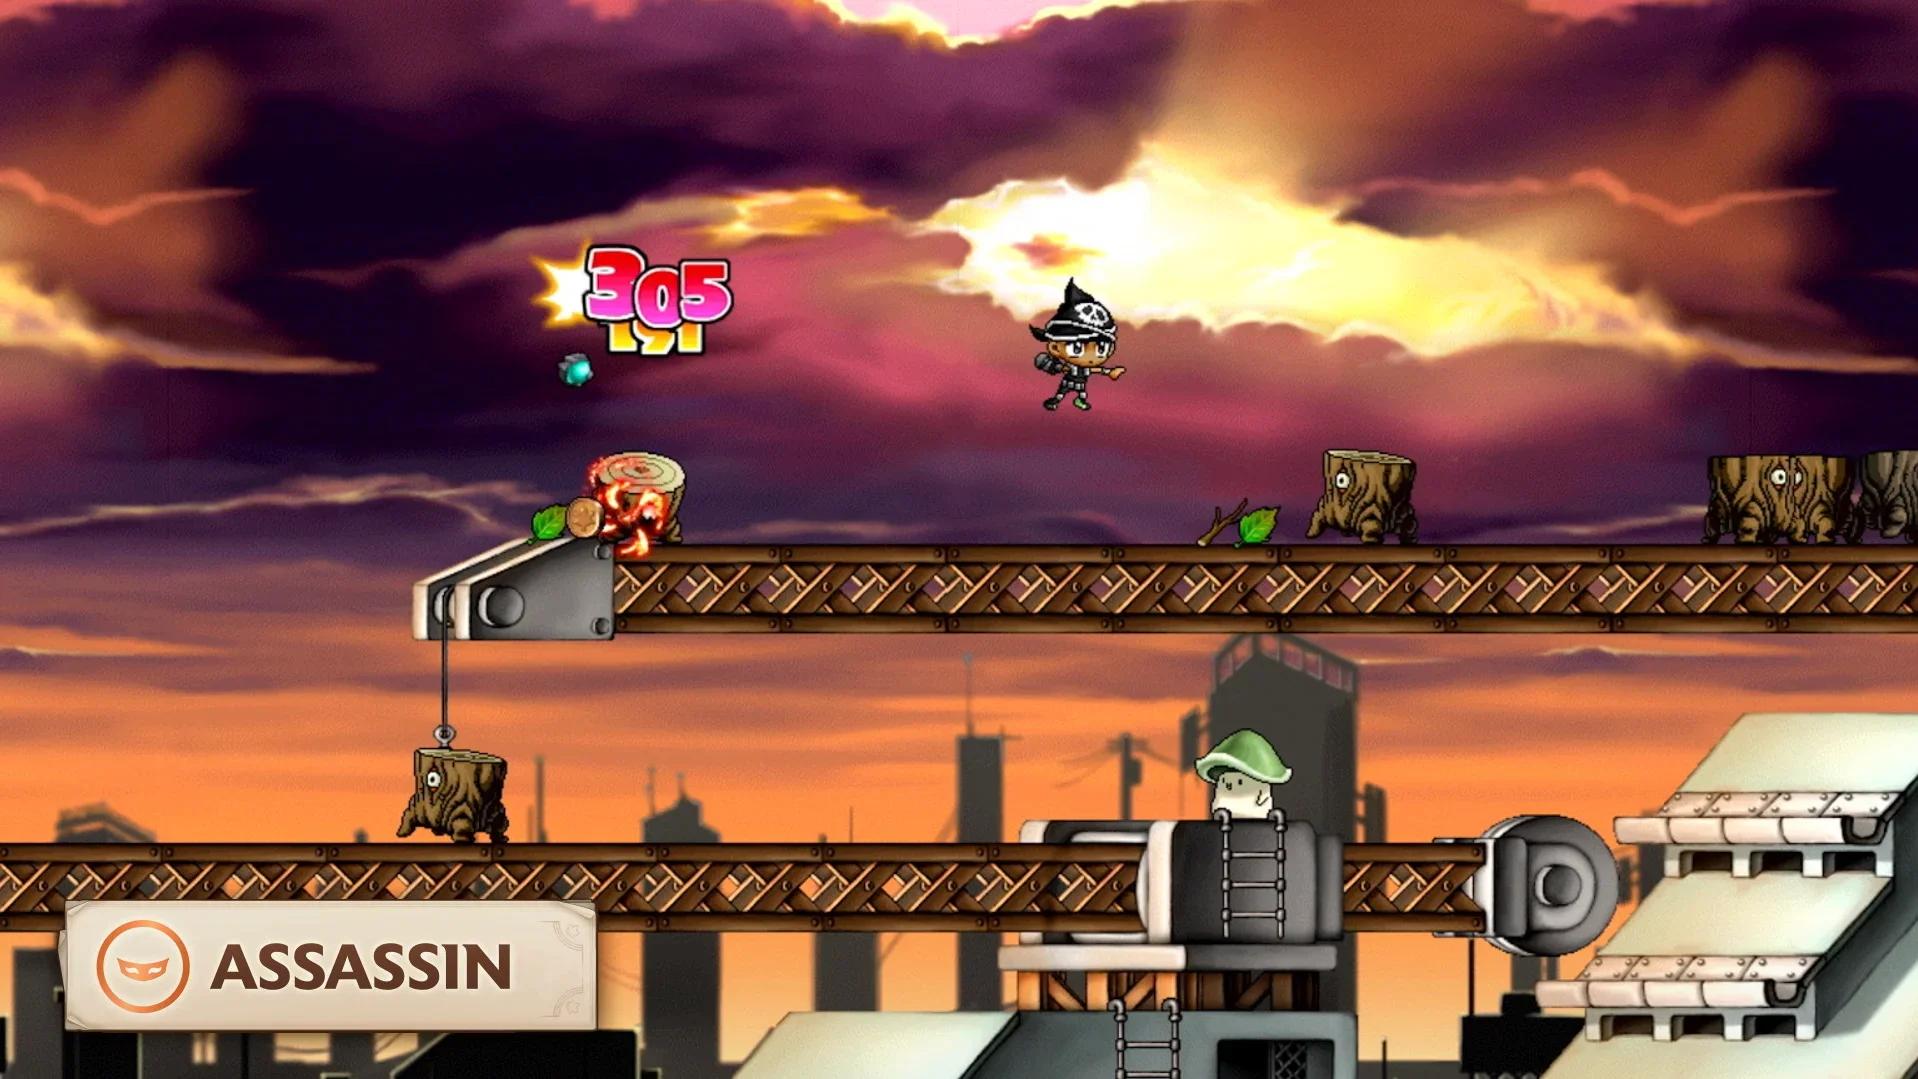

Your Assassin skill build in MapleStory Classic World should keep Lucky Seven at the center, even after the level-30 advancement. Your first second-job points improve the attack you already use: add Haste 1, reach Claw Mastery 5, and unlock Claw Booster 1. After that, Mastery-first and Critical Throw-first are both workable routes. The better order depends on what's interrupting your training: damage, movement, or supplies. This guide separates first-job preparation from Assassin SP, then explains the skill blocks, recovery trade-offs, and equipment checks that keep your build affordable.
What is the recommended Assassin skill build?
Start with Haste 1, Claw Mastery 5, and Claw Booster 1, using 7 Assassin SP in total. This gives you movement, access to Booster, and a foundation for either damage route. Claw Mastery 3 unlocks Critical Throw, while Claw Mastery 5 unlocks Booster.
For a straightforward default, finish Claw Mastery, max Critical Throw, and then finish Haste. Move Haste earlier if reaching platforms or collecting drops is taking too much time between attacks.
Choose your next skill block
After the initial 7 SP, choose the block that addresses your current training problem:
| Route | Next investment | Checkpoint after that block | Reason to choose it |
|---|---|---|---|
| Mastery-first | Add 15 SP to Claw Mastery | Mastery 20, Critical Throw 0, Haste 1, Booster 1 | Gain Attack Power and improve star retrieval |
| Critical Throw-first | Add 30 SP to Critical Throw | Mastery 5, Critical Throw 30, Haste 1, Booster 1 | Develop critical damage before finishing Mastery |
| Earlier Haste | Add 19 SP to Haste | Mastery 5, Critical Throw 0, Haste 20, Booster 1 | Reduce movement interruptions and help nearby party members |
Maximum Critical Throw grants +15% Critical Rate and +35% Critical Damage. If you choose it first, finish the remaining 15 Mastery ranks afterward. Both damage routes reach the same allocation at 52 total Assassin SP: Mastery 20, Critical Throw 30, Haste 1, and Booster 1.

Plan your second-job skill blocks
Follow the default route by cumulative SP
The Mastery-first route works in these blocks:
- SP 1: Learn Haste 1.
- SP 2-6: Raise Claw Mastery to 5.
- SP 7: Learn Claw Booster 1.
- SP 8-22: Finish Claw Mastery at 20.
- SP 23-52: Raise Critical Throw to 30.
- SP 53-71: Finish Haste at 20.
- SP 72-73: Raise Claw Booster to 3.
At 73 total Assassin SP, this route has Mastery 20, Critical Throw 30, Haste 20, and Booster 3. Critical Recovery and Drain still have no points. Your next choice is recovery access or further investment in Booster's duration and upkeep.
Why do Mastery, Booster, and Haste need different priorities?
Claw Mastery, Claw Booster, and Haste solve different problems. Mastery adds damage and ammunition efficiency, Booster improves attack speed immediately at rank 1, and Haste reduces time spent moving. Treating all three as skills that must be maxed immediately misses what their early ranks already provide.
Claw Mastery does not narrow Lucky Seven's damage range
Lucky Seven uses fixed 50% mastery. Raising Claw Mastery does not tighten Lucky Seven's damage range, even though Mastery's name makes that an easy assumption.
Mastery still matters. At rank 20, it grants +20 Attack Power and a 25% chance to retrieve used throwing stars. Attack Power is separate from your claw's Weapon Attack, so that bonus is not equivalent to adding 20 W.ATK to the weapon.
For an expectation example, 100 Lucky Seven casts throw 200 stars. A 25% retrieval rate corresponds to about 50 returned stars and 150 net used. Actual returns vary, so pack enough ammunition without depending on that exact result. When checking consumption afterward, your inventory difference already includes retrieved stars.
Claw Booster gives its speed benefit at rank 1
Claw Booster 1 already provides its 2-stage attack-speed increase. Later ranks improve duration and reduce the HP and MP cost, rather than adding more speed stages.
| Claw Booster rank | Attack-speed effect | Duration | Cost per activation |
|---|---|---|---|
| 1 | 2 stages | 100 seconds | 30 HP and 30 MP |
| 20 | 2 stages | 300 seconds | 10 HP and 10 MP |
This makes Booster 1 an efficient early unlock. You can develop Critical Throw or Haste while retaining the same speed-stage effect, then return to Booster when frequent refreshes or activation costs become inconvenient.
Bring Haste forward when movement is the problem
Haste 1 grants +10 Speed and +1 Jump for 100 seconds. Haste 20 grants +30 Speed and +10 Jump for 300 seconds, affecting nearby party members as well as you.
That 19-SP upgrade is valuable when platform changes, looting, or keeping up with your party repeatedly interrupt Lucky Seven. If another party member already supplies the movement buff you need, developing damage first becomes easier to justify.
If you enjoy positioning-heavy action games, Assassin rewards that attention to spacing. Inside 65 pixels, your claw punches instead of throwing stars. Keep enough distance to maintain your ranged attack, especially because Assassin has no area-damage attack during second job.
What should you finish before becoming an Assassin?
The second-job build assumes you arrive at level 30 with Lucky Seven developed and enough throwing range to train comfortably. During levels 10-30, your first-job plan has 61 SP to distribute.
Complete the first-job throwing build
Start with 1 SP in Lucky Seven so you have your throwing attack. Develop Keen Eyes for range and Nimble Body for accuracy and avoidability while making Lucky Seven 20 your early damage priority. Finish with this allocation:
| First-job skill | Target rank | Role in the Assassin path |
|---|---|---|
| Lucky Seven | 20 | Main ranged attack that continues through second job |
| Keen Eyes | 15 | Longer throwing range and safer positioning |
| Nimble Body | 15 | Accuracy and avoidability |
| Disorder | 3 | Utility investment alongside the Dark Sight route |
| Dark Sight | 8 | Travel utility that prevents contact damage |
| Total | 61 SP | Completed first-job allocation |
Dark Sight is useful when crossing crowded routes such as the Ant Tunnel. It supports travel; Lucky Seven remains the attack your Assassin build develops around.
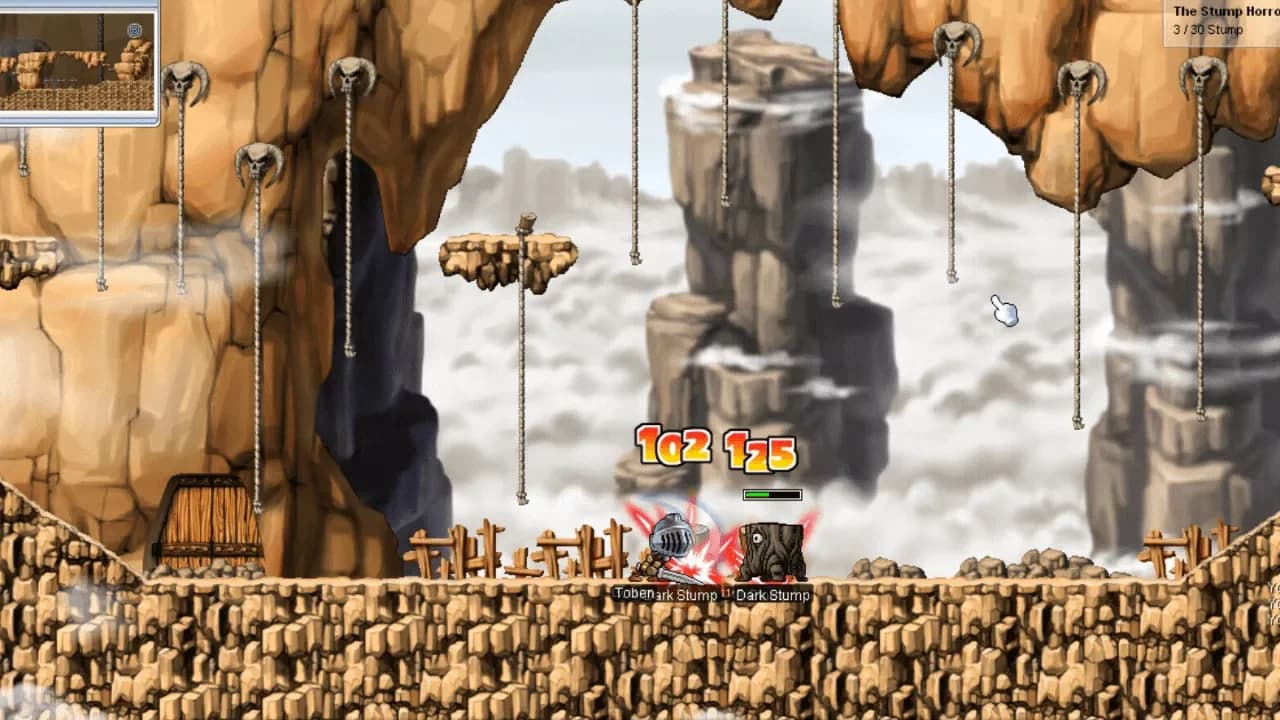
Finish the first-job throwing build
Complete the level-30 advancement
Your path begins with the Dark Lord in Kerning City at level 10, when you become a Thief. At level 30, complete the second-job test:
- Speak with Dark Lord to receive his letter.
- Take it to the Thief Job Instructor at Construction Site North of Kerning City.
- Complete the test by collecting 30 Dark Marbles.
- Return with The Proof of a Hero and choose Assassin.
When should you invest in Critical Recovery and Drain?
Bring recovery forward when HP or MP consumption is limiting your trips. Neither Critical Recovery nor Drain guarantees immediate healing, so keep normal potions available while developing them.
Critical Recovery needs a critical hit and an available cooldown
Critical Recovery can restore both HP and MP after a qualifying critical hit. Once it activates, another recovery cannot occur for 30 seconds.
| Critical Recovery rank | Trigger chance on a qualifying critical | HP restored | MP restored |
|---|---|---|---|
| 1 | 20% | 1% of Max HP | 1% of Max MP |
| 20 | 100% | 10% of Max HP | 10% of Max MP |
The rank-20 effect is substantial, but it is not healing on every critical hit. The 30-second lockout, time without critical hits, and full resource bars all limit how much recovery you actually receive.
For example, a character with 1,200 Max HP and 800 Max MP can recover 120 HP and 80 MP from an eligible rank-20 activation, provided that much is missing. The skill does not automatically deliver those amounts every 30 seconds.
Drain access costs 4 SP, but its maximum effect costs much more
Critical Recovery 3 unlocks Drain. Starting with neither skill, reaching Recovery 3 and Drain 1 takes 4 Assassin SP. That gives you access to Drain, not its maximum-rank performance.
At Drain 30, the attack has these values:
- Costs 28 MP.
- Deals 240% damage.
- Has a 12% chance to absorb 15% of damage dealt as HP.
- Caps a single absorption at 25% of your Max HP, without exceeding the target's Max HP.
A successful Drain hit can still return no HP. Compare its MP use and the casts needed to finish a target against Lucky Seven before making it a regular part of your training. An HP potion remains the reliable answer when you need health immediately.
How should you allocate AP and fund the build?
Put AP into LUK after meeting the requirements of the equipment you intend to wear. Add DEX for those requirements rather than following a fixed DEX increase at every level.
Check the equipment swap before spending AP
Adamantium Guards require a level-30 Thief with 30 DEX and 65 LUK. Check those requirements after accounting for the stats you lose by removing your old equipment. A claw sitting in your inventory cannot provide the bonus needed to equip itself.
Compare the finished replacement's Weapon Attack, speed, useful stats, and requirements with your current claw. A higher required level alone is not enough reason to spend mesos. For example, Meba has 19 W.ATK and Very Fast (3) speed, while Adamantium Guards have 23 W.ATK and +1% Critical Damage. Evaluate the full item rather than its level label.
Separate stronger stars from additional ammunition
Claw W.ATK and throwing-star W.ATK add together. Subi Throwing Stars provide +15 W.ATK, while Kumbi Throwing Stars provide +21 W.ATK. Stronger stars improve attack; extra sets increase how much ammunition you can carry.
Before buying more stars, recharge the sets you already own. Then check what actually sends you back to town:
| Training problem | Check before spending | Purchase or adjustment to consider |
|---|---|---|
| Stars run out first | Whether every owned set was recharged | More ready ammunition capacity |
| MP runs out first | Lucky Seven and Booster consumption | More MP supplies or a recovery investment |
| Enemies take too many casts | Misses, positioning, and current damage | A more suitable target or a meaningful damage upgrade |
| Travel repeatedly interrupts attacks | Platform changes and party movement | Earlier Haste investment |
Keep mesos reserved for recovery items, recharging, and the return trip before buying optional equipment. A stronger claw does little for your next session if you cannot afford to keep Lucky Seven running.
What should you check on your next training trip?
Use a normal Lucky Seven session to decide which skill block comes next. Kerning City Subway 1-1 is a training option during levels 15-25, while Kerning City Party Quest covers levels 21-30. After advancement, The Land of Wild Boar II and Ant Tunnel Park are solo options within the level 30-50 route.
Before leaving town, make these checks:
- Record your current Assassin ranks, especially Mastery, Booster, and Haste.
- Recharge your stars and note the starting quantity.
- Pack HP and MP items, including enough for Booster upkeep.
- Watch for misses and enemies entering the 65-pixel close-hit range.
- On return, compare actual potion and star use before choosing your next purchase or SP block.
Keep Lucky Seven effective, then spend Assassin SP on the problem that costs you the most training time. For more progression help beyond this build, browse the MapleStory guide collection.