


The Seer is the most demanding class in Mistfall Hunter and arguably the most rewarding when played correctly. This is a pure support class built around keeping your team alive, disrupting enemy movement, and controlling space with runes. Played in Trios, the Seer becomes nearly essential in the current meta. Played solo, it struggles badly, and this guide will be honest about that tradeoff. If you want to be the player your team can't win without, here's exactly how to build it.
Seer class overview: what does it actually do?
The Seer sits firmly in the support and healing role. Its kit revolves around summoning Constructs called runes at target locations, each providing a different utility effect for your team or a disruption effect against enemies. Healing, shielding, stealth, movement control, and damage all live somewhere in the Seer's toolkit, but the class is not designed to carry fights on its own.
Here's the honest breakdown of playing this class:
Strengths:
- Multiple team support options across healing, shielding, and movement
- Heals from the Healing Rune scale with your Attack stat, rewarding investment
- Can operate entirely from range on the Reverent skill path
- Two distinct playstyle routes: Reverent (ranged/support) and Blasphemer (melee/aggressive)
Weaknesses:
- Very low personal DPS, completely dependent on teammates to deal damage
- Poor survivability when enemies close the gap
- Casting times at lower levels are slow enough to get you killed
- Requires active coordination with allies to get full value from rune placement
Which school should you pick: Reverent or Blasphemer?
The Seer splits into two schools at a certain progression point. Reverent keeps you at range, using Catalyst skills and rune placement to support the team. Blasphemer shifts you into melee range with a Mace, trading the support toolkit for more personal combat ability.
For Trios, Reverent is the correct choice. The Blasphemer path forces you into close quarters where the Seer's low survivability becomes a serious liability. The melee-focused Mace skills can work in solo if you want to experiment, but in team play the Reverent school's rune toolkit provides far more consistent value.
Best Seer build for Trios
This build is built entirely around the Reverent school and targets both PvP and PvE effectiveness in Trios. Every skill choice here has been tested specifically for team play.
Core rune pillar skills
These three runes form the backbone of the build.
Punishment Rune is your default damage option. Drop it near enemies and it will continuously deal Magic Damage to the lowest-health target in range, with bonus priority on enemy players. It also becomes more durable in Trios mode, meaning it survives longer before enemies destroy it.
Windwalker Rune unlocks at level 7 and is arguably the most impactful rune in the entire kit for team fights. Allies inside its range gain increased dodge distance while enemies inside it have their dodge distance reduced. Dodge is one of the primary mechanics that decides team fight outcomes right now, so this rune directly swings engagements in your favor.
Binding Rune handles movement control. Enemies that break out of its range become Immobilized and lose the ability to jump for a period. Each successful bind against an enemy player also restores your Psionic Energy, which keeps your other skills cycling.
Core Divine Arts skills
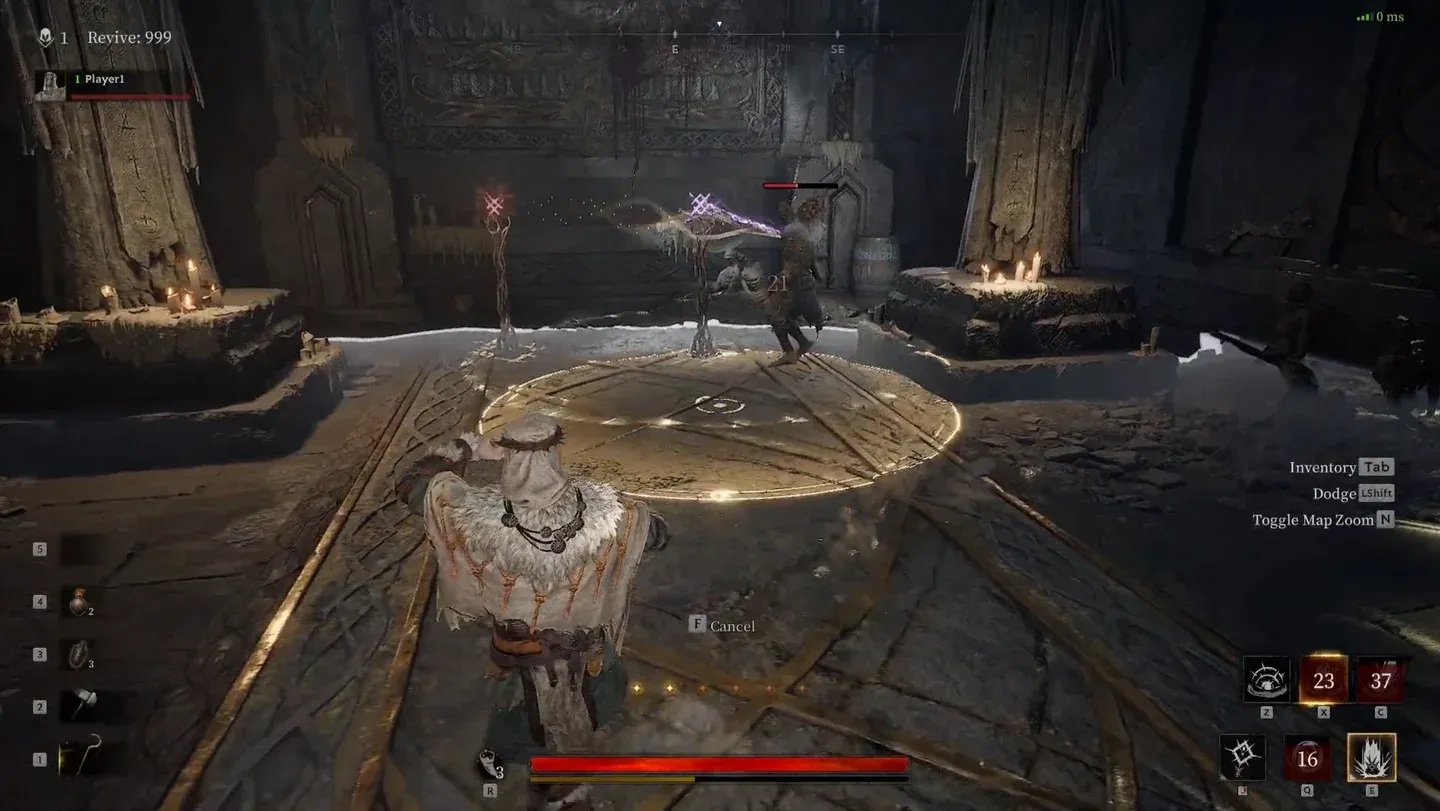
Death Ward is the standout skill in this slot. It grants the target Super Armor, protecting them from staggers and negative effects, and prevents them from being defeated for a short window. The skill auto-targets your nearest ally, which makes it fast to deploy in emergencies. If your team runs a Shadowstrix or a Sorcerer, this skill becomes even more powerful since those classes rely on maintaining their casting or positioning windows. Check out the best Shadowstrix build and best Sorcerer build to see exactly why Death Ward pairs so well with them.
Healing Art covers emergency health restoration for individual allies. Note that it cannot target downed players, so use it proactively before someone drops rather than as a last-second save.
Talent selections
These six talents work together to amplify the core loop of the build.
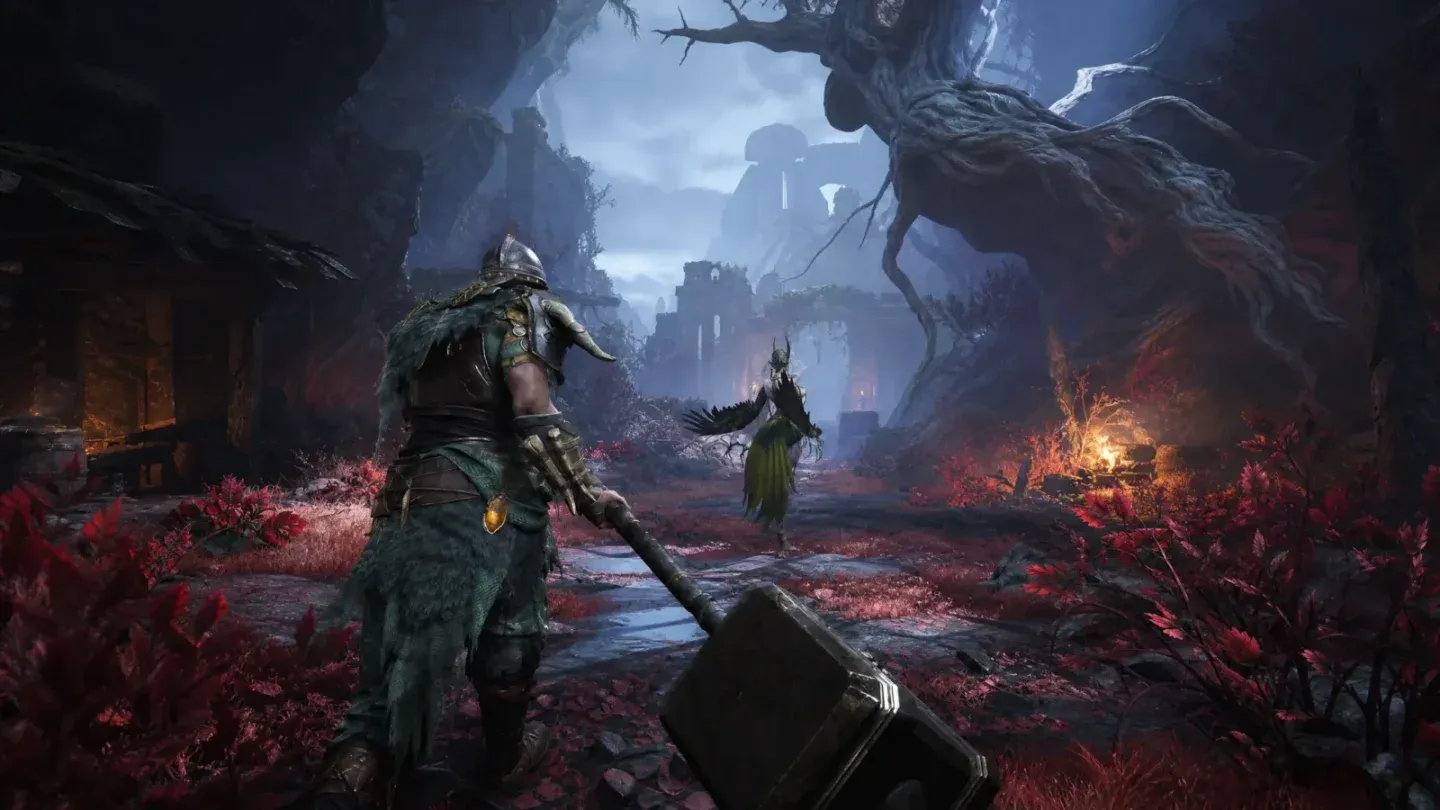
The Rigidity and Binding Rune combination is worth calling out specifically. Normally a player can simply walk out of the Binding Rune's range to break the link. With Rigidity equipped, that escape attempt immediately Stuns them, turning a failed bind into a guaranteed CC window for your team to capitalize on.
Leverage stacks directly on top of the Windwalker Rune's base effect. Allies already dodge farther inside the rune's area, and Leverage adds dodge energy recovery on top of that. In a sustained team fight, this effectively means your allies can dodge more frequently and cover more distance each time.
Seer Reverent talent selections
Weapon affixes
These four affixes round out the build and push it toward its full potential.
Eloquence deserves extra attention. The Seer's biggest weakness at lower levels is getting interrupted mid-cast. Once Eloquence reaches the threshold where minor impacts can no longer interrupt your chants, your reliability in fights improves dramatically. Getting this affix to that level should be a priority.
Complete Seer skill reference
Below is the full list of Catalyst skills available to the Seer for players who want to experiment beyond the recommended build.
Death Ward Super Armor activation
The Mace skills under the Blasphemer school are not part of this build, but they are available if you want to experiment with a solo-focused approach. Skills like Rune: Drain (heals based on damage dealt), Shapeshift (movement speed boost with stagger immunity), and Paralysis Curse (stacks Stun on repeated hits) give the Blasphemer path genuine solo viability that the Reverent school simply cannot match.
How does the Seer fit into a Trios team composition?
The Seer works best as a third-slot pick after your team has secured a frontline damage dealer and a mobile skirmisher. A composition of Shadowstrix (or another aggressive melee class) plus a ranged damage dealer gives the Seer the most to work with. Your job is to stay behind both of them, drop Windwalker Rune before engagements, place Binding Rune to cut off escape routes, and fire Death Ward the moment a teammate gets in trouble.
The Seer is not a passive healer who sits back and watches. Rune placement requires reading the fight and anticipating where enemies will move. Binding Rune in particular needs to be placed where enemies are heading, not where they already are.
For a broader look at how all six classes stack up against each other, the Mistfall Hunter class tier list breaks down every option for PvP, solo, and Trios play.
For more guides covering every class and mechanic in the game, the full Mistfall Hunter guide collection has everything you need to build out your roster.