
The skull beside a monster's minimap icon is your cue to stop swinging and start setting a trap. In Monster Hunter Wilds, capturing means weakening your target, catching it with a Shock Trap or Pitfall Trap, and applying tranquilizers. The tricky part is changing tactics before your next combo, or your Support Hunters, finishes the job. Pack your capture supplies in the Item Pouchbefore leaving camp, and check the quest objective so a planned capture doesn't become an accidental slay.
How do you capture monsters step by step?
A successful capture needs a weakened monster, an activated trap, and enough tranquilizers. Follow this sequence:
- Fight until the monster is ready for capture. Watch for a skull beside its minimap icon, your Palico's low-health warning, or the other signs below.
- Stop attacking and dismiss Support Hunters. Their damage can kill the target while you're preparing supplies.
- Place a Shock Trap or Pitfall Trap in the monster's path, preferably after it arrives in a new area.
- Draw the monster across the trap. Stand on the opposite side and use a Luring Pod through your Slinger to get its attention. A single attack can also attract it.
- Apply tranquilizers once the trap activates. Approach the monster and use Tranq Bombs, Tranq Ammo, or a Tranq Blade until the capture completes.

How can you tell a monster is weak enough?
The clearest signal is the skull icon beside your target on the lower-left minimap. You also have several other cues:
- Your Palico comments that the monster is looking weak.
- A notification on the right side of the screen suggests using traps.
- The monster limps away and may rest after reaching another area.
- Yian Kut-Ku lowers the frills around its head when severely wounded.
Once these signs appear, switch to your capture items. Continuing a full damage rotation risks killing the monster before you can trap it.
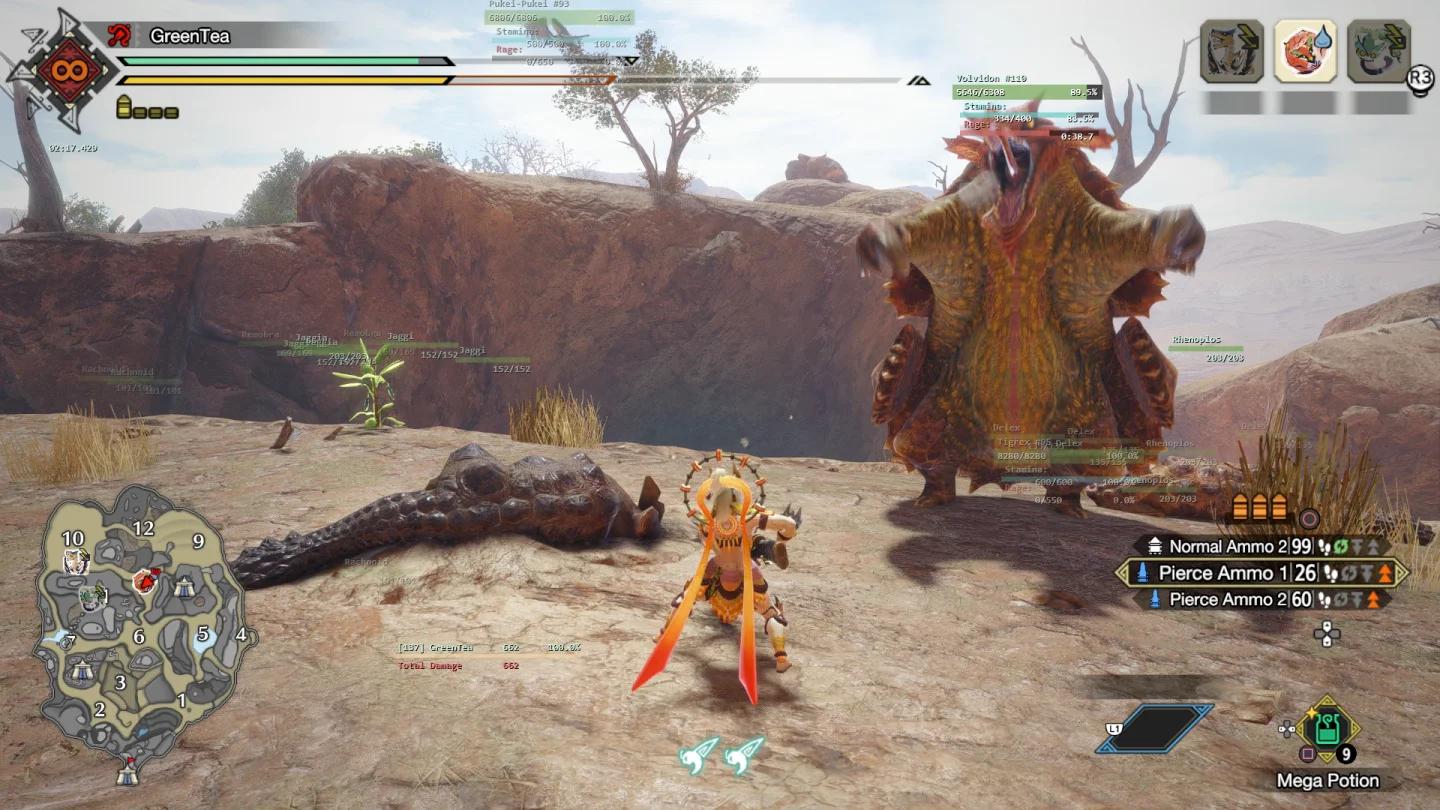
Read the low-health capture cue
Where should you place the trap?
Set your trap shortly after the monster enters a new area. This reduces the chance of it immediately leaving again. Position yourself so the trap sits between you and the target, then attract its attention with a Luring Pod or an attack.
A limping monster may settle down to rest. Follow it, prepare your trap nearby, and draw it onto the trap rather than spending its remaining health on unnecessary hits.
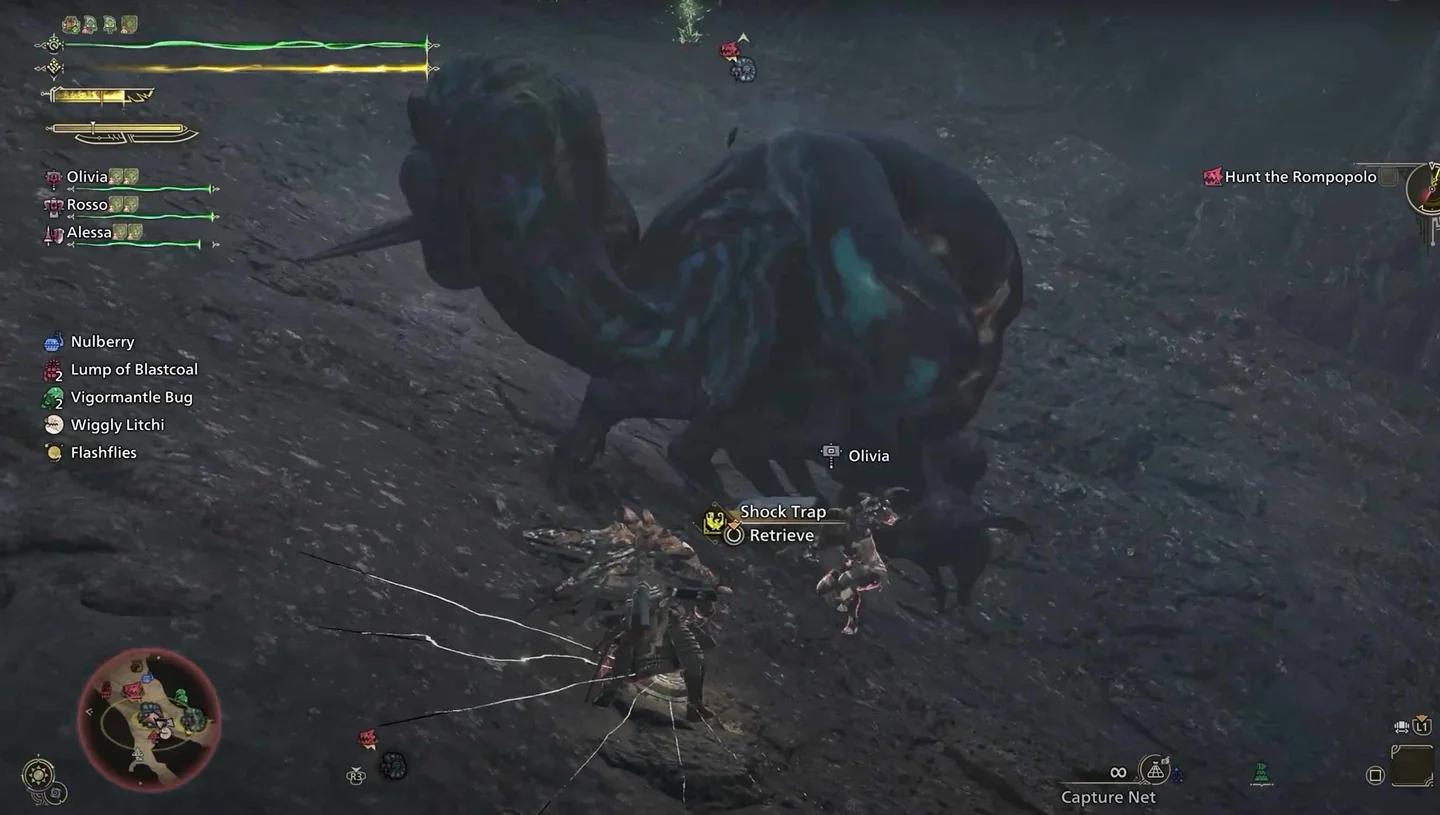
Keep the trap between you both
How many Tranq Bombs do you need?
Usually, 2 Tranq Bombs are enough for a sufficiently weakened, trapped monster. Carry several so you have supplies for another attempt. Tranq Ammo and Tranq Blades serve the same purpose, but require a few shots or strikes rather than bomb uses.
If the capture doesn't complete, check that the monster is still trapped and was weak enough when you started. A trap alone won't finish the capture, and tranquilizers won't compensate for a target that still has too much health.
What should you bring for a capture?
For a straightforward capture kit, pack a Shock Trap, a Pitfall Trap, several Tranq Bombs, and the materials needed to craft replacements. Keep the finished items in your Item Pouch, not just in storage at camp.
Trap and tranquilizer recipes
Buy Trap Tools at the Provisions Shop in any Base Camp. You can then craft your capture supplies at your tent.
| Item | Recipe | Purpose |
|---|---|---|
| Shock Trap | 1 Trap Tool + 1 Thunderbug Capacitor | Holds a monster for tranquilizing |
| Pitfall Trap | 1 Trap Tool + 1 Net | Alternative trap for holding a monster |
| Net | 1 Ivy + 1 Spider Web | Crafting material for a Pitfall Trap |
| Tranq Bomb | 1 Sleep Herb + 1 Parashroom | Applies tranquilizer at close range |
| Tranq Ammo | 1 Tranq Bomb + Normal Ammo | Applies tranquilizer through ammunition |
| Tranq Blade | 1 Tranq Bomb + Throwing Knife | Applies tranquilizer through knife attacks |
Normal Ammo and Throwing Knives are available in unlimited supply. For your first capture, Tranq Bombs keep the preparation simple because you don't need to turn them into another item.
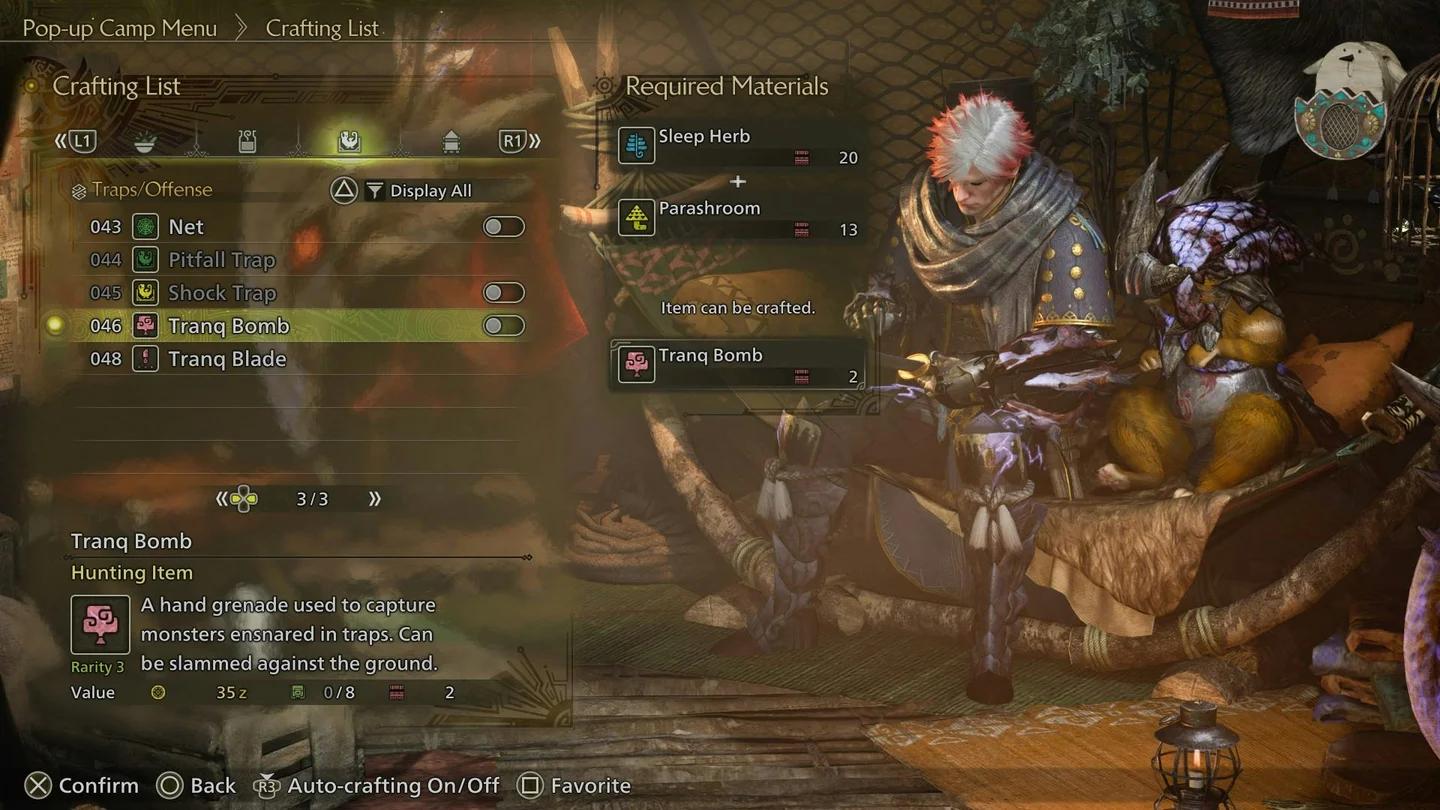
Prepare your capture supplies
Which trap should you use?
Monster susceptibility varies between Shock Traps and Pitfall Traps. Most monsters can be held by either, but one may provide a longer window to apply tranquilizers. Carrying both gives you another option if your first attempt goes wrong.
EZ Shock Traps and EZ Pitfall Traps work like their normal counterparts. The EZ label identifies free mission supply items, not a different trapping mechanic.
Where do you find the crafting materials?
Gather these ingredients while exploring, and check mission supplies for useful capture items:
- Sleep Herb: Windward Plains, Scarlet Forest, and Iceshard Cliffs.
- Parashroom: Windward Plains, Scarlet Forest, Oilwell Basin, and Ruins of Wyveria.
- Thunderbug Capacitor: Catch Thunderbugs with your Capture Net in Windward Plains or Ruins of Wyveria.
- Ivy: Windward Plains, Scarlet Forest, and Ruins of Wyveria.
- Spider Web: Scarlet Forest, Oilwell Basin, and Iceshard Cliffs.
After completing Chapter 3 and unlocking High Rank, Nata can arrange supplies as a Village Intermediary. Choose Material Retrieval, set the items you want, and check back for what the regional traders have gathered.
Is capturing better than slaying?
Capturing is useful for the material grind in this RPG: you still receive monster materials and regular quest rewards while ending the fight before the monster dies. Some quests specifically require a capture, so the objective takes priority over your preferred approach.
| Consideration | Capture | Slay |
|---|---|---|
| How you finish | Weaken, trap, and tranquilize | Defeat the monster through damage |
| Monster materials and quest rewards | Received after capture | Received after the kill |
| Carving the body | Unavailable | Available |
| Capture supplies | Trap and tranquilizers required | Not required to finish the hunt |
The main reward trade-off is carving: a captured monster has no carcass for you to carve. Check the current in-game Field Guide for the monster parts you're chasing before deciding how to finish your farming runs.
A capture also avoids the remaining stretch of combat once the monster is weak enough. That makes it a useful option when you're running short on resources or already have multiple carts, provided the quest allows it.
For equipment progression after your material runs, use our Update 4 guide.
How do you stop allies from killing the target?
Dismiss Support Hunters before trapping
Once the monster is weak, open the main menu and go to Missions & Quests, then Support Hunter Info. Remove the AI hunters before setting up the capture.
Coordinate captures in multiplayer
Respect the quest host's choice between capturing and slaying. Use voice chat, stickers, or Shoutouts to communicate a capture plan before the monster reaches low health.
If another player places a Shock Trap or Pitfall Trap, ease off your attacks and prepare tranquilizers. A trap is your cue to help with the capture rather than squeeze in another damaging combo.
How do you capture Endemic Life instead?
Endemic Life uses a different tool: the Capture Net, an Essential Item received from Jack at Windward Plains Base Camp during Chapter 1-2, "Village of Whispering Winds." This is separate from the crafted Net used in Pitfall Trap recipes.
To catch a small creature:
- Equip the Capture Net through the Item Bar or Radial Menu.
- Hold the right mouse button or LT to aim.
- Wait for the rectangular reticle to turn orange, showing that the creature is within range.
- Press the left mouse button or RT to fire the net.
The Capture Net can also catch fish when they're close enough. Catching Thunderbugs with it supplies the Thunderbug Capacitors needed for Shock Traps.
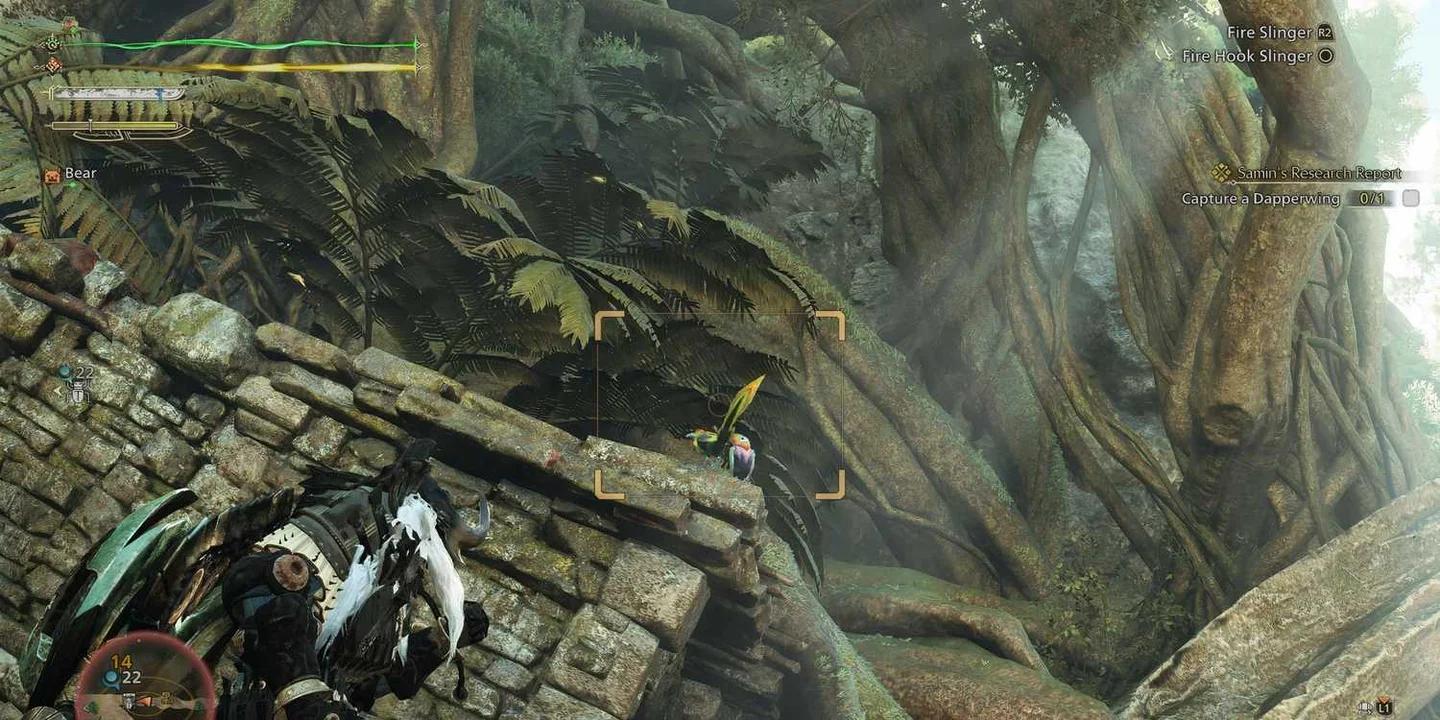
Wait for the orange net reticle
What if your Capture Net is missing?
Open Check Pouches and select Item Pouch. Find the Capture Net icon on the left side. A red cross means the item is hidden from the Item Bar; select the icon to make it visible again.
For radial access, select the Essential Items group in the Radial Menu. If that group isn't present, open Customize Radial Menu to adjust your groups.
Pack both trap types and several Tranq Bombs, then stop dealing damage when the skull or Palico warning appears. For your next hunt, use our Monster Hunter Wilds strategy guides to plan the rest of your preparation.