
A strong Monster Hunter Wilds build starts with what your weapon needs, not matching armor. Great Sword benefits from shorter charge times, Dual Blades need stamina management, and Gunlance shells cannot crit. Those differences should decide where your skills go. At endgame, Gogmazios α, Arkveld γ, and Gore Magala provide strong foundations, while Gogma Artian weapons add more ways to combine bonuses. This guide covers priorities for all 14 weapons, useful armor pairings, and safer alternatives. Recommendations reflect Title Update 4's elemental changes and include Arkveld γ; later balance updates can change those priorities.
How do you make a strong Monster Hunter Wilds build?
Choose your weapon's core skills first, combine armor pieces for useful set bonuses, and use decorations and talismans to complete the package. Then check elemental resistances and defensive utility against your target. Focus for Great Sword and Artillery for Gunlance solve different problems, so one universal skill setup will not suit every weapon.
Armor selection also depends on the decorations and talismans you actually own. A full Lagiacrus set can provide Azure Bolt II, but committing four pieces limits your other skill choices. A mixed set gives you more control over which bonuses and slots make the final loadout.
Progression works differently from many RPG games: equipment upgrades drive your strength, while Hunter Rank opens access to quests, monsters, and gear. Build for the equipment you can craft now, then work toward the endgame combinations below.

What should you prioritize first?
Use this order when assembling or adjusting a loadout:
- Weapon-specific skills: Start with skills such as Quick Sheathe, Horn Maestro, or Load Shells that support your weapon's mechanics.
- Damage direction: Choose the relevant elemental attack skills for an elemental setup, or attack and affinity skills for an appropriate raw-focused setup.
- Armor bonuses: Combine pieces around targets such as Gogmapocalypse, Black Eclipse, or Burst Boost.
- Decorations and talismans: Fill the remaining gaps while checking the slot levels available on each piece.
- Hunt-specific survival: Review elemental resistances and consider options such as Guts (Tenacity) or Super Recovery for difficult quests.
Check monster weaknesses in your Hunter Journal before choosing an elemental attack skill. Fire Attack and Dragon Attack belong in builds using their respective elements, not every loadout with spare space.
Which armor is best for mixed builds?
Gogmazios α is a strong starting point for elemental mixed sets, Arkveld γ combines offensive skills with Guts access, and Gore Magala remains a dependable affinity option. Their value comes from the skills and bonuses they contribute to a combination, rather than a requirement to wear the entire set.
| Armor | Main reason to use it | Trade-off to check |
|---|---|---|
| Gogmazios α | Chest, arms, and waist support mixed bonuses; Gogmapocalypse suits elemental builds | Compare α and β bonus skills before crafting |
| Arkveld γ | Guts (Tenacity), Weakness Exploit, Flayer, and elemental options | Limited level 3 decoration slots |
| Gore Magala | Black Eclipse and Antivirus provide an affinity package | Plan room for Antivirus, including in two-piece combinations |
| Guardian Ebony Odogaron | Pairs with Gogmazios Coil α for Burst Boost | Evaluate it as part of the intended mixed set |
| Guardian Fulgur Anjanath | Pairs with Gogmazios Vambraces α for Second Wind | Check how the combination fits your other skill priorities |
| Lagiacrus | Azure Bolt, Weakness Exploit, and Maximum Might | Four pieces for Azure Bolt II restrict other choices |
| Rey Dau γ | Guts (Tenacity); vambraces have two level 3 slots and Evade Extender 2 | The full set has significant Water and Ice weaknesses |
| Zoh Shia | Super Recovery, Coalescence, and Elemental Absorption | Only β pieces provide level 3 decoration slots |
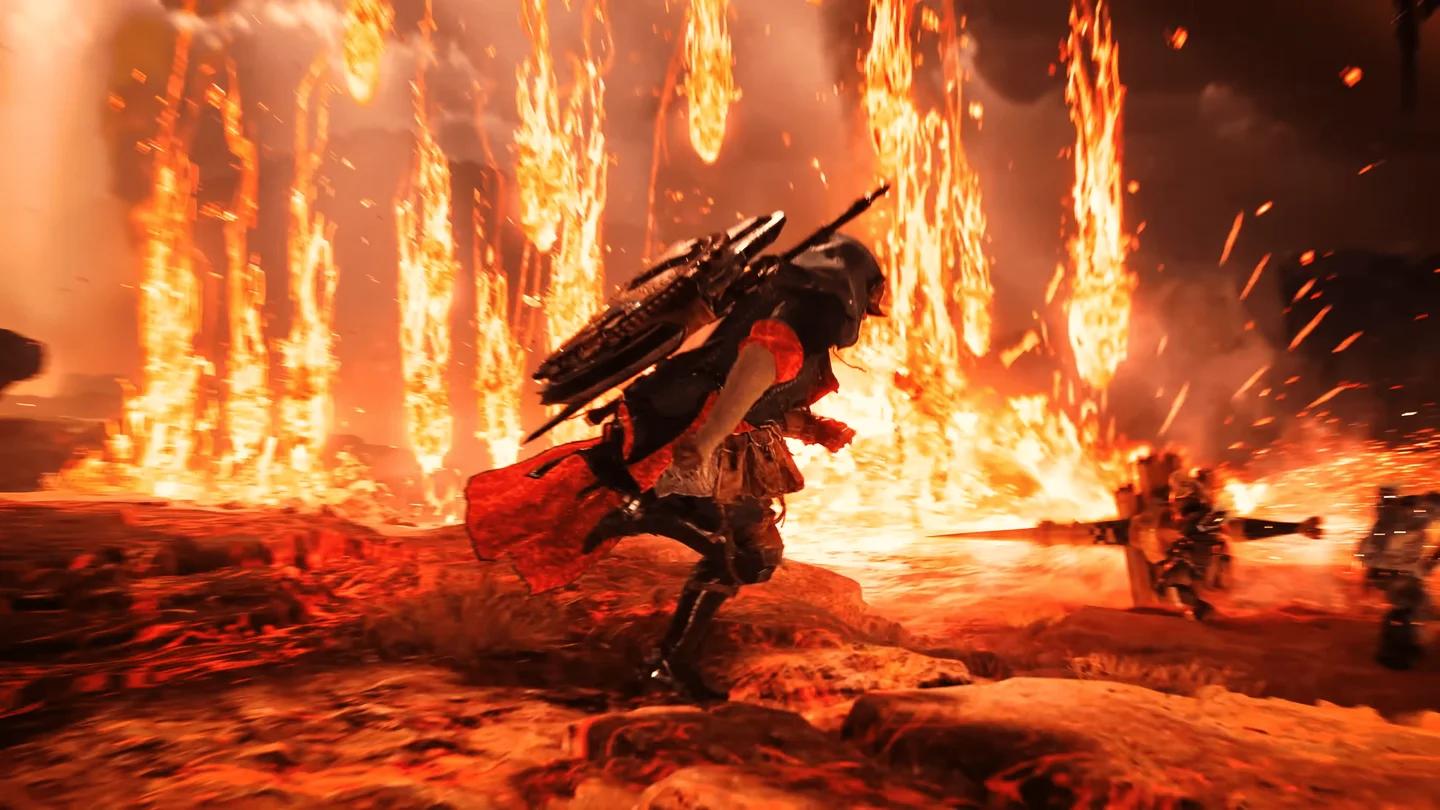
Gogmazios mixed-set options
Which Gogmazios pairings are useful?
Two specific combinations make Gogmazios α worth examining before committing to a full armor set:
- Pair Gogmazios Coil α with a Guardian Ebony Odogaron piece to activate Burst Boost.
- Pair Gogmazios Vambraces α with a Guardian Fulgur Anjanath piece to activate Second Wind.
Second Wind also works well with Maximum Might. Guardian Ebony and Guardian Fulgur pieces can be transcended for additional defense and decoration slots, giving those combinations another upgrade path.
Title Update 4 improved elemental scaling, which strengthens the case for Gogmapocalypse in elemental builds. Gogmazios α chest, arm, and waist pieces are particularly useful candidates when assembling those mixed sets.
When should you choose Arkveld γ or Gore Magala?
Choose Arkveld γ when you want access to Guts (Tenacity) alongside skills such as Weakness Exploit. Flayer and Blight Resistance add utility, while Elemental Absorption and Convert Element give elemental builds more options. The limitation is its supply of level 3 decoration slots, so check your remaining skill needs before locking it in.
Choose Gore Magala when Black Eclipse and Antivirus fit your affinity plan. Both α and β armor offer level 3 decoration slots. Antivirus remains part of the package even when you only use two Gore pieces, so account for that commitment early.
Why can a full armor set be worse?
A mixed set lets you select bonuses, skills, and slots more precisely. Wearing a complete monster set can tie too much of your loadout to skills that do little for your weapon, while also concentrating elemental weaknesses.
Rey Dau γ is a concrete example: the full set has -10 Water Resistance and -15 Ice Resistance. Its vambraces can still be useful because they provide two level 3 slots and Evade Extender 2, without requiring the full-set commitment.
Which skills should each weapon build prioritize?
Start with the core skills below, then use armor and weapon bonuses to support that direction. Agitator and Weakness Exploit appear repeatedly, but they do not replace weapon-specific priorities such as Focus, Horn Maestro, or Artillery.
| Weapon | Core skill priorities | Endgame bonus direction |
|---|---|---|
| Great Sword | Focus, Agitator, Maximum Might | Gore Magala's Tyranny, Jin Dahaad's Revolt, and Soul of the Dark Knight |
| Hammer | Charge Up, Constitution, Agitator, Weakness Exploit | Gogmapocalypse, Fulgur Anjanath's Will, and Doshaguma's Might |
| Long Sword | Quick Sheathe, Agitator, Weakness Exploit | Fulgur Anjanath's Will and Leviathan's Fury |
| Lance | Guard, Offensive Guard, Weakness Exploit, Agitator | Arkveld's Hunger and Gore Magala's Tyranny |
| Gunlance | Artillery, Load Shells, Guard, Offensive Guard | Ebony Odogaron's Power and Jin Dahaad's Revolt |
| Switch Axe | Counterstrike, Power Prolonger, Agitator, Weakness Exploit | Arkveld's Hunger and Leviathan's Fury |
| Charge Blade | Load Shells, Razor Sharp, the relevant elemental attack skill | Gogmapocalypse and Gore Magala's Tyranny |
| Sword and Shield | The relevant elemental attack skill, Offensive Guard, Agitator | Gogmapocalypse and Lord's Soul |
| Dual Blades | The relevant elemental attack skill, Stamina Surge, Marathon Runner, Constitution | Gogmapocalypse and Arkveld's Hunger |
| Insect Glaive | Agitator, Maximum Might, Weakness Exploit | Arkveld's Hunger, Gore Magala's Tyranny, and Fulgur Anjanath's Will |
| Bow | The relevant elemental attack skill, Constitution, Stamina Surge, Weakness Exploit | Gogmapocalypse and Gore Magala's Tyranny |
| Light Bowgun | Tetrad Shot, Ballistics, Rapid Fire Up, relevant shot-type skills | Gogmapocalypse and Lord's Soul |
| Heavy Bowgun | Tetrad Shot, Ballistics, relevant shot-type skills, Agitator, Weakness Exploit | Gogmapocalypse and Lord's Soul |
| Hunting Horn | Horn Maestro, Agitator, Maximum Might, Weakness Exploit | Gogmapocalypse and Lord's Soul |
Charged attacks, counters, and sustained combos
For Great Sword, Focus reduces charge times, making it a direct fit for charged attacks. Agitator and Maximum Might support its damage package. Offset Rising Slash and Power Clashes are also part of the weapon's toolkit, so its build has more to consider than damage per strike alone.
Hammer combines blunt damage and stun potential with more mobility than its heavy swings suggest. Charge Up supports more frequent knockouts, while Constitution helps manage stamina. Agitator and Weakness Exploit round out the offensive priorities.
For Long Sword, Quick Sheathe speeds up Special Sheathe transitions. That makes it a practical priority for a weapon built around counters and invulnerability windows. Insect Glaive instead favors attack and affinity skills for its sustained combos and mobile attacks.
Switch Axe benefits from Counterstrike and Power Prolonger alongside its damage skills. Its Axe mode provides reach and mobility, while Sword mode trades speed for stronger burst damage. Choose skills around that complete moveset rather than treating either form as the whole weapon.
Elemental pressure and stamina management
Dual Blades need both elemental investment and stamina support. Stamina Surge, Marathon Runner, and Constitution help sustain their aggressive approach. Agitator and Weakness Exploit remain useful damage additions, but stamina management belongs in the initial plan.
Bow also pairs elemental attack skills with Constitution and Stamina Surge. Its mobility, Discerning Dodge, and ability to aim at weak spots make Weakness Exploit a fitting offensive choice.
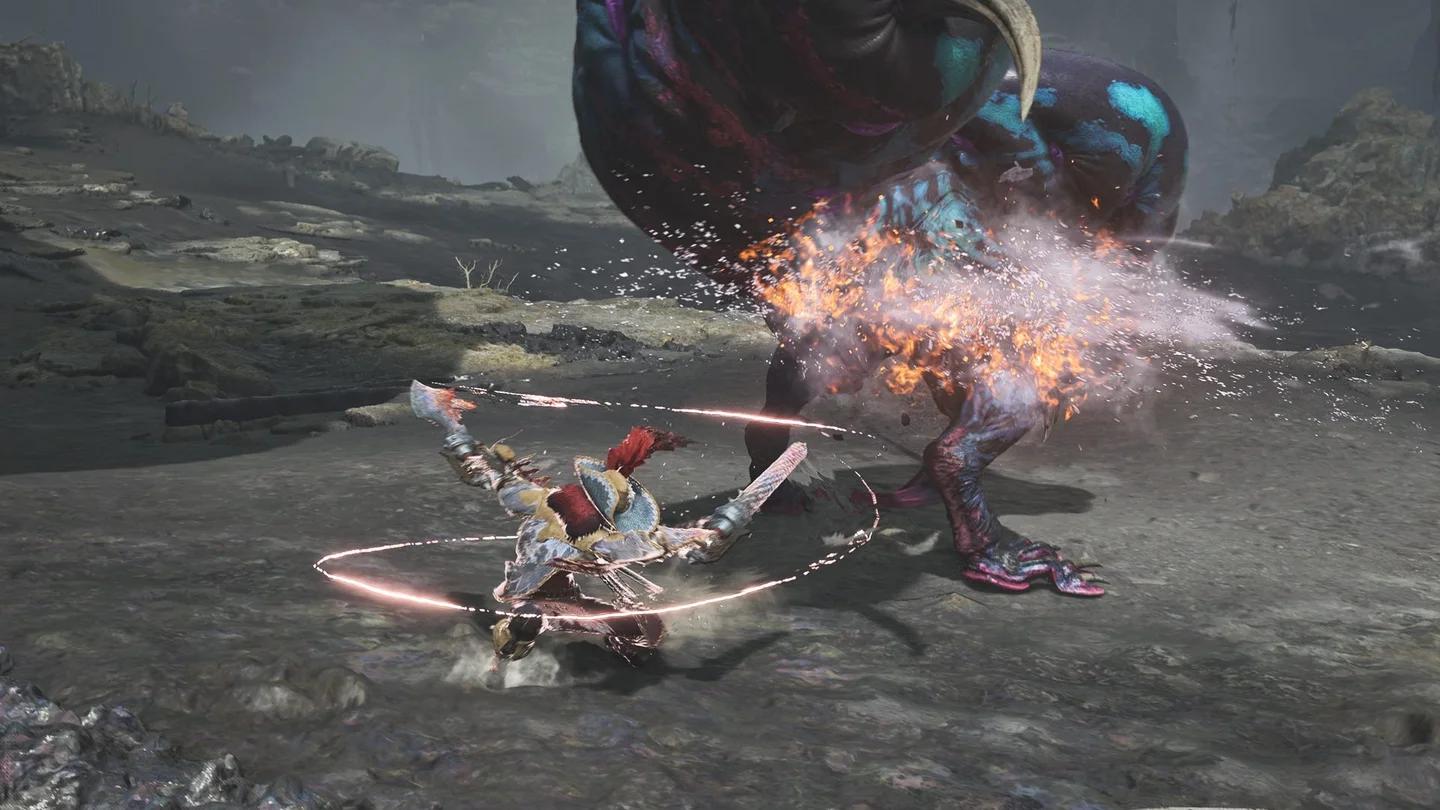
Dual Blades stamina priorities
For an elemental Sword and Shield build, combine the relevant elemental attack skill with Offensive Guard and attack or affinity support. The weapon deals both severing and blunt damage, giving you options for tail cuts and stuns without changing weapon types.
Charge Blade adds Load Shells and sharpness management such as Razor Sharp to its elemental priorities. Its Sword mode provides blocking options before you switch to Axe mode for damage opportunities. That mechanical workload makes a focused skill package more useful than collecting unrelated bonuses.
Guarding and Gunlance shelling
Lance builds suit Guard and Offensive Guard because the weapon can use Perfect Guard and counters while maintaining pressure on weak spots. Its reach also supports Weakness Exploit as a damage choice.
Gunlance needs a separate approach. Shell damage ignores hitzone values and scales with Attack, making Artillery and Load Shells central priorities. Guard and Offensive Guard support its shield-based play, while Agitator still contributes attack value.
Bowguns and Hunting Horn
For Light Bowgun, build around Tetrad Shot, Ballistics, Rapid Fire Up, and skills relevant to your shots. Piercing Shots, Normal Shots, and Spread/Power Shots are specific choices, not interchangeable bonuses to add without checking your ammunition setup.
Heavy Bowgun trades mobility for damage and shielding. Tetrad Shot, Ballistics, and relevant shot-type skills form useful priorities, with Agitator and Weakness Exploit supporting suitable damage builds.
Hunting Horn should retain Horn Maestro to extend buff duration. Its team buffs sit alongside blunt damage and stun potential, so attack and affinity skills still belong in the loadout. A support role does not erase the weapon's offensive contribution.
Should you upgrade to Gogma Artian weapons?
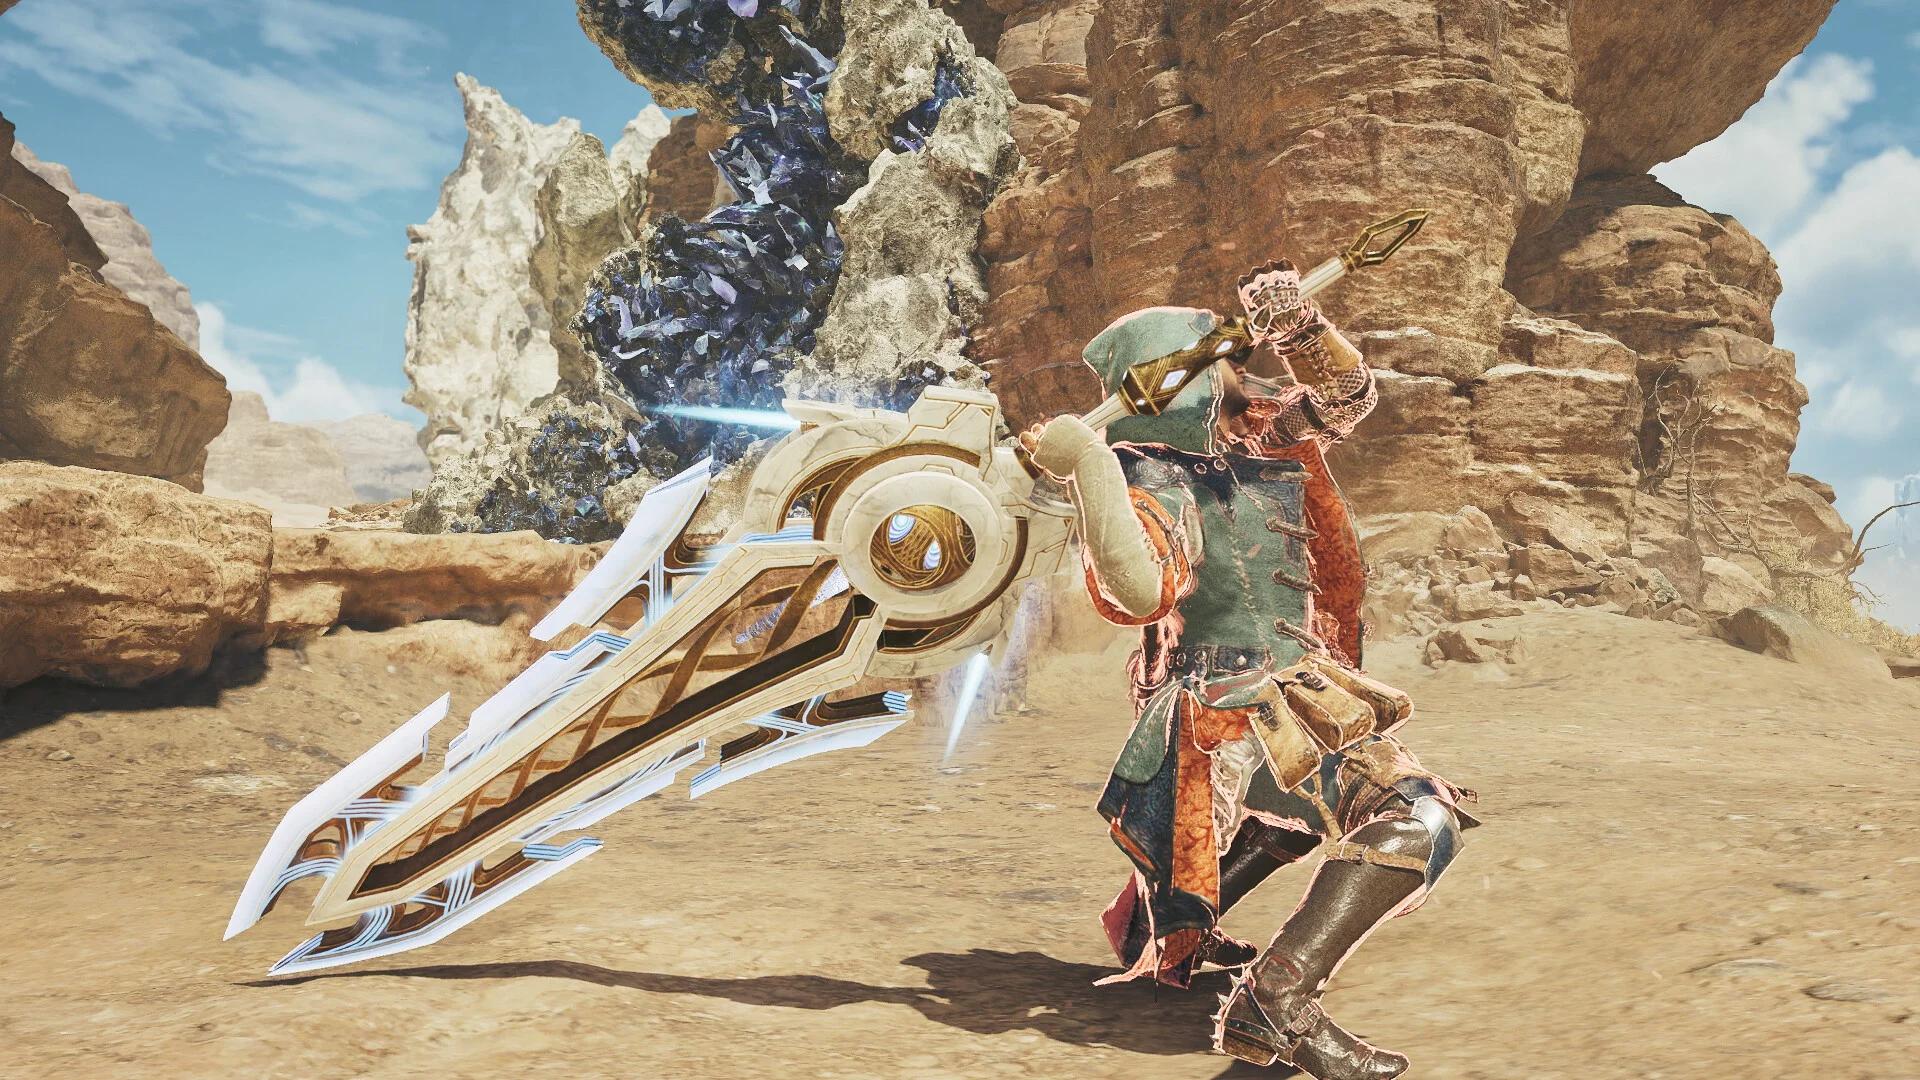
Gogma Artian weapons are the main endgame upgrade target. They improve on regular Artian weapons and can carry one set bonus and one group skill, opening more combinations across your equipment. Check those bonuses together with your armor before deciding which pieces complete the build.
Regular Artian weapons remain usable and offer flexible stats and elements, plus three level 3 decoration slots. Their reinforcement results are random, however, and upgrading to Gogma Artian is the next step toward their stronger endgame options.
| Weapon option | Why you might choose it | Limitation |
|---|---|---|
| Gogma Artian | Strong endgame stats, plus a set bonus and group skill | Reinforcement and skill rerolls consume materials and zenny |
| Regular Artian | Flexible stats and elements; three level 3 decoration slots | Random reinforcements; a candidate for upgrading |
| Zoh Shia | High raw damage, white sharpness, and Whiteflame Torrent | Decoration slots follow a 3-2-1 layout |
| Guardian Arkveld | High raw damage, especially useful for builds that do not emphasize crits | Negative affinity |
| Arkveld | White sharpness and neutral affinity | Lower raw than the Guardian version; 3-2-1 slots |
| Lagiacrus | Thunder damage and Convert Thunder Resistance | The conversion skill needs Thunder Resistance on your armor |
| Seregios | Bladescale skills suit evasion-focused setups | Requires practice and equipment built around dodging |
Zoh Shia weapons are also useful alternatives against Gogmazios. If that hunt or the upgrade systems are your next obstacle, the Title Update 4 guide covers Gogmazios, Artian upgrades, and armor transcendence.
How should you adapt your build to the hunt?
What should you use before endgame?
During progression, prioritize weapon upgrades at the Smithy and armor skills that support the weapon you are learning. High Rank armor provides higher defense and more build options than Low Rank equipment. There is little reason to force a Gogmazios-based plan while you are still working through earlier gear.
For a defensive Lance setup, Guard, Defense Boost, and Stun Resistance are practical priorities. For Bow, Constitution and evasion options support its mobile ranged approach. Sword and Shield is another accessible starting point because it balances offense and defense and allows item use without sheathing.
What if surviving is your main problem?
Guts (Tenacity) is useful for demanding Arch-Tempered, 9-star, and 10-star quests. Arkveld γ adds another way to include it alongside offensive skills. Zoh Shia's Super Recovery offers passive healing if you prefer a comfort-focused direction.
For a dedicated survival loadout, the Immortal build emphasizes defense, resistances, and stronger healing items. Its equipment package is:
- Weapon options: Titan's Armament or Gravios Lance
- Head: Damascus Helm α
- Chest: Chatacabra Mail β
- Arms: Melahoa Branch α
- Waist: Melahoa Folia α
- Legs: G. Ebony Greaves β
- Talisman: Defense Charm IV
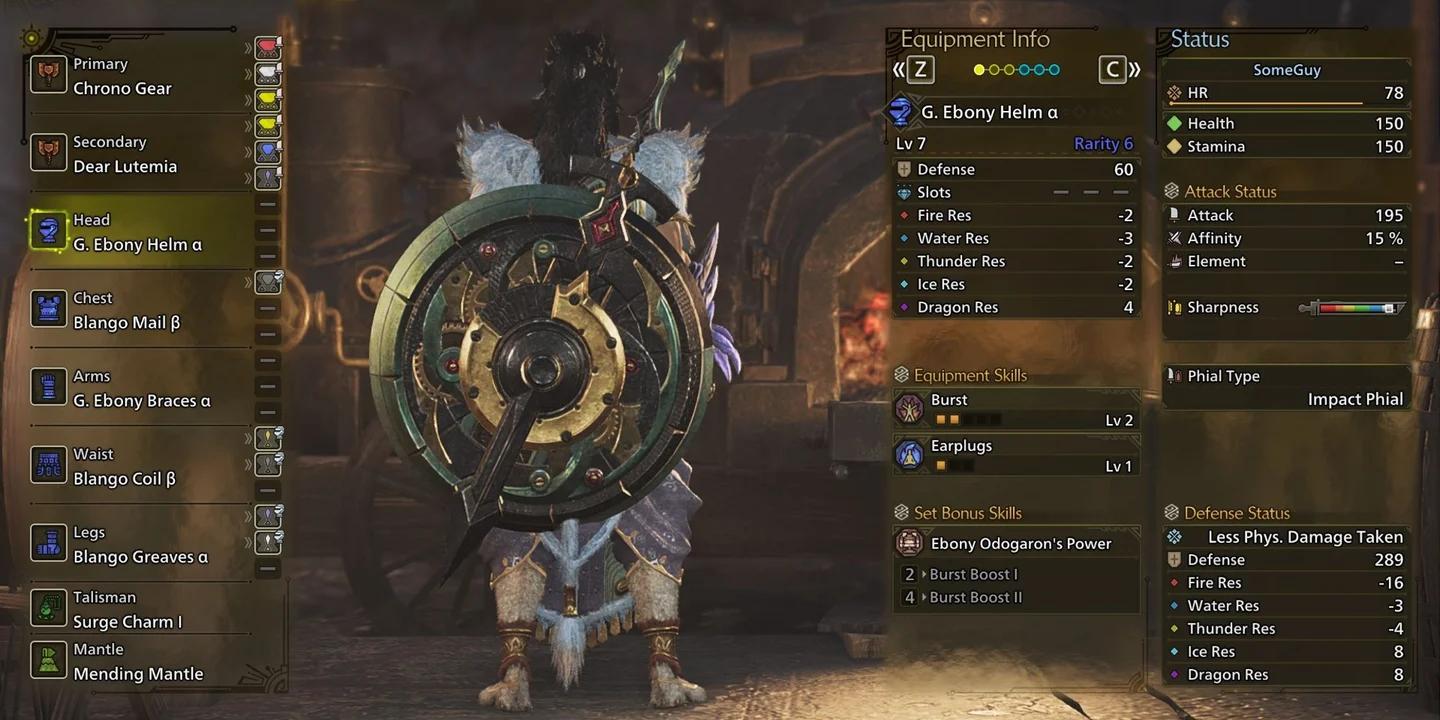
Survival-focused equipment choices
The Immortal setup suits a survival-first goal. If you want passive healing while retaining elemental options, examine Zoh Shia's combination of Super Recovery, Coalescence, and Elemental Absorption instead.
How should you build for Omega Planetes?
Omega Planetes is weak to Thunder, but your role should also shape your equipment. A tank needs to maintain enmity, while a support hunter needs reliable ways to heal or buff allies.
| Role | Weapon direction | Skill priorities |
|---|---|---|
| Tank | Lance or Gunlance | Guard and Guard Up |
| Support | Sword and Shield for quick item use, or Hunting Horn for buffs | Wide-Range |
| Damage | A Lagiacrus weapon | Thunder Attack |
Omega armor is another multiplayer-focused option because Omega Resonance depends on other hunters and their positioning. Its attack or affinity benefits require attention to where your allies are, so choose it for a coordinated setup rather than a passive bonus package.
What should you check before your next hunt?
Before spending more materials on Gogma Artian rerolls or another armor piece, review the complete loadout:
- Does Great Sword have Focus, Long Sword have Quick Sheathe, or Hunting Horn have Horn Maestro where appropriate?
- Does an elemental setup include the matching elemental attack skill?
- Do the armor pieces, talisman, and weapon bonuses support the intended combination?
- Are decoration slot levels sufficient for the remaining skills?
- Have you checked elemental resistances and considered Guts or Super Recovery for a difficult target?
Start with your weapon's core skills, choose Gogmazios, Arkveld γ, or Gore Magala pieces for a specific purpose, and upgrade toward a Gogma Artian weapon that supports the combination. Use the Monster Hunter Wilds guide collection to plan the hunts and upgrades needed for your next loadout.