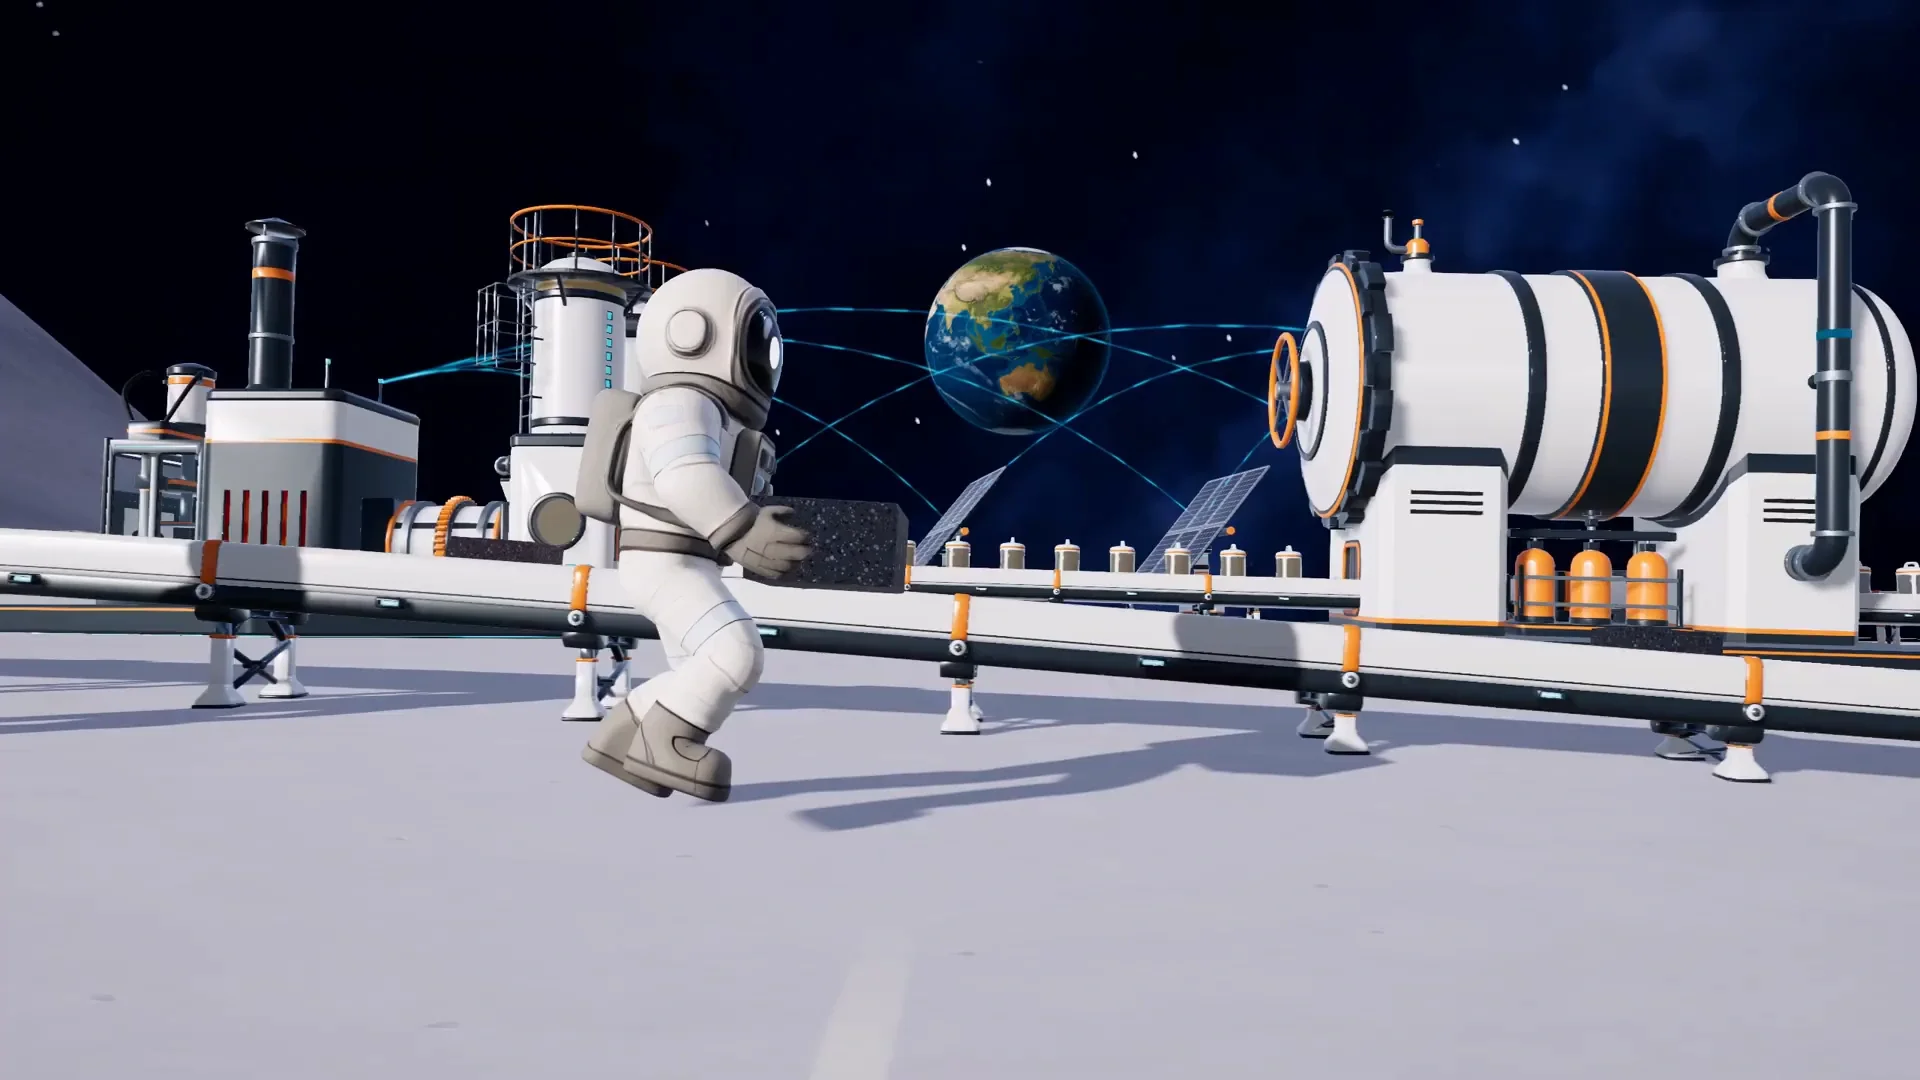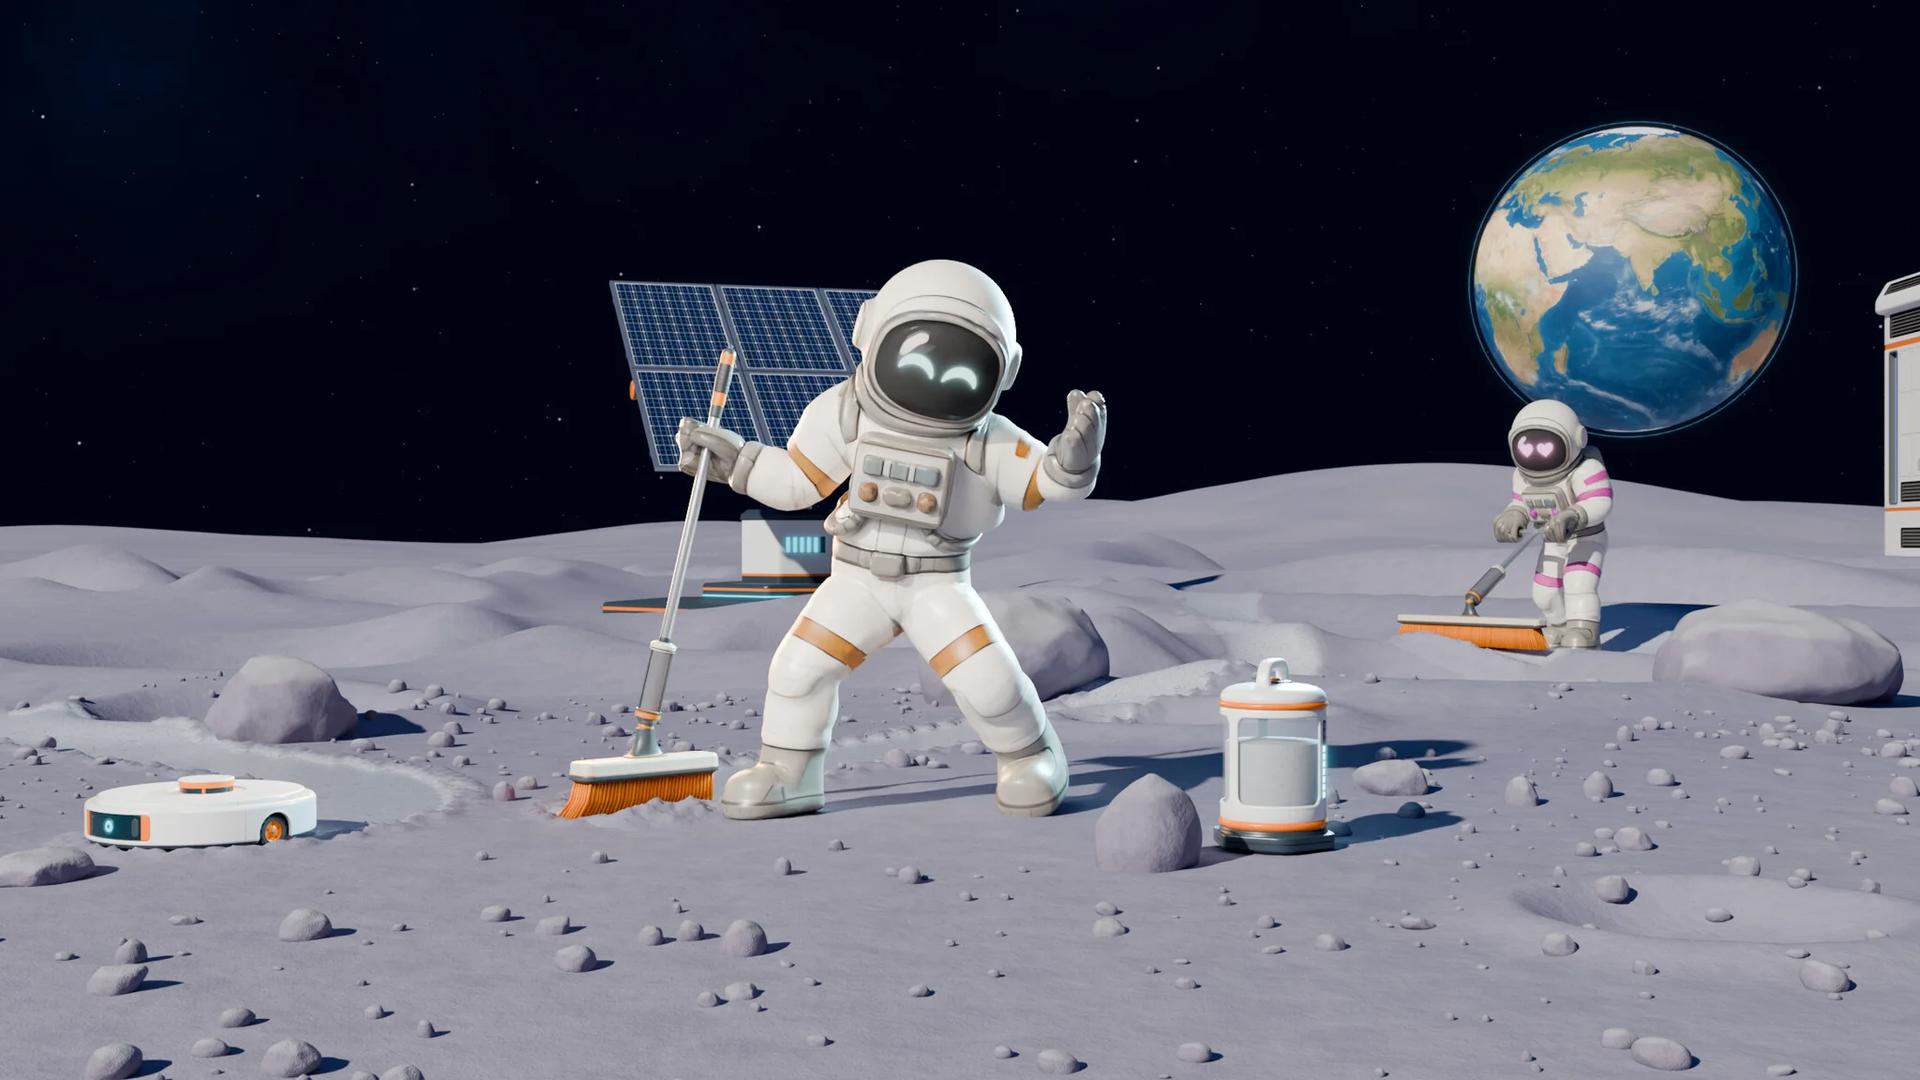

Moon Sweepers puts you on the lunar surface with a free toothbrush and a cleaning job that dwarfs anything your starting equipment can handle. The gap between that first small patch and a fully automated operation is where most new players lose time and money to purchases that solve the wrong problem. This guide walks you through the first steps, the best brush and upgrade choices, when vehicles make sense, and the mistakes that quietly drain your early earnings.

Deposit dust at the Depot
What should you do first in Moon Sweepers?
The station's supply wall holds a free Toothbrush. Take it before you do anything else. There is no reason to spend money on a starting tool when one is already waiting for you.
From there, the core loop is straightforward:
- Clean dirty ground close to the station.
- Press Q to pack collected Dust into a capsule when your container fills.
- Return to the Depot and deposit your Dust.
- Launch a full container to receive payment.
- Reinvest that payment in a wider brush, then repeat.
The key detail new players miss is that Dust in your brush does not automatically sell. It has to physically reach the Depot's receiving system. Until you have conveyors or a vehicle doing that work, every trip back to the station is part of the job.
Stay close to the station during these early runs. A short return trip matters a great deal when your container holds almost nothing.
Finish each hex before moving on
It is tempting to spread across multiple dirty patches and leave several almost clean. Resist that. Completing a hex awards $10 on top of the money you earn from depositing Dust. When your next brush upgrade costs $25, that bonus represents real progress.
Work around the edges of a hex first, then sweep the interior. Check the corners before declaring it done. Thin strips of remaining Dust hide there constantly.
Which brush should you buy first?
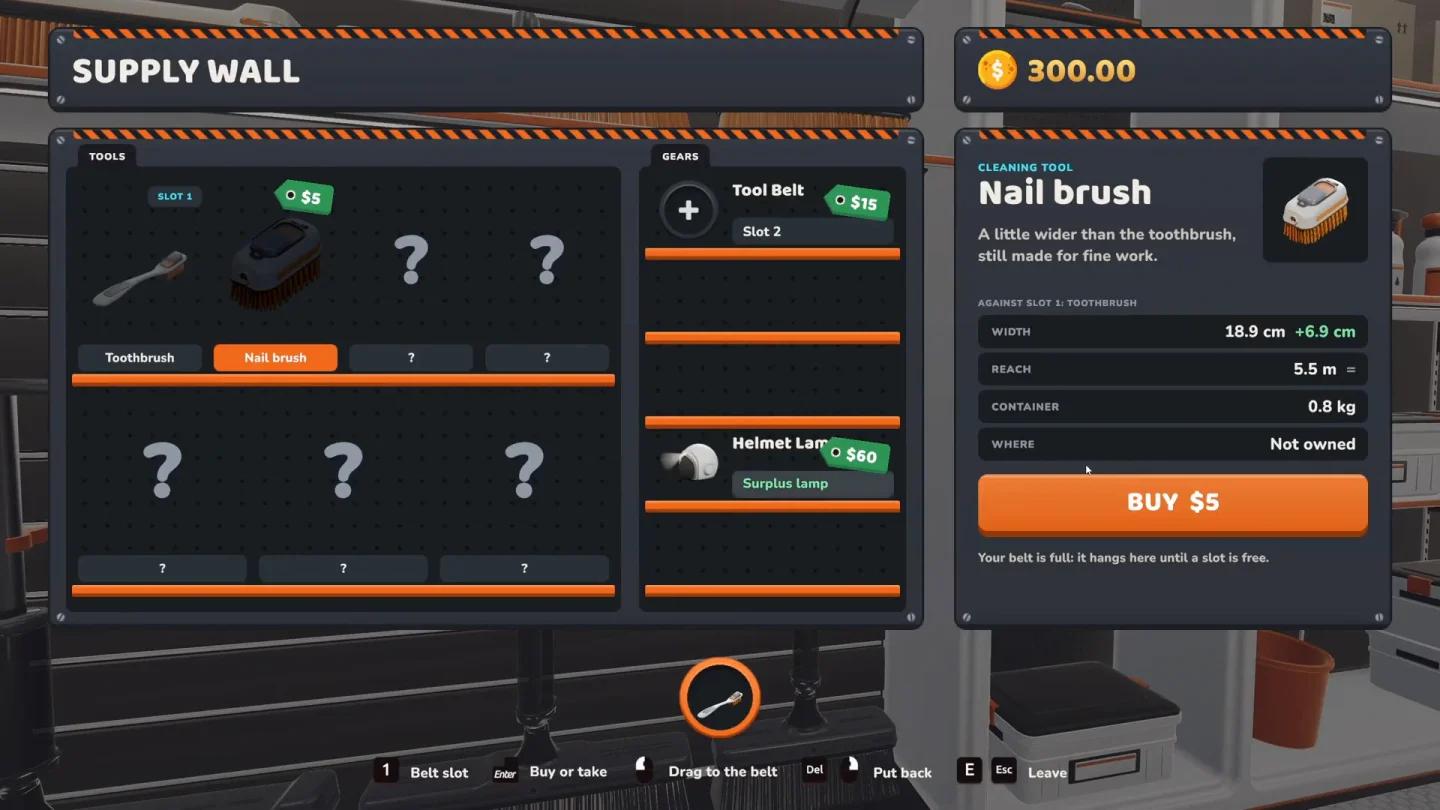
The tool shop offers a clear progression from free to expensive:
| Tool | Price |
|---|---|
| Toothbrush | Free |
| Nail Brush | $5 |
| Handbrush | $10 |
| Household Broom | $25 |
| Wide Broom | $75 |
| Extra Wide Broom | $150 |
The Nail Brush and Handbrush are transitional tools. They are cheap, and each one is wider than the last, but neither changes how you play in any meaningful way. If you are already close to $25, skip them and go straight to the Household Broom. It clears enough ground per pass to feel like a genuine upgrade rather than a marginal improvement.
The Wide Broom at $75 and Extra Wide Broom at $150 are worth saving for once you are consistently earning from completed hexes. The Extra Wide Broom measures approximately 98.8 cm wide compared to the Wide Broom's 65.9 cm, which is a noticeable difference on open terrain.
Brush upgrade shop prices
When does carrying capacity beat brush width?
The Household Broom starts with a 3 kg container. A $30 upgrade doubles that to 6 kg.
That upgrade and a wider brush solve different problems. Use this breakdown to decide which one you actually need:
| Your Current Problem | Best Fix |
|---|---|
| Too many strokes to clear a patch | Buy a wider brush |
| Constantly stopping to pack capsules | Upgrade container capacity |
| Long return trips eating your time | Larger container or closer cleaning area |
| Open terrain taking forever | Save for a vehicle |
| Want Dust collected while you do other work | Robot Vacuum Mk I |
For most players in the first hour, the container upgrade on the Household Broom is the right call before jumping to the Wide Broom. Packing capsules every few seconds is more disruptive than it looks.
What is worth buying in the Upgrade Matrix?
The Upgrade Matrix has several options that sound appealing but vary significantly in actual value depending on where you are in the game.
Wide Head increases cleaning width by a percentage. An early version costs $40 for an 8% increase. That is worth buying if you plan to keep using handheld tools for a while. Skip it if you are saving for a vehicle.
Market Contracts improves the payout from Dust you launch. One early level costs $120 for a 6% payout increase. This is genuinely useful because it applies to everything you are already selling, not just future collection. Buy it once your Dust output is consistent.
Dust Compactor adds 15% container capacity to all tools for $150, but requires a prior container upgrade. At that price, it is poor value early on. It becomes more attractive once you are running multiple upgraded tools.
Auto Packer automatically packs a capsule at your feet when your container fills during cleaning. It does not transport or deposit anything, but it removes one repetitive manual action.
Supplier Network gives a discount on equipment. One option shows 5% off. Buy it before expensive purchases, not after.
Region Bounty adds $15 per completed region. This is only worth it if you are actively finishing regions. Leaving dozens of blue hexes half-cleaned makes this upgrade nearly worthless.
How does the Moon Map help you earn faster?
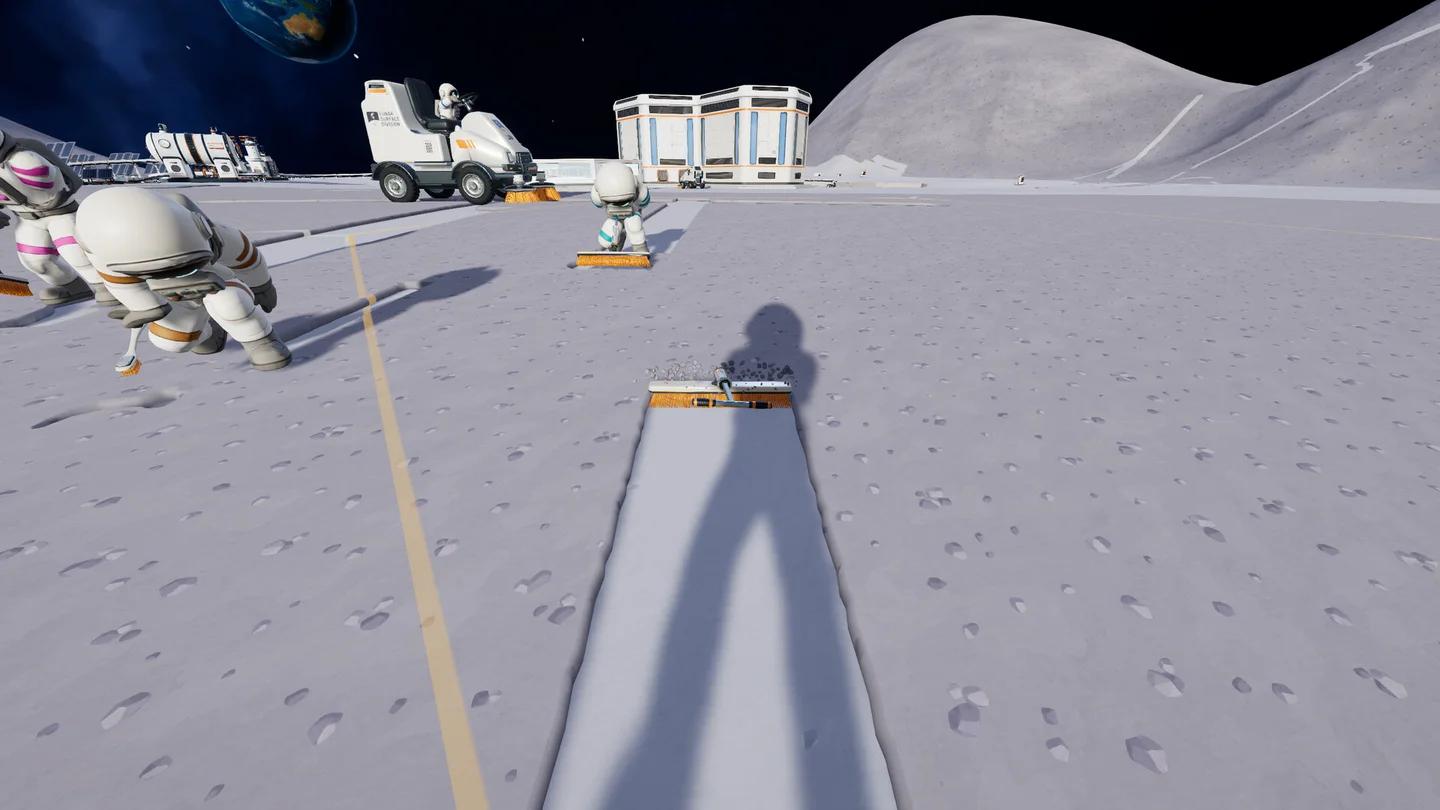
The Moon Map, accessible from the station's main console, uses three colors to show your cleaning progress:
- Orange: Untouched ground
- Blue: Cleaning started but incomplete
- Green: Fully cleaned
Blue sections near your station are almost always worth finishing before you travel to fresh orange ground. You have already done part of the work, the remaining Dust is relatively close, and completing them triggers the hex bonus.
The Field Manual (H on keyboard) also describes the current sector scan and helps interpret the local cleaning state.
For exploration, the Moon Map tracks flags, survey sites, and stations separately from your cleaning progress. One map from an active run showed 12 stations alongside flag and survey counters.
Flags and survey sites are worth a short detour
Flags can be untangled for $100 each. Lunar survey sites award $250 on completion. Both are separate interactions from cleaning Dust, and both require you to stop and complete the interaction fully rather than just passing nearby.
During the Toothbrush phase, a long trip just for a flag is rarely worth the travel time. Once you have a vehicle, combining a cleaning run with a flag or survey stop becomes a genuinely efficient trip.
Moon Map sector progress colors
Which vehicle should you buy first?
The Garage costs $200 and is a prerequisite for all vehicles. The vehicle shop then lists:
| Vehicle | Price | Key Stat |
|---|---|---|
| Push Sweeper | $300 | Cheapest vehicle option |
| Ride-on Sweeper | $1,000 | Drivable cleaning |
| Crew Transport Van | $2,000 | Transport, not cleaning |
| Lunar Sweeper | $2,500 | 2.8 m strip, 1,200 kg hopper |
| Mega Vacuum Rover | $6,000 | 4 m intake, 3,000 kg tank |
The Push Sweeper entry point is $500 total (Garage plus vehicle). That is a significant commitment. It makes sense once you have finished the nearby hexes, have a consistent Dust income, and are ready to start clearing larger areas.
The Ride-on Sweeper at $1,000 changes how you think about terrain. Instead of individual brush strokes, you plan long passes and turn at the end of each strip. Precise cleanup in tight corners still needs attention, but broad open ground clears much faster.
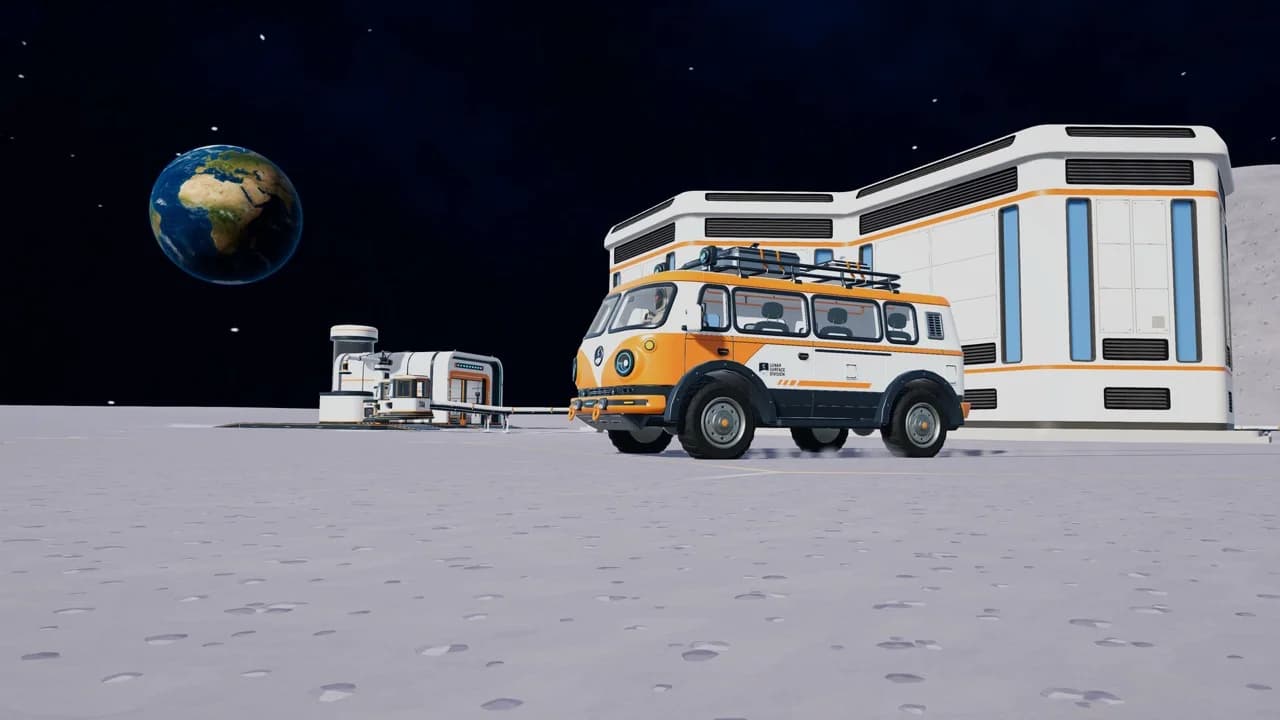
The Lunar Sweeper at $2,500 is the first vehicle that genuinely changes your operation's scale. Three brushes, a 2.8-meter cleaning strip, and a 1,200 kg hopper mean you can cover serious ground before returning to unload. The enclosed cab also handles differently from the smaller machines.
The Mega Vacuum Rover at $6,000 has a 4-meter intake and a 3,000 kg base tank, which can be upgraded further. One late-game configuration reached 5,700 kg after vehicle investment. Its Suction Control lets you trade cleaning width for travel speed, which is useful when crossing already-clean terrain.
What about the Robot Vacuum Mk I?
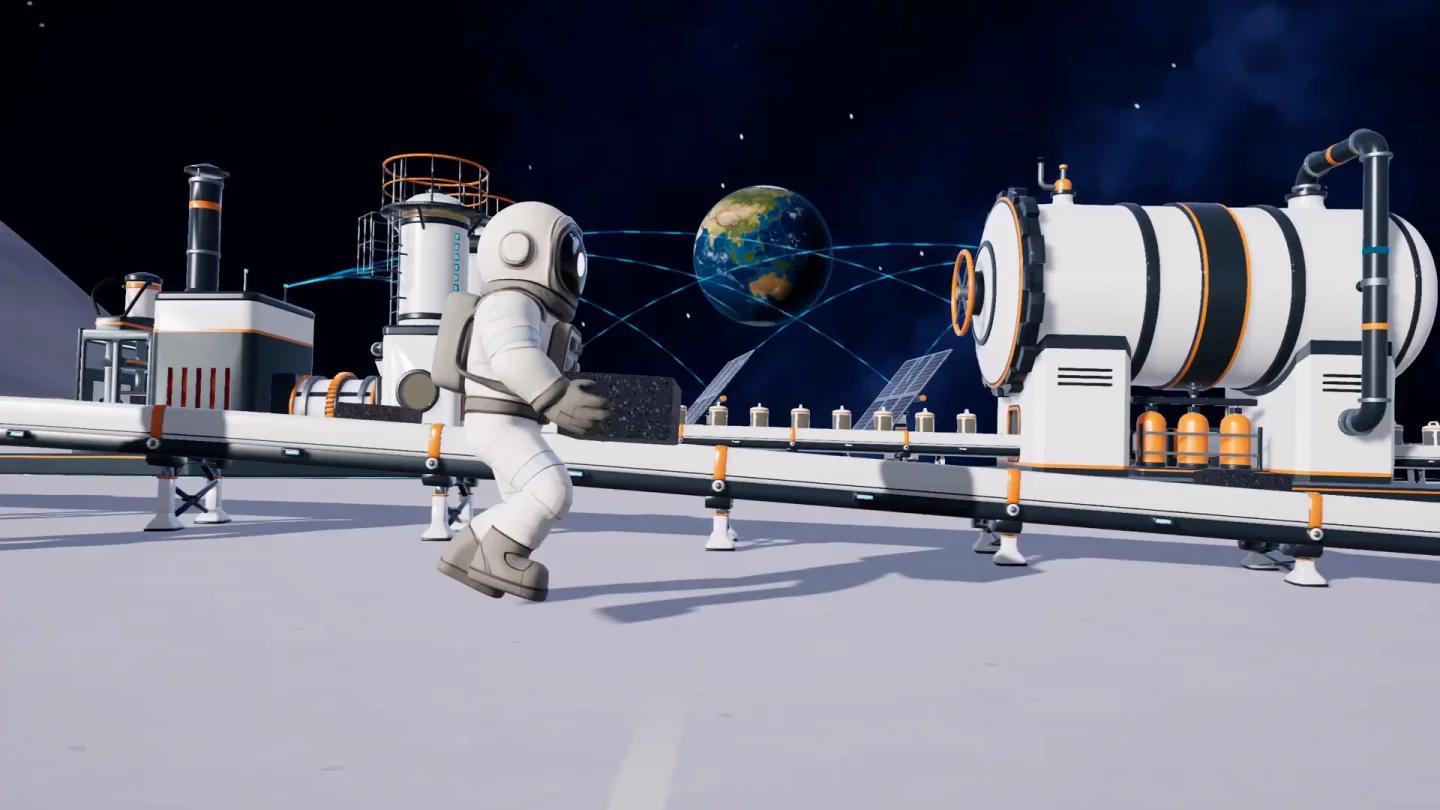
The Robot Vacuum Mk I costs $250 and covers 19 world hexes around its dock. It collects Dust automatically and packs it for a connected Conveyor.
This is the right first automation purchase if you want a fixed area cleaned while you focus on something else. Its limitation is coverage: once the surrounding hexes are clean, it stops being useful in that location.
Place the dock where most of its 19-hex range covers untouched ground, and confirm the output connects to the Depot before buying a second unit.
Robot Vacuum Mk I dock setup
What mistakes slow down new players?
Buying machines without a delivery route
A Robot Vacuum gathers Dust. A Packager creates capsules. Neither earns you anything if the Conveyor belt ends before reaching the Depot's intake. Build and test the full delivery chain before expanding.
Buying a Pressure Chamber too early
The Pressure Chamber converts Moon Dust into Moon Sand, which sells for more. It costs $500 and requires 10 kW of electricity. That is a poor investment while you are still cleaning with a small brush and have no steady supply. Get Dust reaching the Depot reliably first.
Ignoring the day-night cycle
Cleaning continues at night, but visibility drops enough to miss Dust patches. Use your helmet lamp and the Moon Map instead of guessing. Solar-powered machinery may also stop if the power network runs low on stored energy, so check battery levels before assuming equipment has broken.
Misreading multiplayer upgrades
As of Patch 1.0.3, the Upgrade Matrix is shared across the crew. One player purchasing a Matrix upgrade applies it to everyone. Vehicles and individually purchased equipment still require each player to buy their own. Coordinate major purchases so the group's money goes toward the current bottleneck rather than duplicating equipment one player already owns.
How far are you from cleaning the whole Moon?
Local progress and global progress operate at very different scales. One active run showed 0.09% total completion after substantial cleaning around the starting area. The Moon has more than 163,000 total sectors.
The game tracks 33 achievements, including milestones for Dust collected, money earned and spent, successful deposits, and 1%, 10%, 50%, and 100% Moon completion. Those later milestones put the scale of the job in perspective.
The most useful early metric is not the Moon percentage. It is whether each purchase removes your current bottleneck. A wider brush matters most when cleaning is slow. A larger container matters most when packing interrupts every pass. A vehicle matters most when you have outgrown the area a handheld tool can reasonably cover.
Lunar Sweeper vehicle stats
For more on building out your operation beyond the early game, the full Moon Sweepers strategy guides cover automation, power setup, and progression in detail. If you are new to action games with base-building elements, Moon Sweepers rewards patience with the early loop before the larger systems open up.