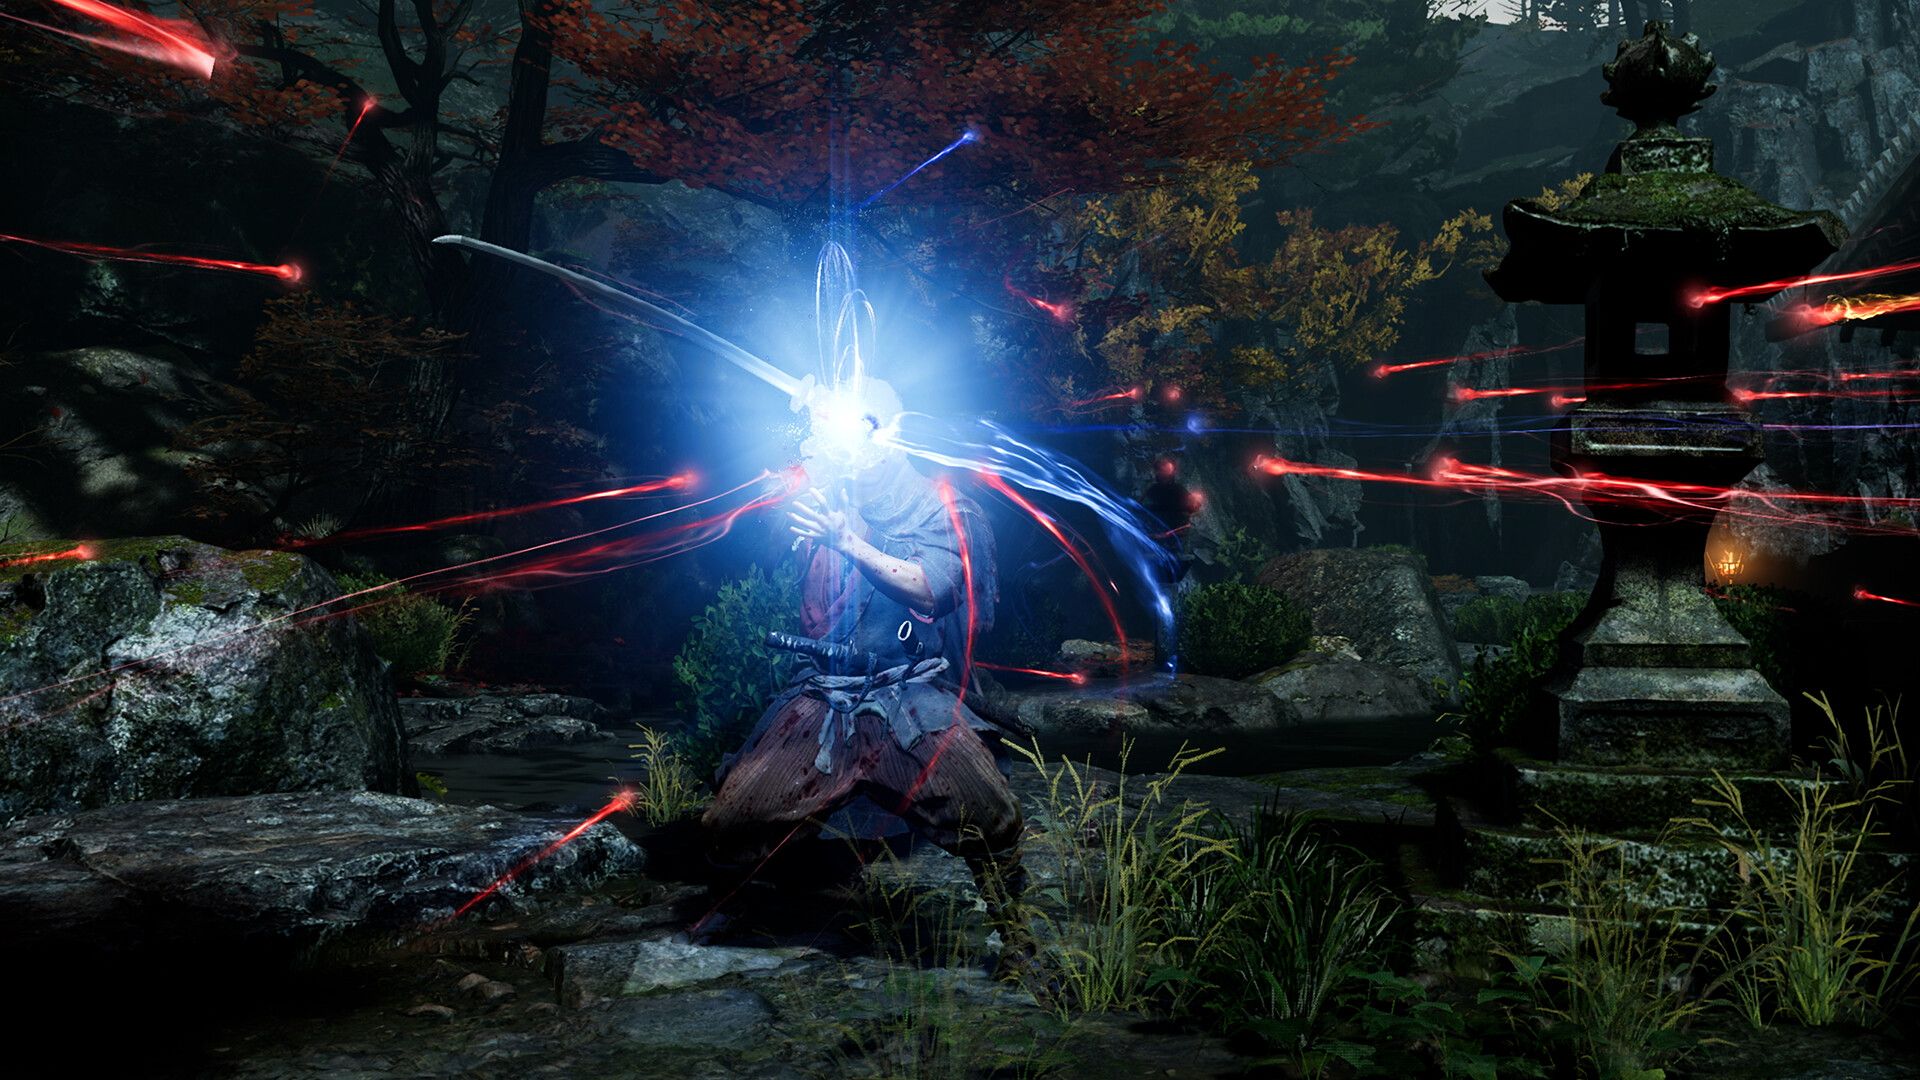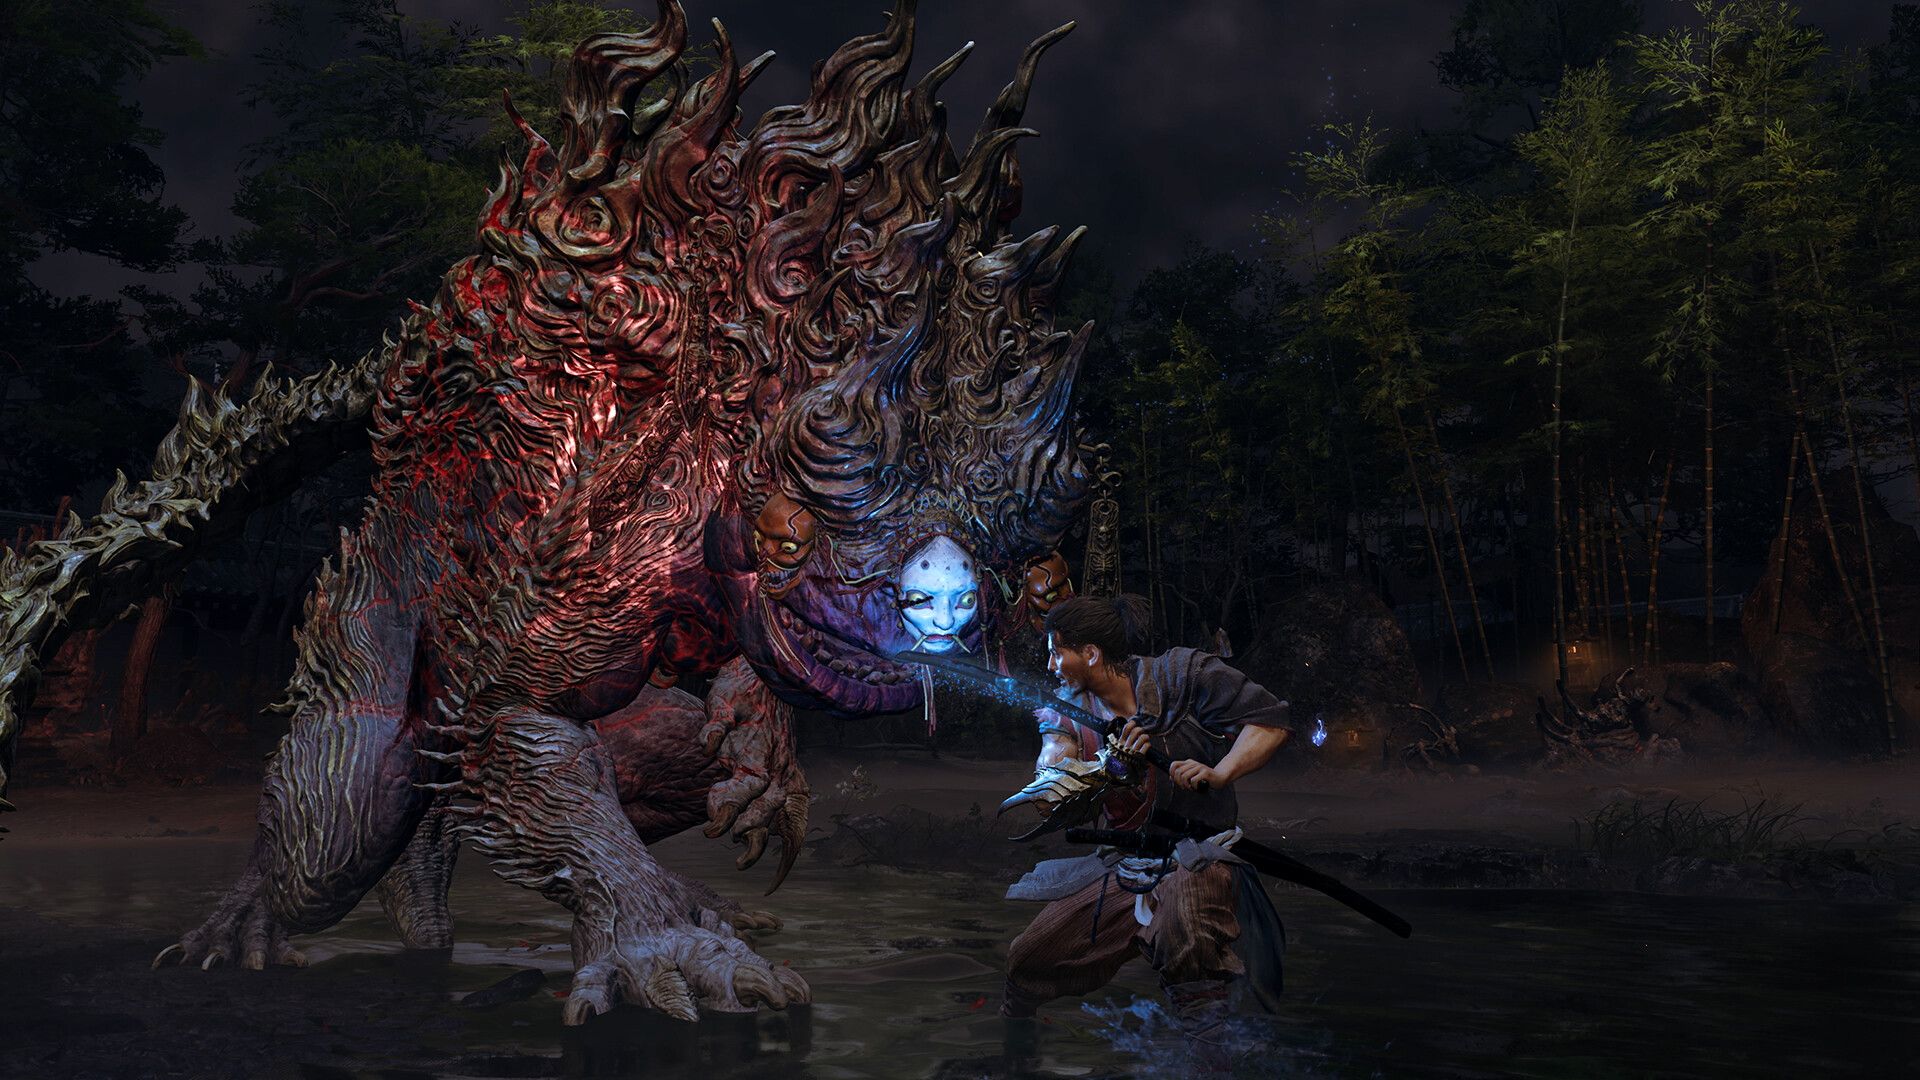

Onimusha: Way of the Sword is not a game that rewards button mashing. Every incoming attack from a Genma is a question, and Miyamoto Musashi has eight different answers at his disposal. The real skill gap between players who struggle and players who dominate comes down to one thing: knowing which defensive tool to reach for and when. This guide breaks down every combat mechanic in the game, from the basics of Light and Heavy Attacks to the high-risk payoff of Issen, so you can stop reacting and start reading fights.
What are the core combat mechanics in Onimusha: Way of the Sword?
Before getting into the specifics, here is a quick reference for every major mechanic and what it actually does in a fight. On PC, you can browse our combat guides through the GAMES.GG desktop app when reviewing defensive options between encounters.
| Mechanic | Main Function | Best Situation |
|---|---|---|
| Block | Stops most incoming attacks | Learning a new enemy's patterns |
| Parry | Creates a counterattack opening, builds Blaze Gauge | Interrupting enemy pressure |
| Deflect | Deals heavy stamina damage | Pushing enemies toward Break Issen faster |
| Reflex Dodge | Avoids attacks with precise timing, fills Reflex Gauge | Punches, kicks, grabs |
| Issen | High-damage counterattack with tight timing | When you know the attack perfectly |
| Break Issen | Finisher after enemy stamina hits zero | Executing weaker Genma, damaging bosses |
| Blade Barrage | Wins simultaneous weapon clashes | Punishing sword-on-sword collisions |
| Blade Lock | Wins a locked-blade struggle | Draining enemy stamina after a clash |
The Stamina Gauge sits at the center of almost every interaction. Attacks and defensive counters chip away at an enemy's stamina, and fully depleting it opens the door to Break Issen. Musashi has his own stamina to manage too, which means holding Block through every attack is a losing strategy.
Onimusha: Way of the Sword Ultimate Combat Guide: Parry, Issen & More

Light and Heavy Attacks
Musashi's offensive toolkit starts with Light Attacks and Heavy Attacks. On default PlayStation controls, Square handles Light and Triangle handles Heavy. Xbox players use X and Y respectively, though custom bindings can change these.
Light Attacks are faster and safer. They keep pressure on an enemy without locking Musashi into a long animation. Heavy Attacks hit harder but leave a bigger recovery window, so they work best when an enemy has clearly left an opening.
The real value comes from mixing both within a combo string. Alternating between Light and Heavy Attacks changes the sword sequence, which keeps enemies from settling into a predictable defensive rhythm. The core rule: Light Attacks maintain pressure, Heavy Attacks punish openings.
How does Blocking work?
Holding Block stops most incoming attacks, including strikes coming from outside Musashi's direct line of sight. It is the safest defensive option in the game, but it has a real cost: every blocked hit drains Musashi's stamina. If his stamina runs out, his stance breaks and he becomes vulnerable.
Block is best treated as a learning tool. When you are facing an enemy for the first time and have no read on its attack timing, Block gives you the breathing room to study the patterns. Once those patterns are familiar, transitioning into Parry, Deflect, or Reflex Dodge is almost always the better call.
How to Parry in Onimusha: Way of the Sword
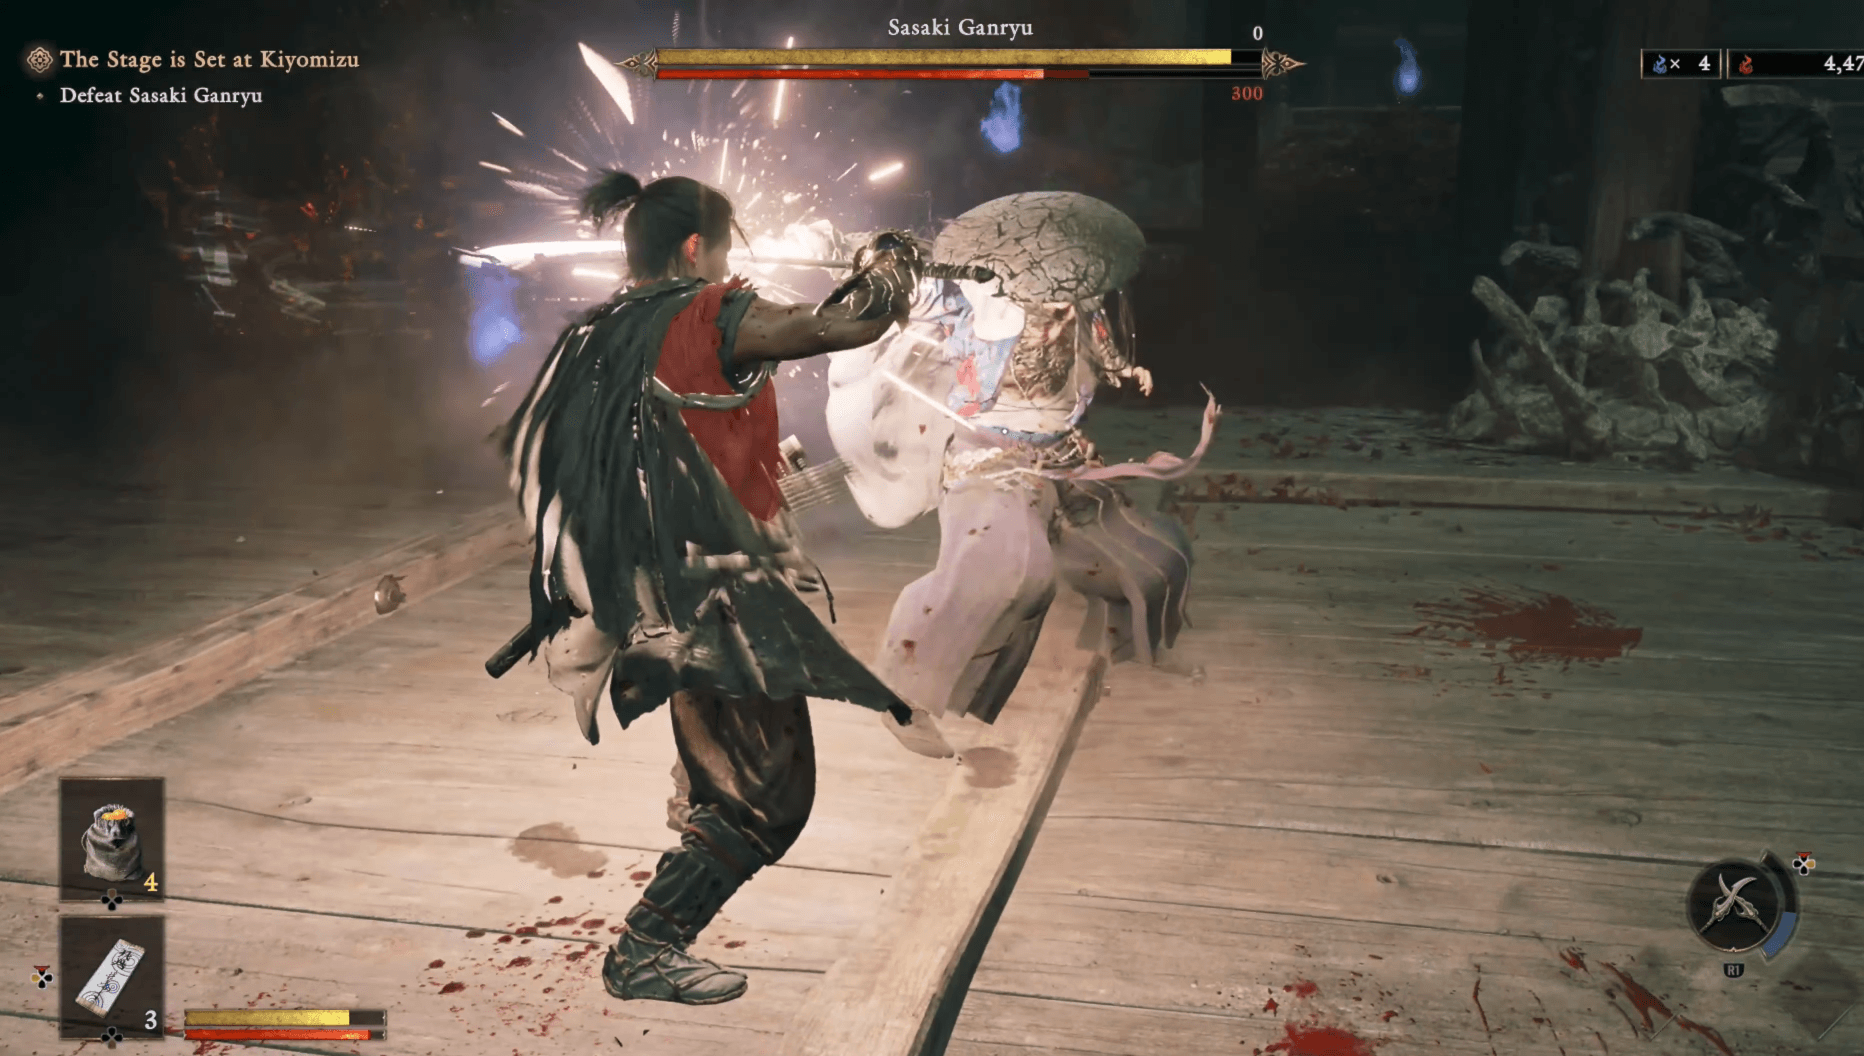
A Parry is performed by pressing Block at the exact moment an enemy attack connects. The timing is tighter than simply holding Block, but the reward is immediate: the incoming strike is disrupted and the enemy is left open for a counterattack.
Parrying also feeds the Blaze Gauge. Stack enough successful Parries and Musashi enters Blazing State, which increases both health and stamina damage output while also generating more souls from combat. That makes Parry one of the most consistently valuable mechanics in the game since it handles defense, creates offense, and builds toward an empowered state all at once.
For players still learning the combat system, Parry is the right place to start. It is more forgiving than Issen and more immediately rewarding than holding Block.
Onimusha: Way of the Sword Ultimate Combat Guide: Parry, Issen & More
How does Deflect differ from Parry?
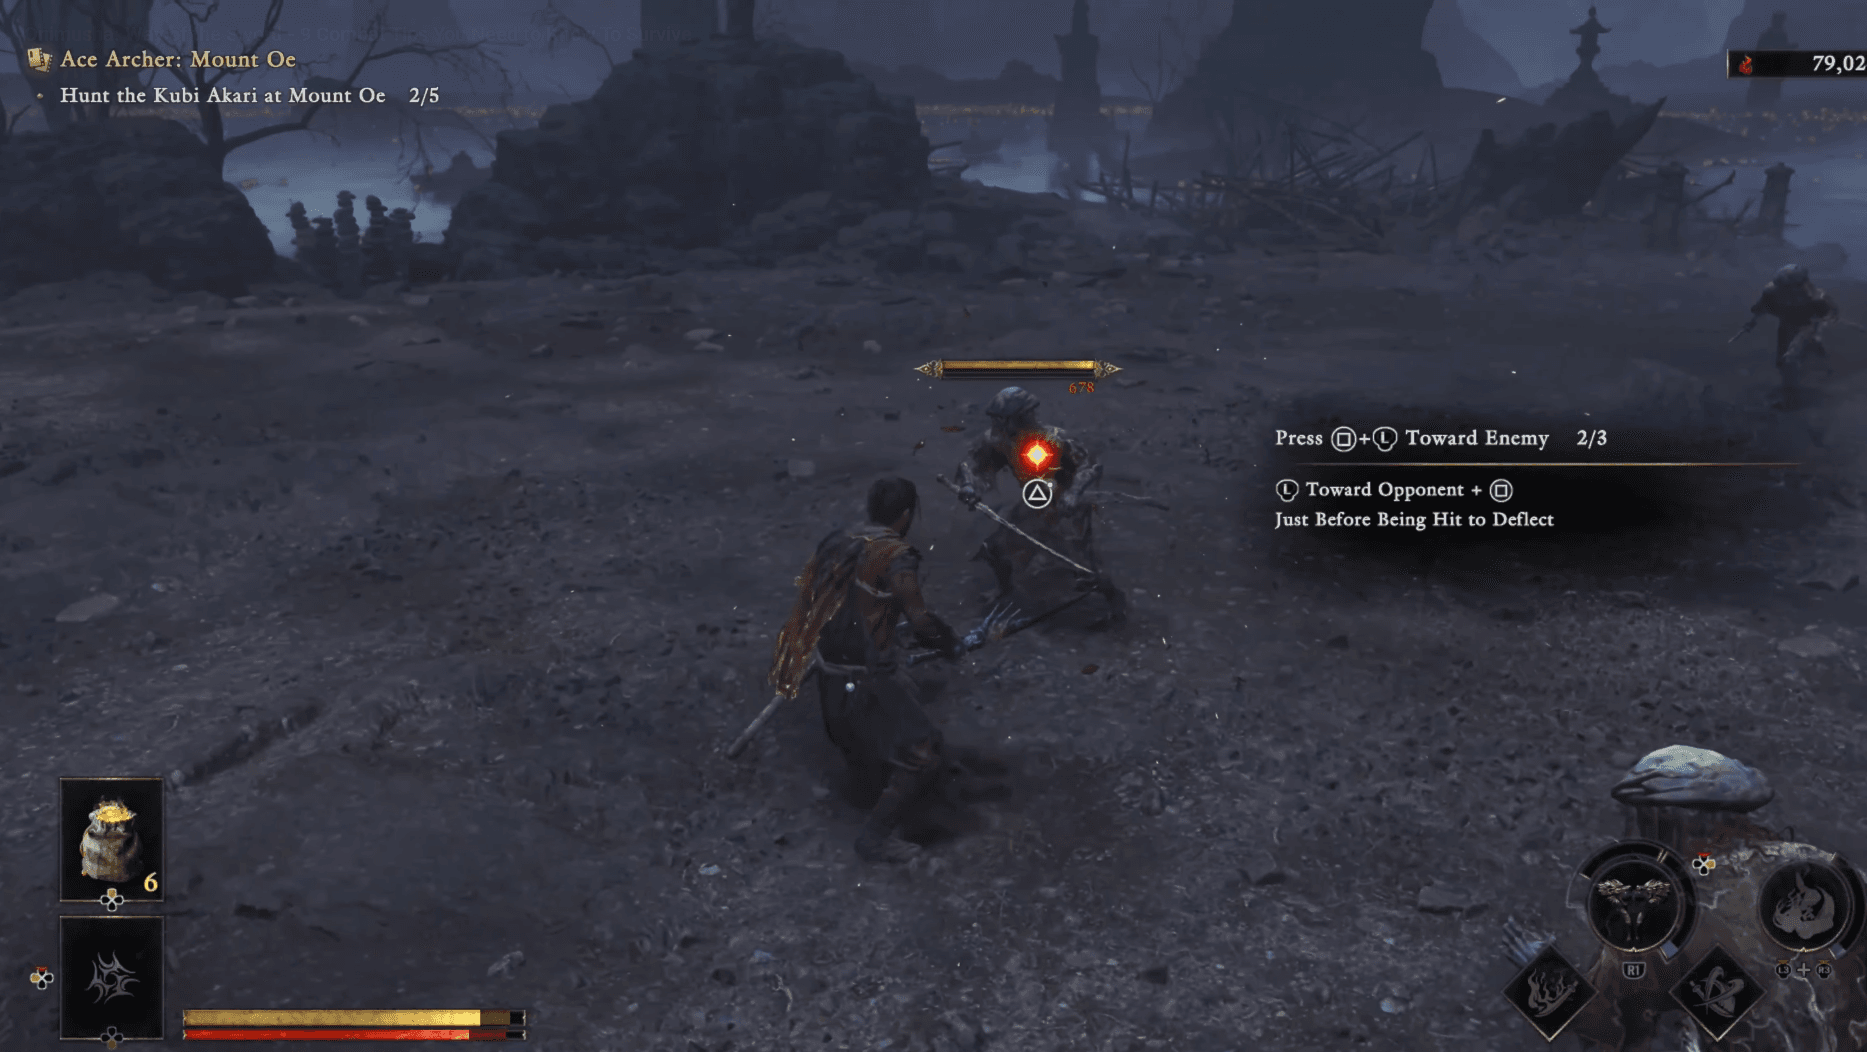
Deflect uses similar timing to Parry but serves a completely different purpose. On default Xbox controls, it is performed with Block and A simultaneously as the attack lands. PlayStation players use L1 and X together.
Where Parry creates an opening for a counterattack, Deflect prioritizes stamina damage. A successful Deflect takes a much larger chunk out of the enemy's Stamina Gauge than a Parry does, which means repeated Deflects can push tougher enemies toward exhaustion significantly faster.
Deflect also has a secondary use that Parry does not: it can reflect arrows and ranged projectiles back toward the attacker. Against archers and other ranged Genma, this turns their own attacks into a stamina drain tool.
The shorthand that makes this stick:
- Parry - creates an immediate attack opening
- Deflect - drains stamina faster, reflects projectiles
Against standard enemies, mixing both is efficient. Against tougher targets that take a long time to wear down, leaning into Deflect is the faster path to Break Issen.
What is Break Issen and how do you trigger it?
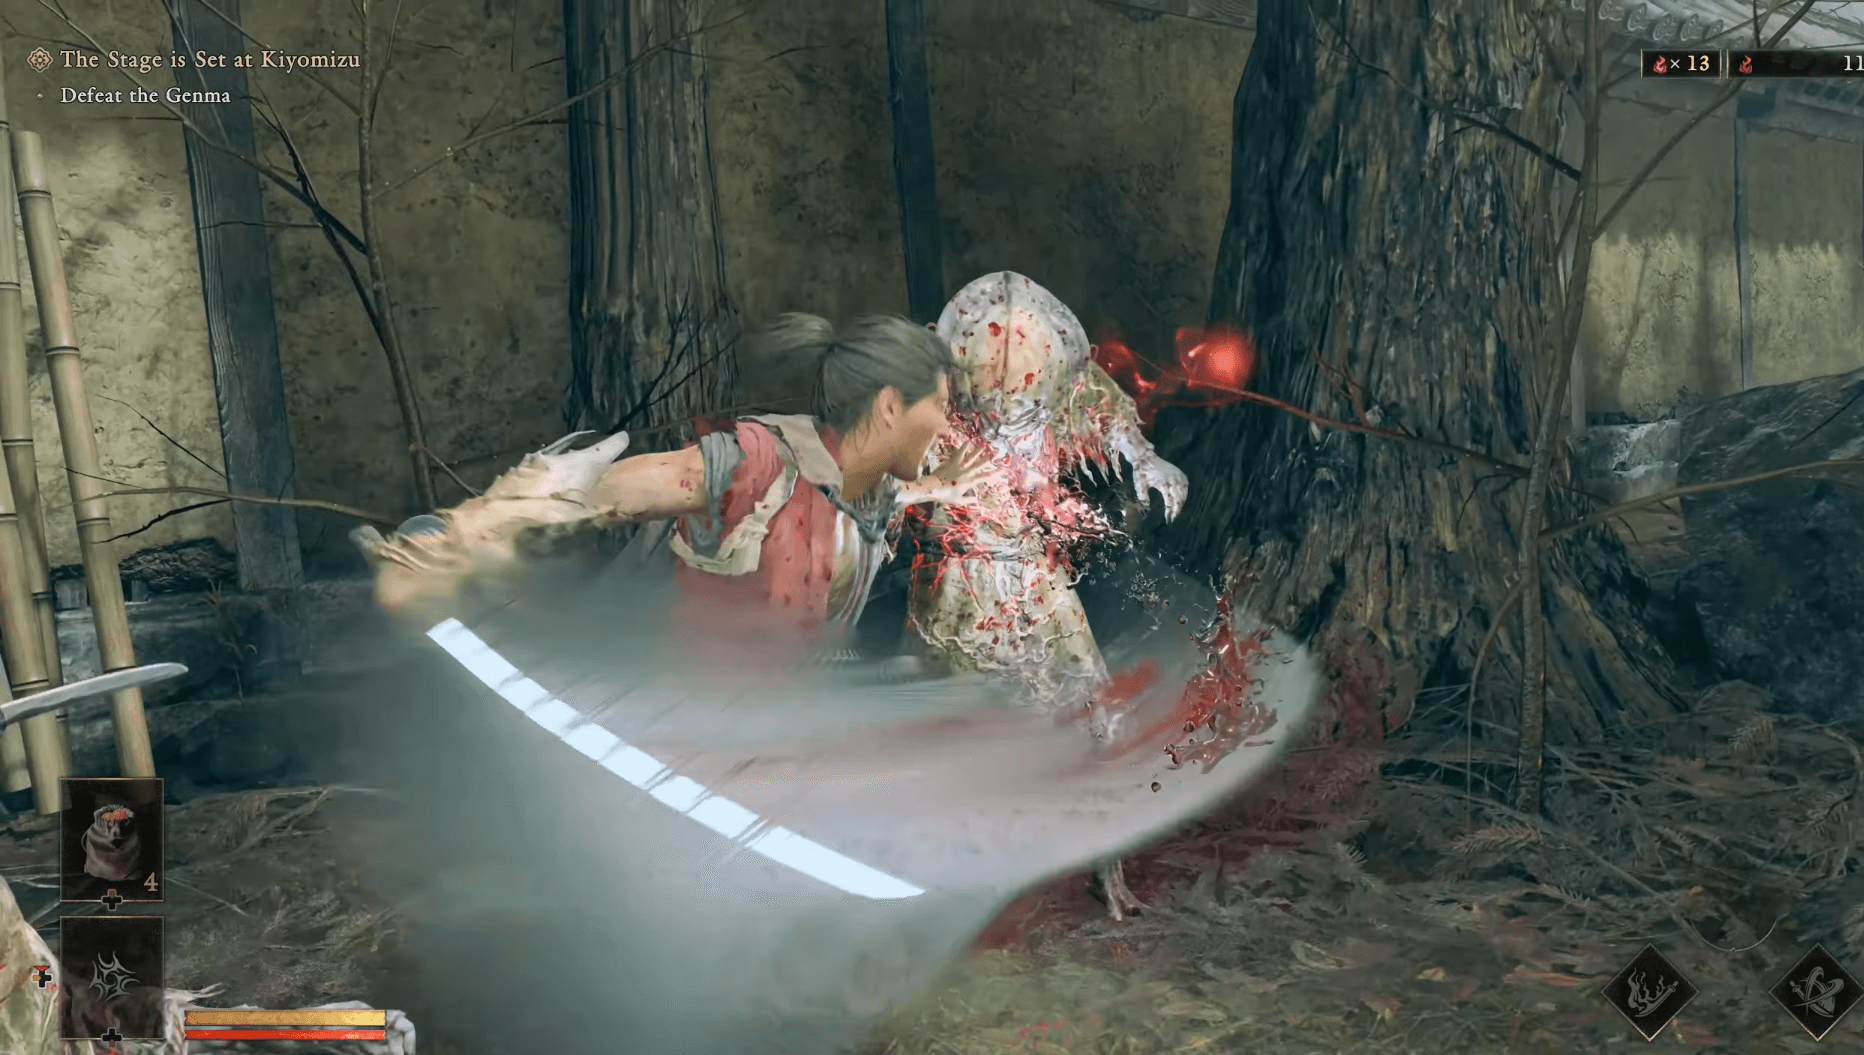
Break Issen becomes available the moment an enemy's Stamina Gauge hits zero. Against most standard Genma, it functions as an execution that ends the fight immediately. Boss encounters work differently: a successful Break Issen on a boss opens specific execution targets, letting you choose between maximizing damage or prioritizing soul rewards.
This mechanic reframes how to approach every fight. Rather than grinding through an enemy's full health bar with normal attacks, the more efficient route is combining attacks, Parries, and especially Deflects to exhaust their stamina and trigger Break Issen. Enemy stamina is as worth watching as enemy health.
How does Reflex Dodge work?
A standard dodge avoids an attack. A Reflex Dodge does more: it requires precise timing on the dodge input, and successful Reflex Dodges build the Reflex Gauge. When the Reflex Gauge fills completely, the next successful Reflex Dodge slows time and opens a window for a powerful Reflex Combo.
Reflex Dodge is also the correct answer for attacks that cannot be Parried or Deflected. Punches, kicks, and grab-style attacks fall into this category. Trying to Parry a punch will not work the same way it works against a sword strike, so recognizing when an enemy switches to unarmed attacks and adjusting immediately is a key skill.
The basic decision tree for incoming attacks:
- Sword strike, confident timing: Parry or Deflect
- Need to drain stamina fast: Deflect
- Punch, kick, or grab: Reflex Dodge
- Perfect timing, high risk acceptable: Issen
How to perform Issen
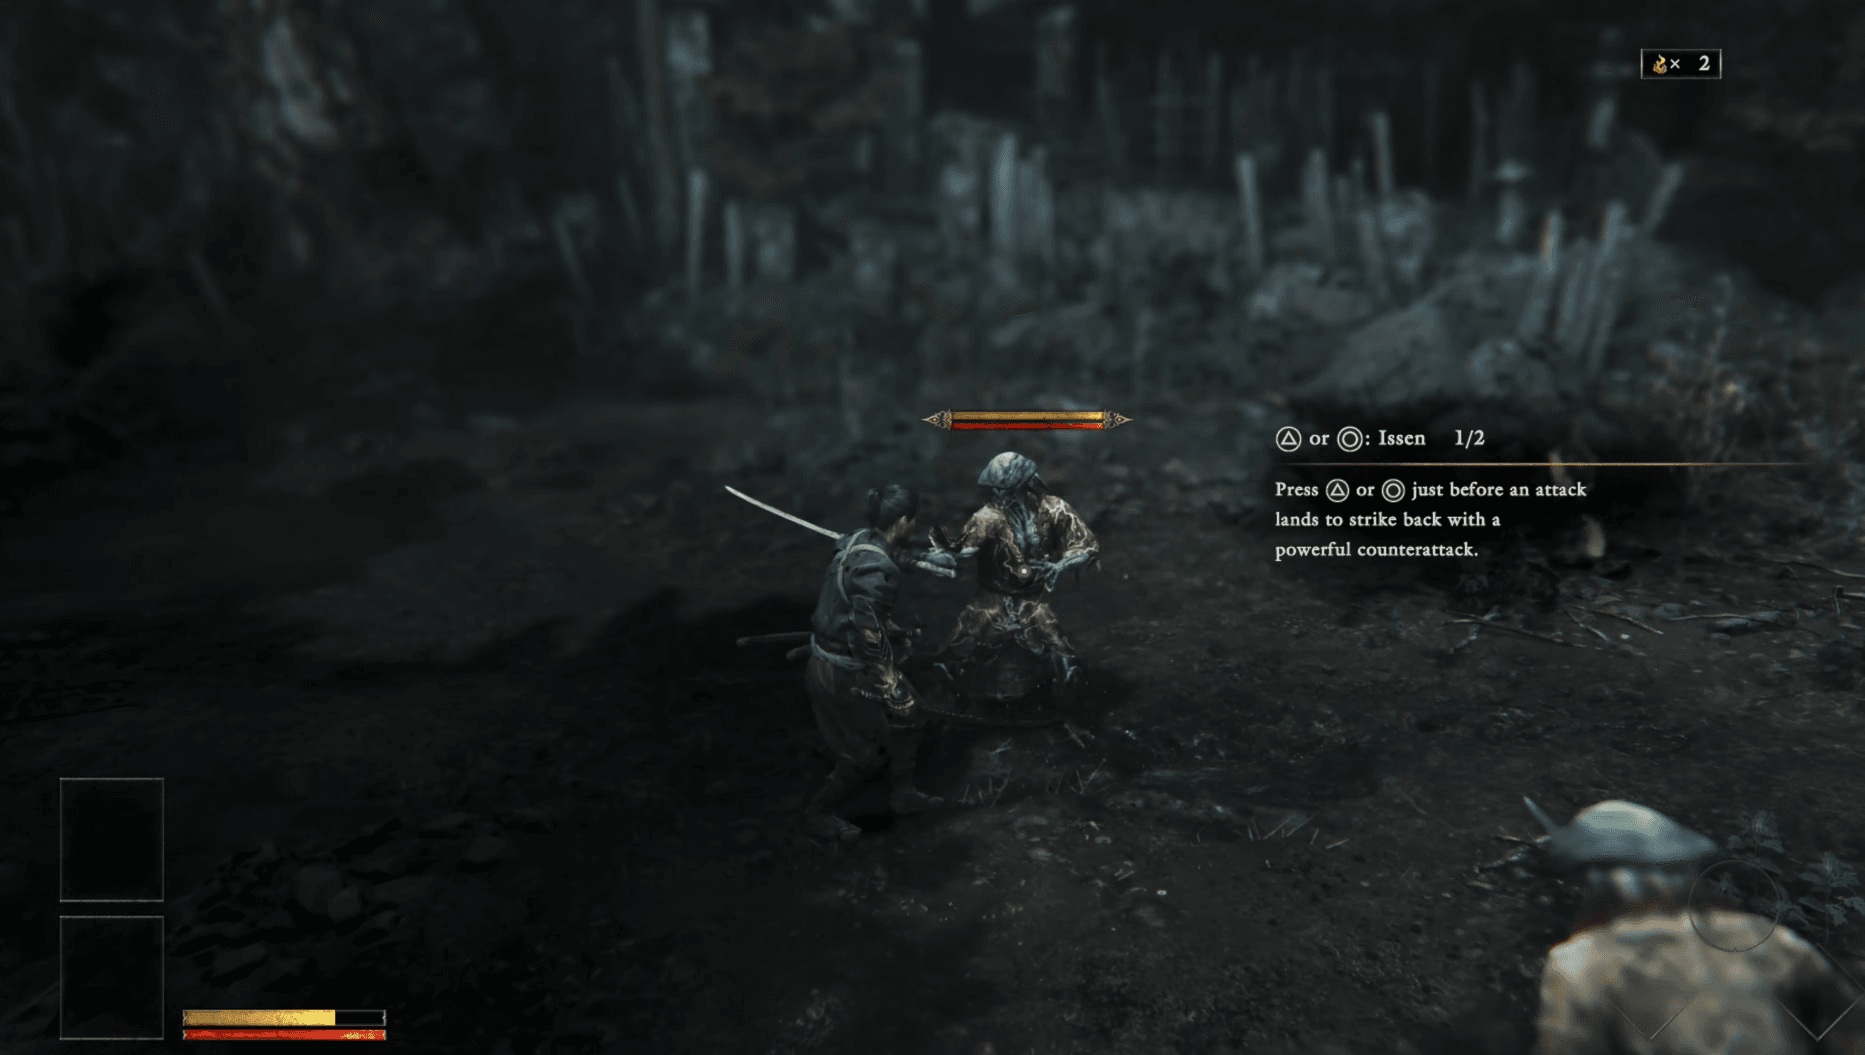
Issen is Onimusha's signature counterattack and the hardest to land consistently. Instead of blocking, Musashi must begin an attack just before the enemy's strike connects. If the timing is right, he sidesteps the blow and delivers a powerful counterattack. If it is wrong, he eats the hit directly.
Against weaker Genma, a clean Issen can end the fight in a single exchange. Stronger enemies and bosses take significant damage instead. The risk-reward is clear: Issen is faster and more decisive than Parry, but the penalty for mistiming it is worse.
The practical approach: learn a new enemy's attack timing through Block and Parry first. Once the timing feels predictable, start working in Issen attempts. Rushing Issen on an unfamiliar enemy is how fights go wrong quickly.
Onimusha: Way of the Sword Ultimate Combat Guide: Parry, Issen & More
How does Chain Issen work?
A successful Issen against one enemy can flow directly into Chain Issen when other enemies are nearby. After the first Issen connects, a visual timing cue appears. Pressing an attack button around that cue continues the chain toward the next target.
The key is reading the cue rather than button mashing. Pressing too early or too late breaks the chain. When several weaker Genma are grouped together, one well-timed Issen can turn into a crowd-clearing sequence that removes multiple enemies without resetting between kills.
What is Blade Barrage?
A Blade Barrage triggers when Musashi's attack and an enemy's weapon strike land simultaneously. This creates a brief sword-clash sequence where the correct response is switching attack types.
| Barrage Entry Attack | Correct Follow-Up |
|---|---|
| Light Attack | Heavy Attack |
| Heavy Attack | Light Attack |
The visual flash during the clash is the clearest indicator of which attack type started the exchange. Watch the flash, identify the entry type, and respond with the opposite. Randomly pressing buttons during a Barrage is less reliable than reading the visual cue and reacting deliberately.
What is Blade Lock?
Blade Lock is a separate sword-clash mechanic that can occur from a Parry or Deflect. Musashi and the enemy lock weapons together, and the player needs to rapidly press either attack button to win the struggle. Winning throws the enemy off balance and removes a significant chunk of their stamina, which feeds directly into the Break Issen pipeline.
Blade Locks do not happen constantly, so the most important skill is recognizing when one starts and responding immediately with rapid inputs rather than continuing to hold a defensive button.
Onimusha: Way of the Sword Ultimate Combat Guide: Parry, Issen & More
Stealth takedowns: when should you use them?
Not every Genma needs a full fight. Approaching an unaware enemy from behind without alerting it lets Musashi perform a stealth takedown, removing the target before combat begins. Walking is safer than running during the approach since rushing can give away Musashi's position.
Stealth takedowns are most valuable before larger group encounters. Removing even one enemy from a crowd before the fight starts makes the remaining crowd management considerably easier.
Best tips for mastering combat
After spending time with every mechanic, a few patterns stand out as the most reliable path to improvement:
- Start with Parry and Deflect. These two mechanics cover the majority of combat situations and are more forgiving than Issen. Getting comfortable with their timing makes every other tool easier to layer in.
- Watch enemy stamina as closely as enemy health. A faster path to victory often runs through Break Issen rather than whittling down a full health bar.
- Against groups, avoid getting surrounded. Use defensive mechanics to control the pace rather than committing to long offensive combos.
- Against bosses, short attack strings followed by a return to defense are safer than extended combos. Bosses punish overcommitment hard.
- Treat each incoming attack as a choice: Parry it, Deflect it, dodge it, or risk an Issen. Once you have a read on an enemy's patterns, the combat system becomes much more readable.
For a full breakdown of every guide covering Musashi's journey, the Onimusha: Way of the Sword strategy guides have you covered. If you are still setting up your platform before diving in, check the PC and console system requirements to make sure your setup is ready, and confirm your regional release times so you know exactly when you can start playing.