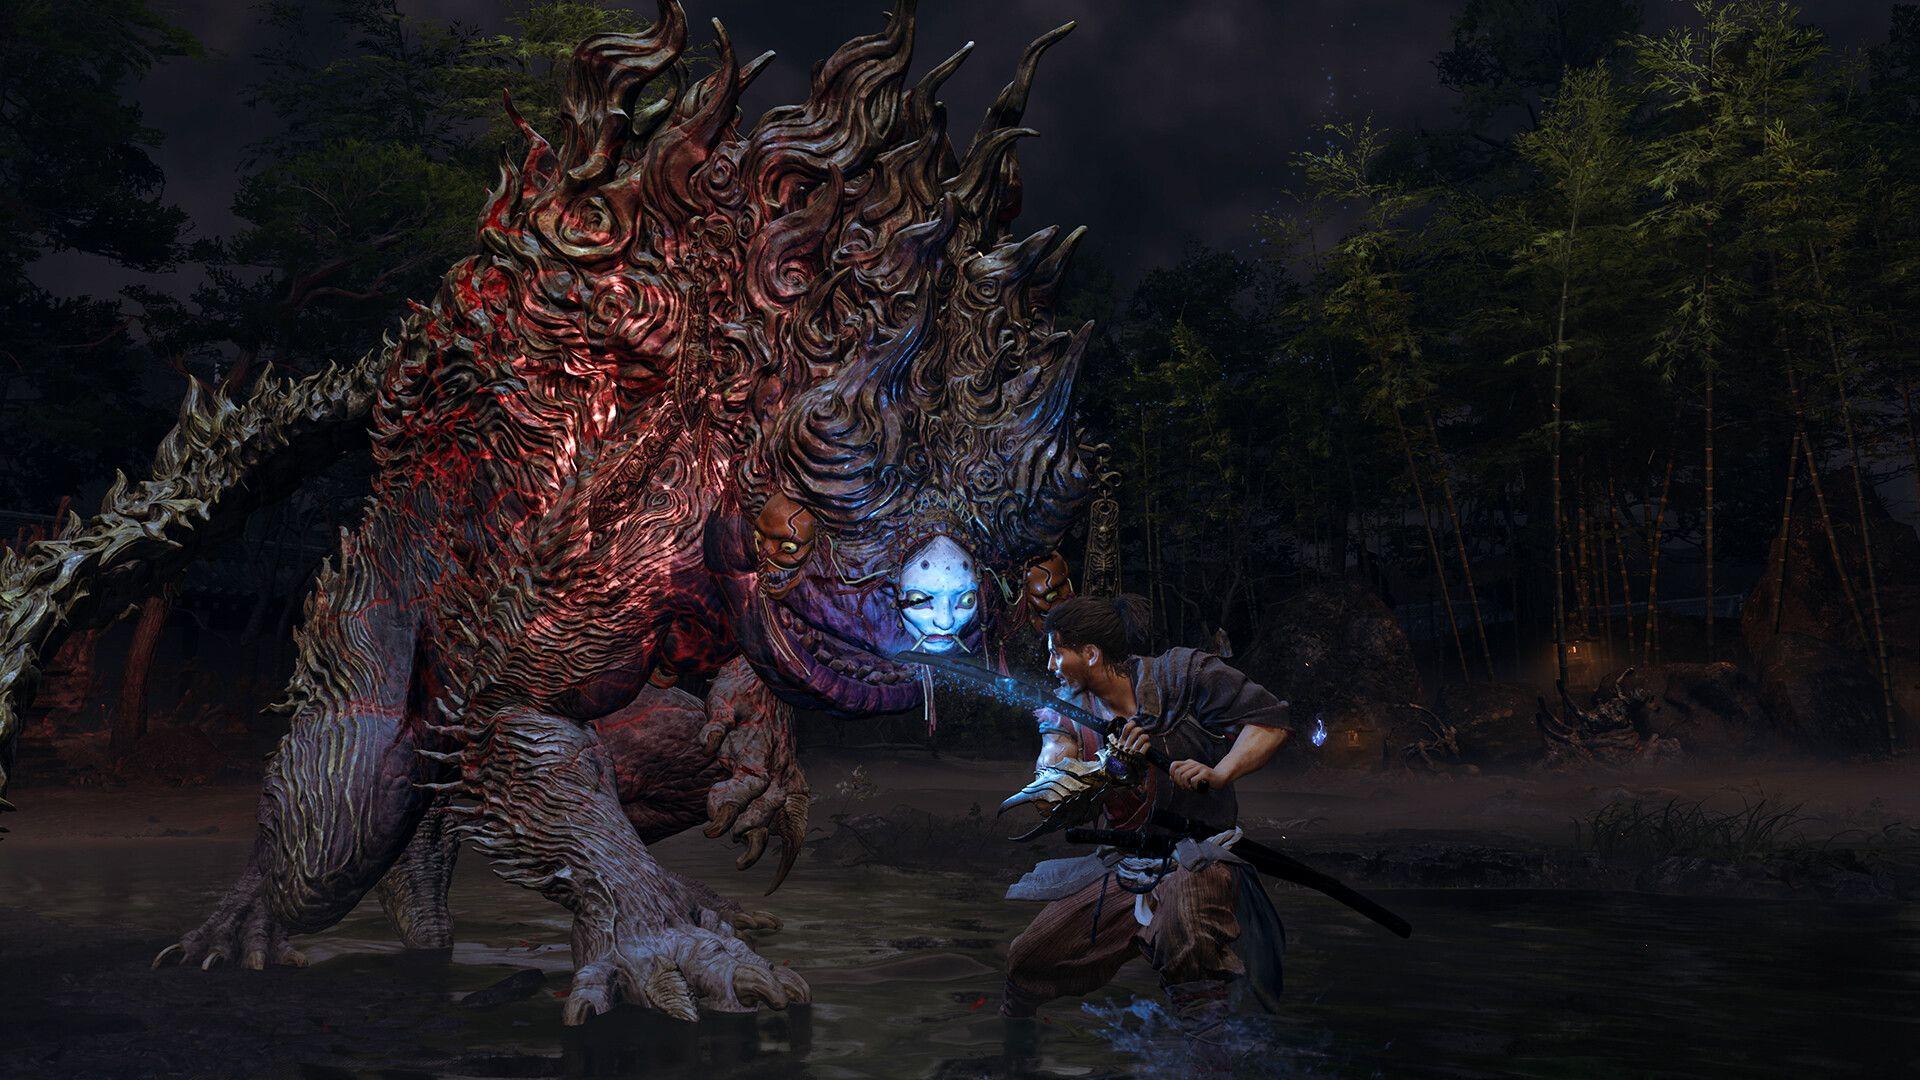


Onimusha: Way of the Sword has 18 main boss encounters in its Practice Ground Boss Rematch roster. Some early guides circulating after launch only counted 15, missing the enhanced variants and duo fights that round out the full list. This guide covers every single one, with phase-by-phase strategies, recommended item setups, and the defensive reads that actually matter.
The core lesson across every fight is the same: bosses die to stamina pressure, not raw damage. Deflects and Issen counters chip stamina, and a broken stamina bar opens the door for a Break Issen or a soul harvest. Short attack strings beat long combos every time.

Spoiler warning: This guide names every major boss, including the final encounter.
All 18 bosses at a glance
The order below follows the Practice Ground's Boss Rematch menu, not the campaign's story sequence. PC players can browse our boss walkthroughs in the GAMES.GG companion app when reviewing an encounter before the next attempt.
What is the best general strategy for boss fights?
Before chasing perfect Issen timing, get Deflects down first. Deflecting is safer, still damages stamina, and creates riposte windows. A clean Issen rewards better damage and more souls, but a failed attempt against a late-game boss can cost a full health bar.
A few rules apply across every encounter:
- White-glowing attacks cannot be countered with Issen. You must Parry or Deflect them.
- Blue attacks call for the specific counter action displayed on screen.
- Guarded body parts require guard break, not continued swinging.
- Special arena targets almost always respond to Oni Vision and the Oni Bow.
- Purple Break Issen targets release yellow, blue, and purple souls for health, Oni Power, and Oni Awakening.
- Red Break Issen targets deal direct damage and strip armor when the fight demands it.
For a deeper look at every defensive mechanic, the Onimusha: Way of the Sword combat guide covering Parry, Issen, and more is worth reading before tackling the harder rematches.
What is the recommended item setup for bosses?
Check the full Oni Armament locations guide to make sure your loadout is complete before attempting the later bosses.
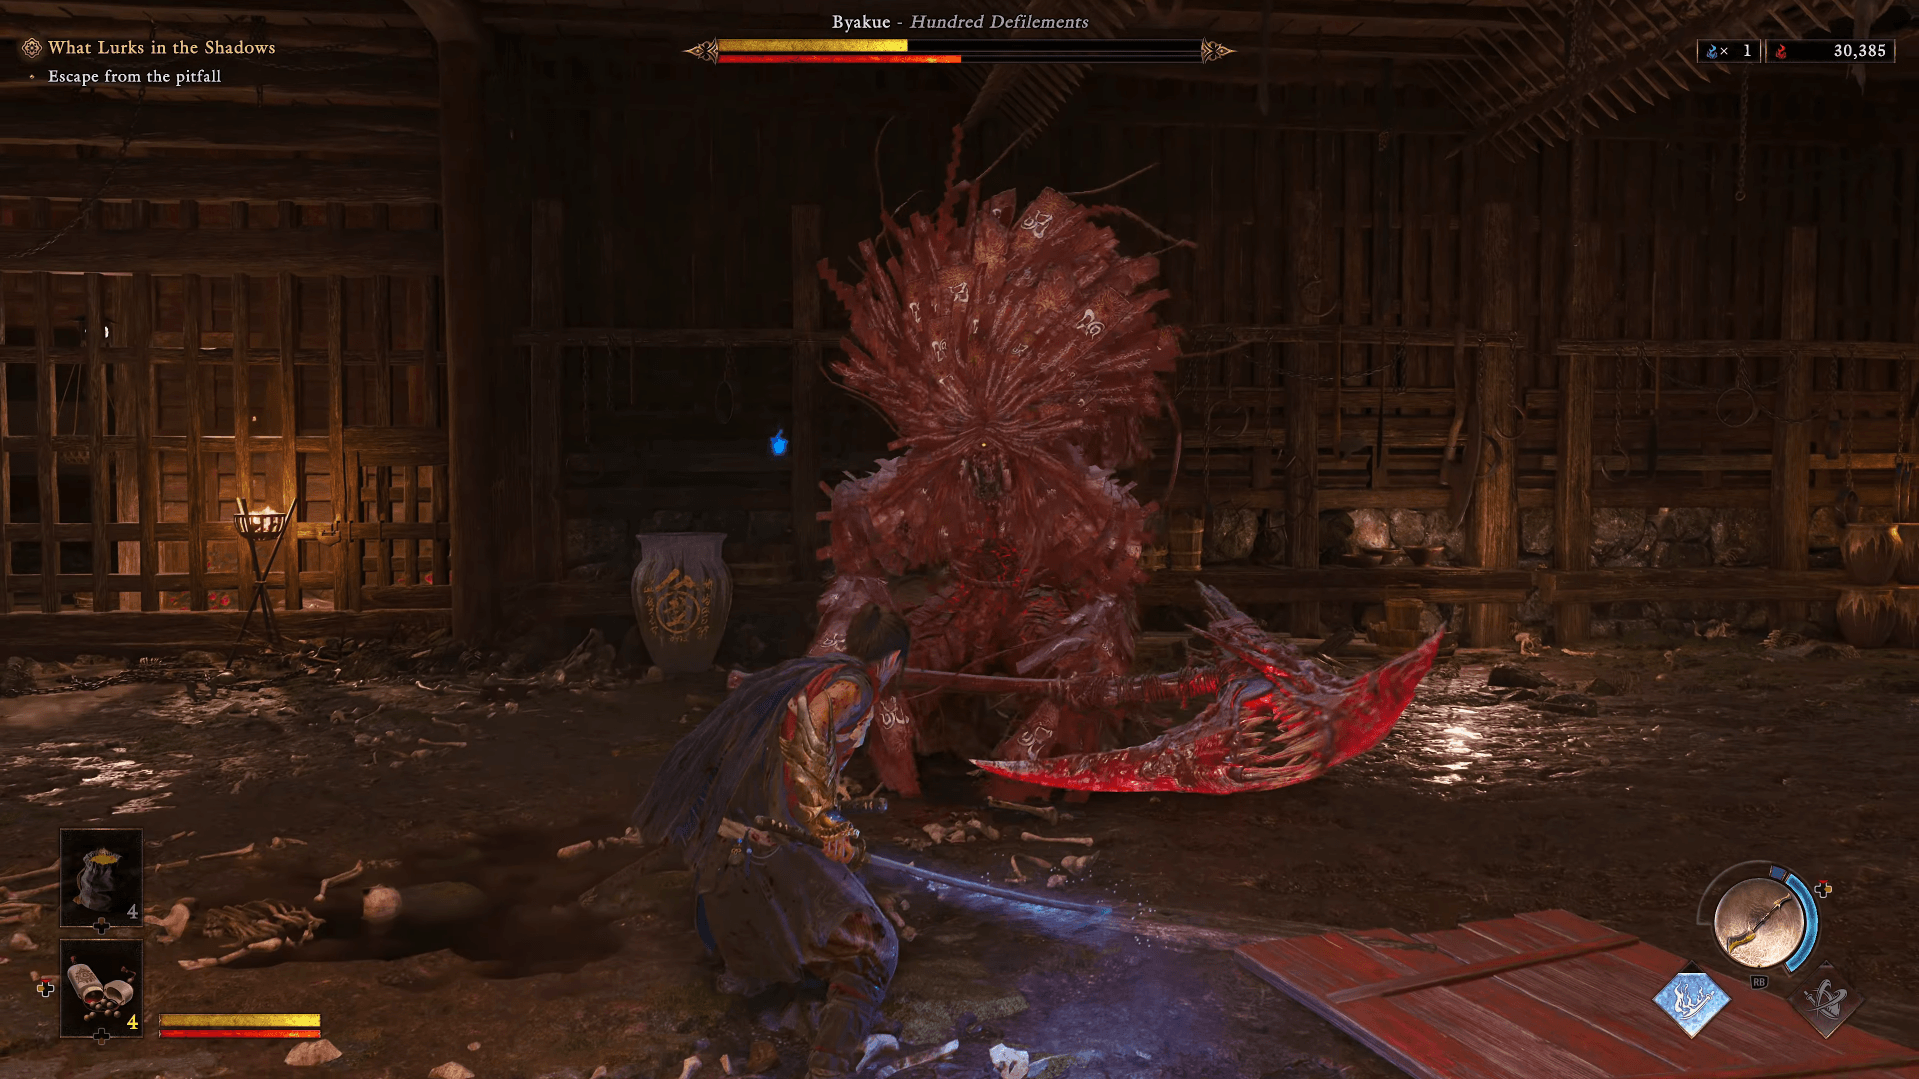
How to beat Byakue
Byakue's axe attacks are the cleanest Deflect opportunities in the fight. His shoulder charge and running rush are better answered with a lateral dodge. The talisman-hair grab can be countered just before it connects or avoided entirely by stepping outside its range.
Slower axe swings become Issen opportunities once the timing feels natural, but both charge attacks are exceptions. Meeting either one with a sword creates unnecessary risk. After a Deflect or Issen, take a short punish and reset before the next swing rather than extending into a full combo.
The enhanced version follows the same pattern until Byakue coats his axe in Malice below half health. Jump as the Malice ground slam lands and clear the corrupted pools before re-engaging. Chasing him through a pool almost always costs more health than the extra hit is worth.
Onimusha: Way of the Sword Gude: All Bosses & How to Beat Them
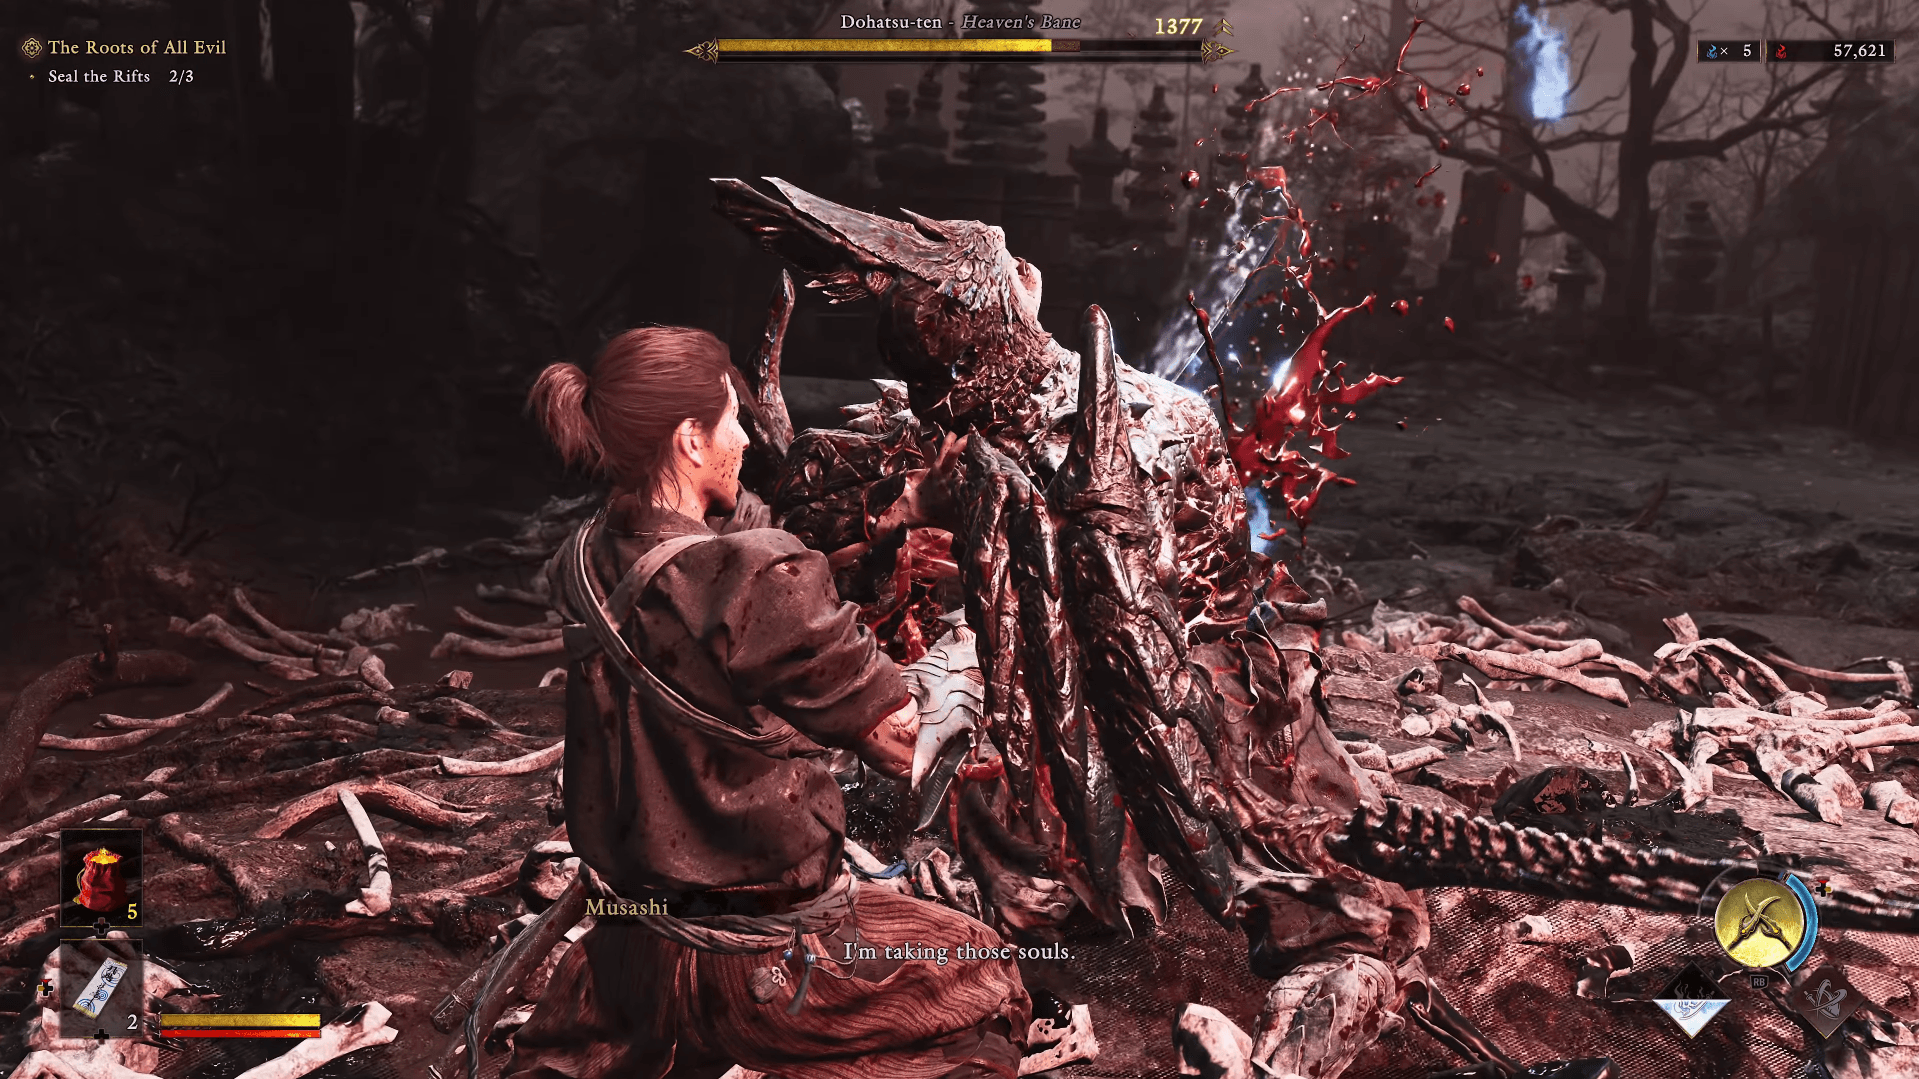
How to beat Dohatsu-ten
Dohatsu-ten combines heavy katana strikes with kicks, ranged slashes, and defensive phases. Regular weapon attacks can be Deflected. Kicks are safer to dodge. When normal attacks stop dealing damage, switch to guard break instead of continuing to swing.
The line "No escape" signals an incoming white-glowing attack that must be parried or Deflected. "Shatter," "Prepare," and "Perish" can precede a ranged sword wave. Those projectiles can be Deflected back, converting his long-range pressure into a free damage window.
In his enhanced state, Dohatsu-ten teleports around the arena and attacks at the end of each movement. Track where he reappears and Deflect the follow-up rather than chasing the teleport. The dedicated enhanced rematch applies these faster patterns from the opening seconds, but the same rules hold throughout.
Onimusha: Way of the Sword Guide: All Bosses & How to Beat Them
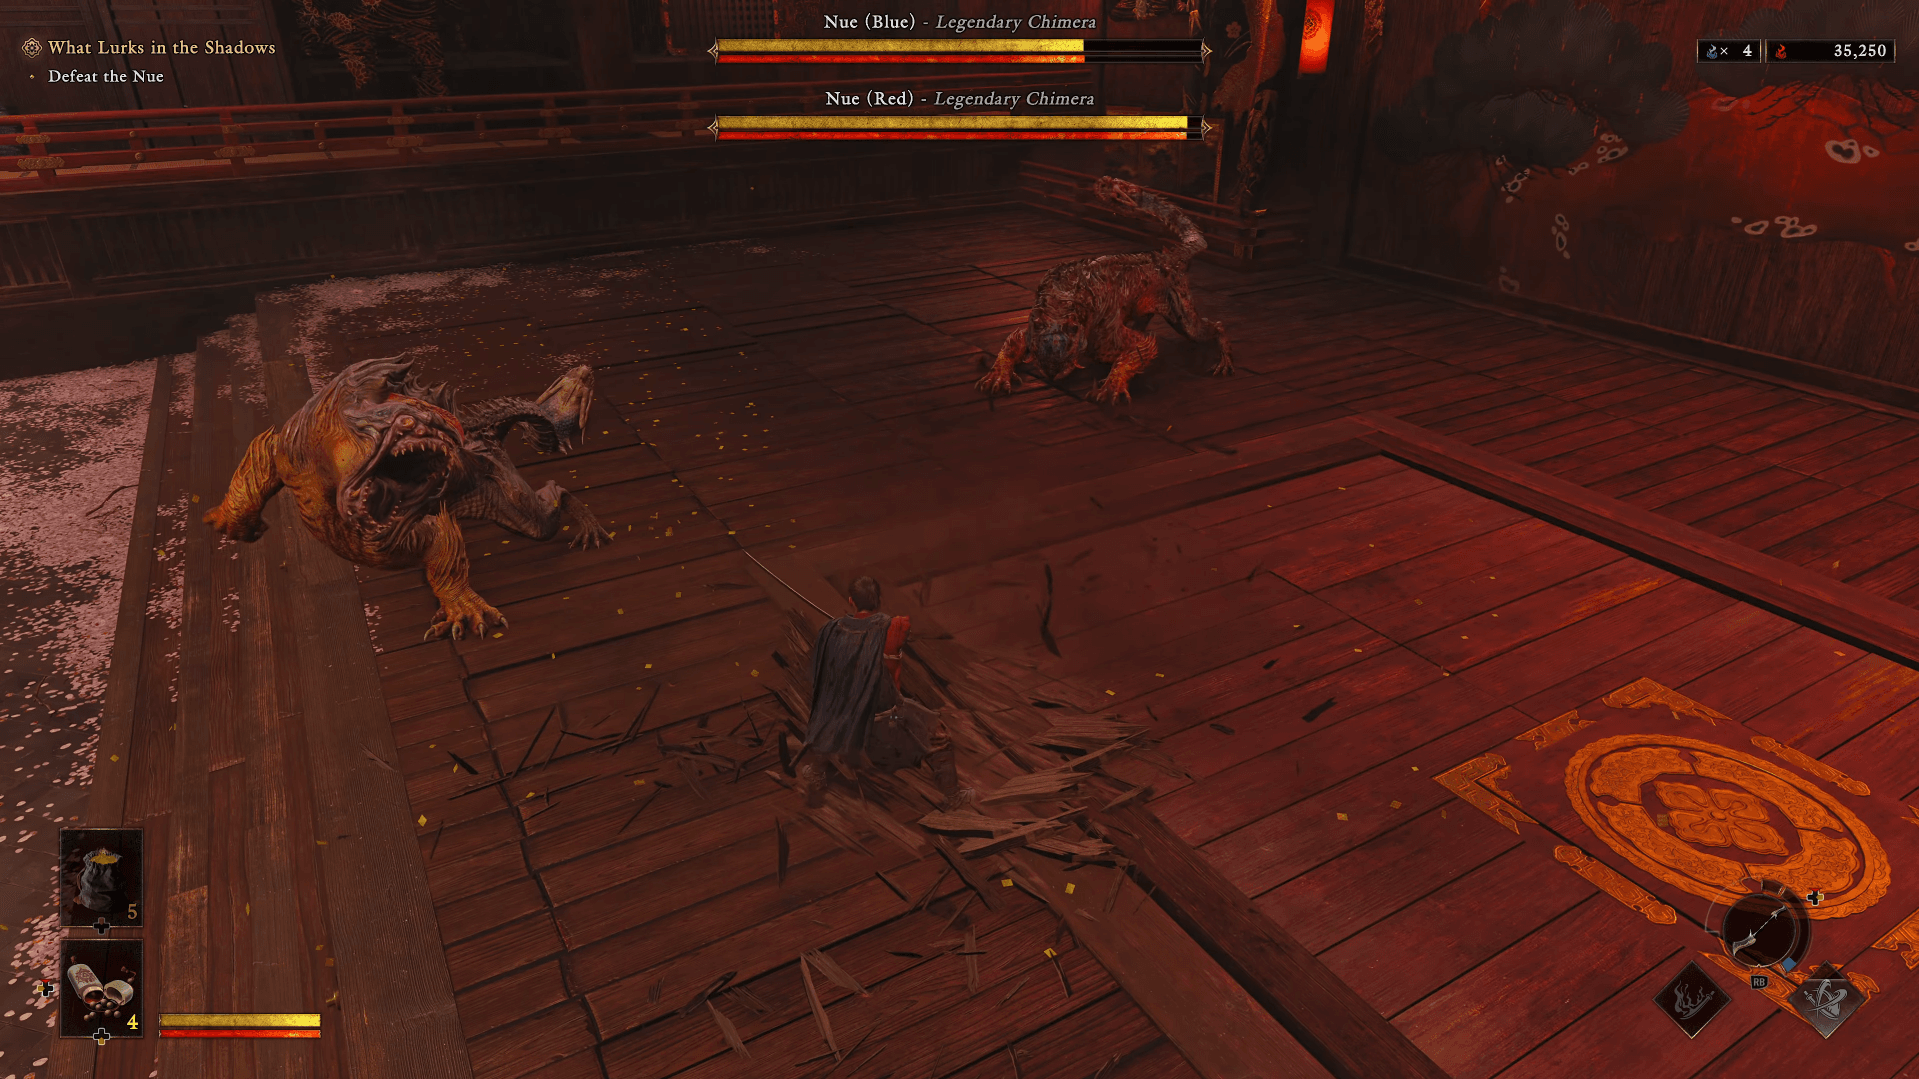
How to beat Nue (Blue) and Nue (Red)
Leave the camera unlocked for this fight. Both Nue need to stay visible at all times, and locking onto one while the other is behind Musashi is the fastest way to lose the encounter. Attack whichever one is closer, keep combos short, and stay ready to dodge from either side.
Reflex Dodge outperforms standing Deflects against body attacks here. Positioning near the outer edge of the arena makes both Nue's attack animations easier to read. When one covers its face with its tail, guard break exposes it. Below half health, the serpent tails become more active and fire electrified orbs that can be Deflected back.
Taking one Nue out first makes the rest of the fight manageable, but tunnel vision while both are active is the real danger. A short punish followed by an immediate camera check beats finishing a full combo every time.
Onimusha: Way of the Sword Guide: All Bosses & How to Beat Them
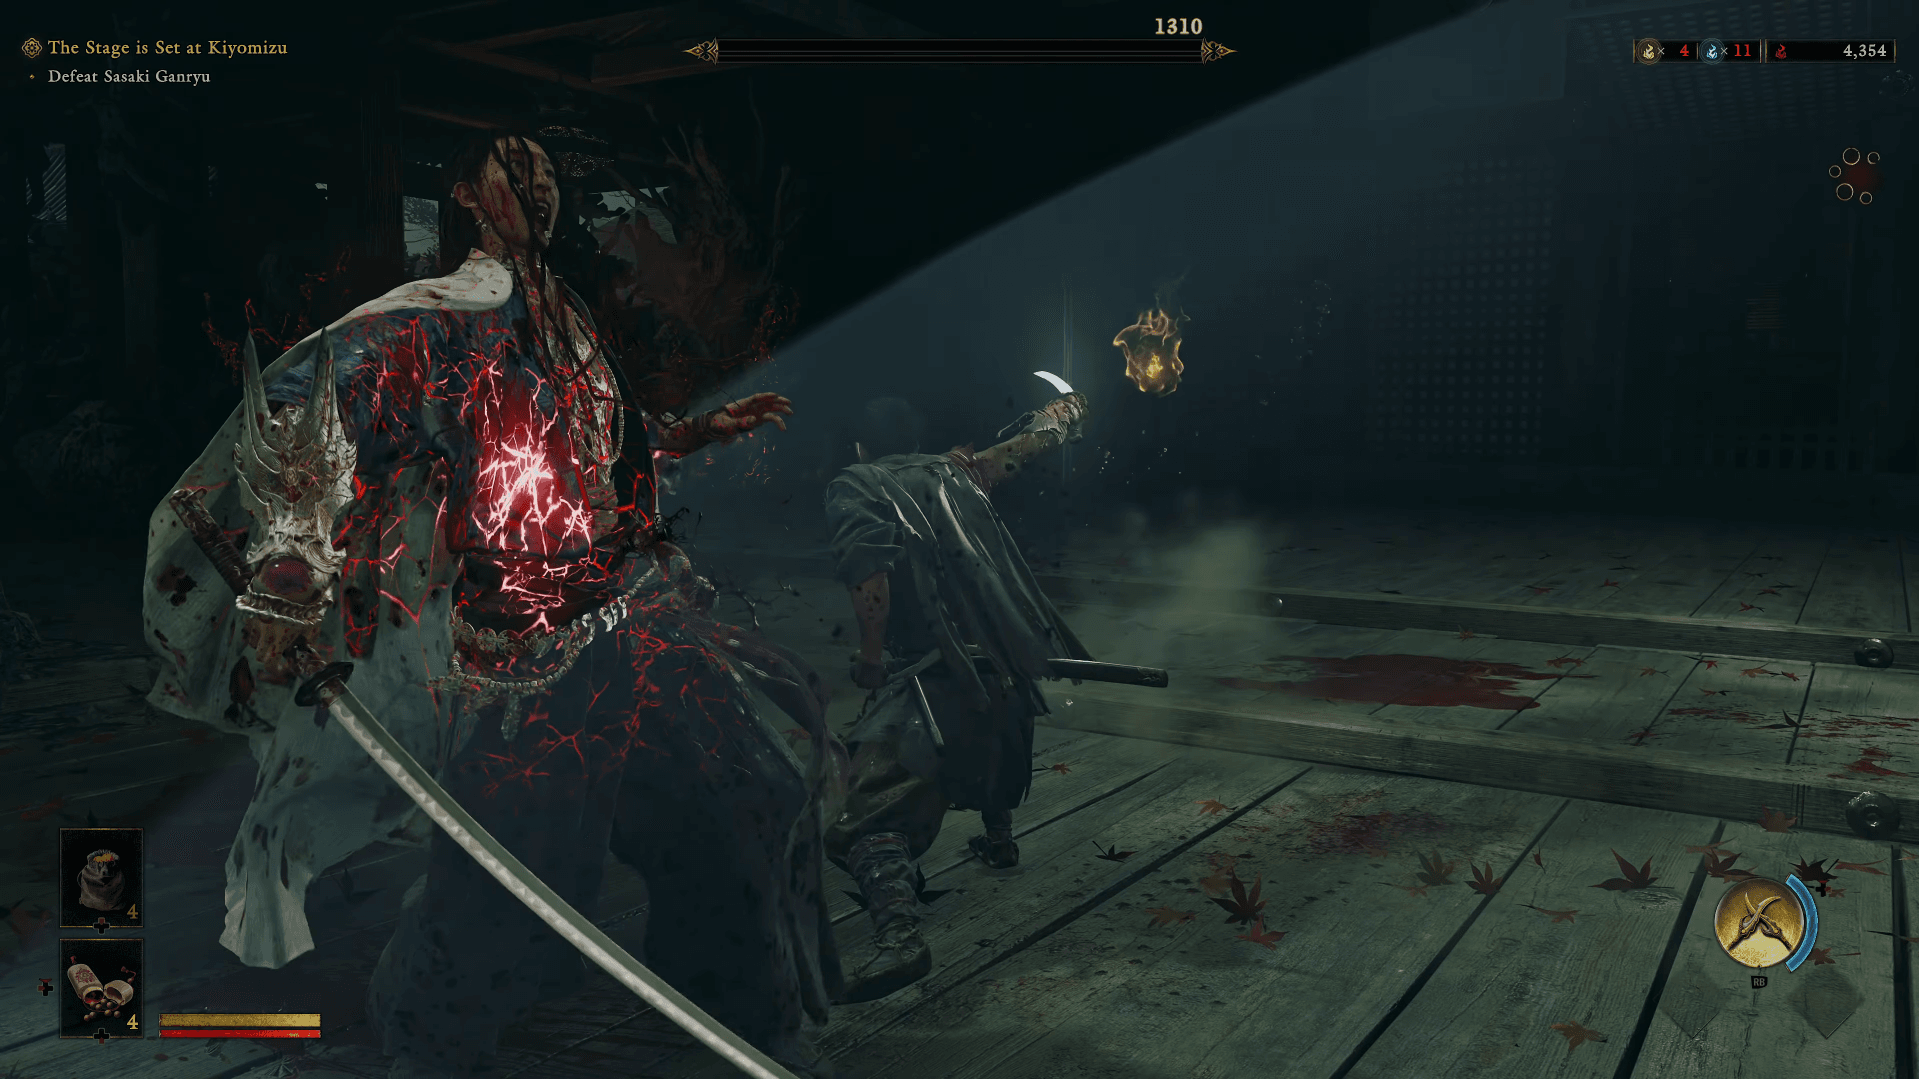
How to beat Sasaki Ganryu
Sasaki alternates quick thrusts with slower, delayed swings. React to the weapon animation rather than a fixed rhythm. His aerial stomp can be dodged or answered with Issen, while the left-hand grab requires the displayed Evade response, not a sword counter.
His stamina recovers when the duel slows down, so consistent pressure matters. Two or three light attacks after a successful read is enough before resetting. Long strings make his delayed attacks harder to answer.
Altered Sasaki Ganryu is a two-phase fight with Gioh and separate health bars. Sasaki keeps his earlier patterns but the thrust is faster, and Gioh attacks independently. Her tentacle movements need to be tracked even while pressuring Sasaki. When Gioh stretches toward the red flowers to restore Sasaki's stamina, an Oni Bow shot to her neck stops it.
Phase two adds tentacle slams, neck attacks, and a blue mouth grab. Sasaki's "Smash him flat, Gioh!" call signals the stronger tentacle patterns. She can also coat Sasaki's sword in Malice for an extremely fast white-glowing strike. Purple Break Issen targets are especially valuable here for building Oni Power and Oni Awakening before the fight escalates further.
Onimusha: Way of the Sword Guide: All Bosses & How to Beat Them
How to beat Daidara
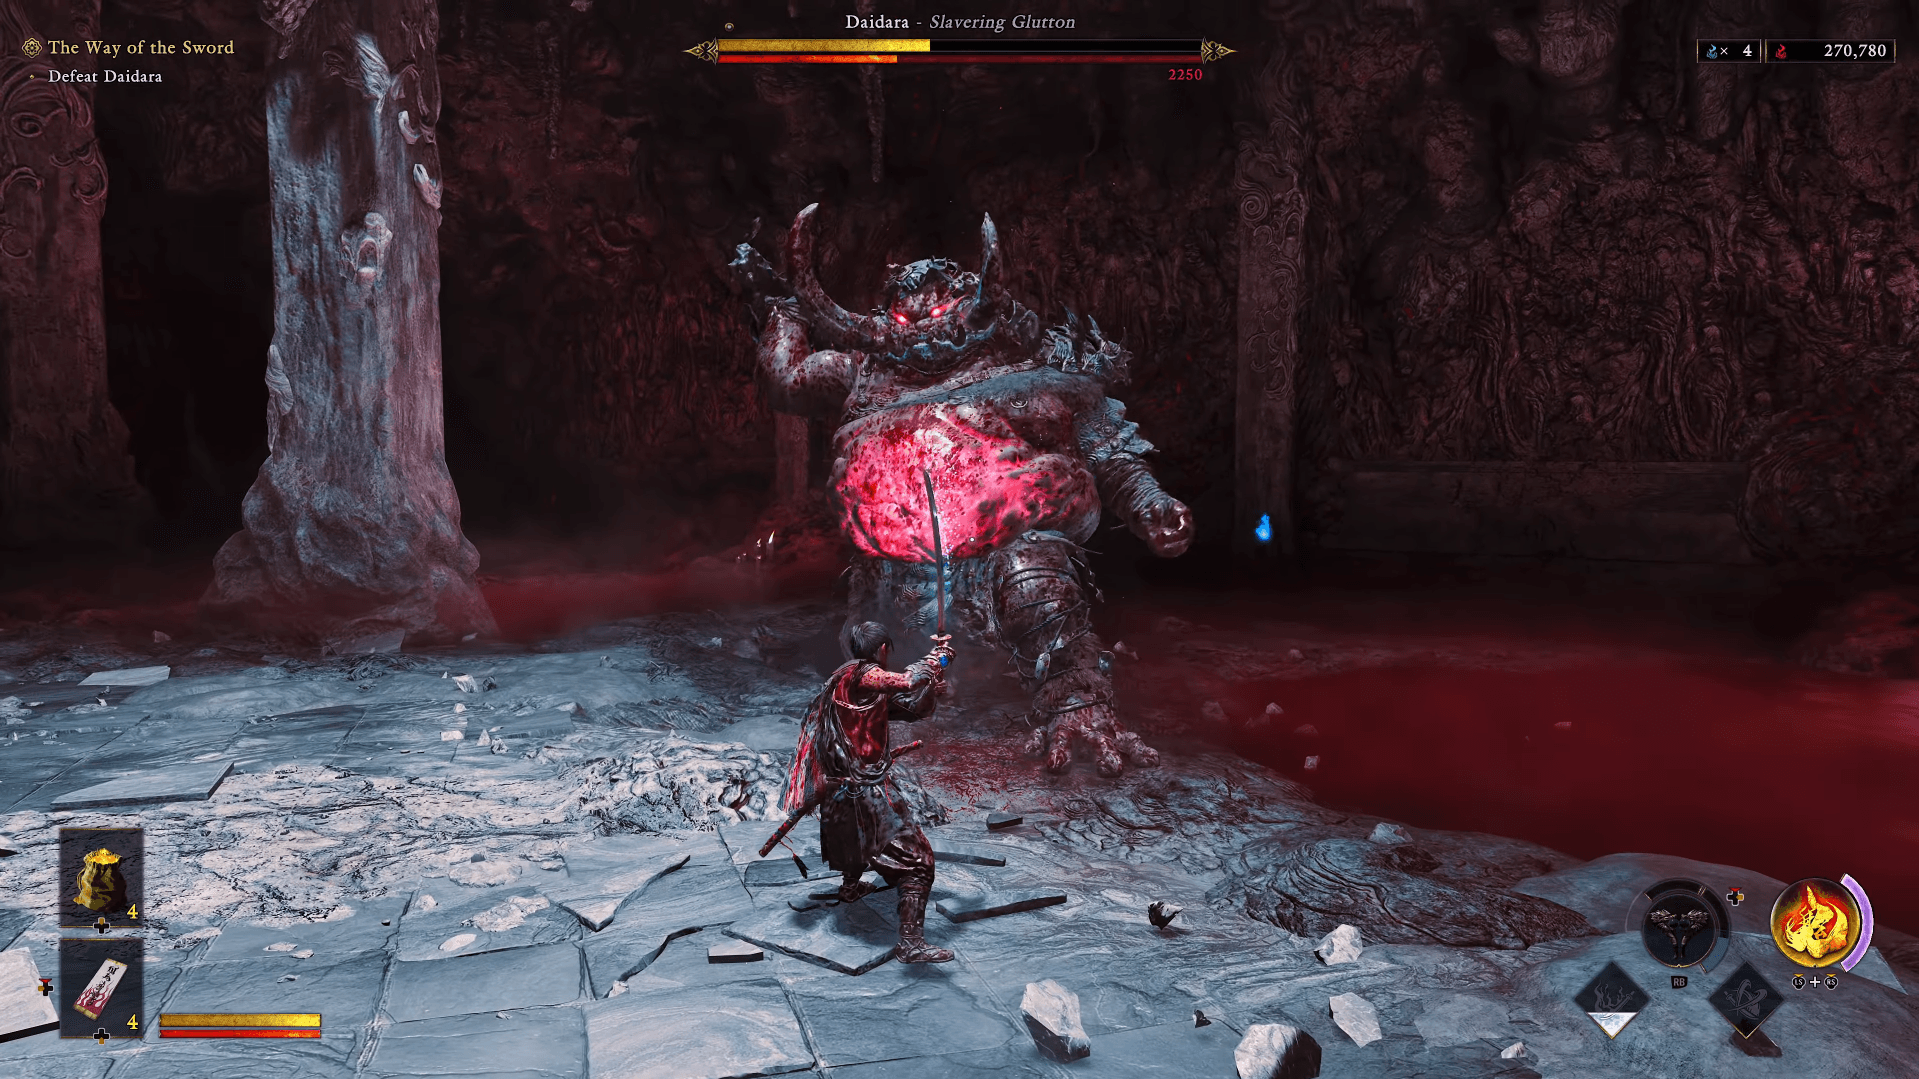
Daidara's slow mace attacks make him one of the more readable Deflect targets in the game. Wait for his larger swings rather than trying to counter every quick movement. Early in the fight, his weapon can get stuck in parts of the arena, creating free windows to hit exposed armor.
The fight's main mechanic is soul control. Daidara absorbs blue souls left in the arena to power up, with his glowing red belly confirming he has done so. Absorb those souls as soon as the arena is clear rather than leaving them on the ground.
His forward rush can be Deflected for heavy stamina damage, though dodging is safer until the timing is familiar. The hand grab in phase two needs its counter action. When Daidara licks his mace, stop attacking and prepare for a powerful circular swing. Breaking his stamina creates openings to damage his armored legs and reduce his body protection.
Onimusha: Way of the Sword Guide: All Bosses & How to Beat Them
How to beat Rasho-gan
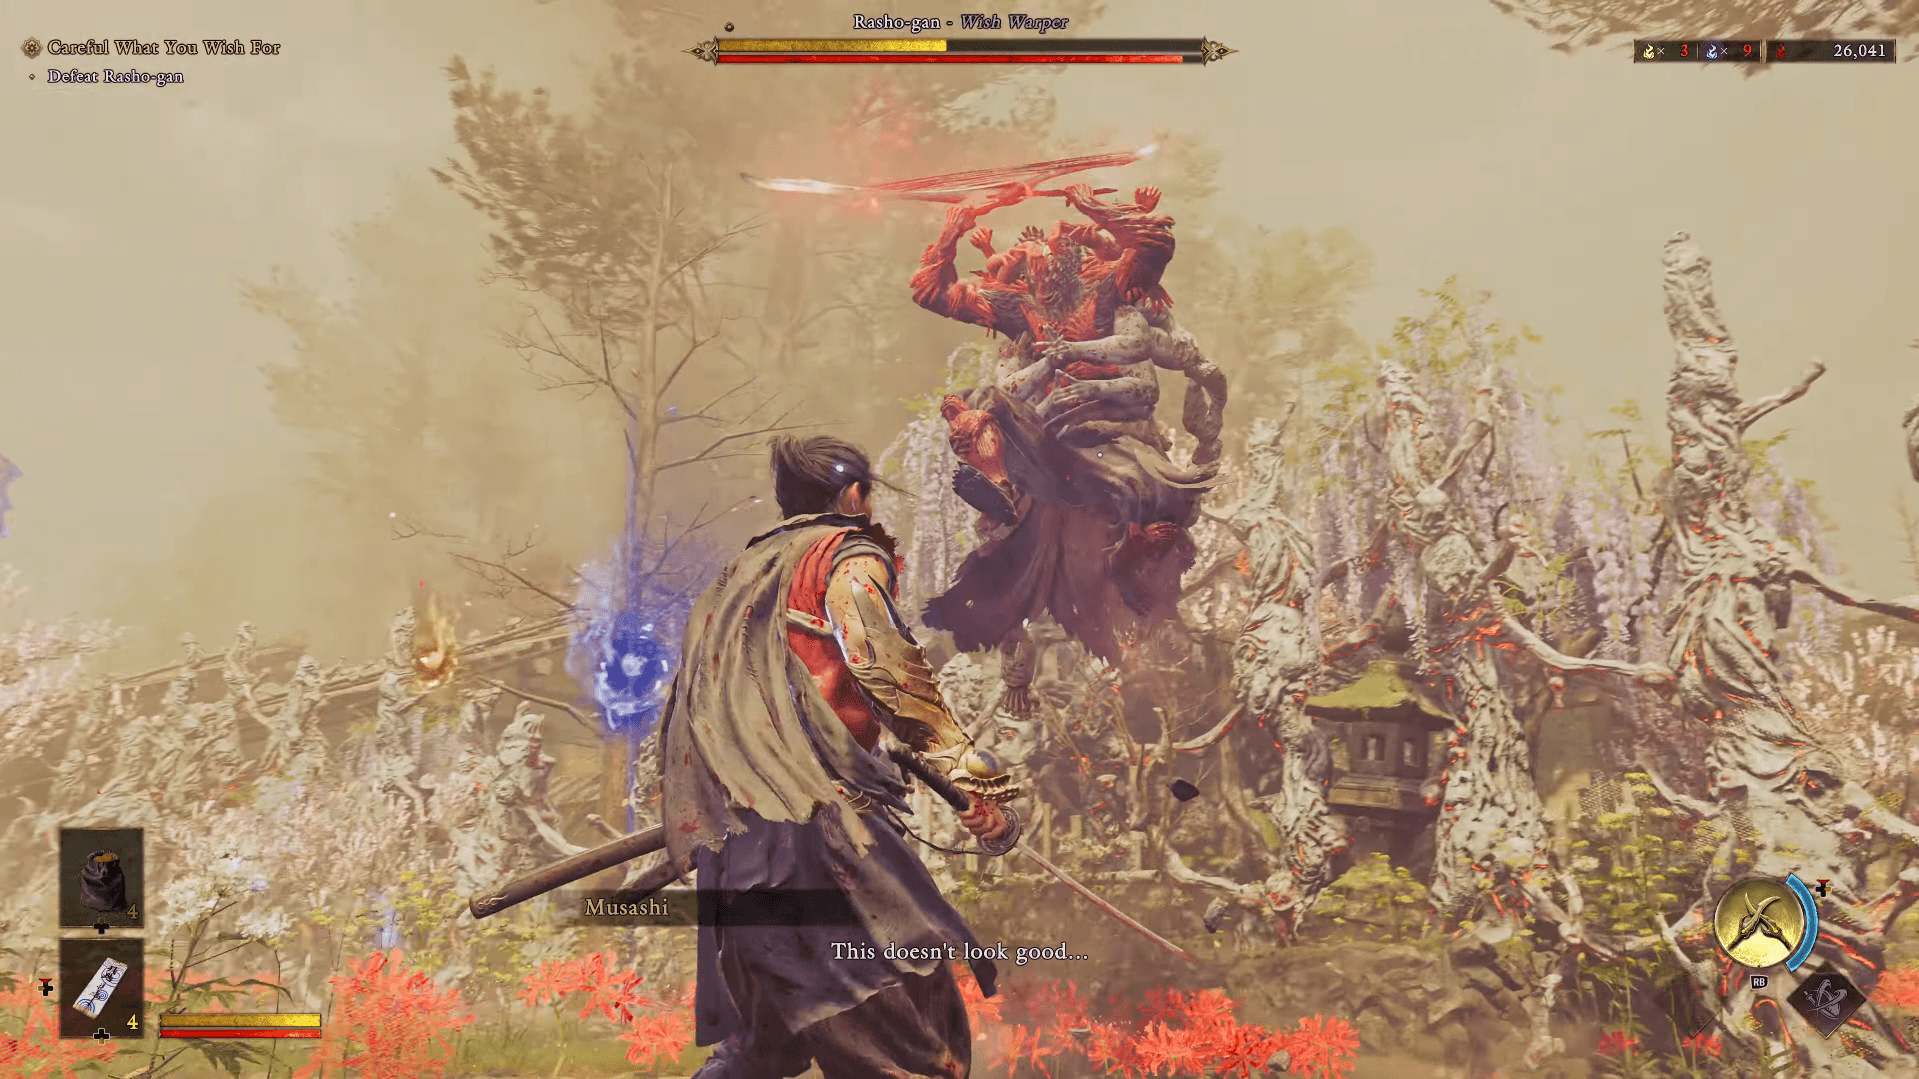
Activate Oni Vision at the start of the fight to reveal the cord tethered to Rasho-gan, then shoot it with the Oni Bow immediately. Staying at medium or close range also limits his ability to flood the arena with Malice projectiles.
Smaller Malice shots can be parried or Deflected. The large bubble-like orb should be destroyed with an arrow rather than a sword. His katana swings, including aerial and turning slashes, remain open to Deflects. Staying close after a successful counter keeps him from returning to projectile pressure.
Rasho-gan has two grabs: one at close range and one using a red cord to pull Musashi in before a katana follow-up. Both require a timely counter. Phase two adds thrown trees, which are best handled with a Reflex Dodge or enough distance to clear the impact zone.
Onimusha: Way of the Sword Guide: All Bosses & How to Beat Them
How to beat Greater Nue
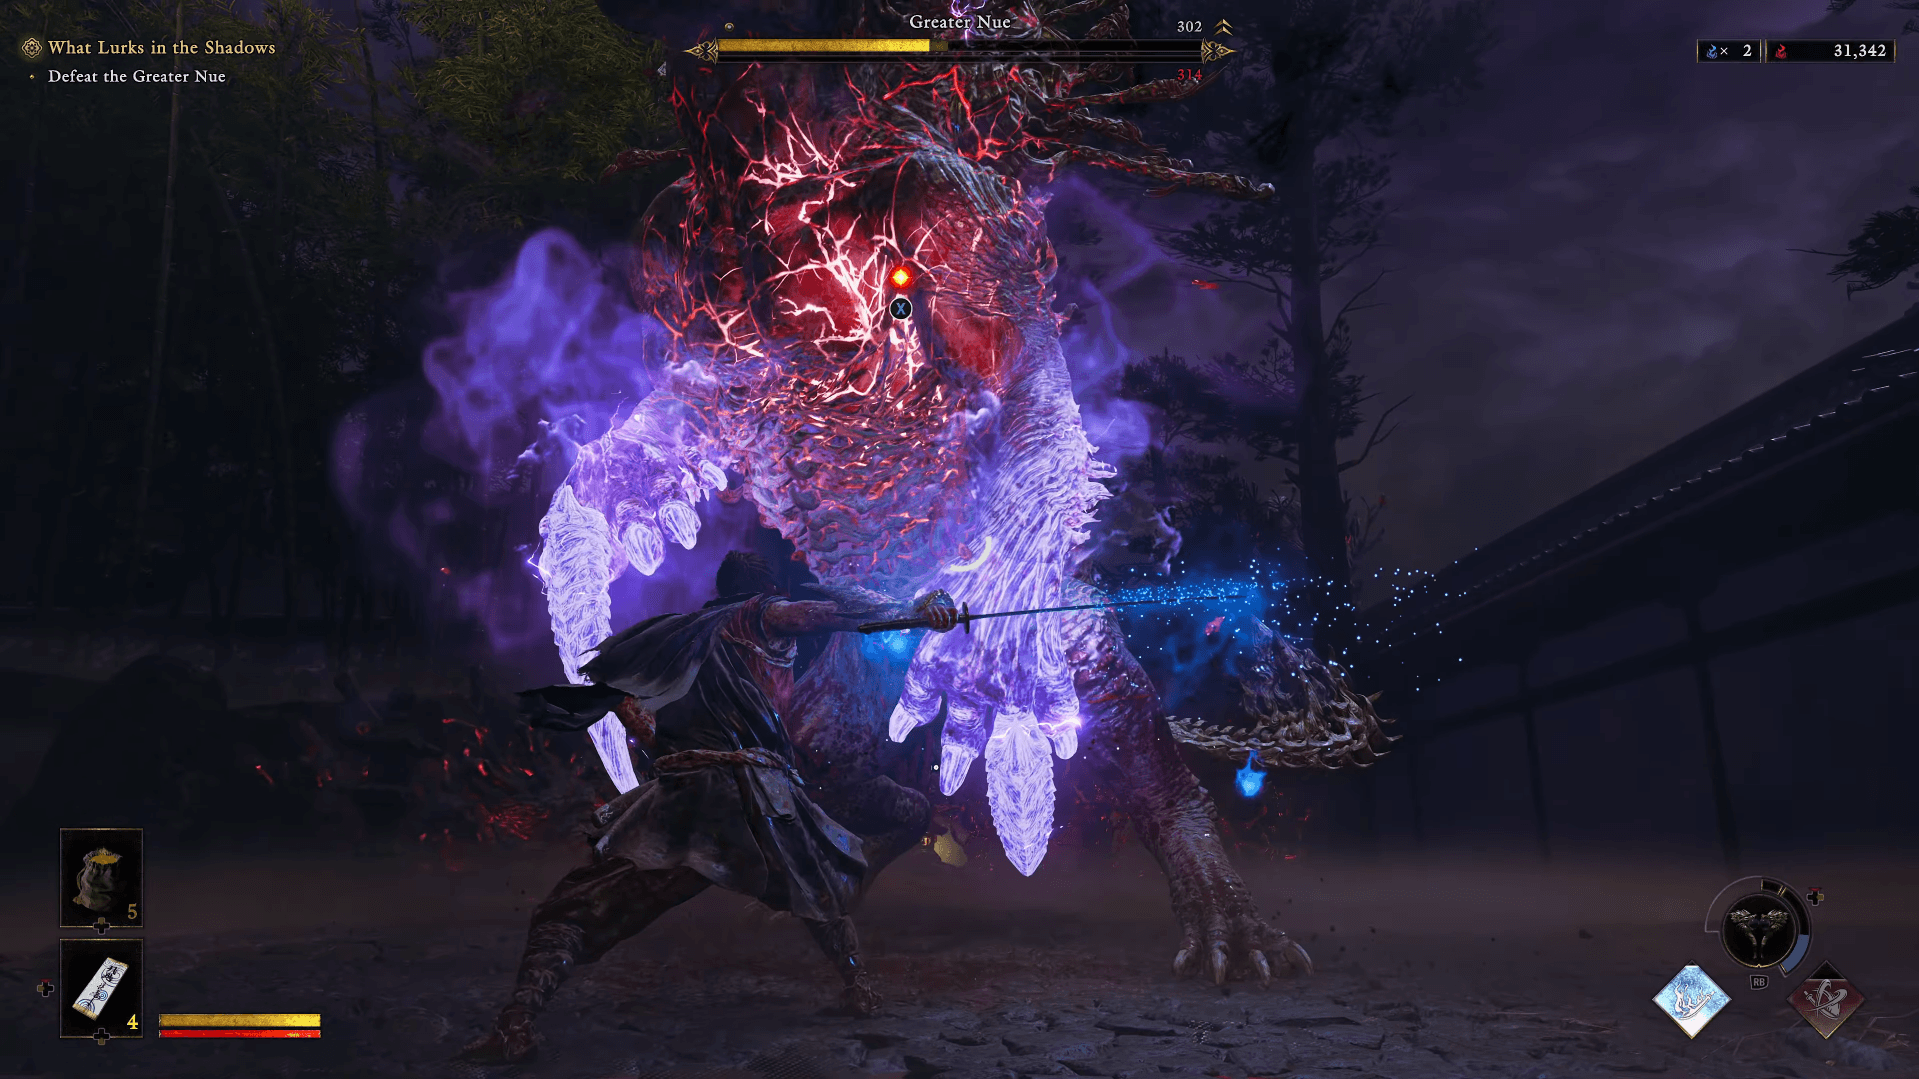
Greater Nue often opens with a white-glowing tail swipe that must be parried or Deflected. Claw strikes following it can also be Deflected. The shoulder rush, sprint, and leaping body slam are all safer to dodge.
A Break Issen target can appear that severs the tail, but the animation does not make Musashi fully safe. Since the tail grows back, taking the soul reward can be the smarter call when health, Oni Power, or Oni Awakening is more urgent than the structural damage.
Lightning becomes the primary threat in phase two. Move away from electric orbs left by the enlarged tail swipe and keep running when bolts begin falling across the arena. Steady movement beats counter timing here. The blue worm grab requires the counter action, and a raised tail guarding the face can be opened with guard break.
Onimusha: Way of the Sword Guide: All Bosses & How to Beat Them
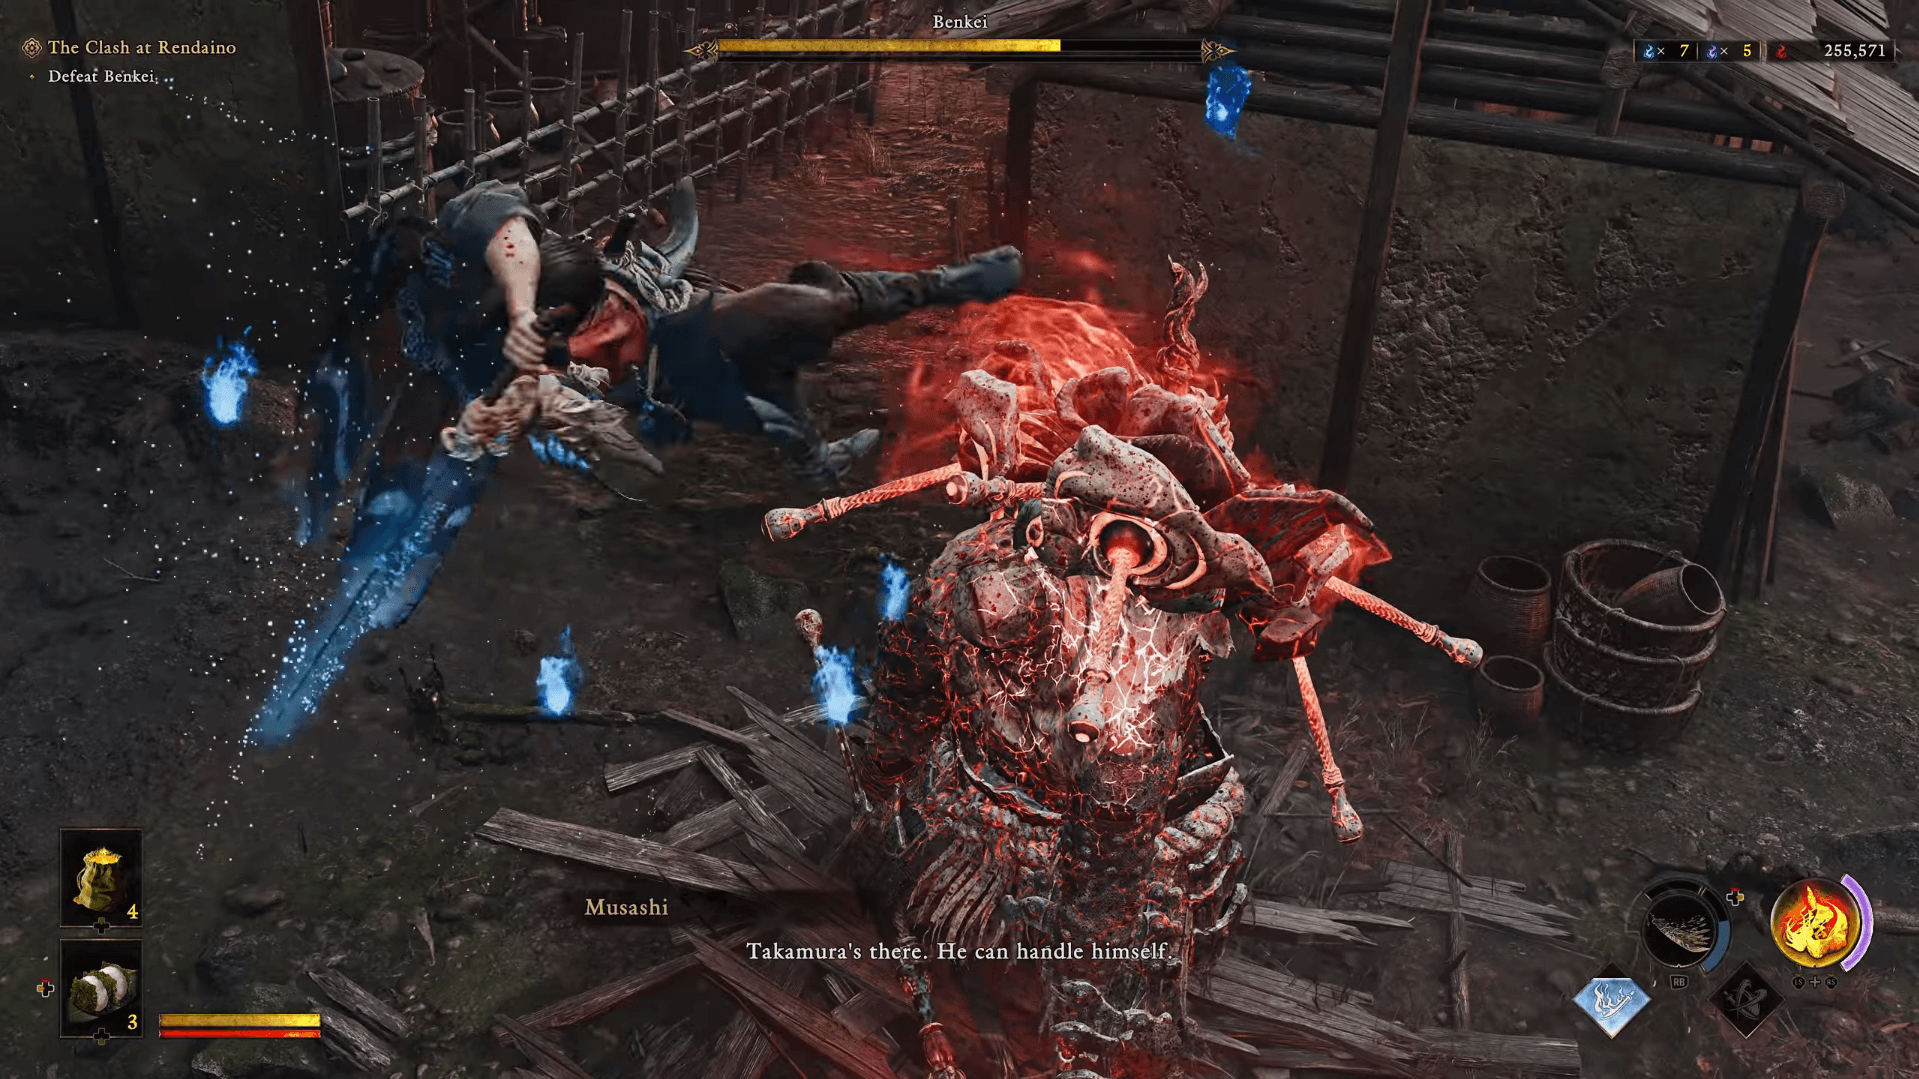
How to beat Benkei
Benkei's armor blocks normal damage until enough pieces have been removed. Deflect his polearm attacks, drain his stamina, and select red body targets to strip armor from his legs, shoulders, and arms. His jumping body slam is one of the cleaner Issen opportunities in the fight.
Phase two arrives with the equipment on his back catching fire. Benkei gains a lunging polearm attack and a white-glowing sequence involving his second weapon. Red Break Issen targets remain the priority until enough armor is gone.
Fully Armed Benkei brings his stronger attacks in much earlier. Phase two adds a thrown cannon that knocks Musashi down and leaves burning cracks across the ground. Dodge the cannon, create space, then jump over the delayed explosion. Dagger volleys can be Deflected back. Spinning axes are safer to dodge.
Benkei mixes ordinary kicks with a blue grab requiring a directional counter. When he places the explosive weapon on his shoulder and starts charging, use the Oni Bow immediately to interrupt. On Carnage difficulty, letting that shot land can end a run outright.
Onimusha: Way of the Sword Guide: All Bosses & How to Beat Them
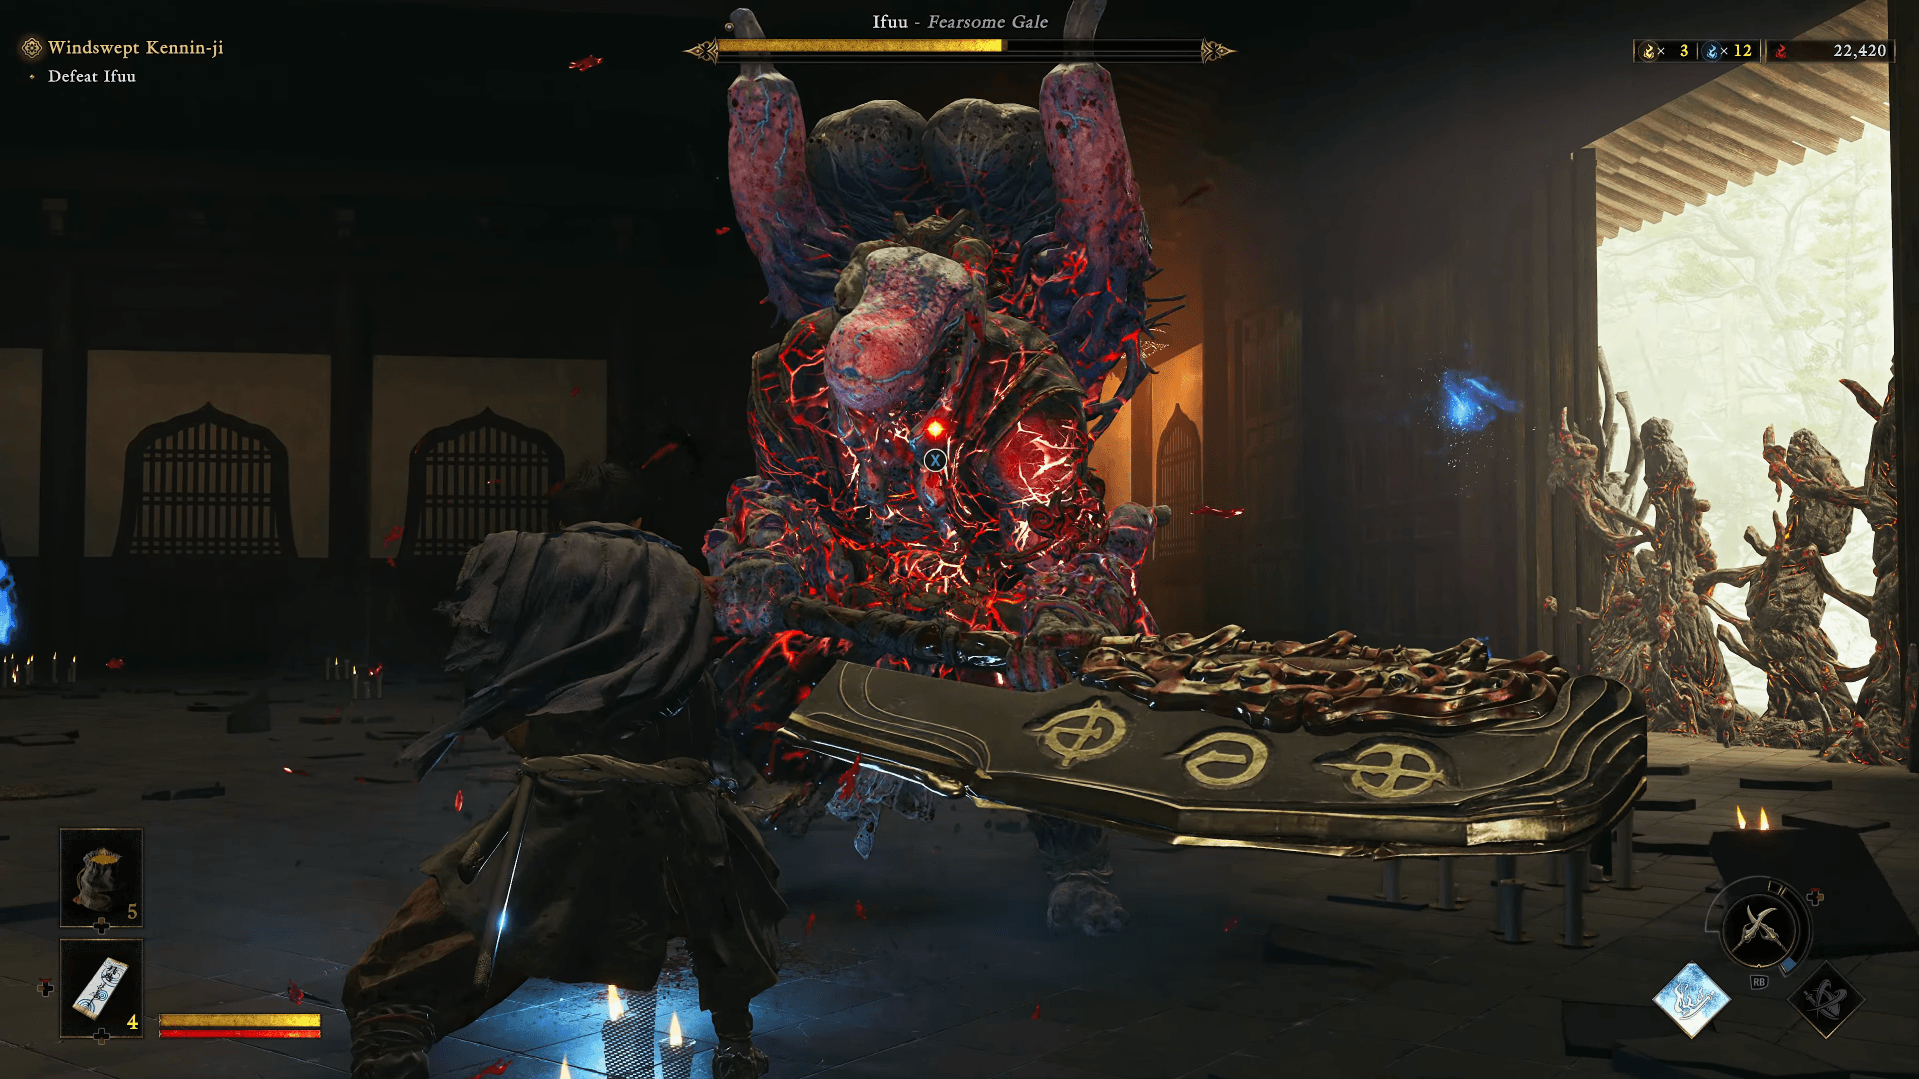
How to beat Ifuu
Ifuu's axe swings and wind slashes can be Deflected. His aerial blue grab should be countered or avoided. The angled thrust is easier to parry by moving in the direction of the incoming weapon.
Phase one plays best at close range, where his axe animations are slower and more readable. When Ifuu creates distance, he sends a wind slash across the arena that can be parried or Deflected. Avoid attacking into his shoulder charges and wait for the weapon follow-up. Absorb loose souls before Ifuu reaches them, since taking them builds his rage and raises his speed and damage output.
Phase two adds a charged spinning attack and heavier reliance on charges. The organ on his back inflates before suction and airborne attacks. An Oni Bow shot to the inflated target interrupts both. Hitting it while Ifuu is airborne knocks him down and opens one of the safest damage windows in the encounter.
Onimusha: Way of the Sword Guide: All Bosses & How to Beat Them
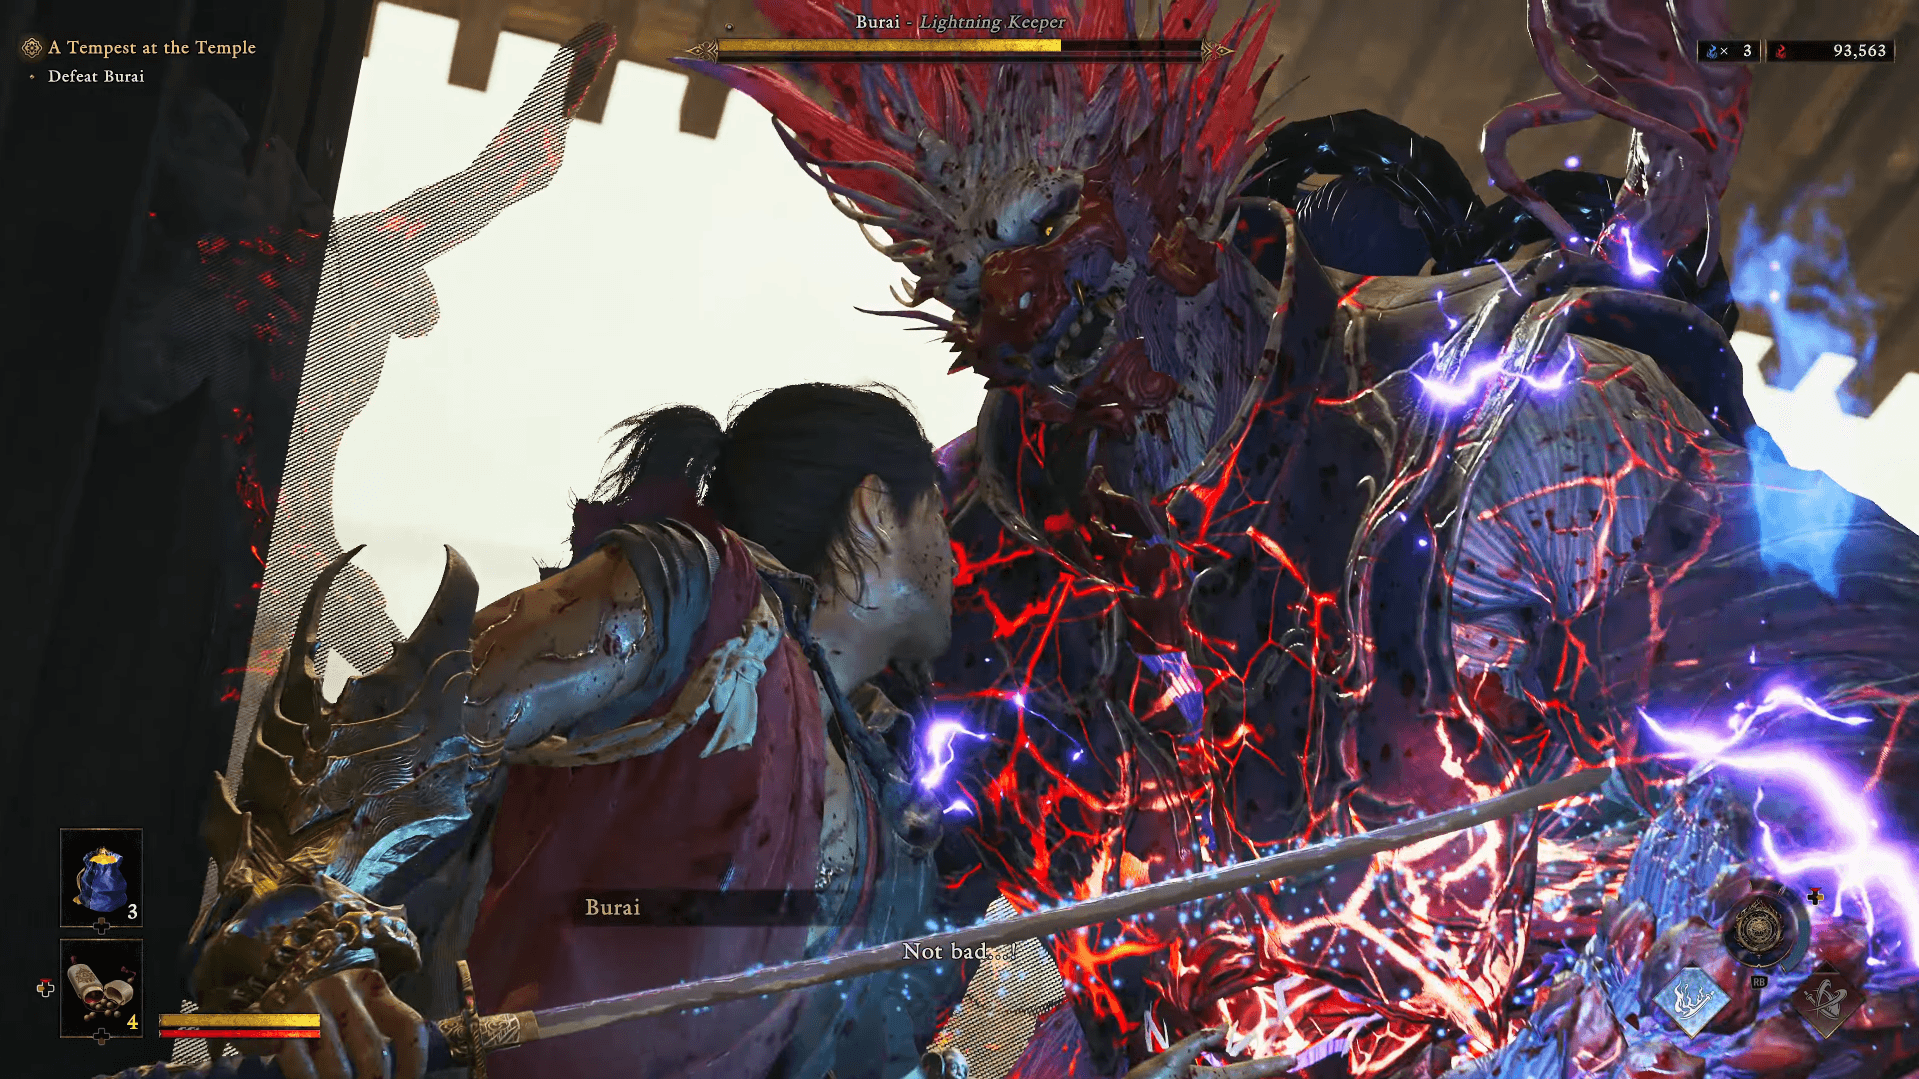
How to beat Burai
Burai uses quick mace thrusts alongside several lightning patterns. When electrical orbs cover the ground, sidestep them, close the gap, and strike his exposed eye to release blue souls. Lightning crosses forming overhead are escaped by running to either side.
Regular mace attacks can be Deflected, but his piercing thrusts arrive quickly enough to punish button mashing. If Burai raises his right leg during a close-range exchange, stop attacking and move away before the kick. This tell appears in both phases and is easy to miss mid-combo.
Phase two has Burai fully powering the device on his back. His disappearing leap leads into a lightning strike and a delayed ground slam. Keep moving until the second impact passes. Later, he spins his mace to place beam-firing orbs around the arena before a large lightning shockwave. Clear the center and wait for the shockwave rather than chasing him during the setup.
Onimusha: Way of the Sword Guide: All Bosses & How to Beat Them
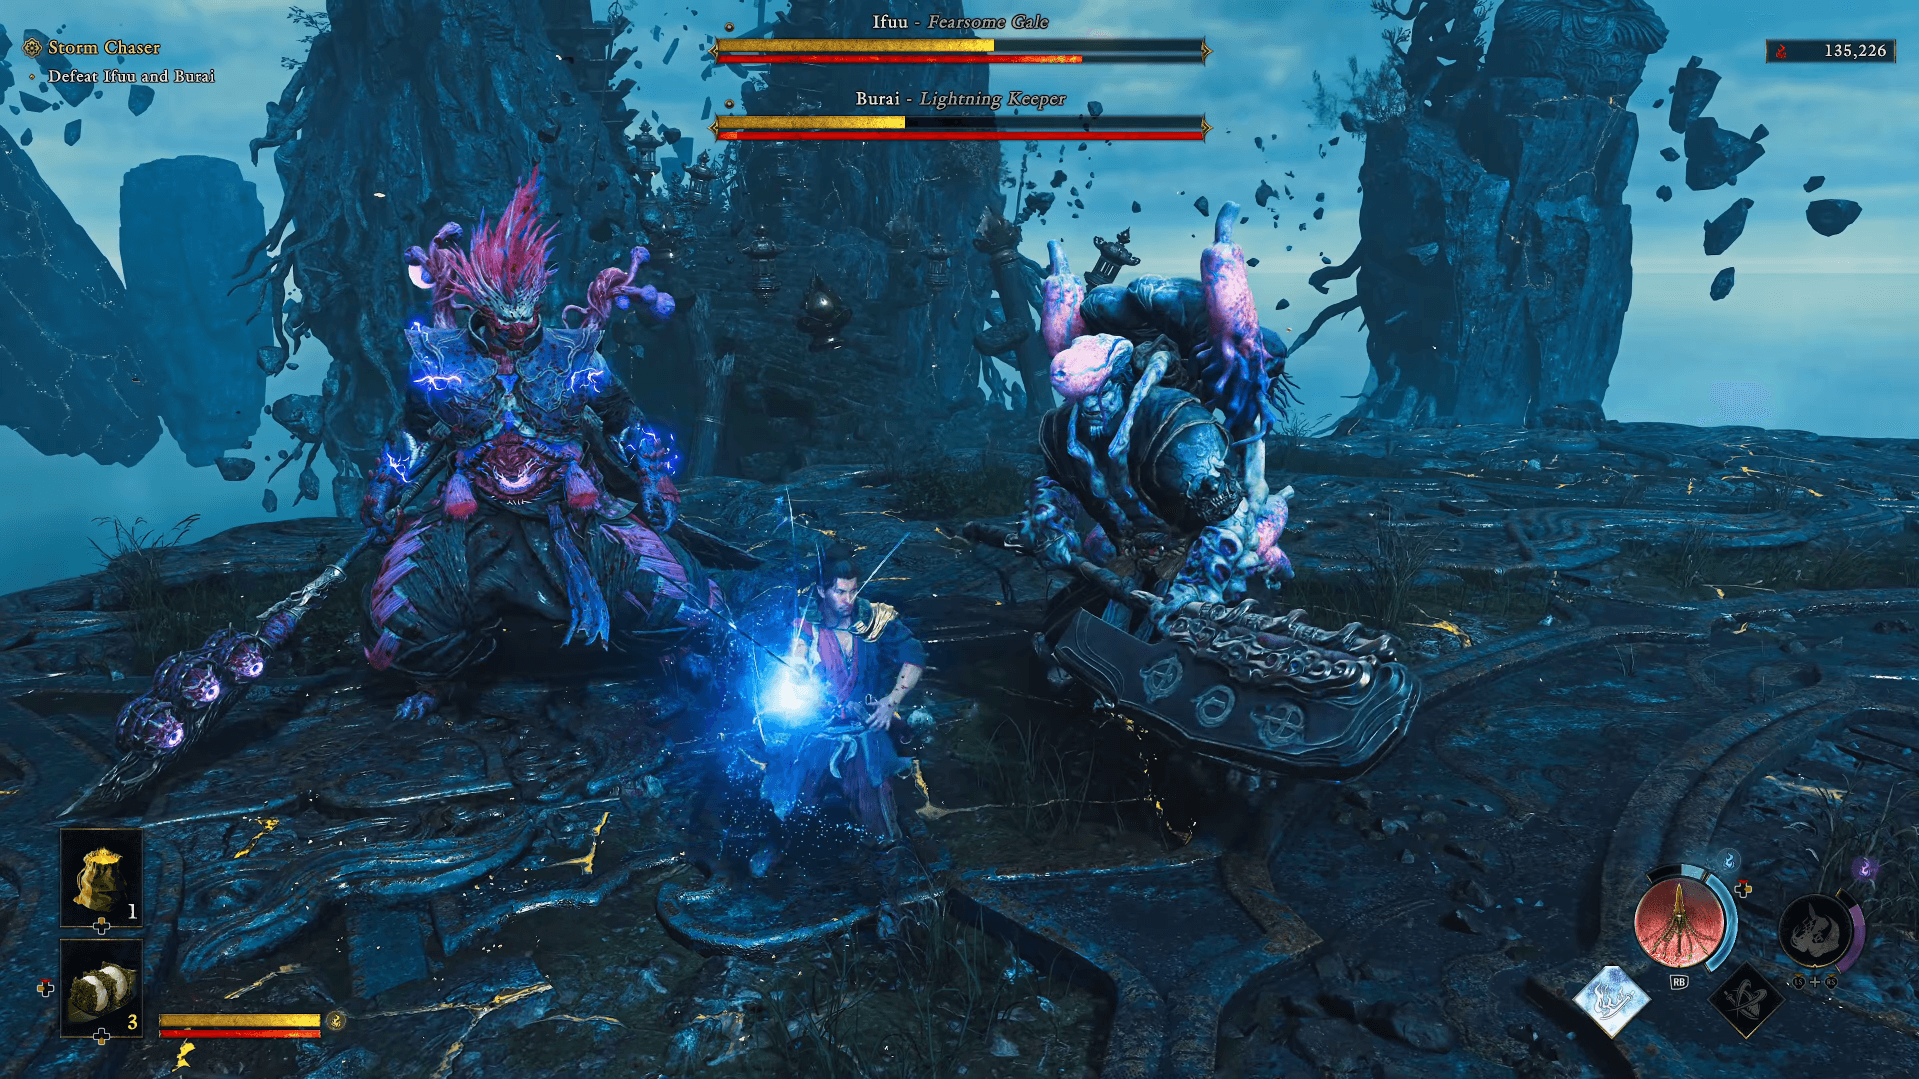
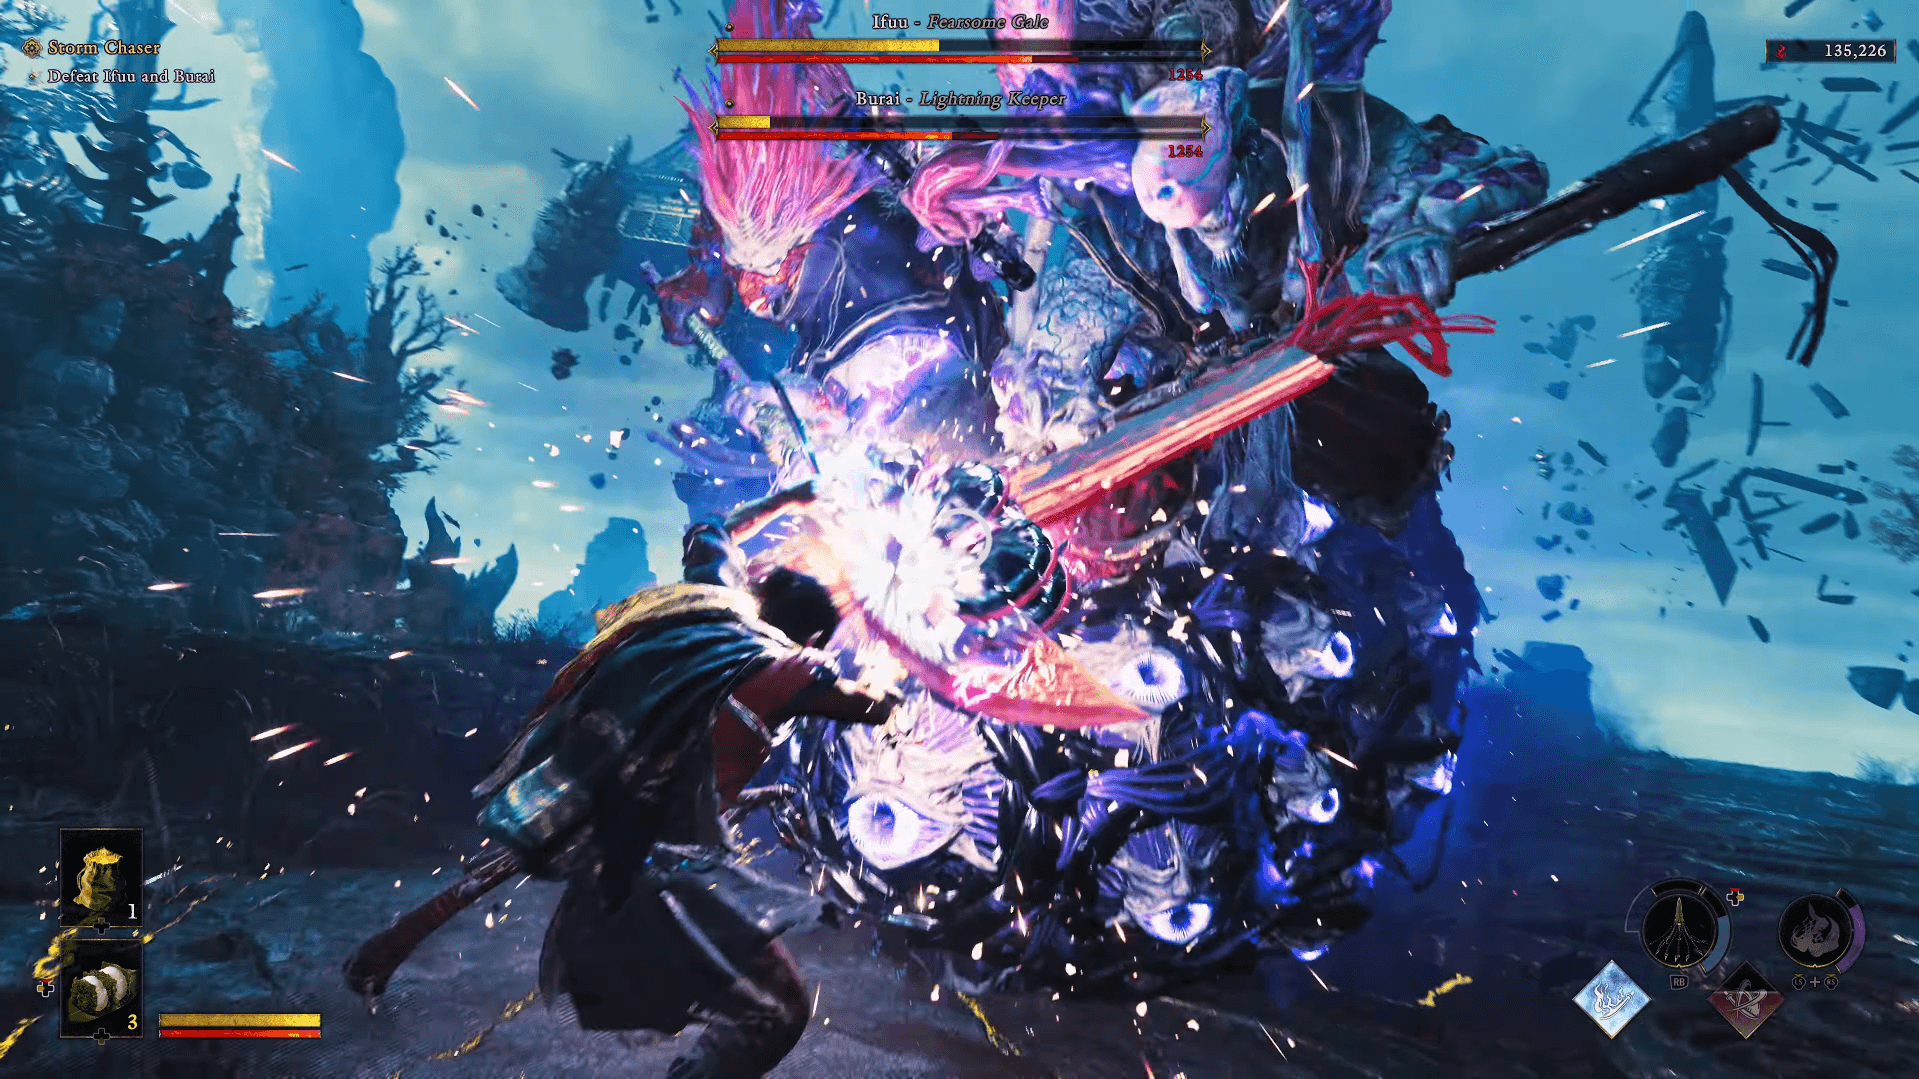
How to beat Ifuu and Burai
Keep the camera unlocked for the duo fight. Both brothers need to stay on screen so their projectiles, charges, and combo attacks remain readable. Lower their health at a similar pace to avoid one enhanced brother controlling the fight while the other is still healthy.
Breaking one brother's stamina while they stand close together damages both. Their tendency to group up can be turned into an advantage. The shared lunge announced by "Let's end this!" or "Together!" can be parried or Deflected. Reset position after the response rather than attacking with the second brother off-screen.
Onimusha: Way of the Sword Guide: All Bosses & How to Beat Them
When one brother enters phase two, pressure the one who has not transformed yet. This limits the time spent fighting both enhanced move sets simultaneously. Ifuu's inflated back target still responds to the Oni Bow. Burai's lightning fields use the same lateral movement as his solo fight.
Once both reach phase two, they rise on a cloud and summon lightning followed by wind. The final diving ram must be parried or Deflected. Keep stamina available for this sequence rather than forcing extra damage beforehand.
Onimusha: Way of the Sword Guide: All Bosses & How to Beat Them
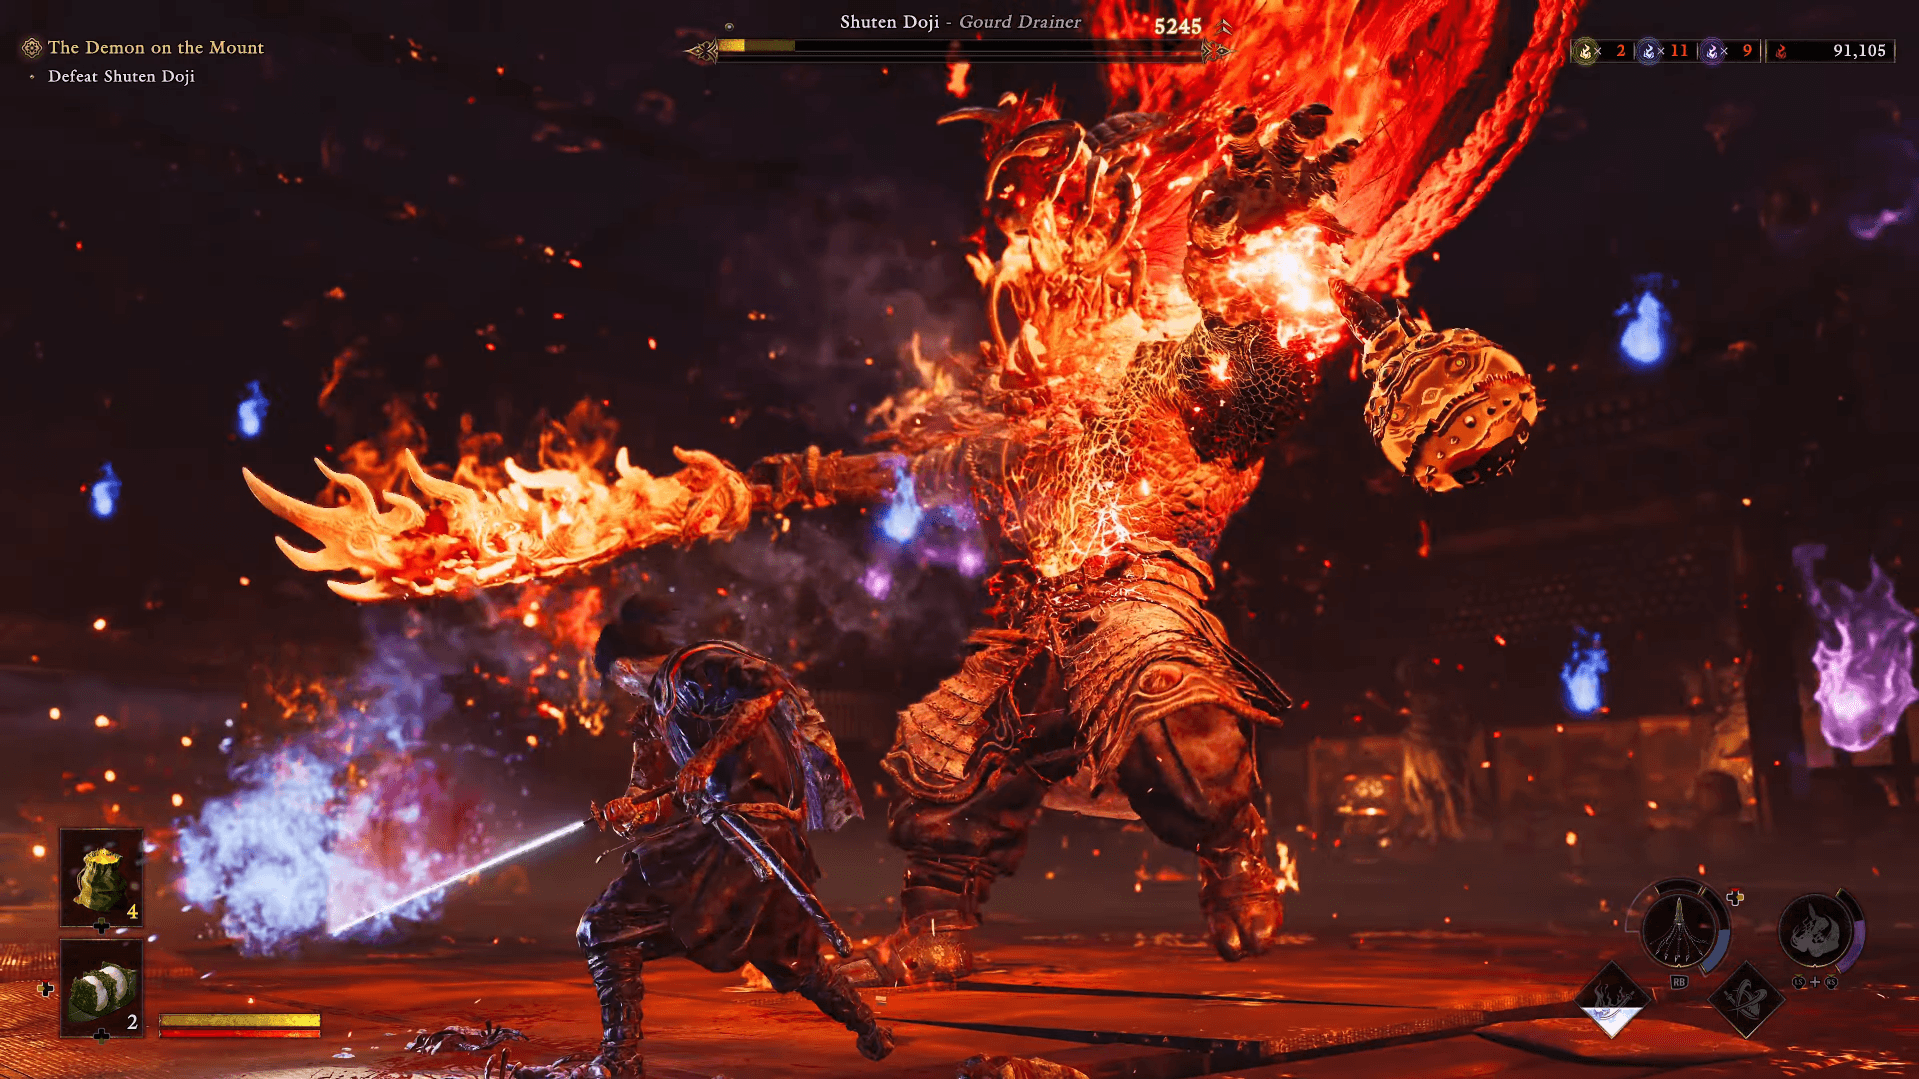
How to beat Shuten Doji
Shuten Doji regenerates health, so passive play works against you. Stay close enough to punish his drinking animations while respecting the delayed timing of his greatsword swings.
His bottle slam, aerial sword plunge, and kicks can be avoided with a Reflex Dodge or punished with Issen once the timings are learned. Around the midpoint of phase one, he ignites his liquor and gains fire trails plus a wide flame-breath attack. An Oni Bow shot during the flame-breath windup interrupts it before the arena becomes difficult to navigate.
Phase two adds his severed head as a second threat. The body and head can perform a four-part sequence: two ground slams, a sword slash, and a fire attack. The head's spinning blue charge needs the counter action, and its inflated explosive form should be shot down with the Oni Bow.
His drinking animations become more frequent as health drops, so treat every one as an attack window. Fire resistance reduces pressure from his wider area attacks, and Oni Awakening provides the burst damage needed to prevent the final phase from dragging out.
Onimusha: Way of the Sword Guide: All Bosses & How to Beat Them
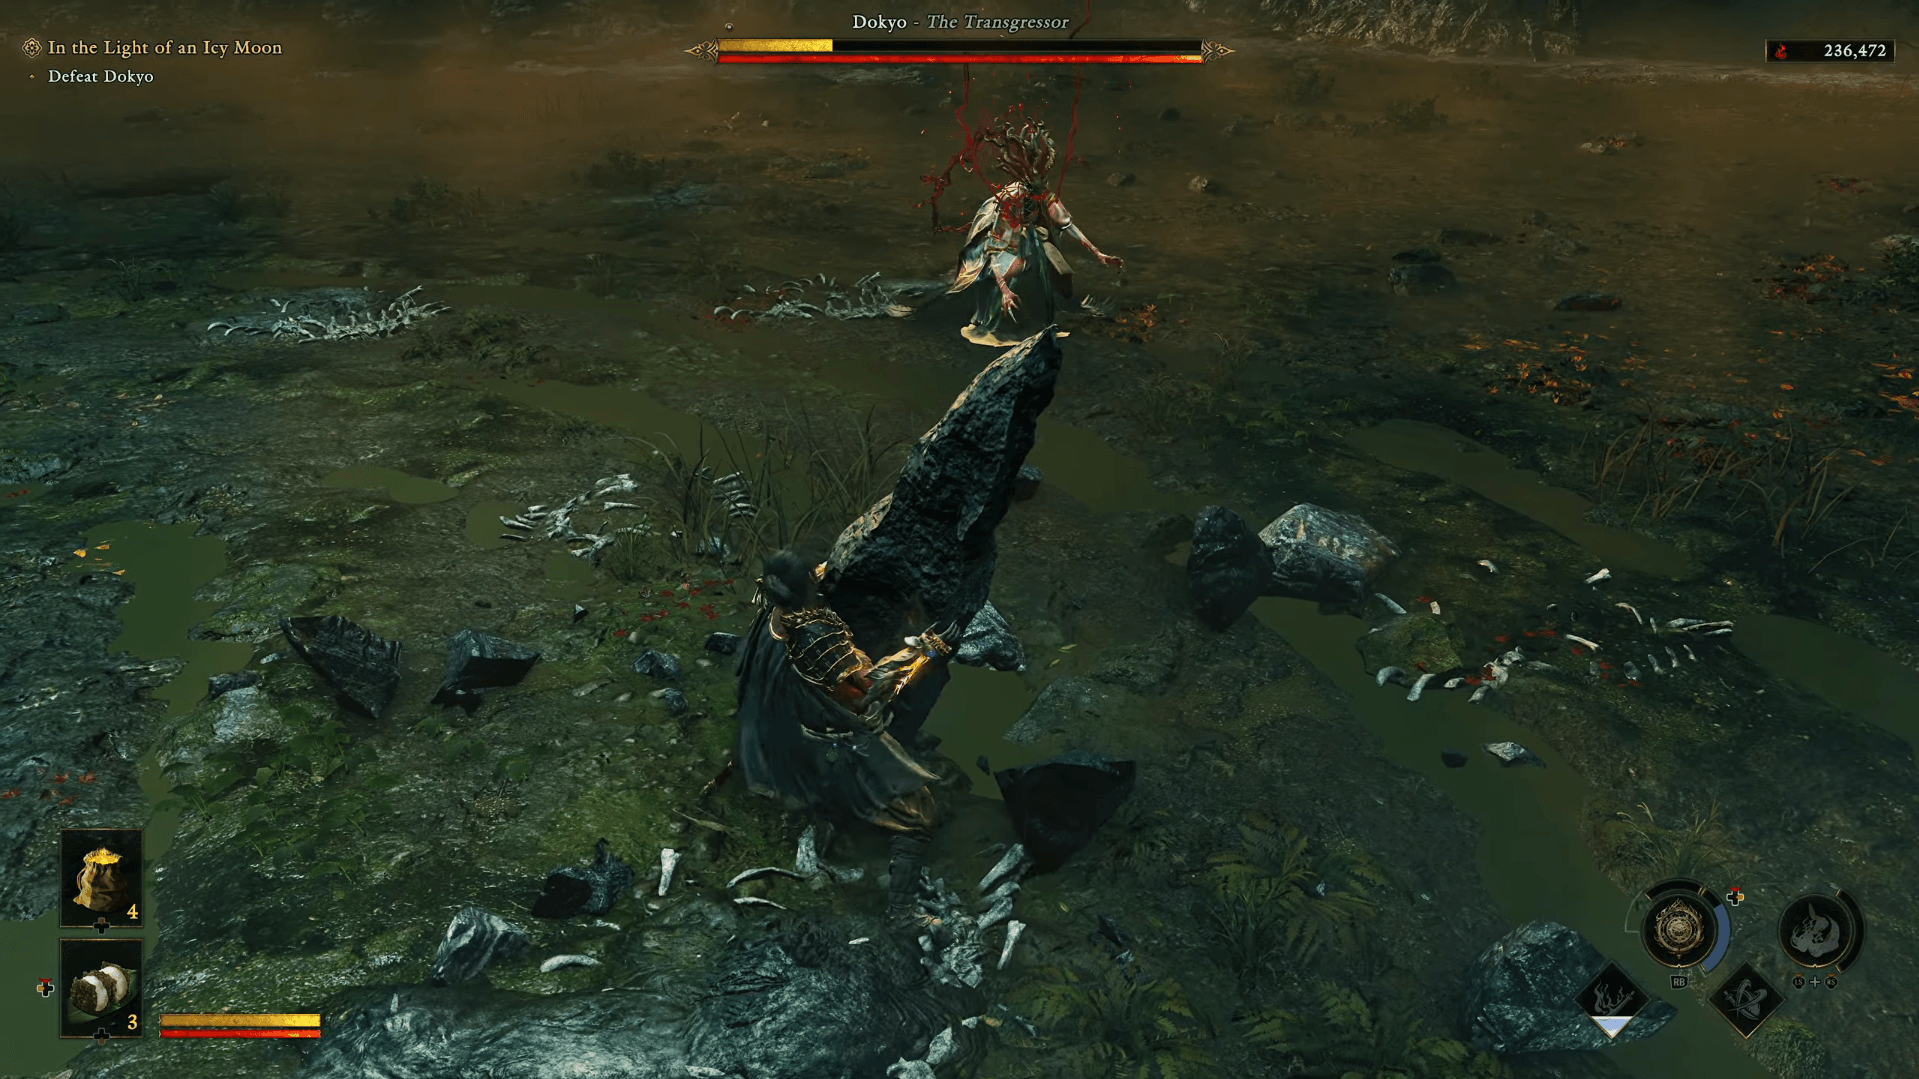
How to beat Dokyo
Dokyo constantly creates distance, so the fight is built around avoiding projectiles and closing in for short punish windows. Her floating explosive balloon can be shot to knock her down. When fire turrets appear in a line, stand in the gaps rather than trying to pass through the flames.
Spiky balls can be dodged or Deflected. Electrical barriers are easier to weave around as Musashi closes the gap. Dokyo teleports away after a few hits, so a short punish beats forcing a long combo and getting caught by the next trap.
When she creates copies, Oni Vision reveals the real Dokyo with a gold glow. Another attack locks Musashi in place and surrounds him with blue explosive masks. Once movement returns, run behind Dokyo and position the camera so the masks collide with her. In phase two, her returned spiky ball must be Deflected twice, and red mask enemies need to be destroyed with the Oni Bow.
Dokyo's most dangerous move sends her into the air and destroys almost every rock in the arena. Find the single uncracked rock and hide behind it before the attack lands. The shard left after impact can then be thrown back for extra damage.
Onimusha: Way of the Sword Guide: All Bosses & How to Beat Them
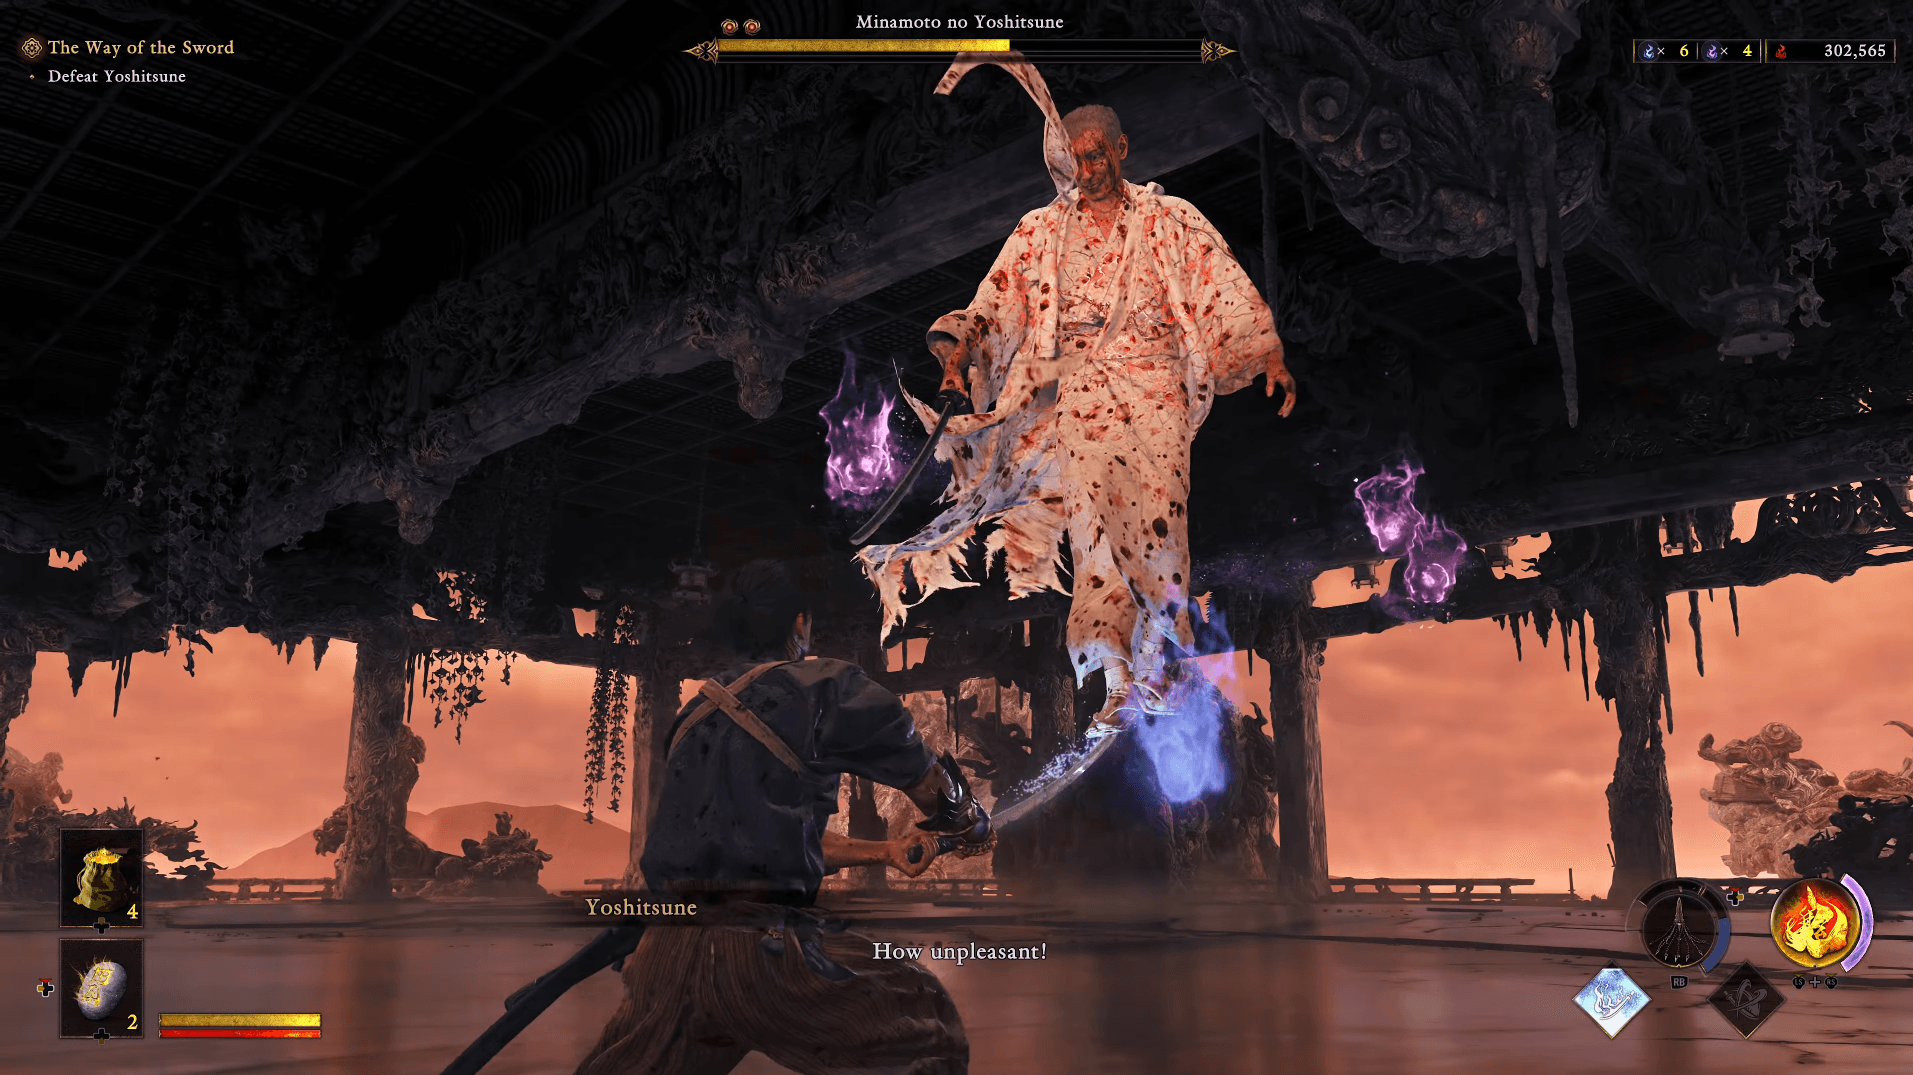
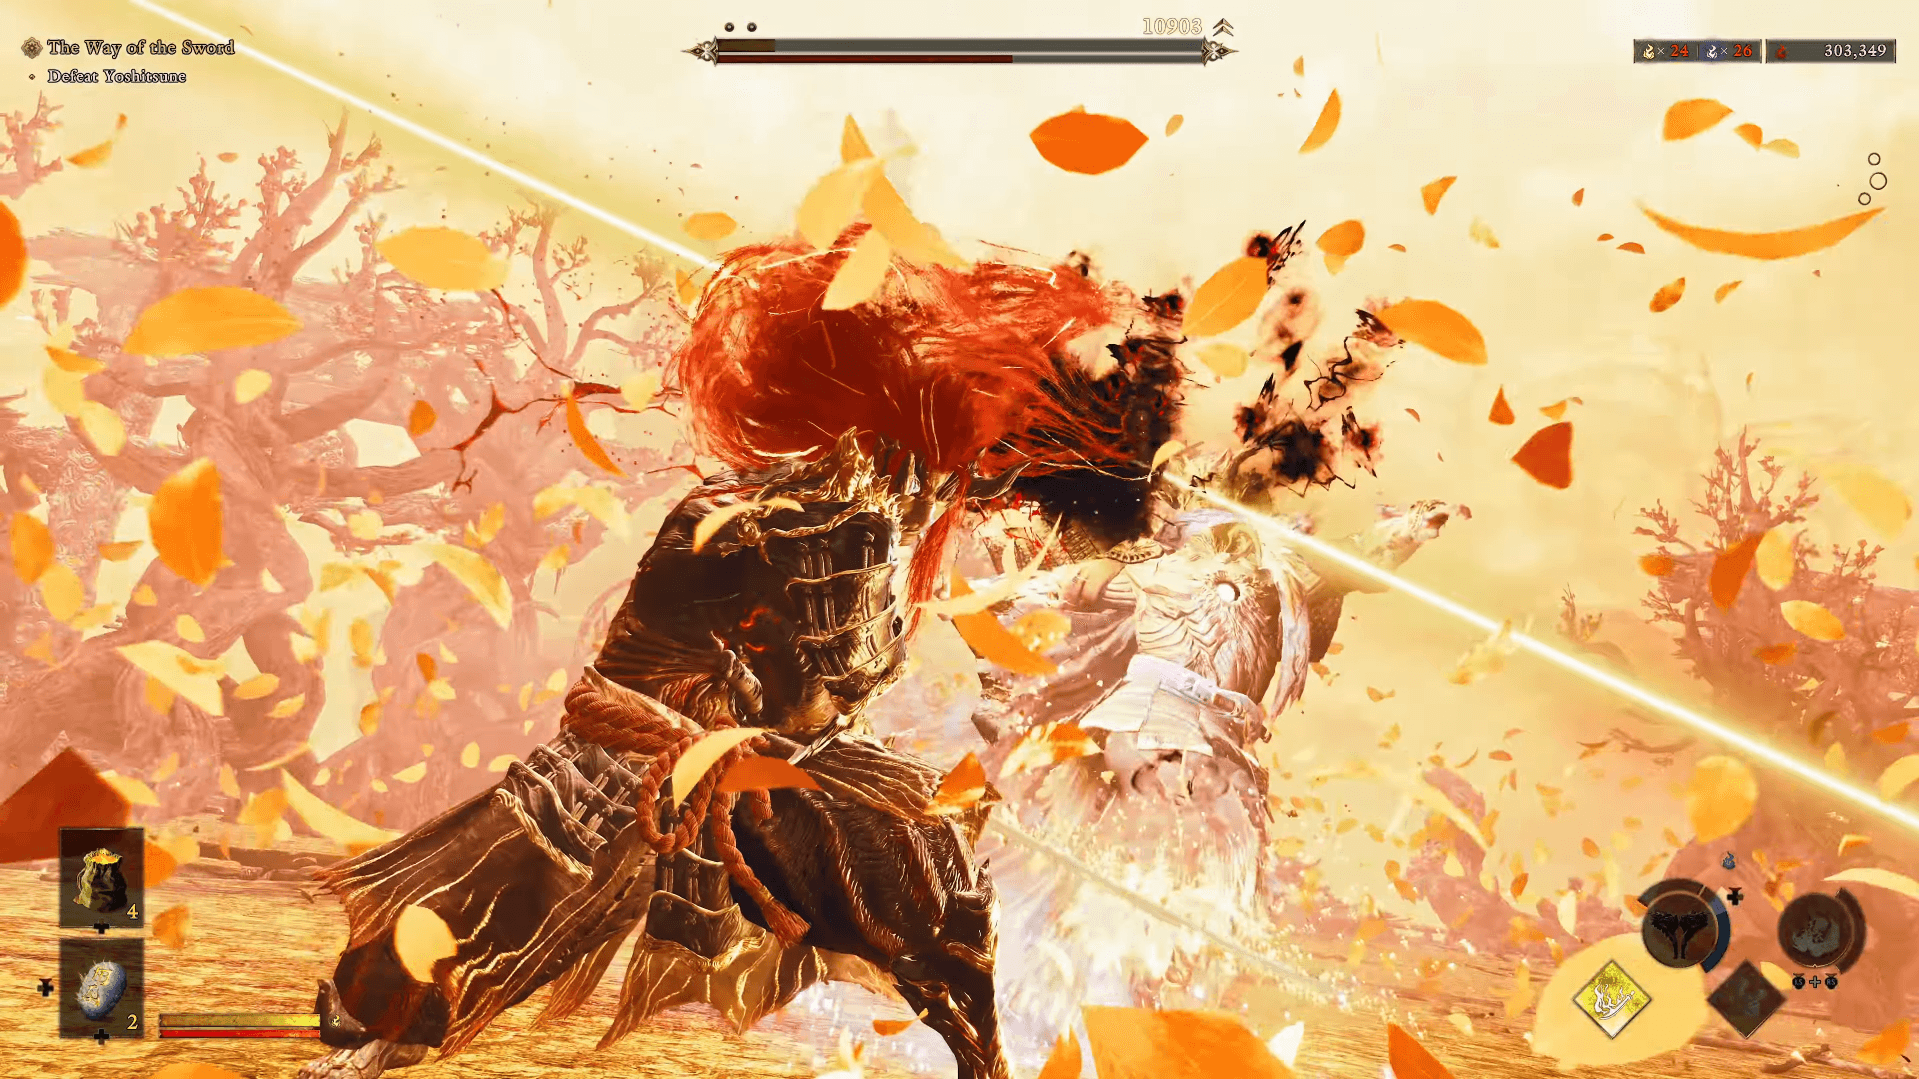
How to beat Minamoto no Yoshitsune
Minamoto no Yoshitsune is the final boss and the longest fight in the game, running three full phases. Enter with strong healing and gauge-building items, and save most consumables for the second half of phase two onward.
Phase one centers on katana exchanges. His aerial double kick can be Deflected. A Reflex Dodge or Issen knocks him down and creates a short combo window. The three white-glowing slashes should be Deflected at close range or avoided by staying outside their reach. When he taps the katana against his shoulder, an immediate dash thrust is coming.
His delayed hand grab must be avoided or stopped with its counter action. If it connects, Yoshitsune steals a large number of souls and enters an enhanced state with a Malice-coated katana. Losing those souls delays access to Oni Armaments and Oni Awakening, making this grab more damaging than its health loss alone suggests.
Onimusha: Way of the Sword Guide: All Bosses & How to Beat Them
Phase two opens with an aerial slam that cracks the floor. Sprint away as soon as control returns to avoid both the impact and the damaged ground. Yoshitsune becomes significantly faster and gains armor. Steady Deflects are safer than repeated Issen attempts here because regular attacks do little to his stamina. Arrow volleys can be Deflected, including patterns arriving from multiple directions. A rapid three-hit white-glowing sequence must be met with accurate parries or Deflects at close range. When Yoshitsune shouts "Shatter," sidestep or Reflex Dodge just before the effect appears.
Onimusha: Way of the Sword Guide: All Bosses & How to Beat Them
Phase three changes the damage rule entirely: Yoshitsune can only be hurt while Musashi is in Oni Awakening. Use parries, Issen counters, Blazing State, and Oni Armaments to generate blue and purple souls and refill the transformation gauge. When Yoshitsune pulls in every soul and prepares an arena-wide slash, absorb as many souls as possible, then dodge or counter the incoming strike.
Once Oni Awakening is ready, transform immediately and land as many Issen attacks as possible. Save the Oni finisher until the gauge is nearly empty so no transformation time is wasted. Stimulant and Amulet of Introspection are the two most useful consumables in this phase, supporting both the gauge-filling and the counter accuracy needed to close out the fight.
For everything else the game has to offer, the full Onimusha: Way of the Sword strategy guide collection covers combat mechanics, armament locations, system requirements, and more.