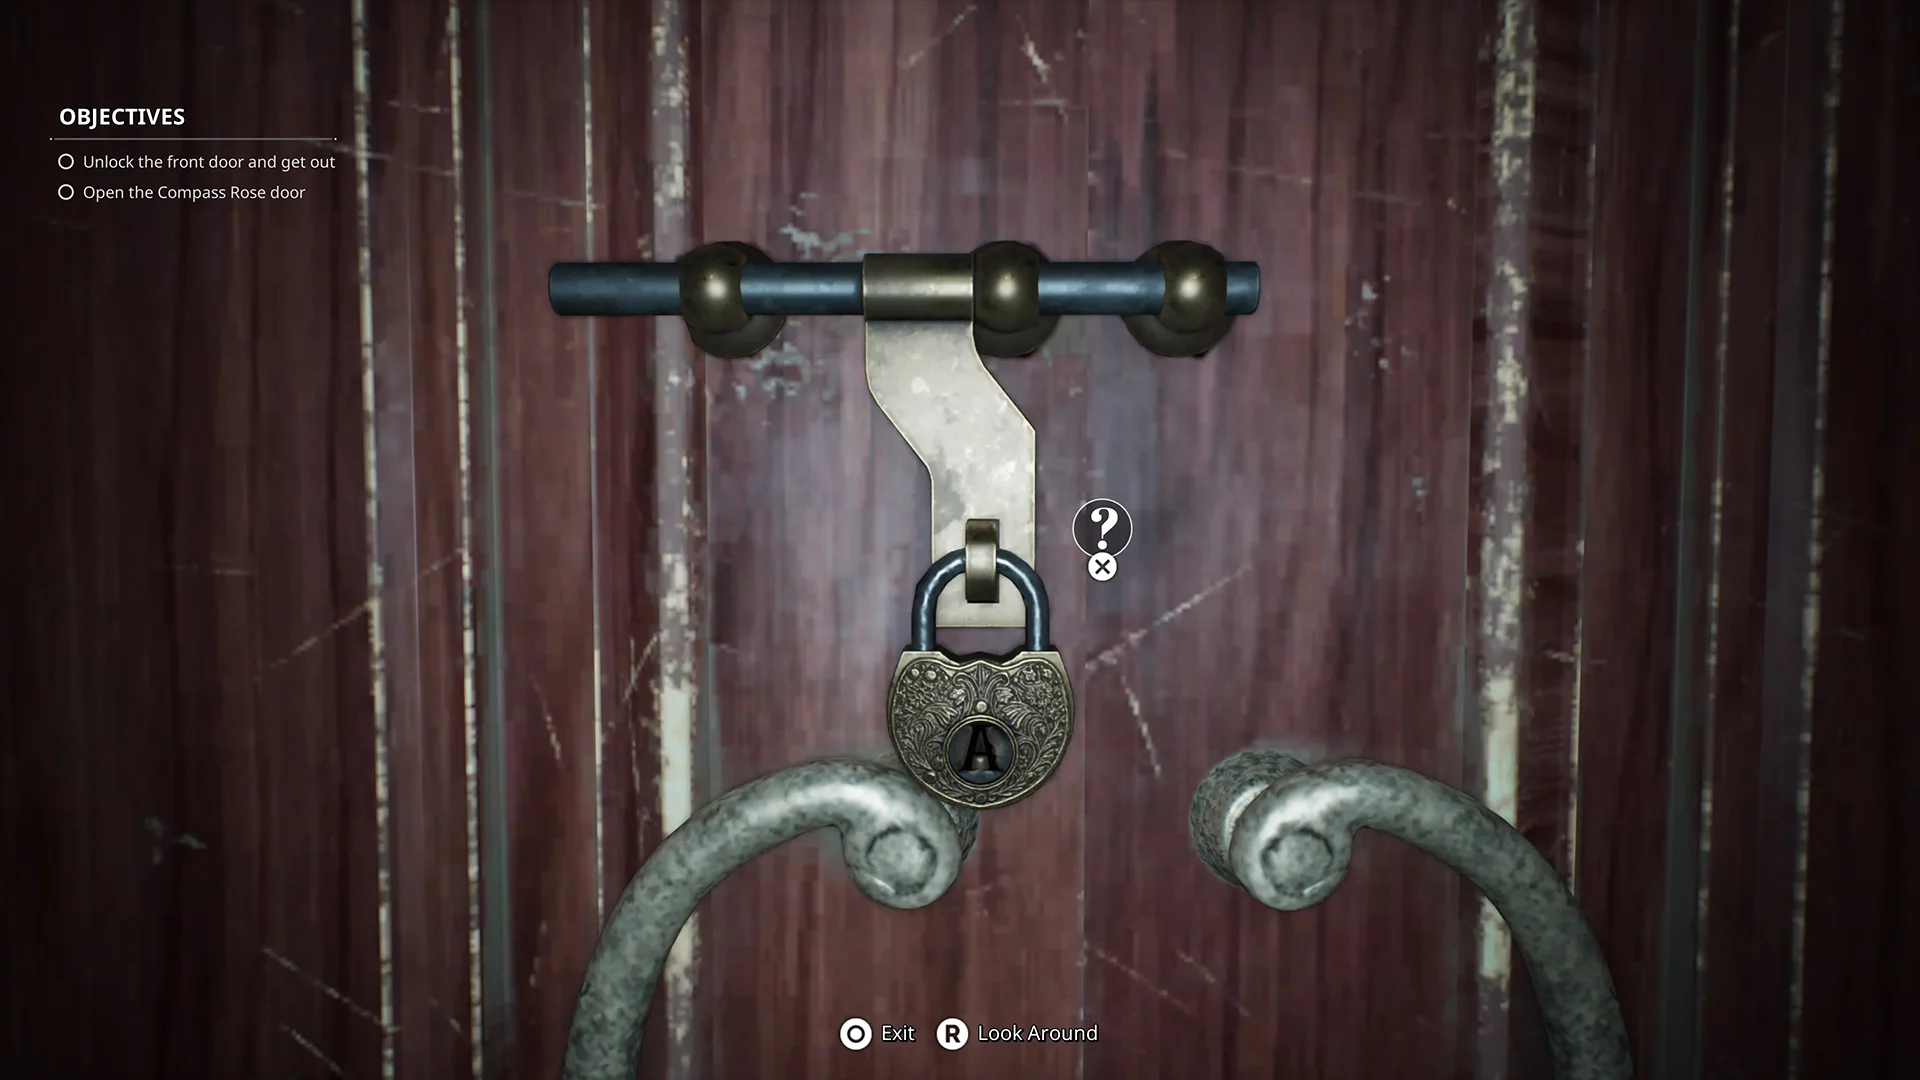

Open locked doors by collecting their matching keys, beginning with the key in the vase left of the mansion entrance. Later keys in Remothered: Red Nun's Legacy require Retrocognition, mirror investigations, and access to the Residential Wing.
The checklist below maps eight door-key routes in progression order. The unnamed entrance and bedroom keys use descriptive labels, while named items retain their inventory names. The front door's ring-and-safe puzzle is a separate route. The Small Key appears at the end because it opens a Music Room box, not a door.
Key and locked door checklist


Which door each key opens
| Key | Pickup location | Matching door |
|---|---|---|
| Key in the entrance vase | Inside the vase left of the mansion entrance, slightly south of the door | Entrance leading into the courtyard |
| Key beside the first bed | Side table beside the bed after the first Metronome sequence | Exit from that bedroom |
| Compass Rose Key | Right of the music box in the room containing paintings and a statue | Door marked with a compass rose |
| Library Key | Blue book at the end of the left-hand corridor beyond the Compass Rose Door | Library entrance |
| Old Key | Hidden compartment above the candle revealed through the corridor mirror | Door labeled Suor Lindsay |
| Crown Key | Received after investigating the dark room behind the fireplace | Door beneath the red light in the dark room |
| Gloria's Key | Small room right of the open drawer containing a book, beyond the damaged wall | Gloria's Room upstairs in the Residential Wing |
| Balcony Key | Studio, during the miniature-theater investigation | Locked exit from the Studio |
Key locations in progression order
Entrance vase and first-bedroom key
After the conversation with Angelo, face the locked mansion entrance and search to its left. Examine the vase slightly south of the door, collect the key, and return to the entrance. Beyond it, follow the courtyard's left side, crouch through the low opening, and interact with the ventilation grate.
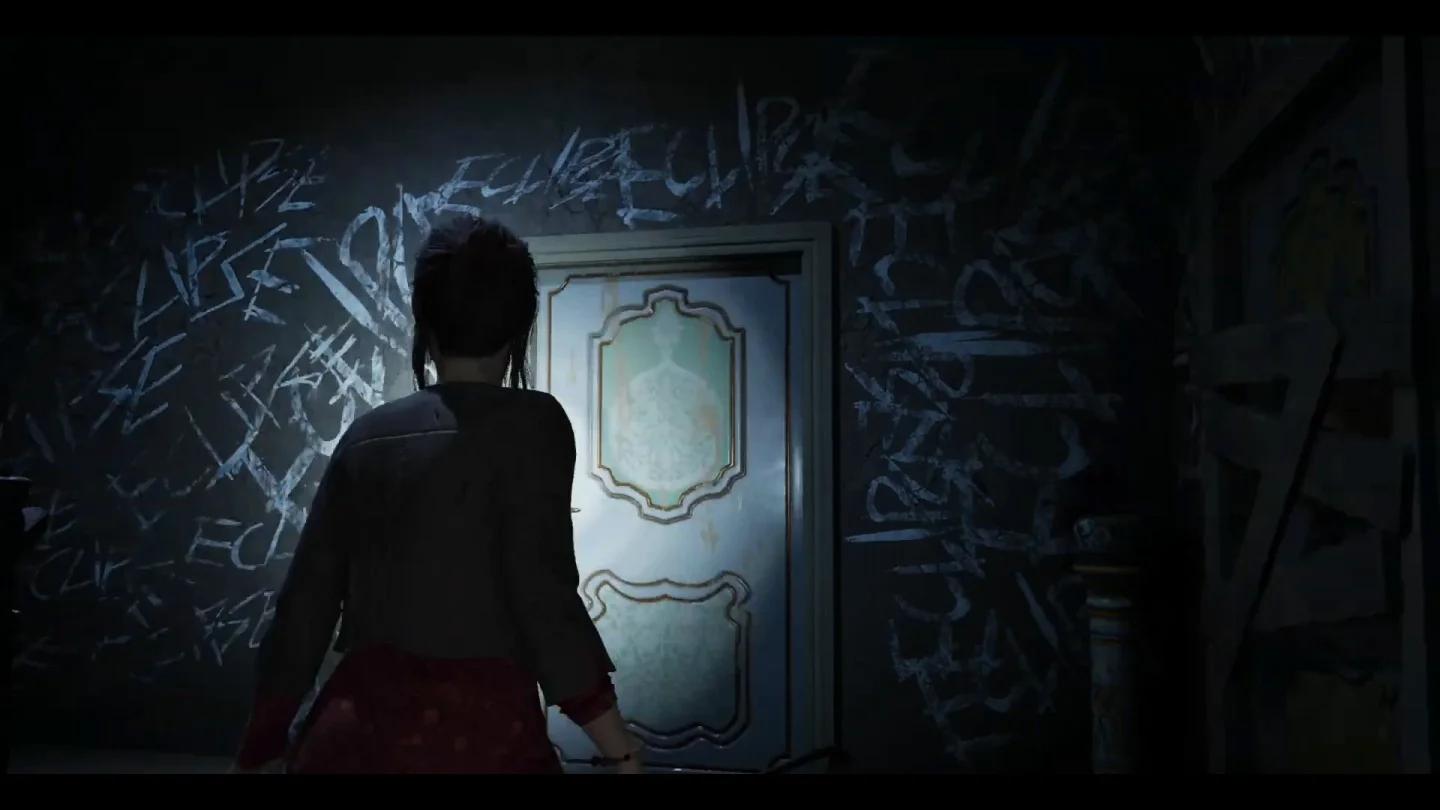
Search beside the entrance
The next key appears after your first Metronome interaction transports Susan into a bedroom. Search the side table beside the bed and unlock the bedroom exit. Follow the corridor through the door at its end, then continue until the scene returns Susan to the villa.
This key belongs to the first bedroom visit. The room changes during the later Retrocognition sequence, so its original pickup is not a reusable solution.
Compass Rose Key and Library Key
Back in the villa, take the newly opened door right of the Metronome and turn left. Continue to the door marked with a compass rose, then explore the corridor to its right.
Follow the adjoining rooms until you reach the room containing paintings, a statue, a cupboard, and a music box. Examine the music box to start its repair objective. The Compass Rose Key is to its right.
The return route includes a stealth encounter. Stay behind the dining table until the nun moves away, then use the nearby Metronome if the way is clear. Continue through the corridors, pass the hanging body, and turn right toward the compass-marked door.
Beyond that door, take the left-hand corridor to its far end. Examine the blue book to obtain the Library Key.
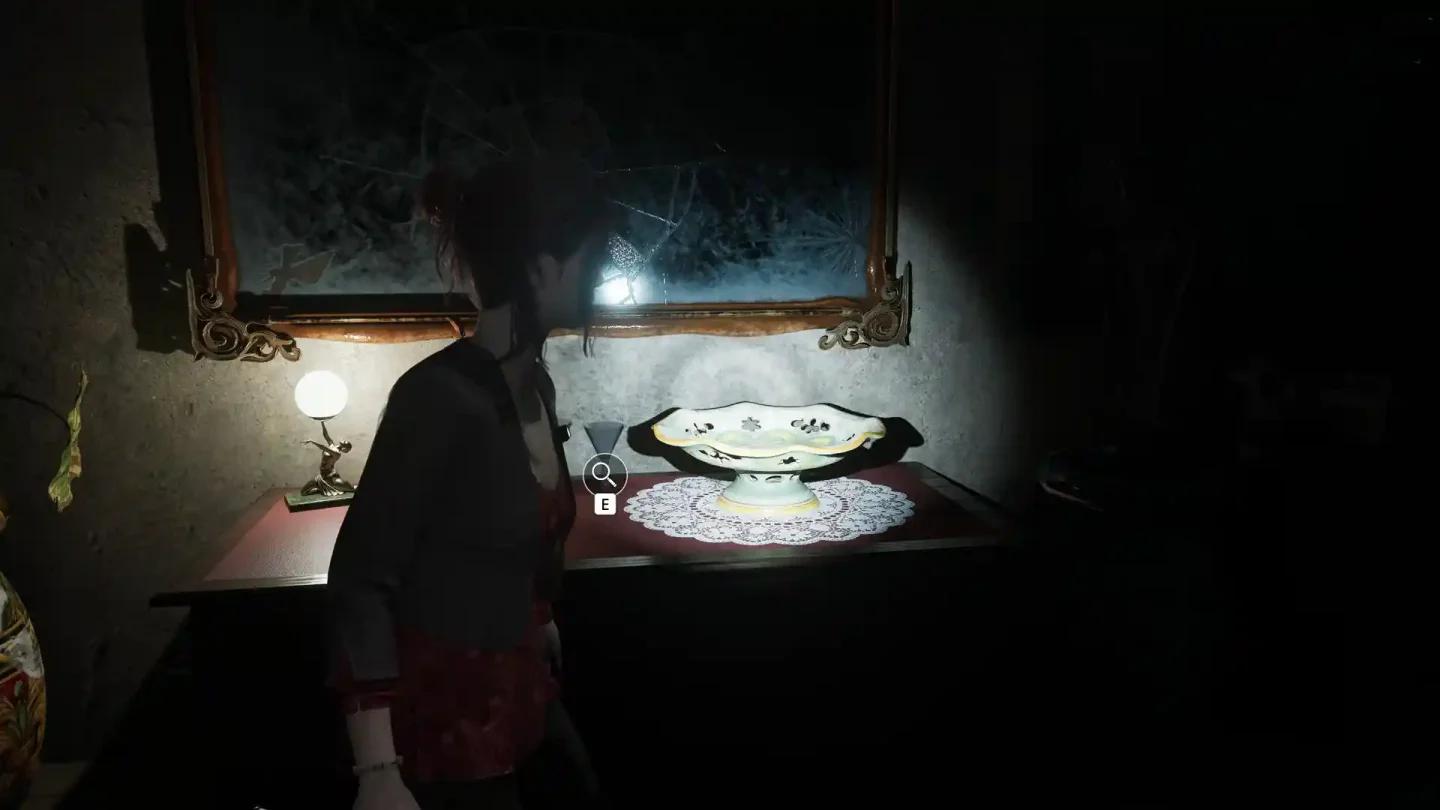
Inspect the book for library access
A nun may enter while you return. Throw a glass or another throwable object away from your intended exit, then leave while she investigates. Turn left outside the room and follow the passage to the library entrance on the left. Unlock it, watch the scene, and interact with the door again to enter.
If you're struggling with these return trips, the Remothered: Red Nun's Legacy beginner survival tips explain how to use hiding places and supplies between objectives.
Old Key and the Suor Lindsay door
The Old Key becomes accessible during the later mirror sequence. Investigate the bedroom's reflected bed and door, then leave and follow the corridor to the junction. Examine the locked door ahead to receive the objective for its missing mechanism piece.
Turn right from that door and investigate the next mirror:
- Activate Secrets in the Mirrors.
- Examine the paper on the right side of the reflection.
- Locate the candle on the left.
- Inspect the area above the candle to reveal a hidden compartment.
- Collect the Old Key and find the door labeled Suor Lindsay.
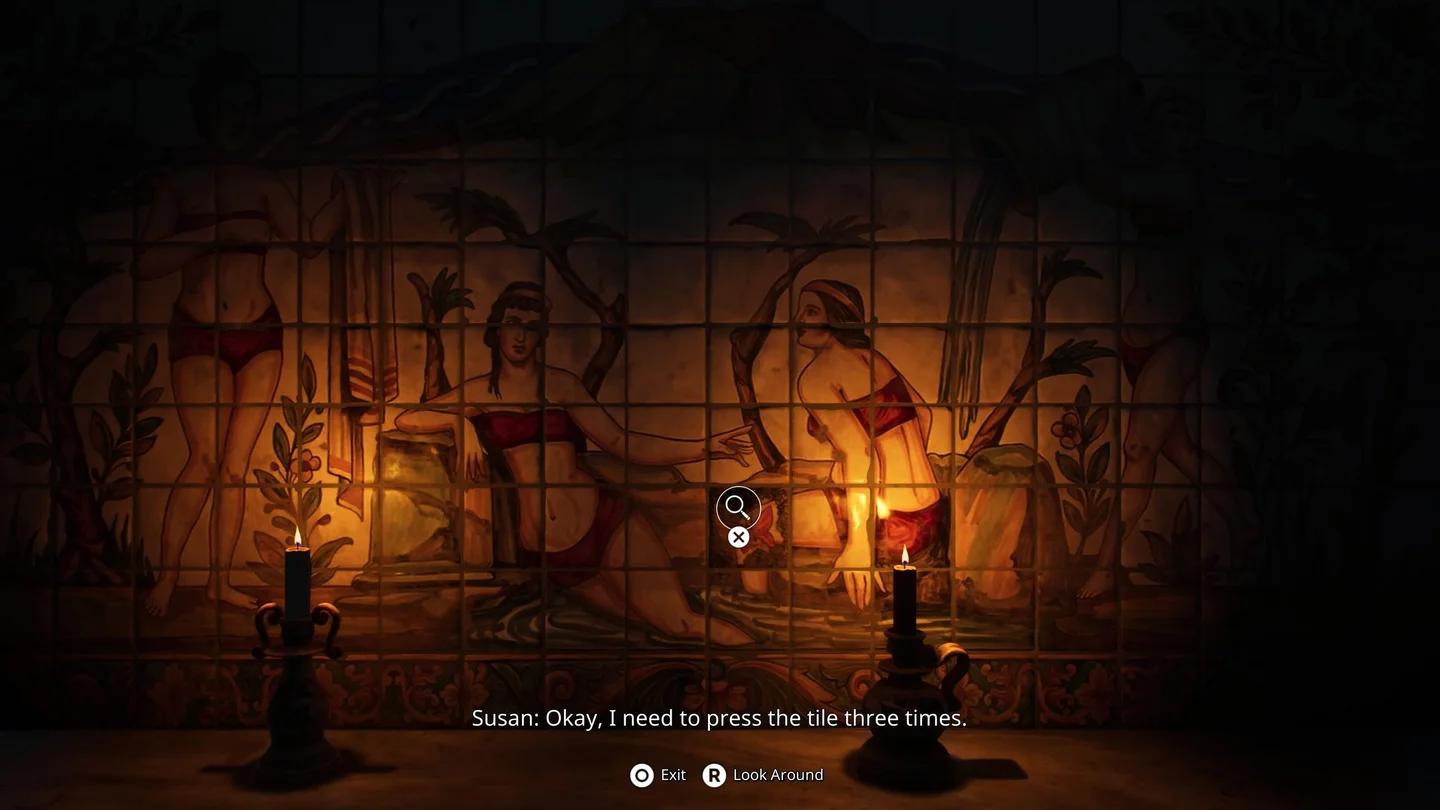
Find the compartment above the candle
Use the key on Suor Lindsay's door. The earlier door with the incomplete mechanism needs the Jesus Figurine, which becomes obtainable after investigating this room.
Crown Key and the red-light door
During the villa mirror investigation, return to the room where you collected the Compass Rose Key. Use Secrets in the Mirrors and examine the reflected fireplace. Agata's reflection reveals a concealed route through it.
Crouch through the fireplace opening to enter the dark room. Complete its investigation in this order:
- Examine the object on the central table and use Retrocognition.
- Inspect the other interactive objects around the room.
- Interact with the object above the monitor.
The final interaction triggers the scene that awards the Crown Key. Find the red light in the same room and use the key on the door directly beneath it.
Once outside, continue forward and inspect the sacks on the left. The resulting scene advances Susan into the Residential Wing.
Gloria's Key in the Residential Wing
Enter the open room on the left and climb the stairs. At the top, turn left to go outside, then turn right into the next doorway. Leave through the door on the right, follow the corridor left, and enter the room on the right near its end.
The key's hiding place is beyond a damaged wall:
- Use Retrocognition in the room.
- Examine the damaged lower section of the wall and climb through the opening.
- Find the open drawer beyond it and use Retrocognition on the book inside.
- Search the small room to the drawer's right for Gloria's Key.
Open the nearby door to return to the corridor, then head upstairs to Gloria's Room. Unlocking it triggers the next story scene.
Balcony Key in the Studio
After the Gloria's Room scene, enter the room on the left and collect the Bent Nail from its drawer. Climb the stairs, enter through the right-hand door, turn right again, and interact with the door at the northern end of the corridor to advance the objective.
Begin the Studio investigation at its mirror. Inspect the central table, the puppet inside the miniature theater, and the lower-left area of the reflection. Collect The Daughter during the theater investigation, and pick up the Balcony Key in the Studio before leaving.
Use the key on the Studio exit. Continue through the neighboring room and hallway toward the balcony to reach the routes containing the remaining family puppets.
Prerequisites for reaching each key
Early keys and Retrocognition
The entrance vase needs no supernatural ability. The first-bedroom key follows the initial Metronome sequence. Once Susan returns, the newly opened passage provides the route to the Compass Rose Key, which unlocks access to the Library Key's corridor.
The later key routes depend on the music-box progression:
- Collect the Groom Figurine upstairs in the library.
- Return it to the music box in the room containing paintings and a statue.
- Collect the Doves Medal after the sequence.
- Use the medal on the birdcage, then interact with its Metronome to unlock Retrocognition.
On the subsequent bedroom visit, the bedside key has disappeared. Examine the candle table and use Retrocognition to advance the sequence instead of searching the old pickup spot.
Mirror access and the Residential Wing
Secrets in the Mirrors becomes available after Susan leaves the villa and returns. Follow the music to the Hall of Wonders, also called the Compass Rose Room, and interact with its Metronome after escaping the pursuit. The Old Key requires this ability.
The Crown Key route follows the second pillar puzzle. Use the puzzle's mirror to stop the pillars correctly, collect the Necklace, and place it on the nun statue. After returning to the villa, follow Agata's reflections until the fireplace passage becomes accessible.
Gloria's Key and the Balcony Key are reached after entering the Residential Wing. The Remothered: Red Nun's Legacy hypnosis powers guide explains the memory and reflection interactions needed along these routes.
Doors that require a different solution
Check the obstruction before searching for a key
The jammed door at the top of the pit stairs opens when you sprint into it. The next forced-door encounter uses the same action. Neither requires a key.
Other entrances depend on missing components or completed puzzles. Match the obstruction to the solution below before backtracking to an earlier pickup.
| Blocked route | Required item or action | How to open it |
|---|---|---|
| Plant-covered doorway | Mysterious Fluid | Inspect the plant, step back until Susan comments, then use Retrocognition on the first painting to the left. Collect the fluid and apply it to the plant. |
| Handleless library door | Doorknob | Restore its missing handle. The Library Key only opens the library entrance. |
| Door with an incomplete figurine mechanism | Jesus Figurine | Use Retrocognition in the northern part of Suor Lindsay's room. Return to the Old Key's hiding place, collect the figurine, and insert it into the door mechanism. |
| Secret passage beside the Studio theater | Four family puppets | Arrange Mother, Father, Son, and Daughter from left to right in the miniature theater. |
The handleless library door belongs to the separate villa-exit chain. Follow the Remothered: Red Nun's Legacy front door puzzle guide for the Doorknob investigation and the Ashmann Family Ring route.
The Small Key opens the Music Room box
From the balcony, visit the Music Room and use Retrocognition on the guitar beside the piano. Return to the balcony and descend toward the kitchen. Investigate the adjoining room's mirror, collect the Rusty Poker near the fireplace, and continue farther downstairs.
The Small Key rests on a table along this basement route. Its matching lock is the box in the Music Room.
The doorway on the right leads into the Sewing Room. Collect the Lever there for the Mother Puppet mechanism, then escape the pursuit before returning upstairs.
Open the Music Room box to collect the Metronome Arm. Install it in the damaged Metronome near the Small Key's pickup area to unlock Moths Manipulation, which clears the insect-related obstructions in the following convent sequence.