Search games, articles, guides...CtrlK
Sign InGet Started
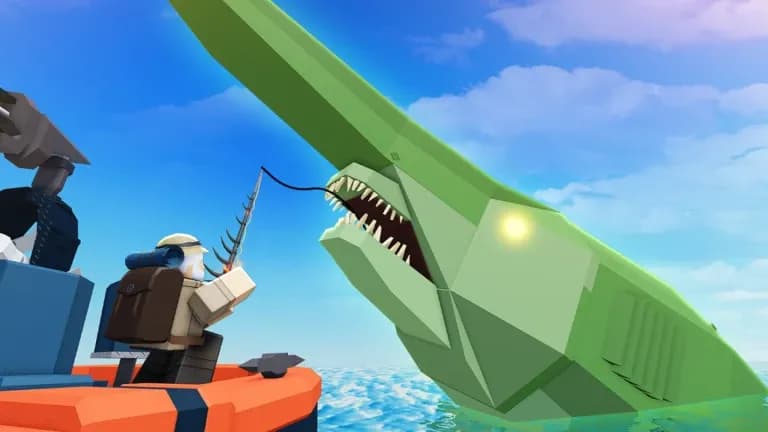
Learn fishing mechanics, rod progression, island navigation, and money-making strategies to dominate Fisch from your first cast.

Written by Nuwel
Content Writer
See more GAMES.GG guides on Google
Add us as a preferred source and our guides show up first in your results.
Clover Time Guide: How to Unlock Double Jump
Find the Neru NPC, complete three training tasks, and unlock Double Jump plus major stat buffs in Clover Time.
Dandy's World Guide: All Gourdy's Lockbox Pieces Locations
Find all 7 Gourdy's Lockbox Pieces in Dandy's World with exact locations for posters, pumpkins, the typewriter code, and the Gourdy Plush.
Clover Time Grimoire Tier List: Best Grimoires Ranked
Every Clover Time Grimoire ranked from S to D tier. Find out which spell books dominate PvP and PvE before you waste your spins.
Starting your journey in Roblox Fisch can feel overwhelming with its fishing mechanics, multiple islands, and progression systems. But here's the thing: once you understand the core loop of casting, catching, and upgrading, you'll be reeling in legendary fish faster than you think. This guide breaks down everything you need to master the fundamentals and set yourself up for long-term success.
The fishing system uses a two-phase mechanic that becomes second nature with practice. First, equip your rod (default key 1), click and hold your left mouse button while aiming at water, then release to cast. You'll see a power meter that determines cast distance, but don't stress about perfection early on.
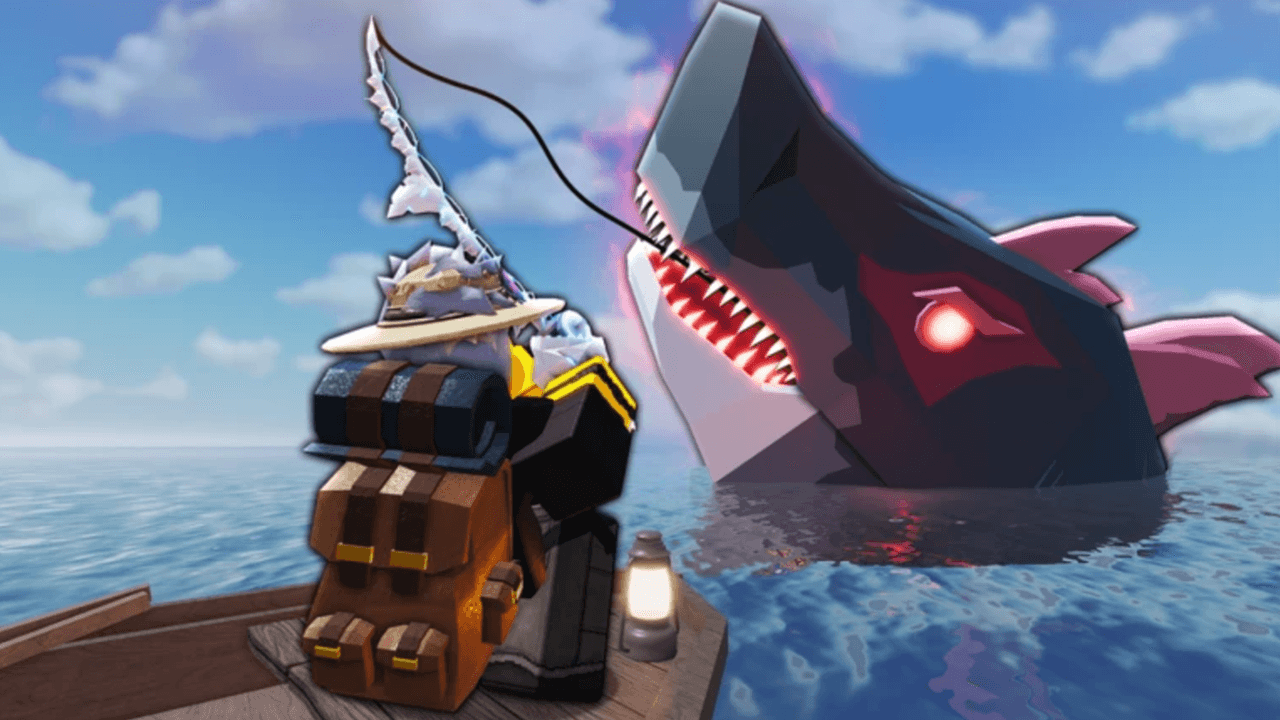
Catching Fish
Once your line hits the water, shake prompts appear on screen. Click these buttons as they pop up. Missing one forces you to restart the entire cast, so stay focused. After completing all shakes, the real challenge begins: the movement bar minigame.
A white bar appears with a moving fish indicator inside. Hold your mouse button to slide the bar right, release to move it left. Your goal is keeping the white bar aligned with the fish position until the progress meter fills completely. Different fish have varying resilience levels (how much they fight back), making rare catches significantly harder.
Roblox Fisch
Every named island features a Merchant NPC who purchases your fish for cash. At Moosewood, you'll find them near the center of the village. Walk up, press E to interact, then choose "I'd like to sell my inventory" to offload everything at once.
Roblox Fisch
Here's what new players miss: you can customize auto-sell settings. By default, the game won't sell Legendary or Mythical fish when you use the bulk option. This protects valuable catches, but you can adjust these filters in the merchant menu if you need quick cash.
Individual fish sales work differently. Equip the fish from your hotbar (keys 3-9), then select "I'd like to sell this" at the merchant. This method gives you control but takes longer when you're grinding money.
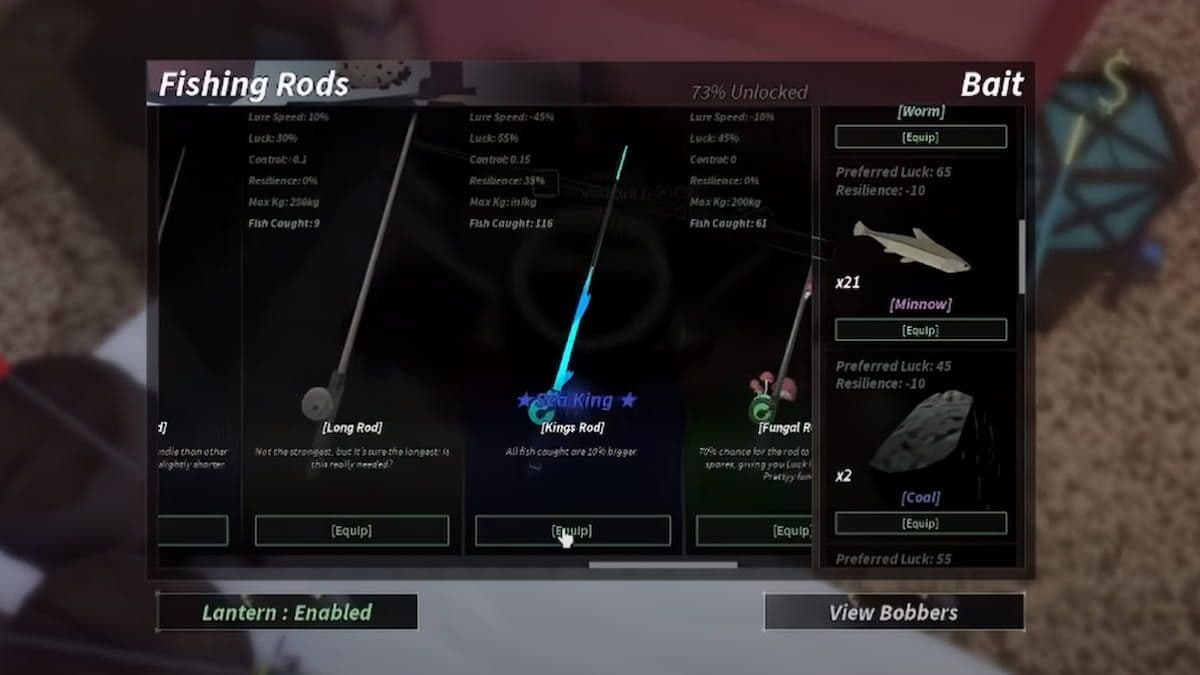
Your starter Flimsy Rod works fine for learning, but upgrading should be your first major goal. The progression path looks like this:
| Rod Name | Cost | Key Stats | When to Buy |
|---|---|---|---|
| Plastic Rod | $300 | 10% Lure Speed, 15% Luck | Skip this one |
| Lucky Rod | $750 | 20% Luck, Low Control | Skip this one |
| Carbon Rod | $2,000 | 15% Lure Speed, 25% Luck | Your first upgrade |
| Steady Rod | $7,000 | 35% Luck, High Control | Solid mid-game choice |
Save your first $2,000 for the Carbon Rod. The 25% luck boost dramatically increases your chances of catching uncommon and rare fish, which sell for significantly more money. This creates a positive feedback loop: better catches mean faster savings for your next upgrade.
Don't waste money on the Plastic or Lucky Rods. The small stat improvements don't justify delaying your Carbon Rod purchase. Focus on grinding common fish at Moosewood until you hit that $2,000 threshold.
You'll receive free Bait Crates periodically (daily rewards, quest completions, merchant purchases for $50 each). These contain random bait types that boost your fishing success. To use them:
Different baits provide different bonuses:
Universal luck applies to all fish equally. Preferred luck gives massive bonuses to specific species that favor that bait type. You won't know which fish prefer which bait until you catch them and check the bestiary, so early game, just use whatever gives the highest universal luck percentage.
Crab Cages let you catch things while doing other activities. You'll get your first ones from the Fish Appraiser (more on them shortly). To deploy:
Cages catch crabs, sand dollars, and occasionally uncommon fish. The money isn't amazing, but it's completely passive. Drop 3-4 cages before a fishing session, then collect them when you're done. Free money adds up fast.
Place cages in easily accessible spots. You don't want to waste time rowing to remote locations just to grab a $30 sand dollar. Moosewood's rocky beach works perfectly.
The Fish Appraiser at Moosewood offers a gambling mechanic. Pay a small fee (based on fish value), and they'll randomly modify your catch's weight. The fish might get heavier (increasing value) or lighter (decreasing value). You also receive random rewards like crab cages or bait.
Here's the strategy: only appraise fish you plan to sell anyway. Never gamble with rare catches you want to keep for your bestiary or aquarium. The weight changes are truly random, so there's no skill involved.
The appraiser becomes more valuable later when you're catching expensive fish. A 0.5kg increase on a $500 fish can net you an extra $50-100. On a $40 common fish? The potential gain barely covers the appraisal fee.
Boats unlock exploration and better fishing spots. Find the Shipwright at Moosewood's dock. Your first purchase should be the Rowboat at $700. It's slow but functional.
To use your boat:
Your compass (top of screen) shows cardinal directions. Major islands appear on the horizon as you explore. The most important early destinations:
Here's the optimal starter routine:
This path gets you to mid-game equipment in 2-3 hours of focused fishing. Skip the early rod upgrades, skip aimless exploration, just grind money for the tools that actually matter.
Buying every rod in sequence. You don't need the Plastic or Lucky Rods. Save for Carbon.
Ignoring bait. Even basic Worms provide 50% luck. That's massive for catch quality.
Selling legendary fish immediately. Check if anglers need them first. Also consider keeping one of each for your bestiary.
Fishing in random spots. Stick to known good locations like Roslit's flags until you understand spawn mechanics.
Not favoriting valuable catches. One misclick at the merchant can sell your prized Mythical fish.
Once you've got the Steady Rod and understand core mechanics, your progression opens up. You'll start working toward advanced rods like the Trident Rod (requires specific quest chains), exploring dangerous areas like The Depths, and optimizing your bestiary completion.
The fishing mechanics stay the same, but the stakes increase. Better fish require better timing on the movement bar. Rare spawns need specific weather conditions or time-of-day requirements. Events introduce limited-time catches. But you've got the foundation now. Cast your line, master that movement bar, and watch your Roblox fishing empire grow. The ocean's full of profit waiting to be caught.