
Star Platinum: The World and full King Crimson lead this Stand Out tier list for PvP, while Magician’s Red is a strong choice for raids. These rankings categorize combat effectiveness to help you choose the best Stand.
This Roblox tier list separates combat strength from farming value, so a useful Harvest roll does not get discarded just because it sits below S tier. Rankings apply to the pre-release playtest build and favor reliable pressure, defensive options, and manageable setups. Evolutions receive separate placements, and King Crimson’s Doppio moveset has its own rank because it cannot immediately use the full kit.
Stand Out tier list
Use the tiers to decide what deserves a closer look before spending another Arrow. S-tier Stands offer powerful combat tools, but the lower tiers include travel, scavenging, and team-support options that can be worth storing.
| Tier | Stands |
|---|---|
| S | Star Platinum: The World, King Crimson (Full), The World, Star Platinum, The World: Alternative Universe, Kraft Work |
| A | Magician’s Red, Silver Chariot, Highway Star, Heaven’s Door, Mandom, The Grateful Dead, Beyond the Sea, 200 Balloons |
| B | King Crimson (Doppio Moveset), Hermit Purple, Emperor, Glory Days, Catch The Rainbow, Death 13, Yellow Temperance, Notorious B.I.G, Smoke On The Water, Yo-Yo Ma, Under World, Walking Heart, The Sun, Tubular Bells, Harvest, Beach Boy, Smooth Operators |
| C | Mr. President, Rolling Stones, Burning Down The House, Cinderella, Hey Ya!, Strength, Super Fly |
Rarity is not a combat ranking. Kraft Work earns an S placement despite being Epic, while some rarer Stands need favorable conditions before their strongest tools become useful.
Unranked additions and Stands undergoing reworks appear separately below. They are not a hidden D tier.

Which S-tier Stand should you keep?
Keep a King Crimson roll if the full form is your goal, but judge your immediate fighting options by the stage you currently have, not the S-tier label attached to the completed kit.
Star Platinum and The World variants
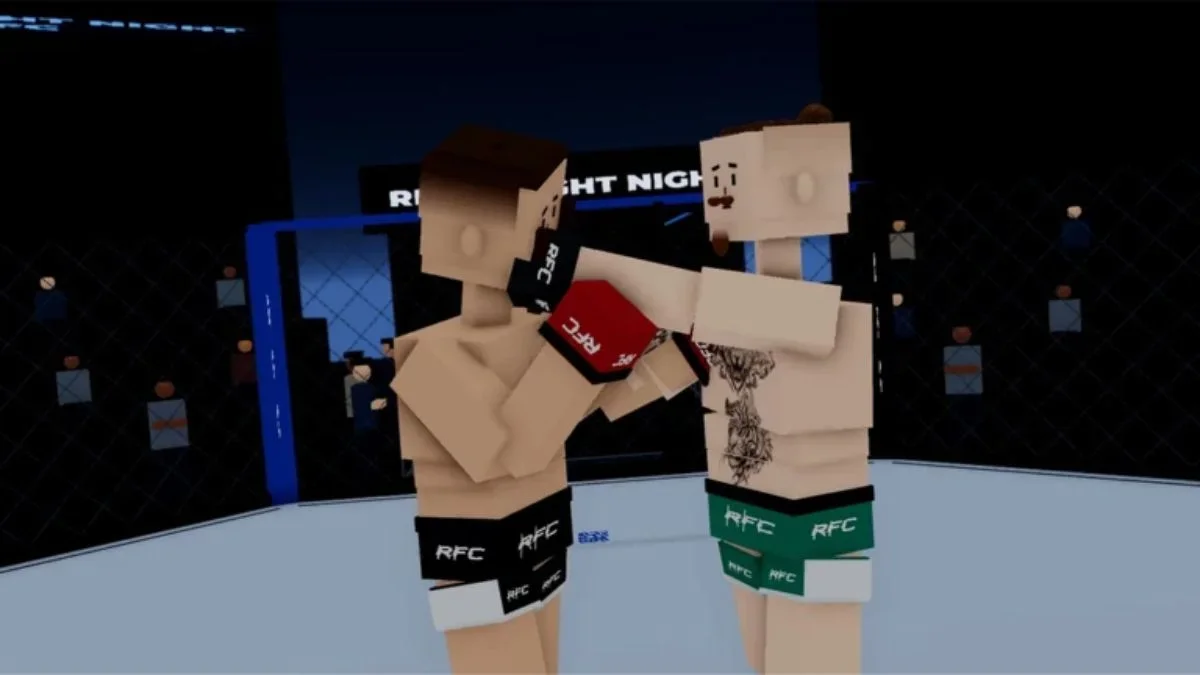
Star Platinum: The World suits aggressive duels because Panic Time Stop costs 1 bar. Ora Blitz also carries a target while leaving you free to attack, creating follow-up opportunities without committing your character to a stationary barrage.

Star Platinum: The World
Base Star Platinum has a different appeal. Star Finger reaches beyond ordinary punching distance, Inhale pulls enemies closer, and Platinum Parry can catch or deflect projectiles while the Stand is summoned. Its full Time Stop costs 4 bars and has recovery afterward, so the normal moveset needs to carry the exchanges between casts.
The World combines Knife Throw with Hole Puncher to pressure opponents before closing the gap. Its quick and full Time Stop options reward different openings: use the quick version in a close exchange and reserve the longer cast for space that lets you complete its windup.
The World: Alternative Universe shifts more attention toward midrange gun pressure. Deadly Shot offers an optional follow-up, but skipping that extra hit preserves the shorter cooldown. Choose this variant when you want a ranged action to work into the gaps between your other attacks.
Full King Crimson versus Doppio
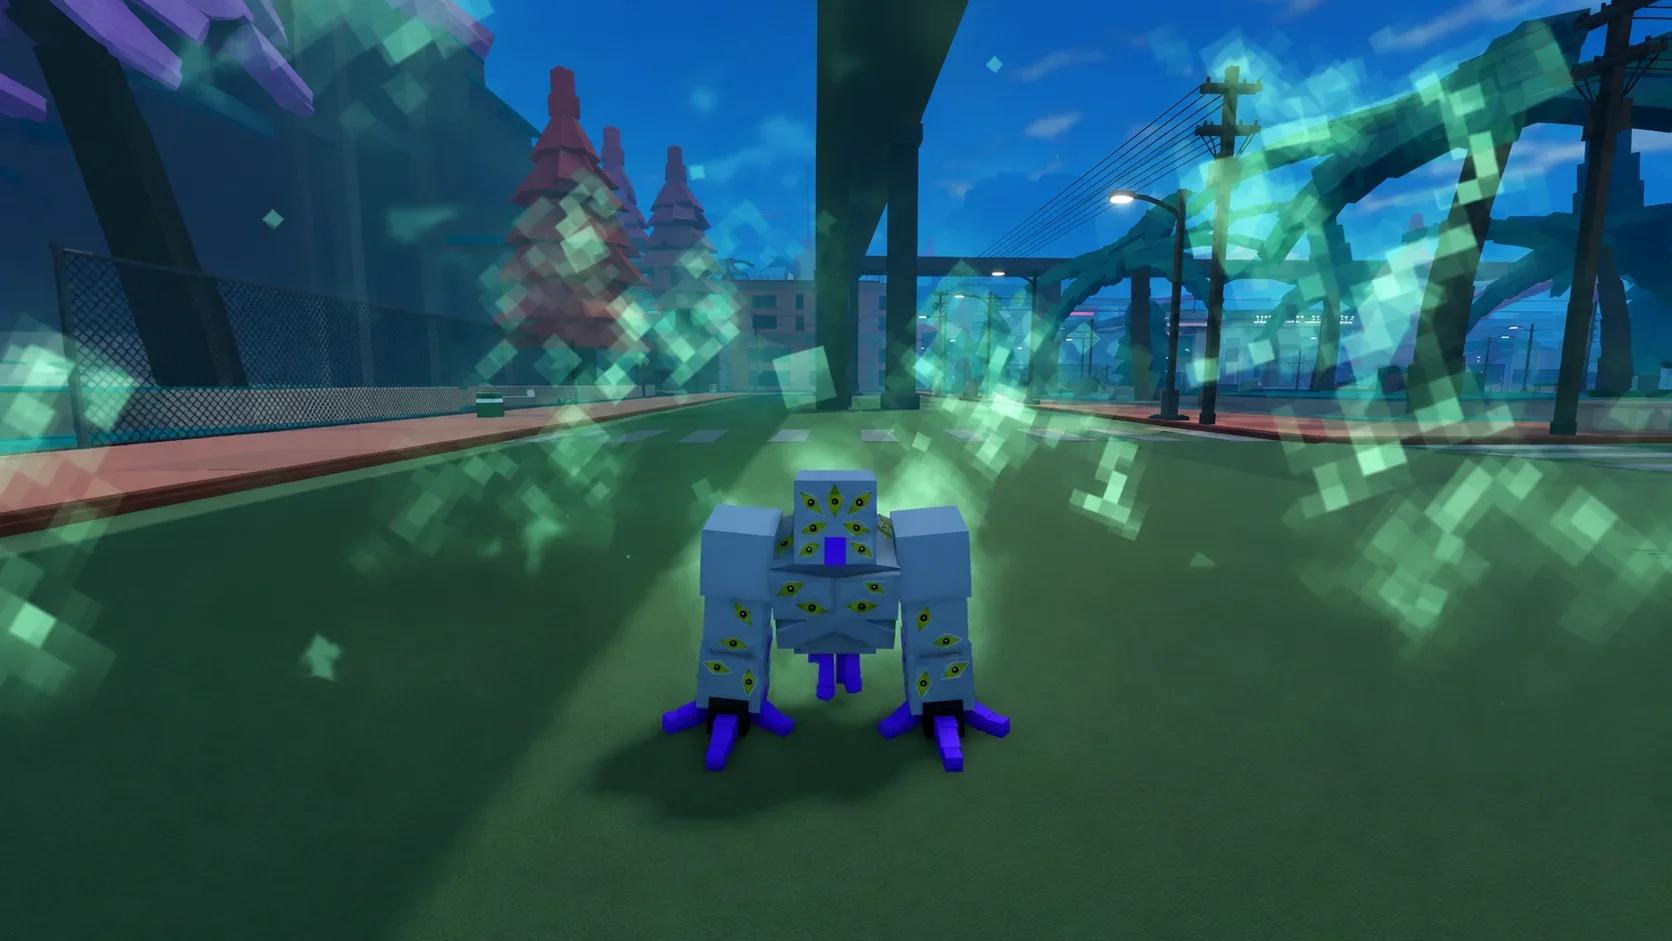
Full King Crimson rewards baiting an attack and punishing the response. Epitaph can place you behind an attacker, Decree threatens passive guarding, and Chop recovers faster when it connects. Decree still carries risk because a parry or missed attack can surrender your opening.
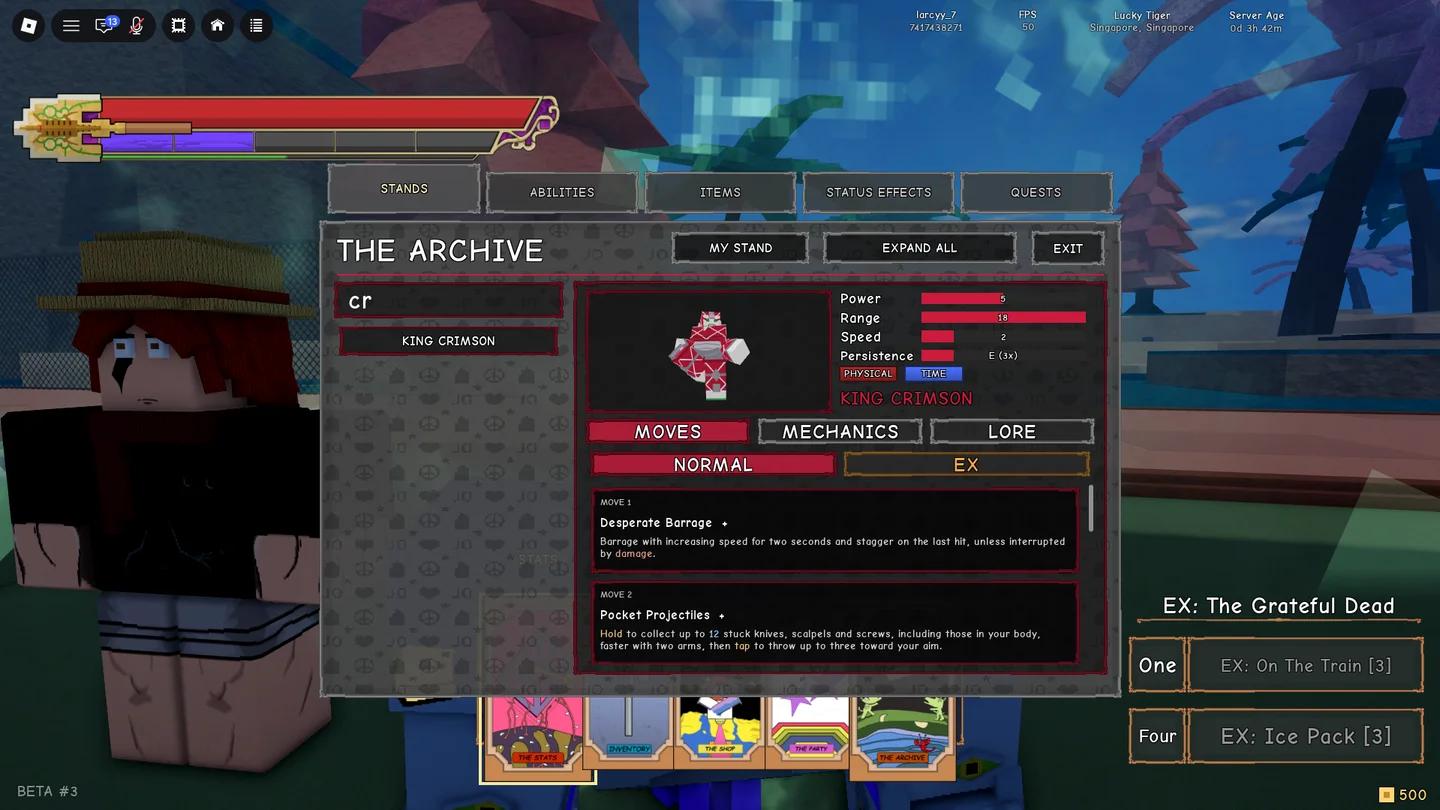
King Crimson in Stand Out
Doppio is not the full King Crimson kit. The first Frog Phone call unlocks Pocket Projectiles and Epitaph. The second adds the barrage and Tantrum. Complete the third call, then hold Summon to switch to the full moveset.
Dying costs a progression stage.
Kraft Work
Kraft Work is the specialist pick against projectiles, loose objects, and piloted Stands. Fixation can suspend those threats, turning an opponent’s approach into resources for your own setup. Marking a target as Krafted opens follow-ups through held Werk or stored-object volleys.
Stepping Stones and Kinetic Leap provide movement without requiring a complete offensive setup. You can change elevation or leave a poor position while preparing your next attack.
Its strongest sequences still have answers:
- Contact Fixation can be blocked.
- Held Werk can be perfect blocked.
- Dismissing Kraft Work clears its stored objects.
Keep Kraft Work if managing objects and positioning sounds appealing. It asks for more preparation than a direct brawler, even though both can occupy S tier.
Best Stands for raids, story fights, and farming
Combat progression and raids
Raid choices should account for whether you are attacking one boss or controlling several enemies. A dueling counter is less useful when the encounter mainly rewards repeated attacks or grouping targets for teammates.
| Stand | Best use | Main condition or weakness |
|---|---|---|
| Magician’s Red | Ranged attacks and sustained combat through Crossfire Hurricane | Life Detector’s tracking support depends on staying nearby. |
| Silver Chariot | Close-range pressure through fast attacks and Rapier Rush | Mobile enemies can repeatedly force you outside sword range. |
| Beyond the Sea | Grouping enemies with Maelstrom and moving them with Riptide | Its control tools fit crowded fights better than a single-target damage race. |
Magician’s Red also has Red Pull to bring retreating enemies closer and Red Bind to control a target while you remain free to move and attack. These tools make it a practical pick for combat-heavy Bounties as well as story encounters.
Silver Chariot offers a more direct melee plan, but do not treat Your Last Moments as guaranteed damage. It beats ordinary guard and can execute a weakened target, yet it can still be perfect blocked.
Materials and scavenging
Harvest’s Search Party can find items and dig up coins or common materials. Colony Carry helps you move between stops across different surfaces, making Harvest worth keeping when gathering is the task you repeat most.
Ability improves Harvest’s searches and poison damage. Its combat setups can demand the whole colony or several bars, so a material-farming keep does not automatically become the best choice for a fast duel.
Which specialist Stands are worth keeping?
A lower placement often reflects a condition you must create before the kit works well. Check whether your usual activity supplies that condition naturally.
| Stand | Reason to keep it | Restriction to plan around |
|---|---|---|
| Highway Star | Scent tracking, pursuit, and health drain against marked targets | Below 60 Nutrients, keeping it summoned makes you slower and easier to damage. Soaked removes scent. |
| Mandom | Rewind can undo 6 seconds of damage and positioning | The opponent can regain health and position too, so a reset can erase your own advantage. |
| The Grateful Dead | Aging pressure in prolonged group fights | Allies can age in its expanded mist, and the stack-cap kill applies to players, not bosses. |
| Catch The Rainbow | Aerial attacks and projectile defense | Needs access to rain, fog, or active hydrants to establish its preferred conditions. |
| Hermit Purple | Fast travel, pulls, and charged Hamon interactions | Its utility is less valuable in encounters focused on repeated single-target damage. |
| Death 13 | Isolating a sleeping opponent in the dream world | Your body remains exposed, and stray damage can wake the target. |
| Strength | Coastal crate farming | Ground piloting and no EX moves limit its answers when combat moves away. |
| Burning Down The House | Preparing a team before a fight | Its room-based benefits need setup time and teammates willing to use them. |
Burning Down The House has a particularly strong preparation reward: correctly playing Giorno’s Theme grants everyone inside a 30% damage boost for a minute. Its C placement reflects how awkward that preparation can be during an unplanned fight, not the absence of team value.
Beach Boy is another task-specific keep. A successful Quickcast hook opens bleed and displacement options, which can help separate one player from a group. Before that first hook lands, it lacks the immediate pressure of a straightforward melee kit.
Stands outside the letter rankings
The newer additions below sit outside these playtest placements. Their named tools describe their focus without treating an unranked entry as a weak roll.
| Stand | Kit focus |
|---|---|
| November Rain | Rain-based area control through Make It Rain, Tilt, and Heavy Rain. |
| The Hustle | Melee pressure, damage reduction while summoned, and extra damage against piloted Stands. |
| The MATTEKUDASAI | Preparation tools including False Structure, The Net, The Gift, and Fake Camera. |
| Big Mouth Strikes Again | Disguise and ambush tools through Fragmented and Identity Theft. |
| Lyin’ Eyes | Tracking and control tools including Locate and Yes or No. |
| Kiss (Kizz) | A newer addition still filed under unfinished, testing, or reworking. |
Cat Size, John Rod, Tower of Gray, and West End Girl are outside the active Arrow pool while undergoing reworks. Do not spend Arrows targeting those four during that restriction.
How to get the best Stands
Target the right Arrow or Chip
You receive your first Mysterious Arrow after the tutorial. More come from story progression, Bounties, and raids. Regular Arrows suit early experimentation; Part-specific Arrows narrow the pool once you have a target.
| Target | Arrow route | Other route |
|---|---|---|
| Star Platinum | Part 3 Mysterious Arrow, 5% chance | Fight Jotaro during the day for a chance at its Chip. |
| The World | Part 3 Mysterious Arrow, 5% chance | Fight DIO at night for a chance at its Chip. |
| King Crimson | Part 5 Mysterious Arrow, 5% chance | Full King Crimson Chip: 1% Hard Train Raid drop or 200 Train Raid Tokens. |
| Kraft Work | Regular Mysterious Arrow or a narrower Part 5 Mysterious Arrow pool | Avoid Bizarre Arrows, which exclude Epic Stands. |
Understand Opal Roka before chasing an evolution
Use Opal Roka on base Star Platinum to pursue Star Platinum: The World, or on base The World to pursue The World: Alternative Universe. Neither conversion is guaranteed.
| Outcome | Chance |
|---|---|
| Receive the alternate form | 10% |
| Lose the Stand | 10% |
| Keep the same Stand unchanged | 80% |
Secure a backup before risking a base Stand you still need for progression. Both base forms already sit in S tier, so an evolution is an optional change of kit, not a requirement to obtain a strong Stand.
Store a useful Stand before switching
D’Arby at the Docks can store your current Stand as a Chip. Visit before replacing a specialist you may want for gathering, travel, or team preparation later.
After protecting the Stand you want to keep, use another Stand Arrow to reroll or use the Chip for your chosen replacement.