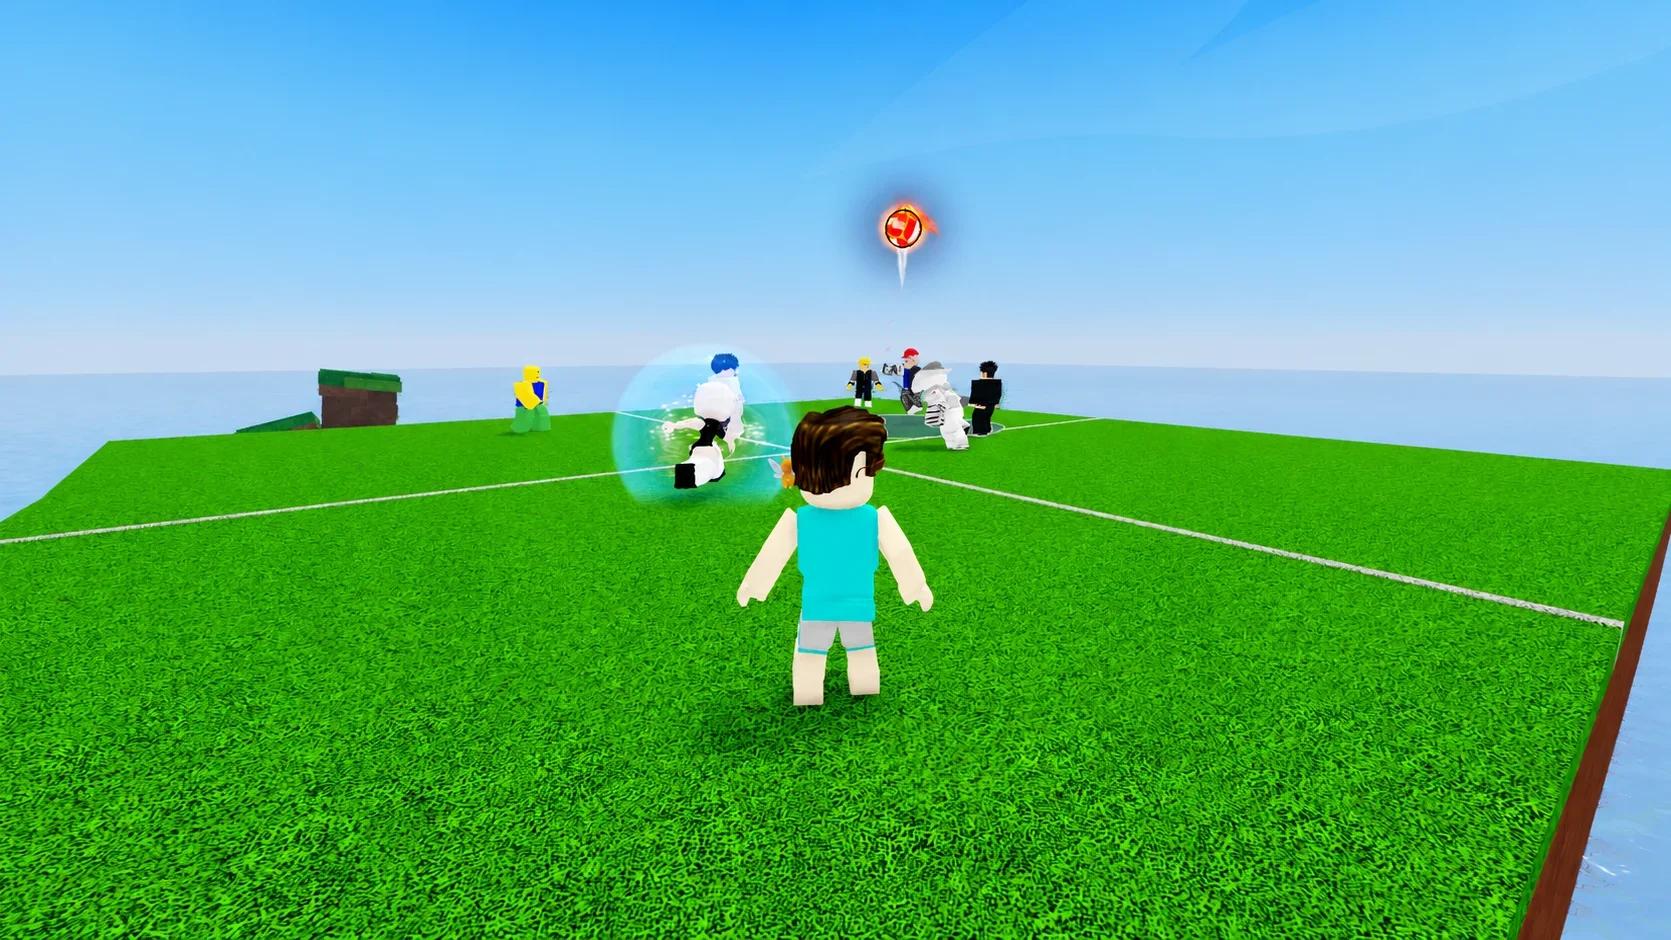

Of Volley Bomb's 11 abilities, Magnet is the best first major purchase, Guardian leads for survival, and Superspike is the budget attack pick. In this Roblox experience, your best purchase depends on whether you struggle to reach the ball, survive mistakes, or finish attacks.
The ranking below weighs reliable effects against coin cost, activation conditions, and cooldowns. Start with an ability that solves a problem in your matches. Buying an expensive ball-trajectory trick before you can consistently bump, spike, and dive leaves you with the same weaknesses and fewer coins.
Volley Bomb abilities tier list
S-tier abilities provide the strongest survival and ball-control options. A-tier picks offer excellent value when you meet their timing requirements. B-tier abilities have useful effects with narrower applications or more downtime, while C-tier purchases are difficult to recommend before the alternatives.
| Tier | Ability | Price in coins |
|---|---|---|
| S | Magnet | 1,500 |
| S | Guardian | 7,500 |
| A | Superspike | 750 |
| A | Adrenaline | 200 |
| A | Curveball | 2,000 |
| B | Forcefield | 2,500 |
| B | Frozen | 400 |
| B | Shockwave | 4,500 |
| B | Moonball | 3,000 |
| C | Portal | 3,500 |
| C | Tornado Ball | 5,500 |
Prices do not determine placement. Superspike earns a higher recommendation than several expensive options because its effect directly strengthens a shot you control. Portal adds uncertainty to your own attack, which makes its value harder to plan around.

S tier: the best survival and control abilities
Magnet: best first major purchase
Magnet pulls a nearby ball toward you, giving you another opportunity to make contact when its path would otherwise carry it out of reach. It has a 5-second active window and a 15-second cooldown. Its range restriction is the main condition: activating it without a ball nearby accomplishes nothing.
Use the pull when you can follow it with a bump or spike. Reclaiming an awkward ball is useful; pulling one while you are still recovering from a dive can leave you unable to complete the save. Magnet changes where the ball goes, but you still need to hit it cleanly.
This is the strongest starting goal if you are learning to turn difficult approaches into playable contacts. It supports both recovery and attack setup without requiring a Perfect spike.
Magnet ability in Volley Bomb
Guardian: best protection against elimination
Guardian automatically saves you from an otherwise fatal blast once per round. You do not need to time a defensive activation, making it the most forgiving option when a single missed response would eliminate you.
Its limitation is the single rescue. After that protection is spent, you must survive the rest of the round through normal play. Buy Guardian when you want insurance against an occasional mistake, not as a replacement for learning routine saves.
Guardian is a long-term purchase goal. Spending your entire early balance on the way to it means delaying cheaper abilities that can help you control rallies now.
A tier: strong purchases with timing requirements
Superspike: best budget offense
Superspike increases the power of your next Perfect spike. Its active window lasts 8 seconds, and its cooldown is 20 seconds. The Perfect requirement keeps it below the most forgiving picks: activating the ability does not remove the need to execute the shot.
Choose it when your spike timing is already dependable. A strong opportunity is an occupied square whose opponent has just missed a dive or moved out of position. Avoid spending the effect on an empty square or a ball you could already put away with a normal hit.
If you frequently miss the required contact, practice that input before making Superspike your main purchase target. Its low price cannot compensate for an effect you rarely trigger.
Adrenaline: best inexpensive starter
Adrenaline boosts movement speed, spikes, and dives for 6 seconds, followed by a 20-second cooldown. It is the cheapest ability and improves several parts of your standard moveset instead of changing the ball into a special trajectory.
Activate it when you are about to chase, defend, or attack. Using it during a quiet stretch wastes part of its short window before those boosts can help. It is a sensible first purchase if you want an immediate upgrade while saving toward a larger goal.
Curveball: best controlled trajectory change
Curveball makes your spikes curve through the air and ignore walls. Its effect lasts 5 seconds and has a 20-second cooldown, so activate it with a spike opportunity approaching.
The altered path makes attacks harder to read while leaving you in control of when you strike. Its short duration keeps it from being a default recommendation over Magnet: you need the right ball during the active window to get value from the purchase.
B tier: useful alternatives with clear limits
Forcefield: a timed defensive wall
Forcefield creates a wall that blocks incoming balls and can protect teammates as well as you. The wall lasts 6 seconds, with a 30-second cooldown. It suits a planned defensive response, but the downtime leaves long stretches when you must handle attacks without it.
Choose it when you specifically want temporary cover, especially with a teammate to protect. Its team utility is more compelling than buying it simply because you want any defensive ability.
Frozen: a cheap interruption with a narrow window
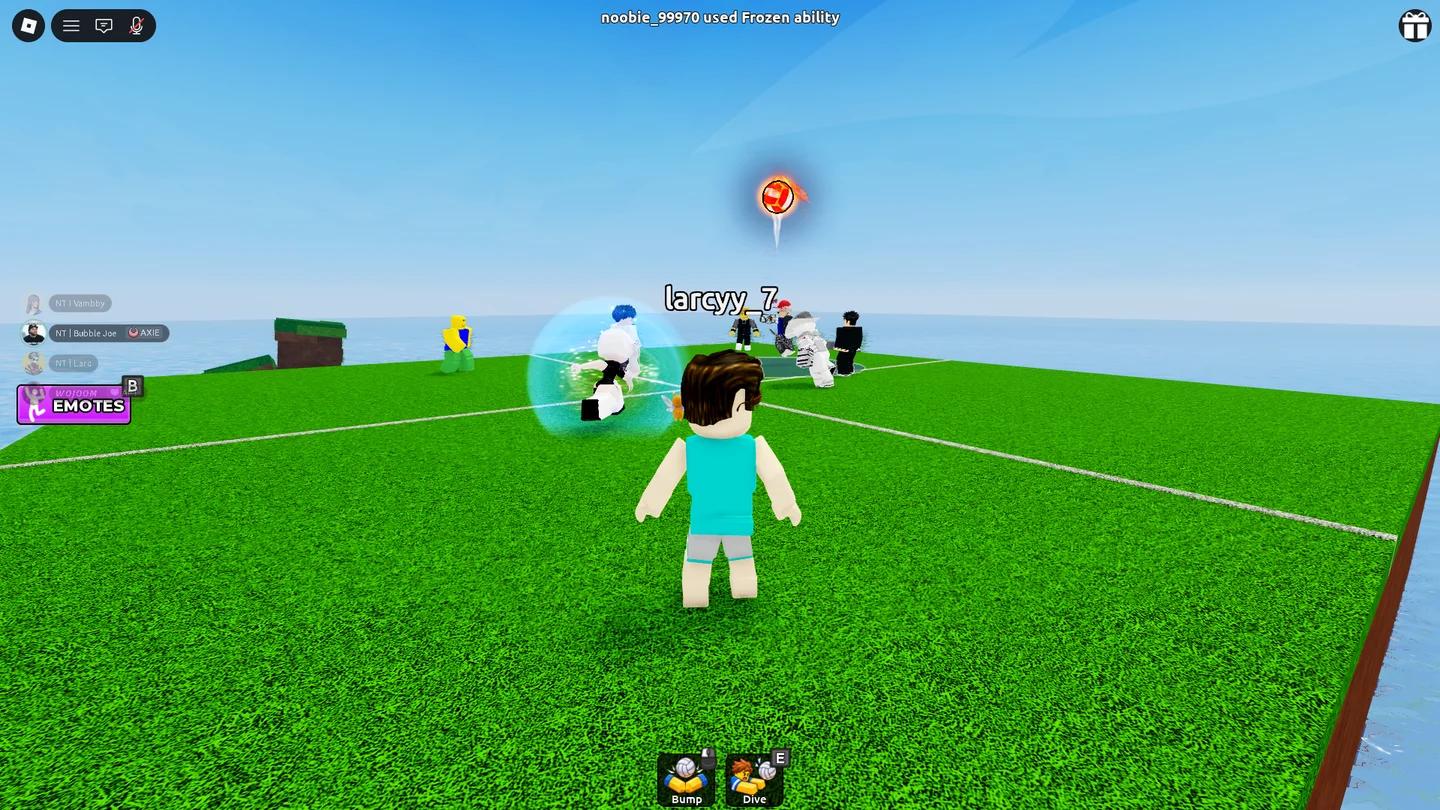
Frozen stops an airborne ball when it approaches within 15 units. Its 3-second active window demands precise activation, and its cooldown is 20 seconds.
The effect can interrupt an incoming attack and create time to respond. The difficulty is arranging that interruption while both the distance condition and active window are satisfied. Buy it as a deliberate timing tool, not an automatic emergency save.
Shockwave: direct offense with substantial downtime
Shockwave releases an attack that can eliminate nearby opponents without requiring you to touch the ball. Its 45-second cooldown makes a failed use expensive in terms of lost opportunities, especially compared with abilities that return more frequently.
It is worth considering if you specifically want a close-range threat separate from your ball contacts. For a general-purpose purchase, its cost and downtime put it behind the higher-ranked options.
Moonball: breathing room for both sides
Moonball sends the ball into a high, floating arc. It lasts 10 seconds and has a 20-second cooldown. The extra travel time lets you reposition after a difficult exchange, but opponents receive that preparation time too.
Pick Moonball if changing the pace of a rally is your goal. Do not buy it expecting the high arc alone to force a mistake. A slower approach can also make the next defensive response easier for the receiving player.
C tier: purchases to leave until later
Portal: random destinations reduce control
Portal teleports the ball to random squares on your next three hits. It has a 6-second active window and a 20-second cooldown.
Random placement can surprise opponents, but it also prevents you from reliably selecting the square you want to pressure. Leave it until after you own an ability with a more predictable purpose. Surprise is less useful when you cannot plan the destination either.
Tornado Ball: an expensive trajectory trick
Tornado Ball gives your hits a spiraling path that can make their flight harder to read. Its 30-second cooldown limits how frequently you can apply that disruption.
The purchase price is difficult to justify against cheaper ways to strengthen or redirect attacks. Curveball is the more practical trajectory-changing target, while saving toward Guardian offers a completely different survival benefit.
How to activate abilities and choose your purchase
Ability controls
Use the following inputs for manually activated abilities:
| Platform | Ability input |
|---|---|
| PC | R |
| Controller | L2 |
| Mobile | On-screen Ability button |
Keep your camera aligned with the contact you want to make. Shift Lock helps maintain consistent aim for bumps, spikes, and ability follow-ups. Watch the cooldown feedback after activation instead of repeatedly pressing the button while the ability is unavailable.
A practical buying route
You do not need to purchase every ability in price order. Use this decision sequence:
- Need a cheap upgrade immediately? Start with Adrenaline, then save instead of buying every nearby-priced alternative.
- Already land Perfect spikes consistently? Make Superspike your early offensive purchase.
- Need help recovering difficult balls? Save directly for Magnet rather than taking a detour through the expensive trajectory abilities.
- Happy with your fundamentals and saving for protection? Work toward Guardian.
After a match, separate missed activations from missed ordinary contacts. If your eliminations happen while abilities are on cooldown, practice your bump, spike, and dive responses before spending coins on another option.