
The 25 Stand Out NPC locations below cover O'ahu's story contacts, vendors, trainers, and weather-only quest givers in Roblox. Most have a fixed landmark, while the Lettuce Trader uses randomized outdoor spots. Bobby also offers Bubble Practice, but his exact spawn landmark remains unconfirmed, so he is outside this location checklist.
Find your destination in the table, then check any progression requirements before traveling. Some visits require particular weather, an empty Stand slot, or enough unlocked Stands to access the quest.
Stand Out NPC location checklist
Open Maps on your in-game Phone to find each landmark. Follow the placement closely: inside, behind, and near can lead to different NPCs at the same building.
| NPC | Location and spawn condition | Main reason to visit |
|---|---|---|
| Meryl Mei Qi | Inside Iko Iko, at the main counter | Main story and Crash Course |
| Old Lady | Behind Iko Iko, during fog | The Statue of Sorrow |
| Jodio Joestar | McKinley Highschool; first encountered by the road during the tutorial | Tutorial and main story |
| Dragona Joestar | McKinley Highschool | Main story crew contact |
| Paco | McKinley Highschool | Main story crew contact |
| Usagi | McKinley Highschool | Bandit Problem |
| Blackmore | Behind McKinley Highschool, during rain | Catch The Rainbow |
| Petyr | Inside the Police Station | Repeatable Bounties |
| Angelo | Behind the Police Station, near the roadside | Big Business and Metal Work |
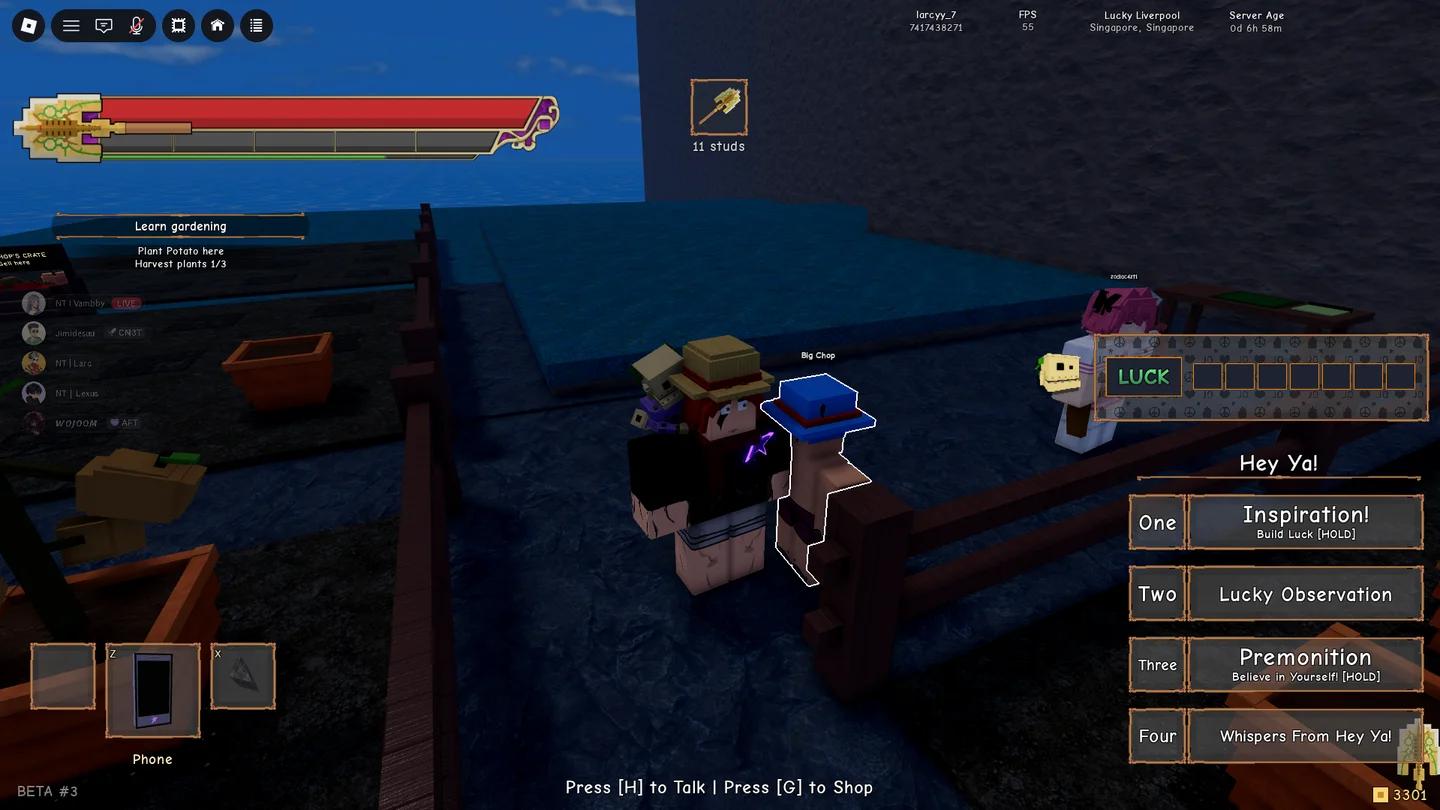
| D'Arby | Docks waterfront | Stand Storage |
| Dockhand | Docks pier, near D'Arby | Raft rental |
| Sketchy Man | Near the Docks | Clean Business |
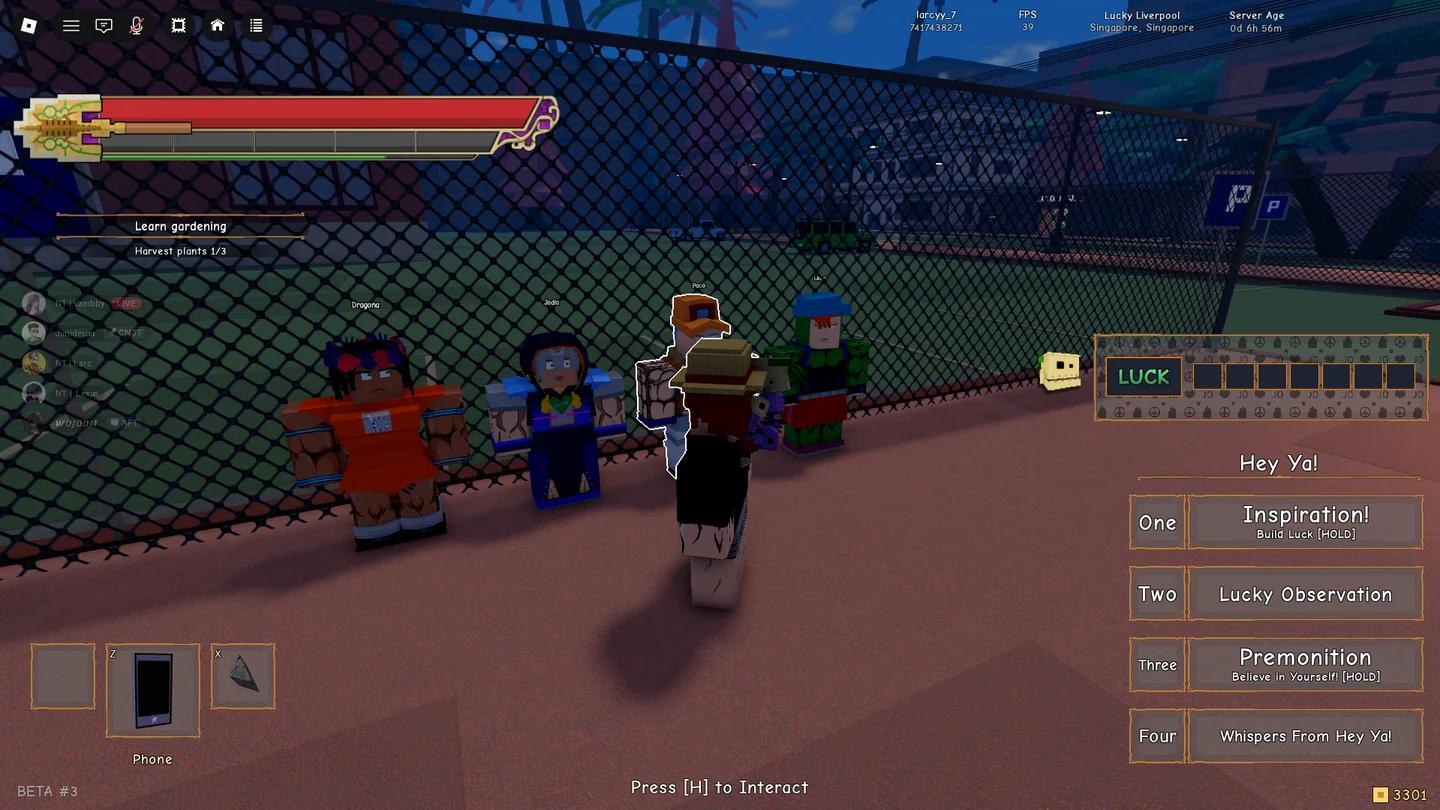
| Donatello | Park near the Museum of O'ahu | Raid entry |
| Museum Receptionist | Front desk inside the Museum of O'ahu | Museum Errands |
| Major Tom | Behind a staircase inside the Museum of O'ahu | Space Oddity |
| Big Chop | Big Chop's Garden | Gardening supplies, tools, and Daily Garden |
| Lisa Lisa | Top of the Volcano | Hamon Training and paths |
| Billy | Inside the Hospital | Hermit Purple quest |
| Congressman White | Inside the Hospital | Hospital chapter and tablet objective |
| Diamotch Clerk | Inside Diamotch | Private watch showing story step |
| Land Registry Clerk | Inside the Hawaii State Land and Registry Office | HOWLER deeds and museum records |
| Bill | Inside Mr. President's Pocket Dimension | Exit from the room |
| Key West | Howler's Yacht, during the story | Late-story encounter |
| Howler | Howler's Yacht, during the story | Later yacht objectives |
| Lettuce Trader | Random outdoor location, during sunny weather | Yo-Yo, What the Hell, Ma?! and Raid Token shop |


Which NPCs should you visit first?
Getting those tools early makes it easier to reach service NPCs without searching every street on foot.
Unlock navigation before making longer trips
Meryl gives you the Phone, which provides Maps and Huber fast travel.
Usagi's repeatable quest asks you to defeat five bandits. Pick it up while working through the early school objectives so those fights also contribute toward a quest completion.
Use the Phone to redeem eligible Stand Out codes for extra Mysterious Arrows before planning longer reward routes. Save any rerolls until you have dealt with Stand storage.
Collect Angelo's quest before starting raids
Accept Big Business before your first raid. Its objectives require one raid clear, three Bounties, and 10 Eliminations, so starting it first lets those activities count toward the same reward chain. Collect a contract from Petyr during the Police Station visit.
Big Business awards one Bizarre Arrow, 2,500 Coins, and one random seed. Angelo's Metal Work is a separate exchange: bring three Steel for 900 Coins and one Mysterious Arrow.
Donatello launches Bizarre Adventures, including the Train Raid and Highway Star Raid. Choose the raid that matches your target Stand Chip instead of treating both queues as the same farm.
Donatello near the museum
Stand storage and side quests at the Docks
Store your current Stand before using a new one
D'Arby converts your equipped Stand into a reusable Stand Chip. Your first storage slot unlocks through a minigame during the story, so complete that step before experimenting with valuable drops.
If you are deciding between keeping a farming Stand and switching to a combat option, compare their roles in the Stand Out tier list before committing. Storage lets you preserve a useful option while pursuing a different one.
D'Arby at the waterfront
Prepare for Clean Business
Sketchy Man's Clean Business pays 4,000 Coins and includes carrying four downed teammates to the Hospital. Arrange help before committing to that stage; the objective requires more preparation than a simple delivery.
Keep Clean Business separate from Angelo's Big Business in your quest planning. The names are similar, but their objectives and rewards are different.
Weather-only NPCs and quest deadlines
The checklist contains three weather-dependent contacts. If one is missing, check the current conditions before searching the same area again. You can work on repeatable quests while waiting or switch servers to look for the weather you need.
Rain: Blackmore and Catch The Rainbow
Blackmore sends you to the Leprechaun at the rainbow's end. Defeat it, collect the cauldron, and capture the rainbow. Completing the quest rewards one Mysterious Arrow, Blackmore's Jacket, and Blackmore's Pants.
Fog: the Old Lady and The Statue of Sorrow
The Old Lady's quest sends you to Angelo, then asks you to crouch and follow cracks toward the Rolling Stones encounter. The quest rewards include 4,000 Coins, one Mysterious Arrow, one Bizarre Arrow, and one Part 5 Mysterious Arrow.
Your handling of the stone determines the accessory reward. Lure it into the net for Hand of Fate. If the stone catches you, you receive Slave of Fate instead.
Sun: the randomized Lettuce Trader
The Lettuce Trader's name changes with his spawn, so searching for one fixed name will not reliably identify him. A screenshot can help you recognize the character, but its background does not establish his current location.
His quest awards three Mysterious Arrows, 1,500 Coins, and a random Rokakaka Seed, with a very low chance of a Yo-Yo Ma or Harvest Stand Chip. Collect the golden key after defeating Yo-Yo Ma to finish the objective.
After completing the quest for the first time, speak to the trader again to access Raid Token spending. Each token spent grants a permanent 1% quest coin bonus.
Hamon, Hermit Purple, and Major Tom's requirements
Finding these NPCs is only the first step. Check the entry requirements below before climbing the Volcano or beginning a late-game collection quest.
| NPC | Requirement to prepare | What the quest involves |
|---|---|---|
| Lisa Lisa | 10,000 Coins for Hamon Training | Ripple Training Mask objectives, including a Bounty and an Elimination |
| Billy | Jonathan Hamon equipped and no equipped Stand | Defeat DIO and use Life-Giving Overdrive on 15 plants |
| Major Tom | 45 Stands unlocked | Collect 16 town surveys, get D'Arby's stamp, and craft a Bizarre Arrow |
Lisa Lisa also handles switches between the Jonathan, Caesar, and Zeppeli Hamon paths. Choose the path needed for your next unlock before leaving the trainer.
For Billy's quest, handle your equipped Stand before starting the trip. Having Jonathan Hamon alone does not satisfy the Standless requirement. Major Tom checks unlocked Stands, so review your Stand Archive progress before pursuing his collection chain.
Combine museum errands with story travel
Museum Errands asks you to inspect four exhibits, collect Land Registry records, and get them signed by Meryl or the Lettuce Trader. Accept the errand before a story visit to the registry so you can collect the documents during the same trip. Meryl is the practical signing choice when the trader's weather requirement would delay you.
Big Chop's Metal Detector provides another reason to make a supply stop between objectives. Use it on beach sand to search for Arrow Parts and other items. His shop also sells seeds and Wood for players working on gardening or crafting tasks.
Follow the Phone's Quests app for story contacts such as the Diamotch Clerk and Congressman White. Their useful interactions belong to particular objectives, so searching their buildings early does not replace advancing the story.
For the yacht chapter, the Dockhand rents a raft for 100 Coins. Once the story sends you after Key West, follow the gold traces toward the upper deck. Continue the yacht objectives to reach Howler.