


All the Time in the World is one of the most sprawling chapters in 007 First Light. It opens with a deceptively calm hotel arrival and escalates into a full-on rooftop car chase, a fistfight with two identical blond men, a bomb defusal, and a free-fall from a plane. There's a lot going on, and the mission doesn't hold your hand through most of it. This guide breaks every part down so you can move efficiently and avoid the moments where players typically get stuck.
Part 1: Drive to the hotel
The chapter starts behind the wheel. Follow the road to the hotel without damaging the car, then continue along the path until you reach the designated parking spot. Park up to trigger the next objective and move into the mission proper.
Arrive without damaging the car
How do you infiltrate the hotel in All the Time in the World?
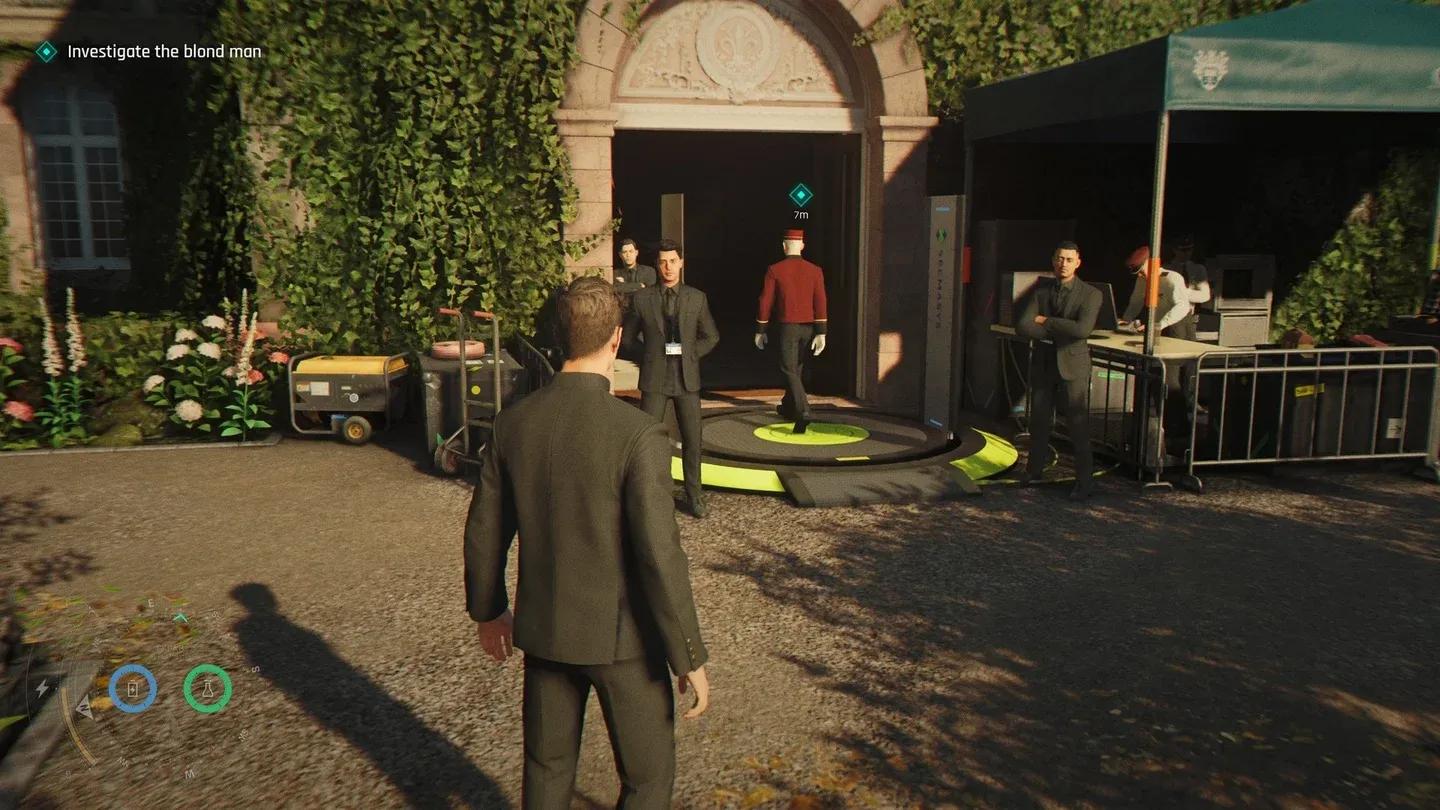
Once you reach the entryway, you have three options for getting inside: find a Press Pass, use the staff entrance, or sneak in. The quickest method tested across multiple runs is the sneak route.
On the left side of the entryway, there's a pile of leaves you can ignite. Doing so draws the nearby guard's attention. While they're distracted, vault over the railing immediately to the right of the leaves and climb up to the second-floor window. You're inside before the guard even turns back around.
Part 3: Searching the hotel for the blonde man
Head down the stairs on the left after entering. On the way down, you'll pass hotel staff. Use the Dart gadget to disorient one of them and pickpocket the Staff Key from their pocket. It's not required right now, but it saves time later.
Continue to the ground floor and locate the reception area. Two maids on the stairs will mention a Mr. Prendergast and a missing briefcase. Eavesdrop on the conversation at reception between Prendergast and the hotel manager, then speak to Prendergast directly. He'll confirm the blonde man went into the laundry.
How do you get the Cellar Key?
The laundry is locked behind a Cellar Key. To find it, head to the Study room at the opposite end of the reception. Take the roundabout path rather than cutting through the reception floor, because crossing directly risks an unwanted encounter with Ronson.
Inside the Study, eavesdrop on staff near the window. You'll learn that one of them is carrying the Cellar Key. Wait for him to step away from the others, then use the Dart to disorient him and lift the key. Head back toward the rear of the main reception area and use the Cellar Key on the far door. Take the left door inside and go downstairs to reach the laundry.
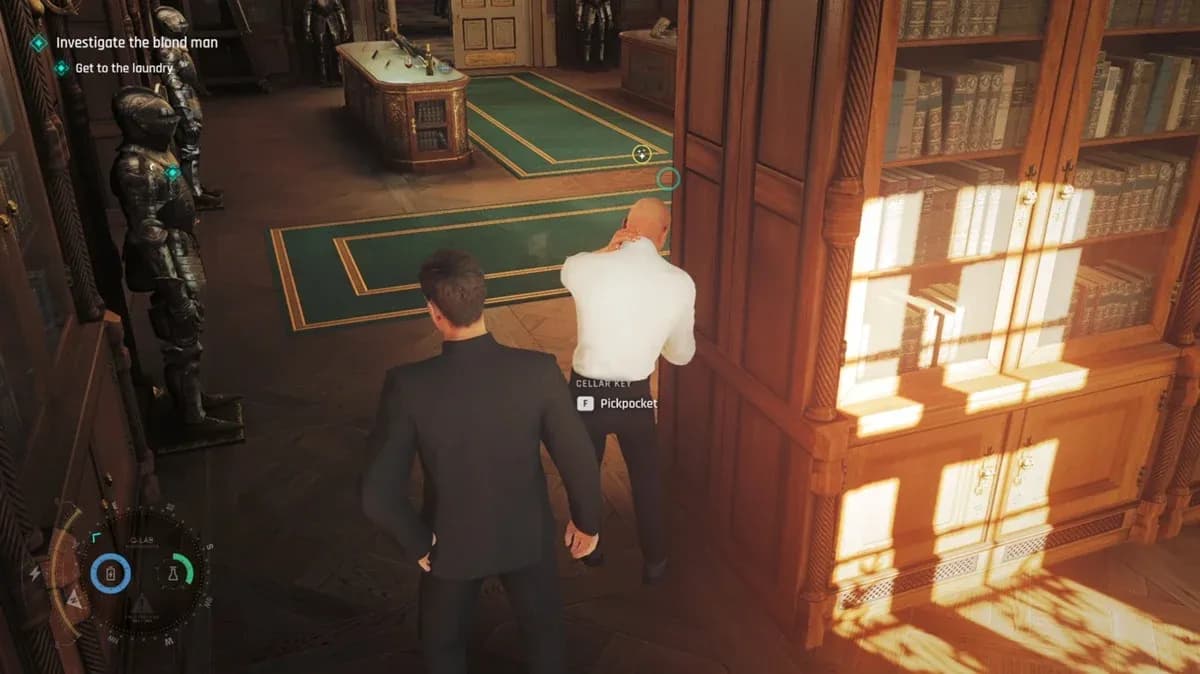
Dart gadget lifts the Staff Key
Part 5: Getting through the laundry
The laundry is guarded. You can sneak through using gadgets or fight your way across, but either way, keep guards from radioing for reinforcements. If backup arrives, the area becomes significantly harder to manage.
At the far end, you'll find a Bellhop Outfit and a note referencing room 206. Kick the door open, climb out the window, and scale back up to the second floor. The study is now full of guards. Sneak past them or use the Dart on the guard near the main door. Bluffing also works here if you'd rather not waste gadget charges.
Part 6: Investigating room 206
Back on the upper floor, eavesdrop on a guard and staff member talking about room 206. Head to the top floor and take a left toward the room corridor. A guard is posted here; use the Dart to slip past. Speak to the maid at the far end for information on the rooms, then double back to find another maid on the phone. Eavesdrop on her call to learn about the room 205 keycard, then pickpocket it from her using the Dart.
Enter room 205, go through the bathroom, and exit via the open window. Cross over the exterior ledge to reach room 206.
What clues are in room 206?
There are six items to examine inside the room:
After you've investigated the room, someone knocks on the door. Answer it and you'll find the maid from earlier. Step outside and you'll catch a glimpse of the blonde man downstairs.
Part 8: Pursuing the blonde man
Head back to the reception area and follow the blonde man. Enter the electricity room and eavesdrop on the conversation inside to learn the building has been short-circuited. Vault out the open window to the exterior.
Chase the blonde man into the building and through the kitchen's back rooms. Opening the next door reveals the maid from earlier lockpicking a door. She's clearly not hotel staff. A cutscene plays, and you'll see the blonde man loading crates onto an elevator. Vault over the crates on the left to bypass the locked gate, then continue up the stairs.
Follow him through the reception area past the chess section and keep going until you reach the dining room.
How do you solve the Chimera fireplace puzzle?
In the dining room, the trolley the blonde man was pushing sits abandoned. A note on it shows a drawing of a Chimera: lion's body, goat's head on its back, and a snake for a tail. This tells you the exact sequence for the fireplace puzzle nearby.
Press the fireplace images in this order:
- Lion
- Goat
- Snake
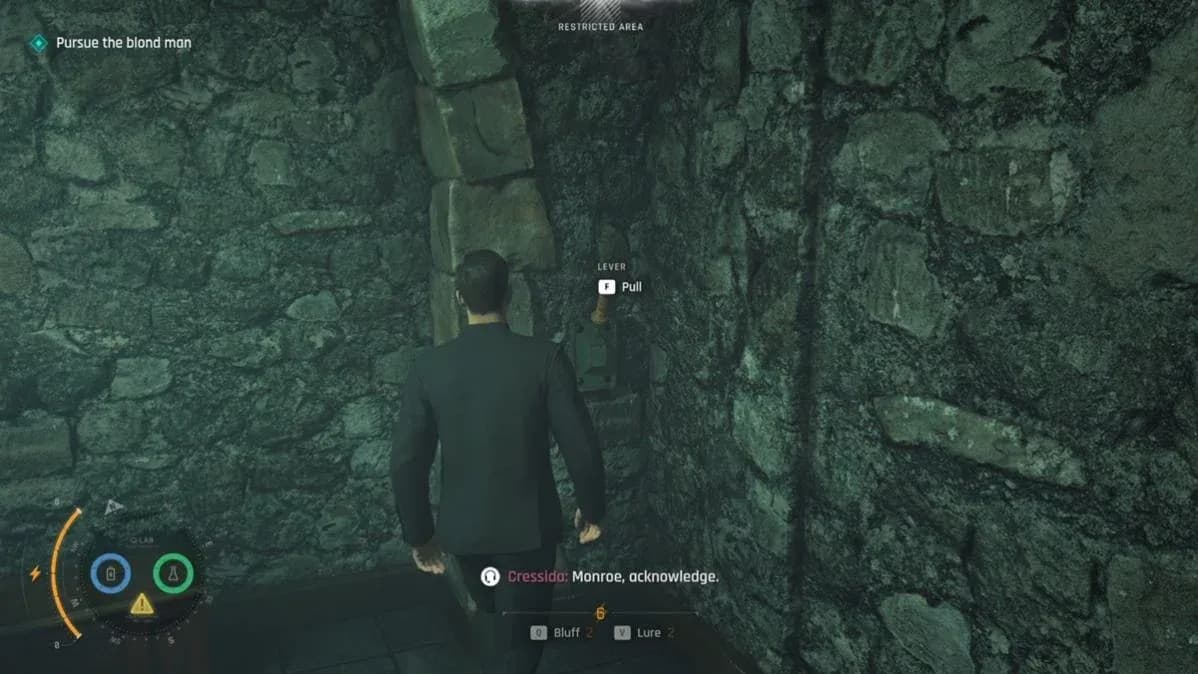
The secret passage opens. Vault through and push the rack aside to reach the winery. Find the lever on the wall and pull it to raise the wall and open a hidden room beyond.
Part 10: Defeating the blonde man and defusing the bomb
Here's the twist: there are two blonde men, not one. Fight both of them. Parrying is the most reliable way to get through this fight without taking heavy damage, so keep that defensive rhythm going rather than trying to overwhelm them with offense.
After the fight, you'll find a bomb on the wall. Select the components in this exact order to defuse it:
- Battery
- Motherboard
- Wires
- Green
Defusing it doesn't end the chaos. A second device explodes behind you, sending the situation spiraling.
Defuse in this exact order
Part 11 and 12: Pursuing 009 and catching the plane
Make your way to the main area and pursue 009. The mystery woman brings a car. Get in and continue the chase on the road.
At the end of the chapter, she hands you a gun. This is the first time you get to use firearms in the game. Target the red barrels near enemy clusters to clear groups quickly rather than engaging each enemy individually.
Chase the departing plane on foot, then by car. Get close enough and Bond automatically grabs the electric cables to board the plane. Clear the enemies on the roof, then head inside.
Once inside, hack the flight control system and bank the plane left and right to throw enemies around the cabin. After the chaos clears, you'll fall from the plane in a free dive. Avoid the falling debris by moving laterally. Two guards with parachutes will appear alongside you. Move toward them and grab a parachute to land safely. That ends the chapter.
More 007 First Light guides
All the Time in the World is one of the game's more collectible-dense chapters, so if you're going for full completion, check out our all 92 collectible locations guide to make sure you haven't missed anything. For trophy hunters, our full trophy and achievement list breaks down exactly what you need to earn the Platinum. The full 007 First Light guide collection has everything else covered, from Legacy Items to Playing Cards across every chapter of this adventure game.