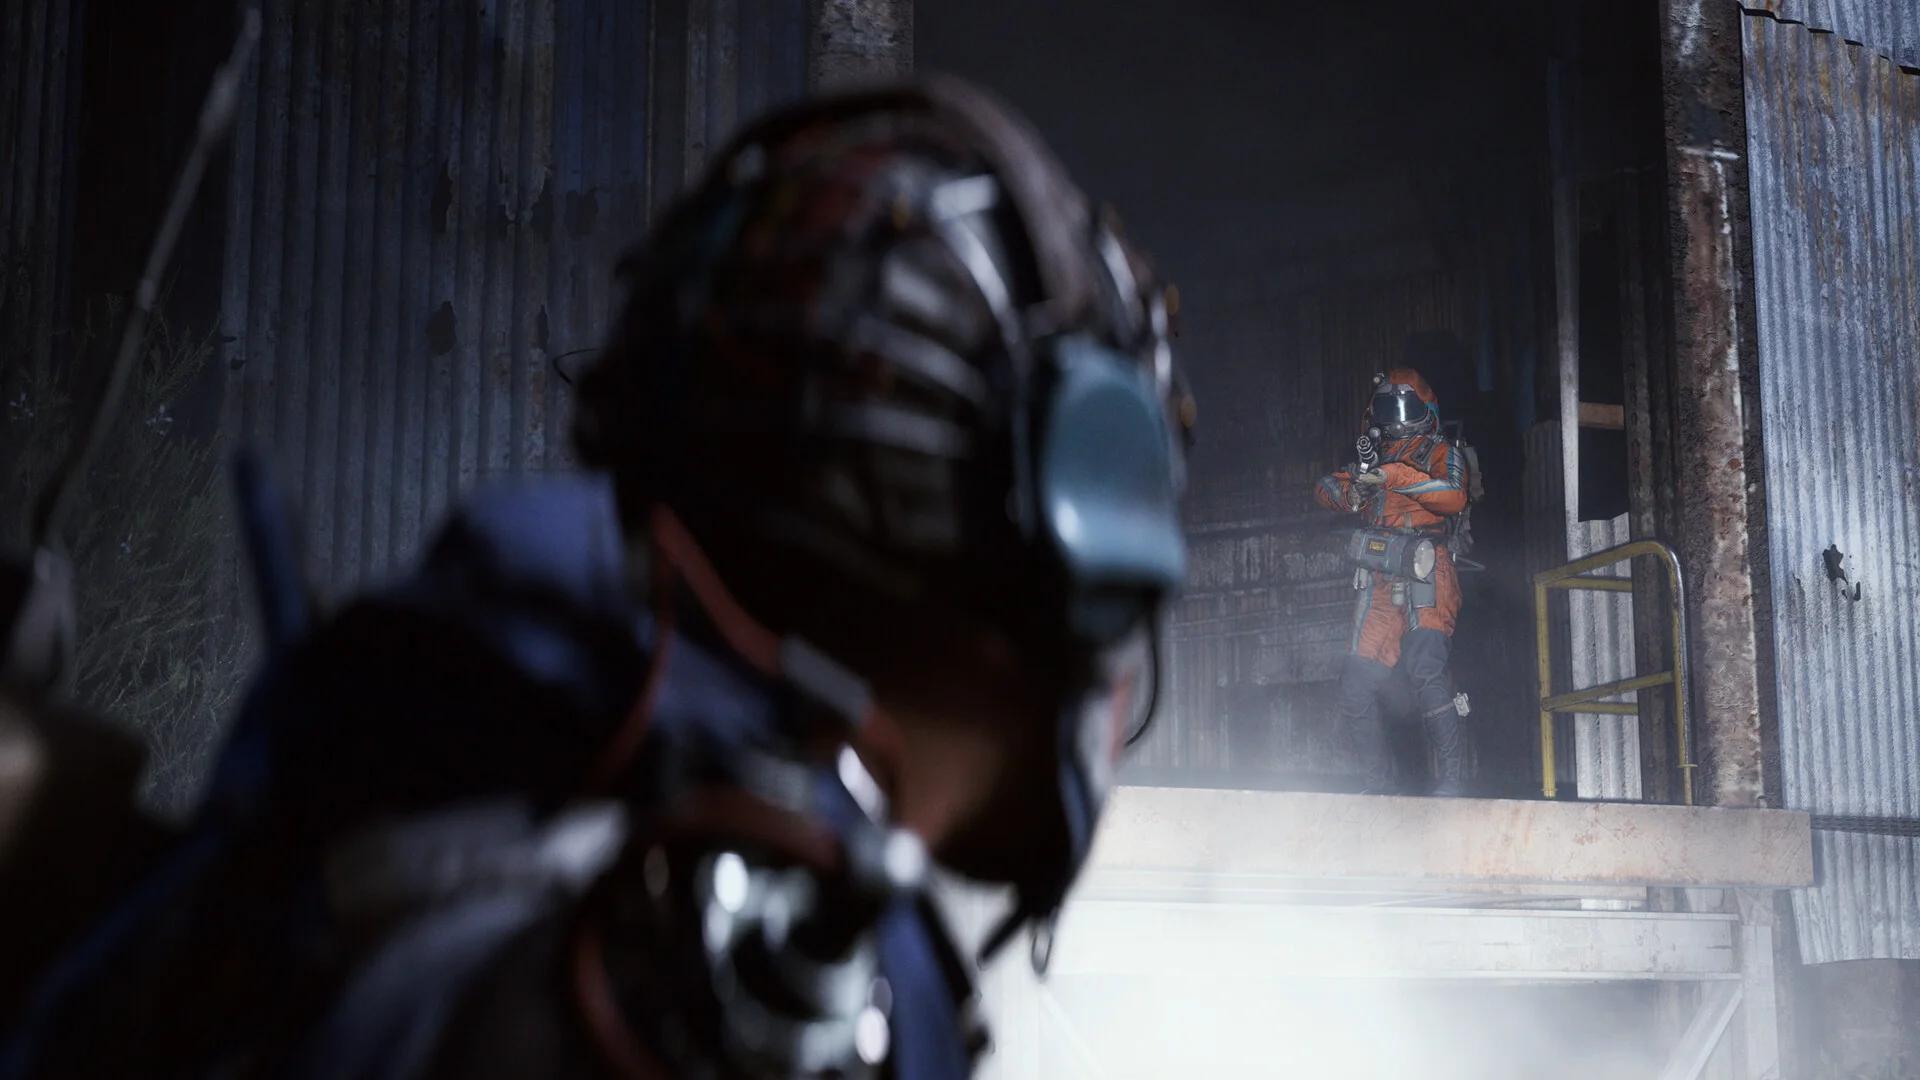

To find Sentinel Firing Cores in ARC Raiders, hunt stationary Sentinel turrets on Dam Battlegrounds and search ARC Couriers along the way. Dam Battlegrounds is the best starting map because several turret positions sit around Research & Administration and the broken dam.
You need 4 cores for Gunsmith Level 3, but neither a Sentinel kill nor a Courier guarantees one. Scout before committing to a spawn, fight from cover, and protect each core immediately. A successful kill only counts toward your upgrade once you secure the loot.
Update context: ARC Raiders, Frozen Trail update (October 7, 2026). Later updates can change spawn availability and crafting requirements.
How many Sentinel Firing Cores do you need?
Your first target is 4 Sentinel Firing Cores for the Gunsmith upgrade from Level 2 to Level 3. The upgrade also requires two other materials, so check your stash before heading out.
| Gunsmith Level 3 material | Required quantity |
|---|---|
| Sentinel Firing Core | 4 |
| Rusted Gears | 3 |
| Advanced Mechanical Components | 5 |
Each Sentinel Firing Core weighs 1 kg and stacks to 3. Keep your upgrade supply rather than breaking it down for common materials.
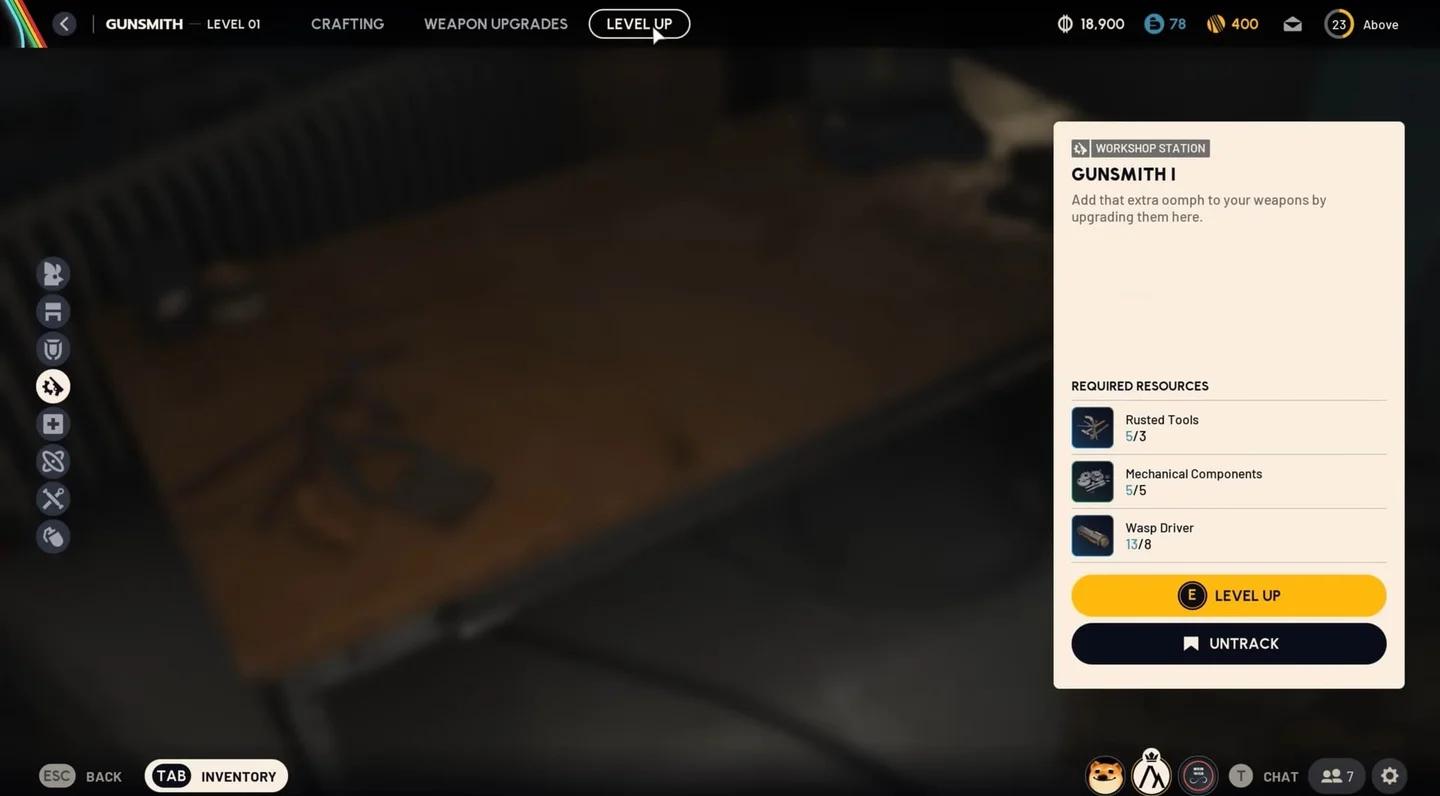
Gunsmith Level 3 material checklist
Gunsmith Level 3 is not the only reason to keep extras. Sentinel Firing Cores also appear in the Osprey Blueprint and Action Economy recipes. Check your crafting plans before selling surplus cores, and use the ARC Raiders blueprint locations guide to plan your next unlocks.


Where should you farm Sentinel Firing Cores?
Dam Battlegrounds is the strongest choice for a dedicated hunt. Spaceport has more potential Sentinel positions, but checking them involves more travel. Buried City is better treated as an extra opportunity while you handle another objective.
| Map | Where to focus | Best use |
|---|---|---|
| Dam Battlegrounds | Research & Administration, the dam breach, and Pipeline Tower | Dedicated Sentinel farming across 3 potential positions |
| Spaceport | Elevated catwalks, ledges, rooftops, and structures around the hangars and launch area | Checking 6 potential positions during a longer run |
| Buried City | Town Hall, Hospital, and Research | Adding Sentinel checks to another objective |
| Blue Gate | Two widely separated Sentinel positions | Opportunistic checks rather than a focused circuit |
| Riven Tides | Sentinel positions, ARC Couriers, and husks | Combining turret checks with ARC scavenging |
| Pendola Pass | Wasp husks around Fallen Emperor | A secondary scavenging option |
| Stella Montis | No Sentinel spawns | Skip for Sentinel hunting |
Sentinel positions are fixed possibilities, not guaranteed encounters. An empty perch is your cue to check another location or extract and try another raid.
Where should you look on Dam Battlegrounds?
Build your run around these checks, starting with whichever is closest to your arrival:
- Research & Administration: Look at the right-hand building corner above the exterior blue staircase. Nearby industrial buildings provide cover while you approach and shoot.
- Broken dam wall: Inspect the elevated positions within the damaged section of the dam. This area can hold Sentinels overlooking the path below.
- Pipeline Tower: Scan the elevated terrain above The Breach for a turret watching the lower ground.
Research & Administration is a popular farming stop, so expect competition. A missing Sentinel may mean an empty spawn or another Raider getting there first. Either way, lingering at the staircase does not help you collect cores.
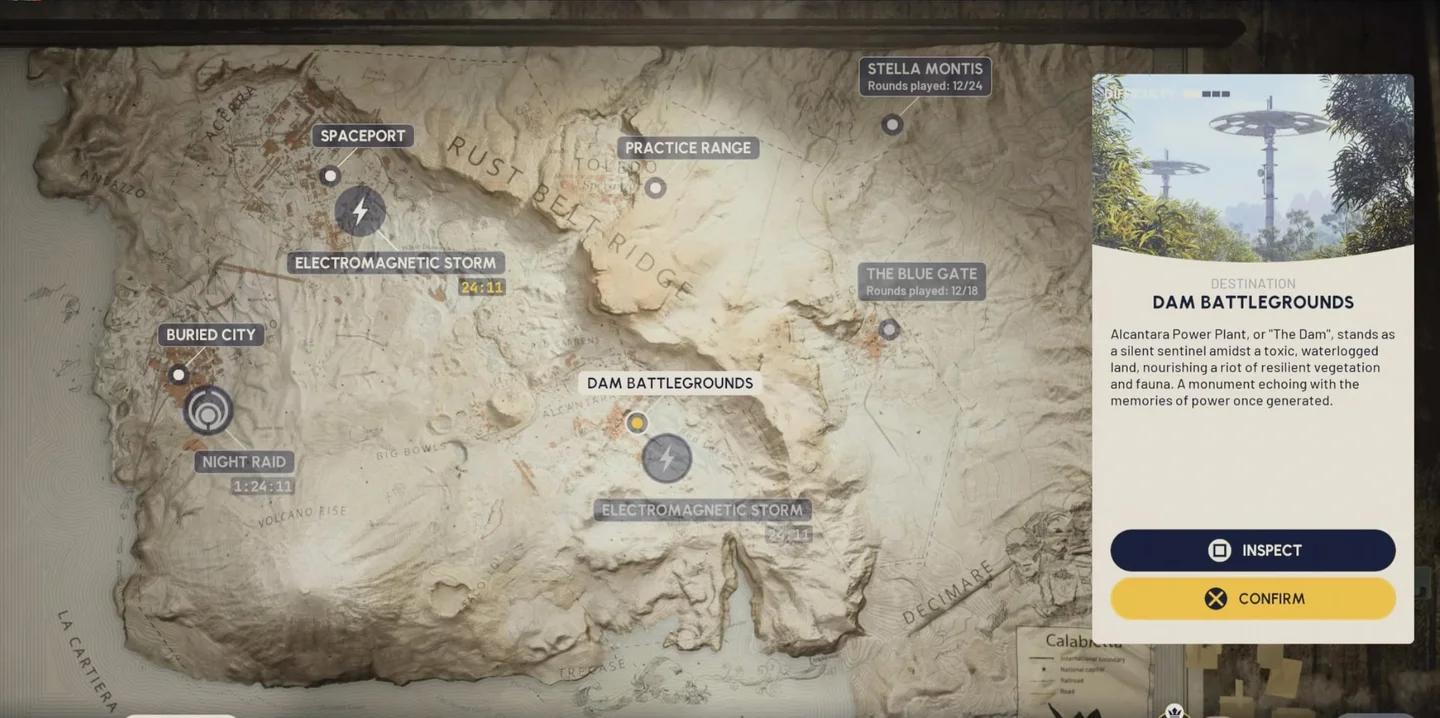
Dam Battlegrounds core farming checks
What should you bring on a Sentinel run?
Binoculars are useful because they let you inspect elevated positions without walking all the way to them. They have two magnification levels, making them a practical choice for players who want to avoid unnecessary travel and exposure.
You can buy Binoculars from Shani in the Traders District, obtain them through free loadouts, or craft them at the Utility Station using 8 Plastic Parts and 4 Rubber Parts.
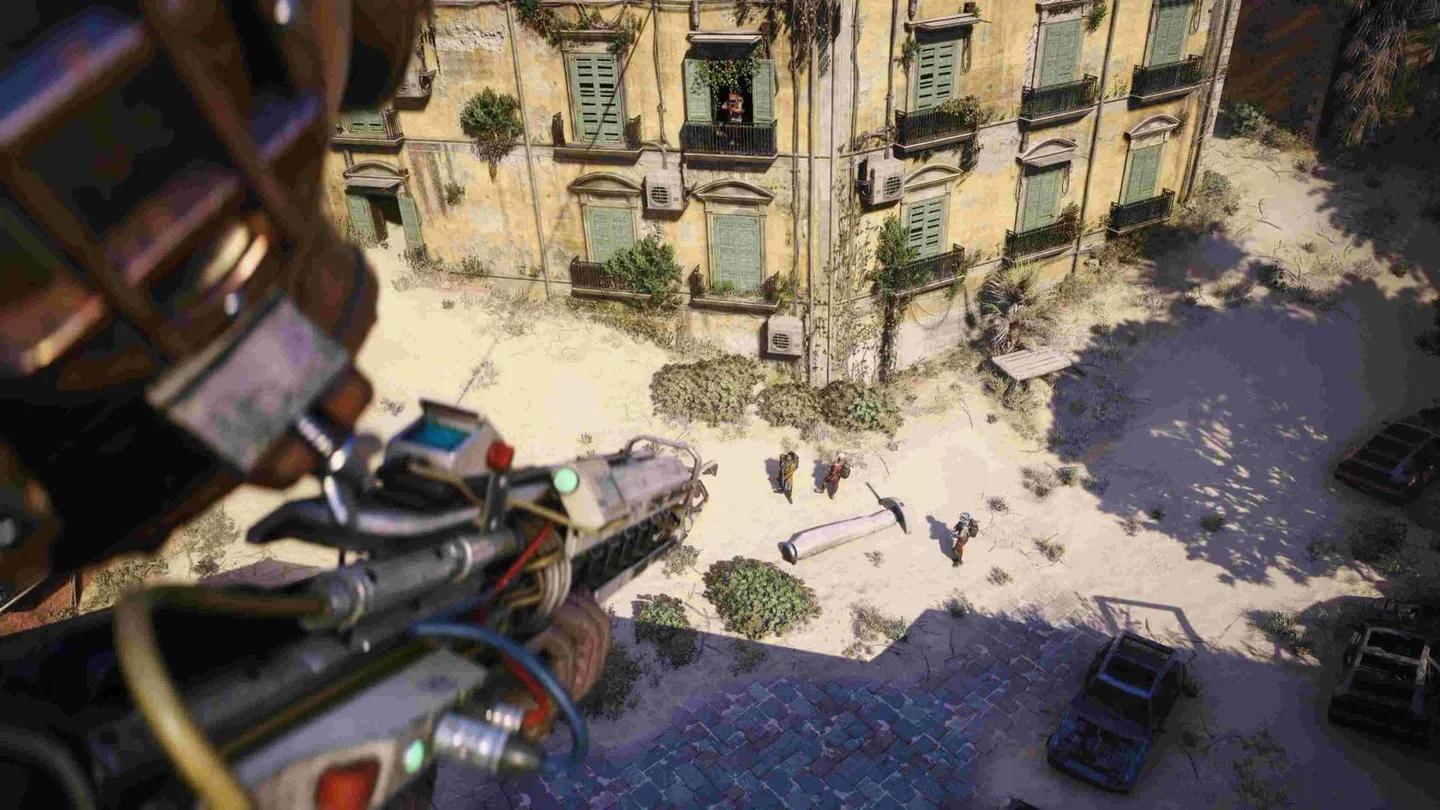
Binoculars help check distant spawns
For the fight itself, bring equipment that supports deliberate shots and a safe retreat:
| Equipment | Why bring it? | Best for |
|---|---|---|
| Ferro | Can handle a Sentinel when you patiently shoot between its attacks | Solo hunters using cover |
| Healing items | Sentinel Heavy Ammo hits hard, and Raiders can interrupt the fight | Any dedicated turret run |
| Snap Blast Grenades | An explosive option for damaging the turret, though blasts can attract attention | Players prepared for nearby ARC or Raiders to investigate |
| An augment with a Safe Pocket | Protects a stored core even if you are eliminated | Securing upgrade materials |
How do you spot and destroy a Sentinel?
Sentinels are stationary sniper turrets that usually occupy elevated positions. Look up at roofs, structural corners, and platforms overlooking open ground. Their targeting laser can reveal them before you can clearly see the turret itself.
What do the Sentinel laser colors mean?
Use the laser state to judge whether you still have room to approach or need to break line of sight.
| Laser color | Sentinel state | Your response |
|---|---|---|
| Blue | Unaware of your presence | Identify cover and line up your approach |
| Orange | Searching for a potential threat | Avoid exposing yourself while it searches |
| Red | Has located its target | Get behind cover before the shot |
Before firing, the Sentinel's targeting beams converge. Treat that convergence as your warning to stop shooting and hide, rather than trying to squeeze in another hit.
Where is the Sentinel weak point?
Aim for the yellow capsule at the rear of the swiveling arm when you have a clear angle. A Sentinel has 300 health, and hits to this weak point deal heavy damage.
The reliable approach is to fight around its slow reaction and firing cycle:
- Find cover that blocks the Sentinel's line of sight.
- Let it fire, then peek during the gap between attacks.
- Shoot the yellow capsule when it is exposed.
- Return to cover before its targeting beams finish converging.
- After the kill, follow the falling hull and inspect its loot.
If you are caught outside cover, dodge rolling or sliding can help you avoid incoming rounds. Staying out of sight for long enough also causes the Sentinel to lose track of you.
Keep an eye out for ARC Motion Cores in the same hull. If those are your next crafting target, the Motion Core farming guide covers dedicated ways to get them.
Changing your firing angle may change where a destroyed Sentinel lands. Favor an angle toward flat ground when possible, but treat this as a precaution, not a guaranteed fix for the physics bug.
Can you find cores without fighting Sentinels?
Yes. ARC Couriers can contain Sentinel Firing Cores, making them the main alternative to a turret fight. They are large, chest-like ARC containers that can also hold other enemy components.
Black smoke is a useful clue when searching for crash sites, but it can lead to other wreckage as well. Check your map as you approach: ARC Couriers and Probes appear when you are within 50 meters.
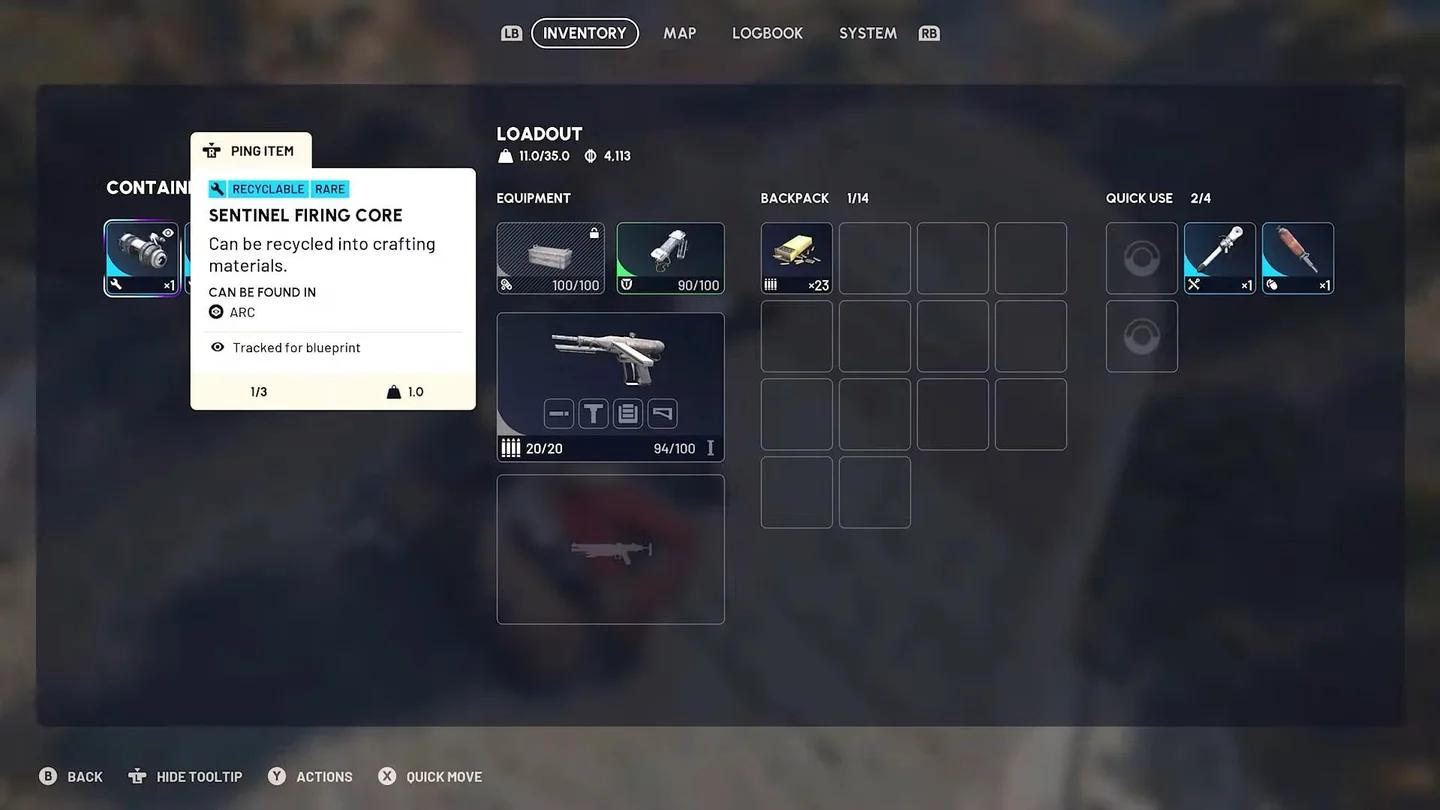
Couriers offer another chance at cores
Courier loot is random, and a container can be empty. Best for solo players avoiding a direct turret fight, this method works well as an extra check along your route rather than a promise of a core every raid.
On Pendola Pass, Wasp husks around Fallen Emperor are another scavenging option. Keep that separate from your Sentinel route: searching a husk is a different approach from hunting a live Wasp.
Common mistakes
A Sentinel farming run usually falls apart through unnecessary exposure or lost loot. Avoid these specific traps:
- Walking to every empty spawn: Use Binoculars to inspect a perch before committing to the journey.
- Fighting through a red laser: Break line of sight instead of trading hits with Heavy Ammo.
- Losing sight of the destroyed hull: Follow its movement, particularly around the Research & Administration staircase.
- Hunting ordinary turrets: Standard turrets are not the Sentinel units that drop Firing Cores.
- Selling every spare after Gunsmith Level 3: Check the Osprey Blueprint and Action Economy recipes first.
Pro tips
Secure progress instead of chasing another fight
Once a Sentinel Firing Core is protected or ready to extract, you have made progress toward Gunsmith Level 3. Other Raiders can interrupt turret fights, especially around Research & Administration, so avoid turning a successful material run into an extended battle.
Consider Night Raids only if you know the map
Night Raids increase ARC presence, including Sentinel opportunities, but visibility is worse. They also have fewer active Return Points and no active Raider Hatches.
Best for players who already know their spawn checks and extraction options, Night Raids offer more potential encounters at a higher navigation cost. Skip this option if finding your way around Dam Battlegrounds is still the hardest part of the run.
Frequently asked questions
Does every Sentinel drop a Firing Core?
No. A Sentinel Firing Core is a possible drop, not a guaranteed reward. You may need several kills to collect the 4 required for Gunsmith Level 3.
Can you buy or craft Sentinel Firing Cores?
No trader sells Sentinel Firing Cores, and there is no recipe for crafting them. Focus on Sentinel hulls and ARC Couriers rather than searching trader stock.
What do recycling and salvaging give you?
Recycling 1 Sentinel Firing Core produces 2 ARC Alloy and 2 Mechanical Components. Salvaging it produces 2 Mechanical Components. Keep your upgrade and recipe supply before choosing either option.
Can you hunt Sentinels on Stella Montis?
Stella Montis has no Sentinel spawns. Choose Dam Battlegrounds for a dedicated turret hunt, then browse the ARC Raiders guide collection to plan your next material run.