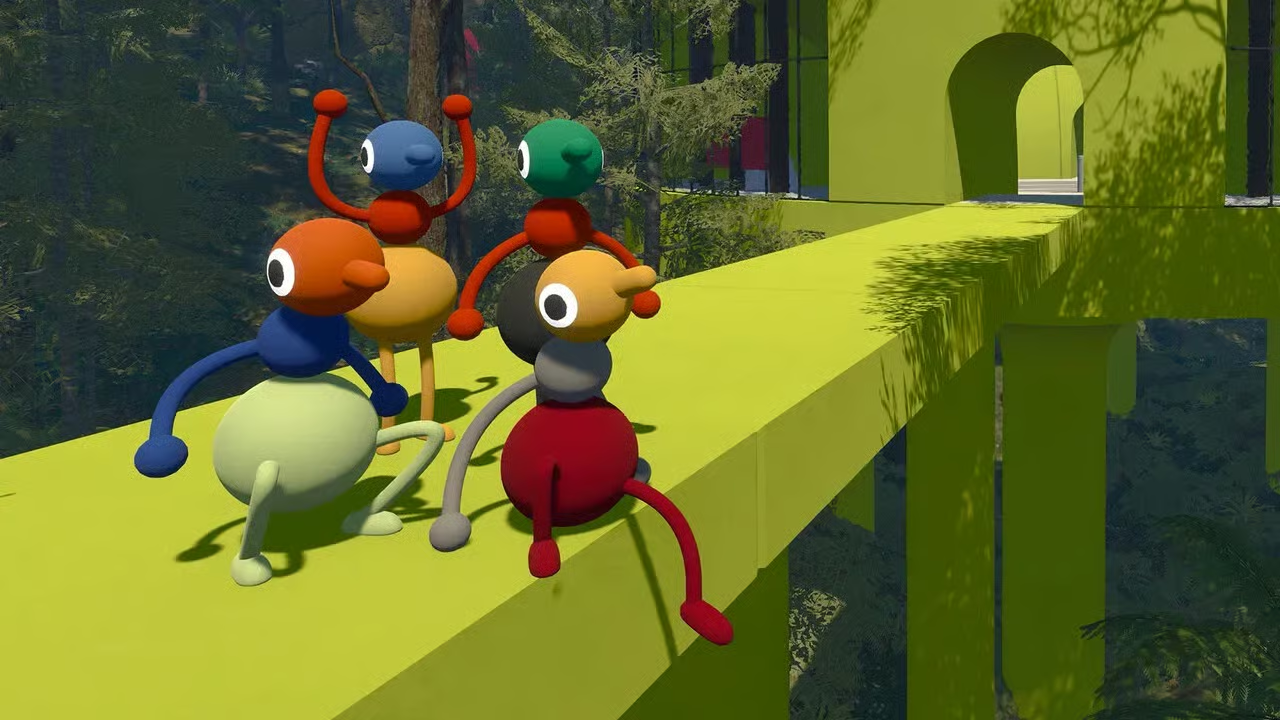


The Green Tower in Big Walk sits at the heart of the island's mid-game progression. Solve its five puzzles, collect the key pieces, and you unlock the chairlift, which connects you directly to the Blue, Yellow, and Black Towers. Skip this and you're doing things the hard way.
None of these puzzles have a required order, so tackle them in whatever sequence fits your route. That said, the solutions below follow a logical path through the area.
How do you solve all five Green Tower puzzles?
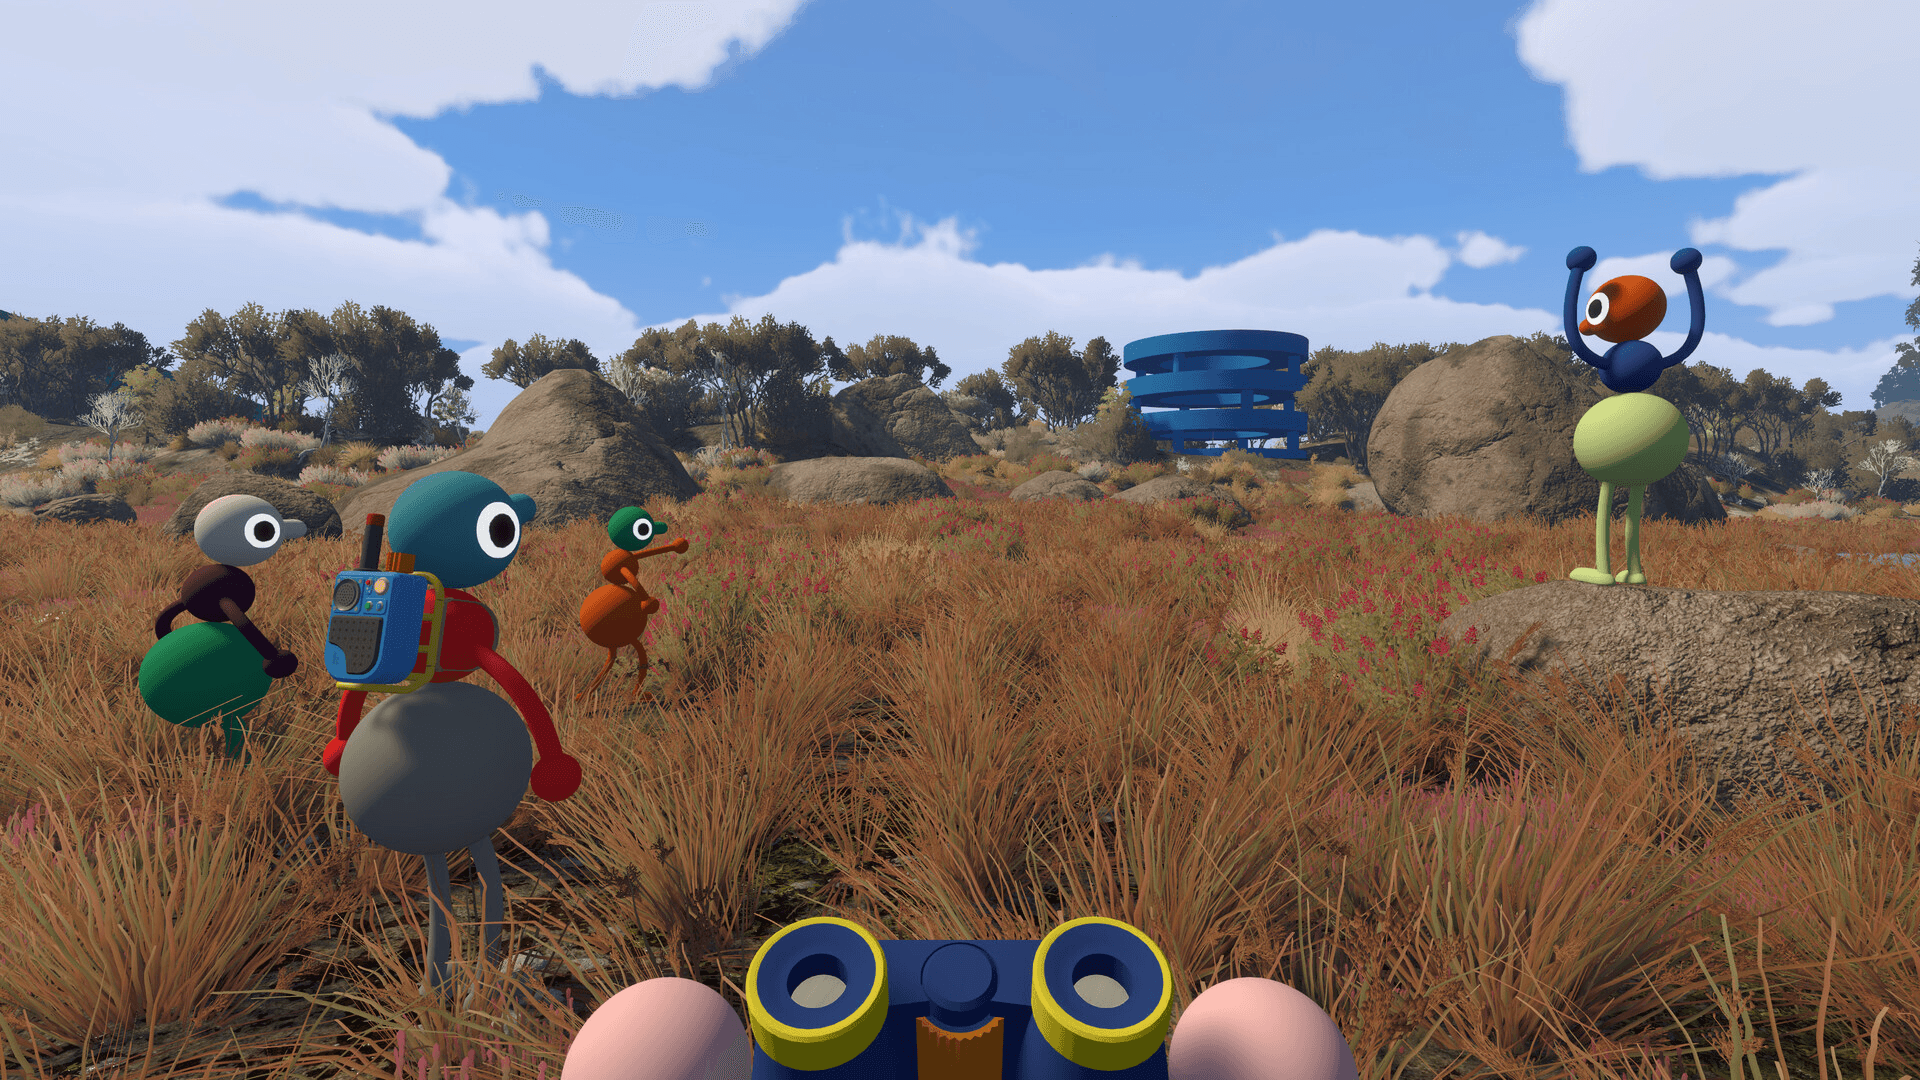
Big Walk Guide: How to Activate the Chairlift
Orange Barn puzzle
The Orange Barn sits near the railway track and is one of the more communication-heavy challenges in the game. Press the buttons near the doors to grab the collectible, but you'll quickly find yourself locked inside.
Locate a second hidden switch to reveal a panel of tiles. One player ends up on the tile side, the other on the pegboard side. The barrier between you blocks text chat entirely, so you have to rely entirely on hand gestures and facial expressions to signal which tiles are correct.
The player on the pegboard side recreates the sequence shown on the tile panel. Get it right and the barrier lifts. Get it wrong and you go again. This one rewards players who've already built up a shorthand with their co-op partner.
4166, 1899 coordinate puzzle
Near the timer cannon at one of the train stations, you'll spot a board with the numbers 4166, 1899. These are coordinates pointing to a location near the broken-down train on the path toward the Green Tower.
One player stays at the station while the other travels to those coordinates. Behind a cluster of rocks at that spot, there's a switch. Keep pressing it to unlock the box and collect the item. Simple in concept, but easy to miss if you don't clock the coordinate reference on the board.
Blue Signal puzzle
Also located near the broken train, the Blue Signal puzzle is a counting challenge. Activate the switch and a series of images flashes across the screens. Your job is to count every image shown without missing any.
If you're running a full group, spread your teammates across all the platforms so every screen has someone watching it. Once you've got your count, enter it into the blue-colored device. Correct number, collectible unlocked.
Yellow Stand puzzle
As you climb toward the Green Tower, you'll reach a circular blue area filled with yellow stands. A switch sits near the locked collectible in the center.
The rule here is straightforward: only activate stands that contain a green glowing item inside the glass. Any stand with a red bulb is a trap. Hit one of those and you'll need to press the switch near the collectible to reset the whole room and start over.
Work through the stands methodically, check the color before activating, and the black meter in the center climbs to 100% once you've hit all the correct ones. That unlocks the collectible.
Beach House puzzle
Past the Green Tower, head toward the beach. Two beach houses sit close together, and you need players in both of them simultaneously.
In the first house, activate the mechanism near the collectible. It shows you a set of images, specifically a number of heads. Head upstairs and you'll find a tile system with three tile types:
Use these tiles to represent the number of heads shown. If you saw 20 images, place two triangle tiles. Press the button and the display board updates for the player in the second beach house. That player uses a telescope to read the board, enters the number, and completes the puzzle.
How do you activate the chairlift after solving the puzzles?
Once all five collectibles are in hand, head to the roof of the Green Tower. You'll find the key waiting there. Run it through all five key cutters to shape it correctly, then use the finished key to activate the chairlift.
With the chairlift running, the Blue, Yellow, and Black Towers become significantly easier to reach. This is the unlock that opens up the back half of the island.
For players still working through the earlier sections of the island, the guide on how to open the red drawbridge covers the four starting puzzles you need before the Green Tower becomes accessible. If you're tracking down every item along the way, the guide on how to get the backpack is worth a read since carry capacity matters once you start collecting across multiple towers.
For everything else the game has to throw at you, the full Big Walk guide collection has solutions for every major puzzle and unlock in the game.