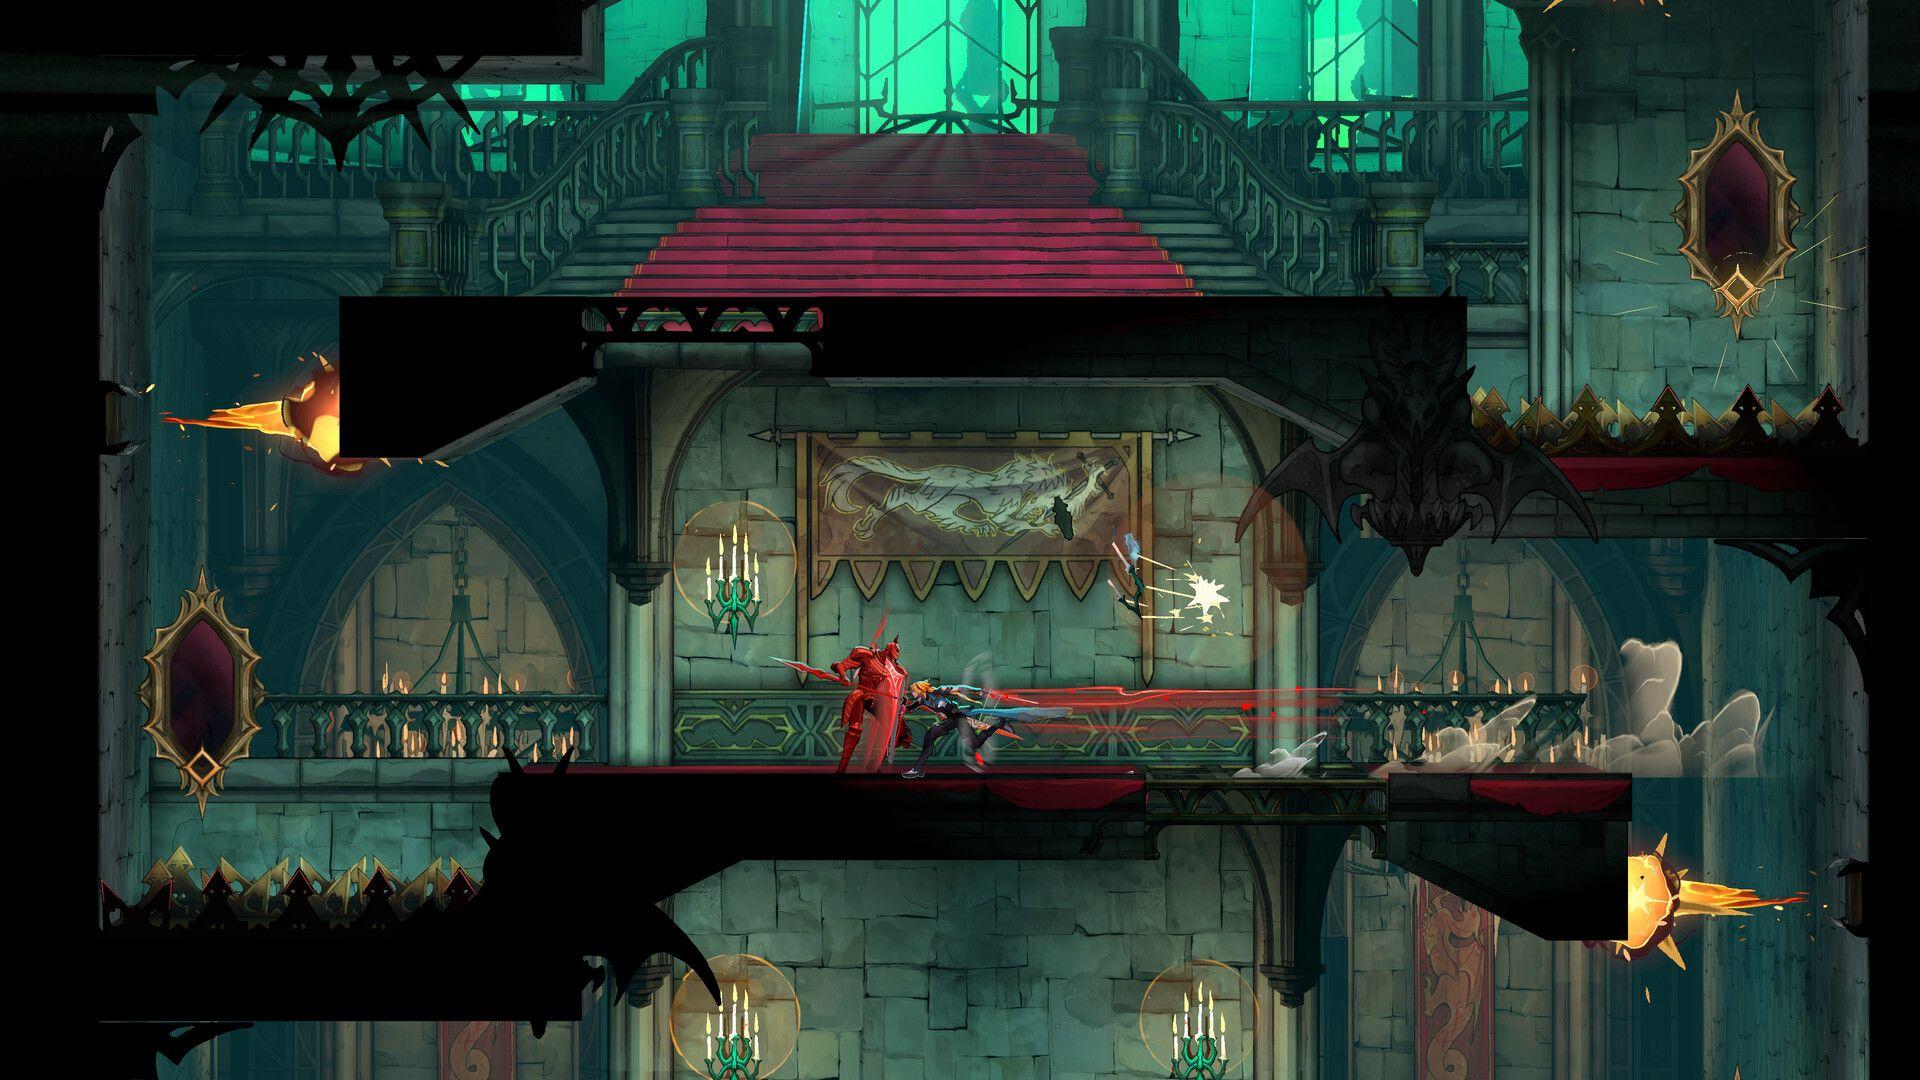

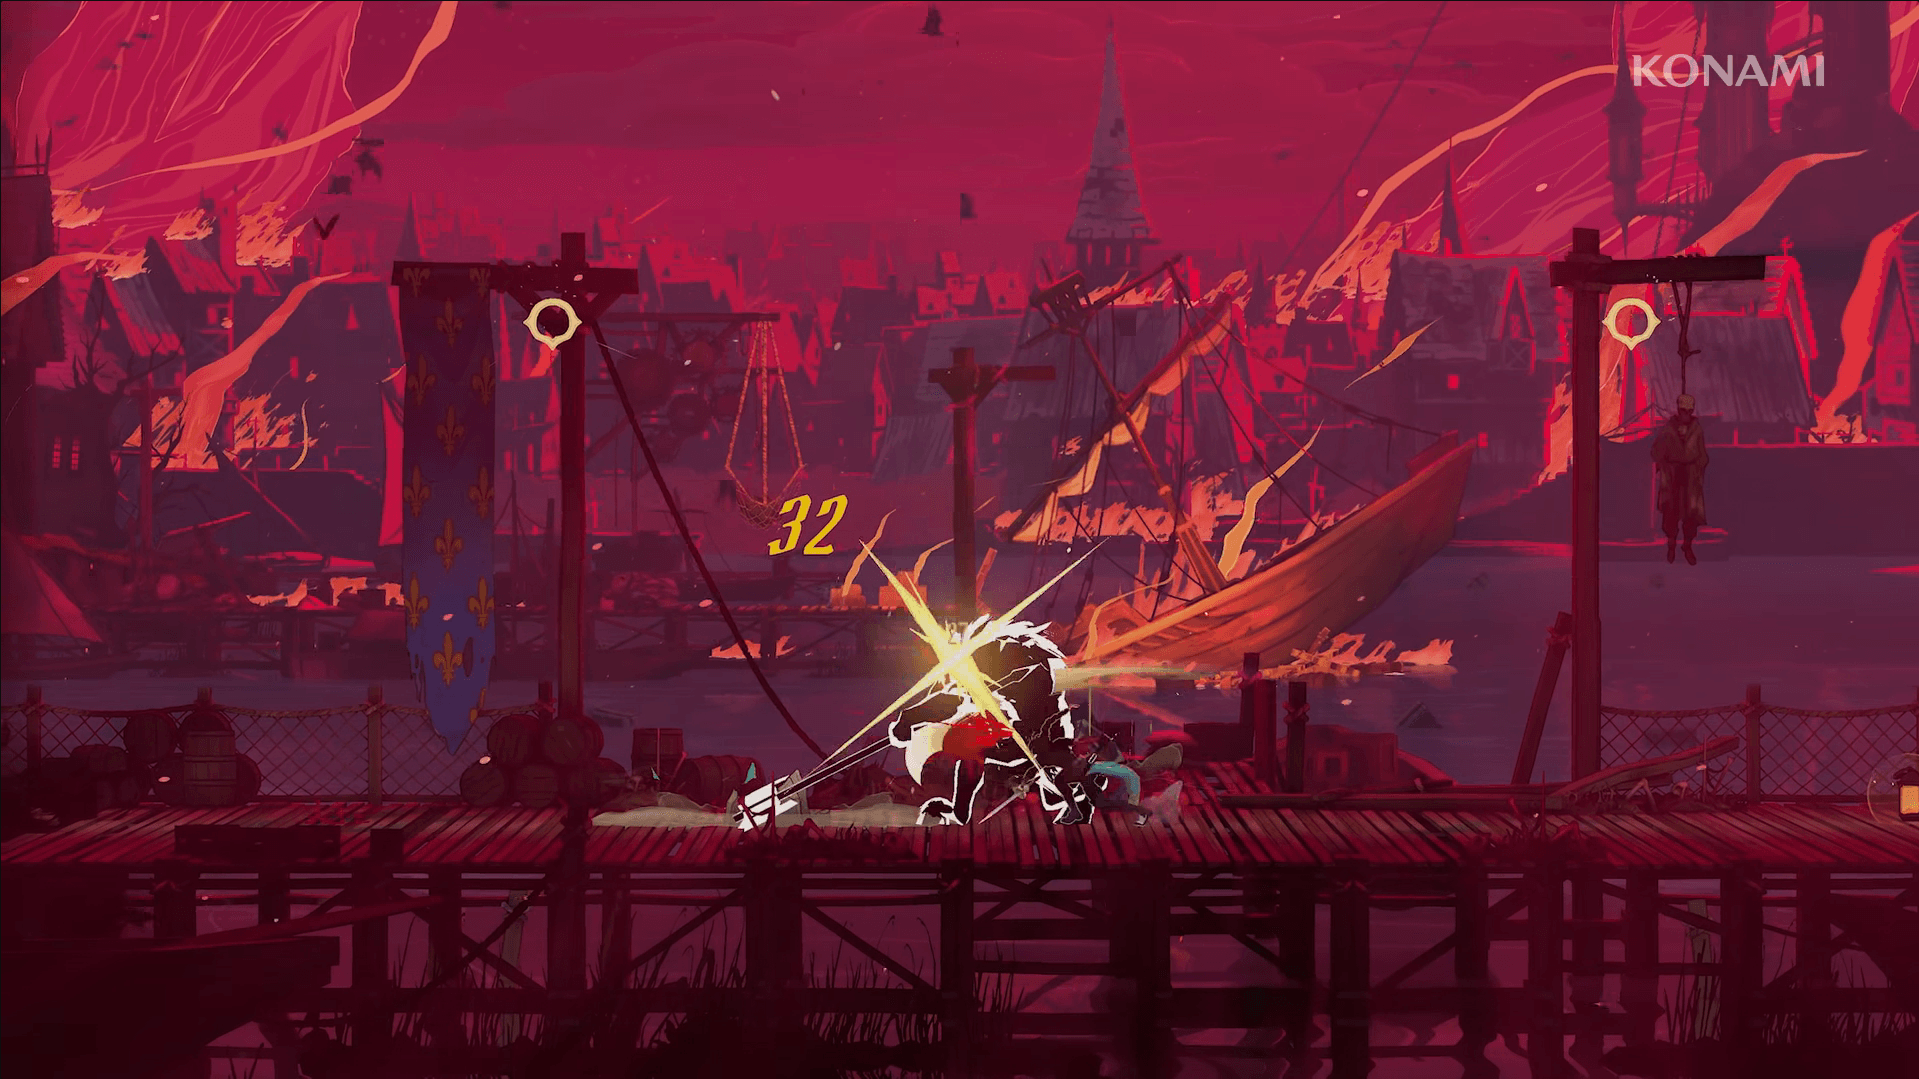
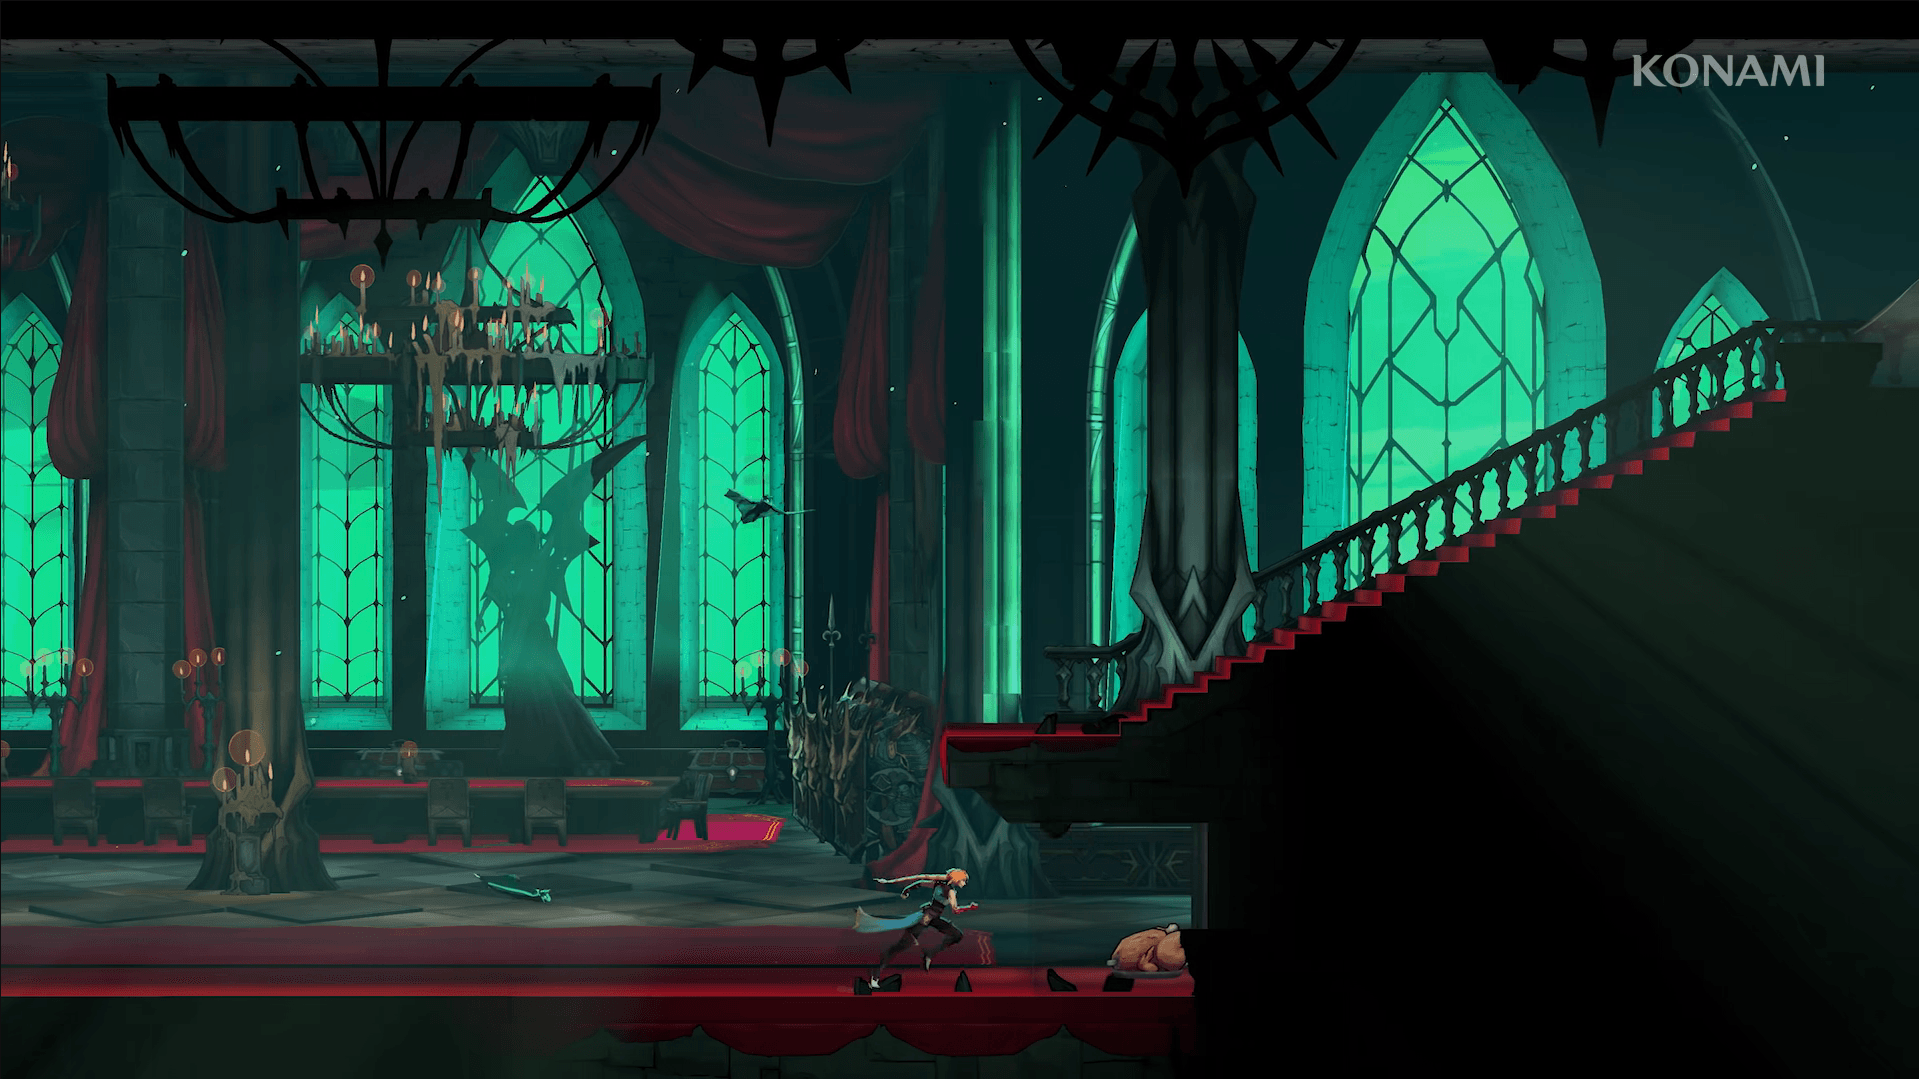
Castlevania: Belmont's Curse sends Rose Belmont across a gothic Paris with far more weapon options than the series' whip-first reputation suggests. There are 28 weapons spread across seven types, each with four tiers of power and a unique moveset that changes how combat feels entirely. Whether you want to block with a shield, shred with dual blades, or set enemies on fire with a legendary whip, the game hides most of the good stuff behind exploration puzzles and boss kills. This guide covers every weapon, where to find it, and what makes the Legendary tier worth hunting down.
How do weapons work in Castlevania: Belmont's Curse?
Every weapon Rose equips affects two stats: ATK (base attack power) and MP (mana recovered per hit). ATK scales with tier, moving from 25 at Ordinary up to 100 at Legendary. MP stays consistent within each weapon type regardless of tier, so swapping to a higher-tier weapon of the same type never hurts your mana generation.
Each weapon type also comes with a fixed special move that works identically across all four tiers. The Legendary version adds a second, unique effect on top of the base special. Rose starts with the Longsword and stores every weapon she finds in the Armoury, accessible through the Equipment menu.
Castlevania: Belmont's Curse Guide: All Weapon Locations
What are the seven weapon types and their special moves?
| Weapon Type | Special Move | Legendary Bonus Effect |
|---|---|---|
| Whips | Whip Drag | Burn enemies; explode on kill (Vampire Killer) |
| One-Handed Swords | Dash Through | Attacks doubled after a quick delay (Valmanway) |
| Two-Handed Swords | Blade Dive | Shoots projectiles (Excalibur) |
| Dual Blades | Blade Furry | Last combo hit creates a ground attack (War and Famine) |
| Spears | Push | Homing throw that pierces two enemies (Chauve-Souris) |
| Fists | Uppercut | Heals when combo counter rises (Bernhard's Wrath) |
| Sword and Shield | Shield Bash | Dashes toward enemy while charging (Alucard's Sword and Shield) |
The special move mechanic is worth internalizing early. Whips deal peak damage at the tip of the strike, which means positioning matters more than with any other type. Fists start weak at 25 ATK but scale damage dynamically mid-combo, making Bernhard's Wrath surprisingly effective against bosses with large health pools.
Where to find all weapons
The 28 weapons are distributed across eight regions of Paris. Below is the full breakdown organized by area, with tier and acquisition notes for each.
| Weapon | Type | ATK | Tier | Location |
|---|---|---|---|---|
| Longsword | Sword | 25 | Ordinary | Starting weapon |
| Cestus | Gauntlet | 25 | Ordinary | Paris Streets |
| Burnt Sword of Fierbois | Greatsword | 25 | Ordinary | Paris Streets (beat Joan of Arc) |
| Rusted Harpè and Aegis | Sword and Shield | 25 | Ordinary | Holy Innocents' Cemetery (beat Medusa) |
| Lance | Spear | 25 | Ordinary | Holy Innocents' Cemetery |
| Pair of Longswords | Dual Swords | 25 | Ordinary | Catacombs of Paris |
| Whip | Whip | 25 | Ordinary | Catacombs of Paris |
| Bastard Sword | Sword | 50 | Refined | Paris Streets |
| Jewel Knuckles | Gauntlet | 50 | Refined | Main Hall |
| Rapiers | Dual Swords | 50 | Refined | Main Hall |
| Fleuret and Tower Shield | Sword and Shield | 50 | Refined | Library |
| Thorn Whip | Whip | 50 | Refined | Library |
| Halberd | Spear | 50 | Refined | Clock Tower |
| Claymore | Greatsword | 50 | Refined | Clock Tower |
| Fists of Talos | Gauntlet | 75 | Masterpiece | Clock Tower (beat Talos) |
| Morning Star | Whip | 75 | Masterpiece | Main Hall |
| Joyeuse | Sword | 75 | Masterpiece | Notre-Dame |
| Arondight and Lancelot's Shield | Sword and Shield | 75 | Masterpiece | Notre-Dame |
| Gungnir | Spear | 75 | Masterpiece | Catacombs of Paris |
| Akmace and Hauteclaire | Dual Swords | 75 | Masterpiece | Holy Innocents' Cemetery |
| Durandal | Greatsword | 75 | Masterpiece | Library |
| Valmanway | Sword | 75 | Legendary | Paris Streets (Heart Fragments) |
| Vampire Killer | Whip | 100 | Legendary | Notre-Dame (beat Death) |
| War and Famine | Dual Swords | 100 | Legendary | Notre-Dame (Secret Melody) |
| Chauve-Souris | Spear | 100 | Legendary | Clock Tower (beat Isaac) |
| Alucard's Sword and Shield | Sword and Shield | 100 | Legendary | Main Hall (secret door) |
| Bernhard's Wrath | Gauntlet | 100 | Legendary | Hall of Mirrors (secret level) |
| Excalibur | Greatsword | 100 | Legendary | Notre-Dame (beat The Brittle King) |
Paris Streets
- Longsword (Sword, ATK 25, Ordinary): Rose's starting weapon, no collection required.
- Cestus (Gauntlet, ATK 25, Ordinary): Chest in the Sewer Reservoir. Reach the topmost platform using the whip.
- Bastard Sword (Sword, ATK 50, Refined): Justice District Sewers. Drop through the Court of Justice's bottom-right exit, slide through a hidden passage, use Holy Light to pass through stone, swing between two blade pillars, then activate a switch via whip to lower a platform and reach the chest.
- Valmanway (Sword, ATK 75, Legendary): Balance the Scales by collecting at least half of the available Wise and Brave Heart Fragments across Paris before the chest unlocks. Attacks are doubled after a quick delay.
Holy Innocents' Cemetery
- Lance (Spear, ATK 25, Ordinary): Golden chest near the Fountain of the Innocents. Hit the switch at the top of the staircase, defeat the enemies that spawn, then use the newly revealed wall to double-jump into the room above and move left.
- Rusted Harpè and Aegis (Sword and Shield, ATK 25, Ordinary): Defeat Medusa in the Serpent's Lair, then pick up the weapon from the ground beside the staircase on the right.
- Akmace and Hauteclaire (Dual Swords, ATK 75, Masterpiece): Golden chest in the Flooded Crypt. Requires the Smash ability.
Catacombs of Paris
- Pair of Longswords (Dual Swords, ATK 25, Ordinary): Chest at the Crossroads of the Dead.
- Whip (Whip, ATK 25, Ordinary): Chest in the Hall of the Fallen Angels.
- Gungnir (Spear, ATK 75, Masterpiece): Break the destructible block above the chest in the Collapsed Path of Orpheus to reach it.
Main Hall
- Jewel Knuckles (Gauntlet, ATK 50, Refined): Old Gallery district. Navigate through floating mirrors in the Archives section, time your shots to avoid buzzsaws, and hit the switch above Rose to lower the walls around the chest.
- Rapiers (Dual Swords, ATK 50, Refined): Watchtower. Complete the timed platform challenge by activating the lever from the opposite side of the chest.
- Morning Star (Whip, ATK 75, Masterpiece): Inner Courtyard. Use Aerial Rush to reach the transition point from the Storerooms.
- Alucard's Sword and Shield (Sword and Shield, ATK 100, Legendary): Open the secret red door in Alucard's Tower. The weapon dashes toward enemies automatically when you charge an attack.
Library
- Fleuret and Tower Shield (Sword and Shield, ATK 50, Refined): Hidden room north of the Condemned Shelves. Bounce on the correct four glowing orbs around the globe to reveal a larger orb, then use Aerial Rush and Holy Light to navigate the passage above.
- Thorn Whip (Whip, ATK 50, Refined): Fine Arts Shelves. Draw the pattern shown on the Star Pattern Hint on the planet below to unlock the chest.
- Durandal (Greatsword, ATK 75, Masterpiece): Lisa's Laboratory. Draw the Star Pattern Hint, then use Double Jump, Aerial Rush, and the Arcane Whip in sequence to reach the chest.
Clock Tower
- Halberd (Spear, ATK 50, Refined): Mechanic's Ascent. Climb the Eastern Access Shaft and descend from the other side.
- Claymore (Greatsword, ATK 50, Refined): The Way of the Fist district. Climb to the top room and head east.
- Fists of Talos (Gauntlet, ATK 75, Masterpiece): Builder's Bureau. Defeat Talos to receive them.
- Chauve-Souris (Spear, ATK 100, Legendary): Defeat The Zealot, Isaac. The weapon fires a homing spear that pierces two enemies.
Notre-Dame
- Joyeuse (Sword, ATK 75, Masterpiece): Notre-Dame Undercroft. Pull the Timed Lever east of the chest and reach the room before time expires.
- Arondight and Lancelot's Shield (Sword and Shield, ATK 75, Masterpiece): Tower Entrance chest.
- Vampire Killer (Whip, ATK 100, Legendary): Defeat Death in Notre-Dame. Burns enemies and explodes when an enemy dies. The highest-tier whip in the game.
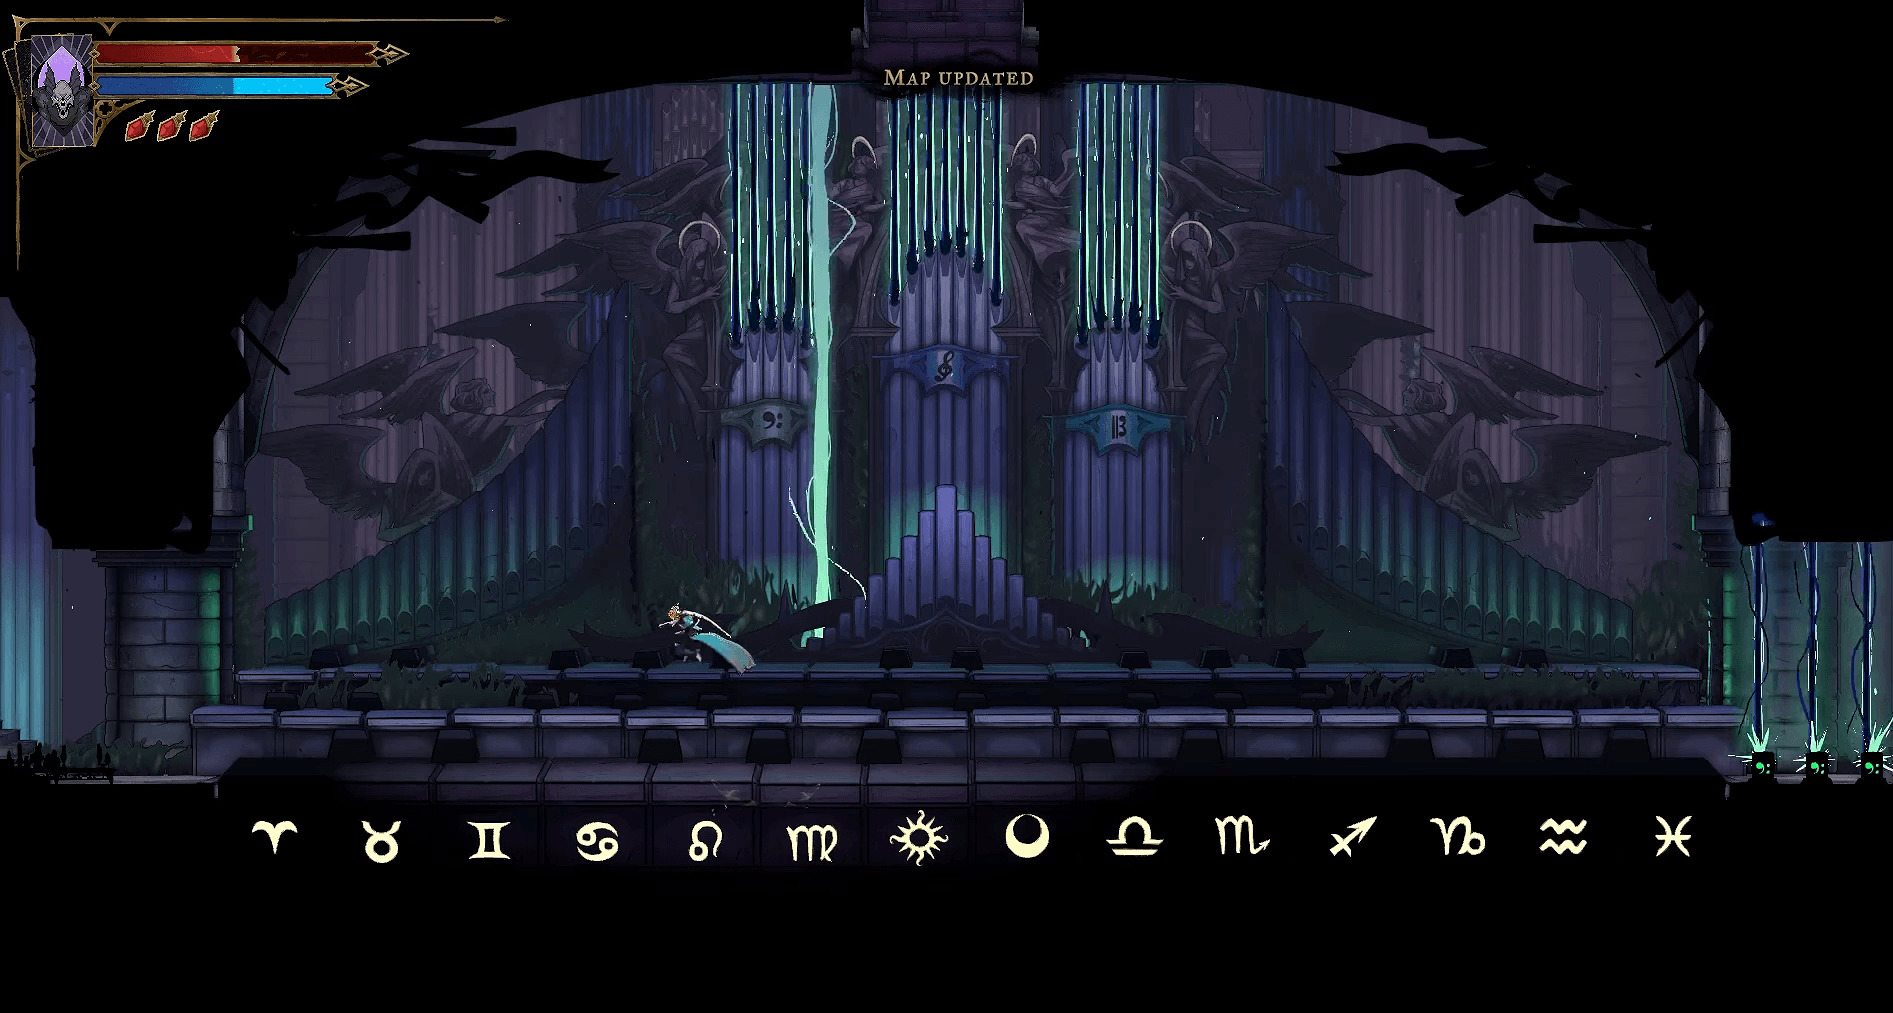
- War and Famine (Dual Swords, ATK 100, Legendary): Open the secret door in the Great Organ Room by discovering the Secret Melody. The final hit of each combo creates a ground attack.
- Excalibur (Greatsword, ATK 100, Legendary): Defeat The Brittle King. Shoots projectiles in addition to the standard charged attack.
- Burnt Sword of Fierbois (Greatsword, ATK 25, Ordinary): Defeat The Warrior, Joan of Arc, then collect the weapon on the Roof of the Tower.
Hall of Mirrors
- Bernhard's Wrath (Gauntlet, ATK 100, Legendary): Access via the Secret Transition Mirror at Level Deviled. Heals Rose as the combo counter climbs.
Castlevania: Belmont's Curse Guide: All Weapon Locations
Which Legendary weapons are worth prioritizing?
After testing all weapon types against late-game bosses, a few Legendaries stand out as more impactful than the rest.
Vampire Killer is the most immediately satisfying. The burn effect plus the kill explosion creates strong area pressure, and the tip-damage bonus from the Whip type stacks well with positioning play. Chauve-Souris trivializes clustered enemy groups since the homing pierce hits two targets automatically, making it especially strong in the Catacombs sections. Bernhard's Wrath rewards aggressive combo play with sustain healing, which changes how you approach longer fights.
Valmanway is the sneakiest strong pick. The doubled-attack-after-delay mechanic means a well-timed backdash combo hits twice per swing, and it's available before you reach Notre-Dame if you've been thorough with Heart Fragments.
For more on what to expect before you start collecting, check the Castlevania: Belmont's Curse release date and launch details guide. If you're looking for more help across the game, the full Castlevania: Belmont's Curse strategy guides collection covers everything from relics to boss strategies. Fans of the genre can also browse more action games for similar Metroidvania titles worth playing alongside it.