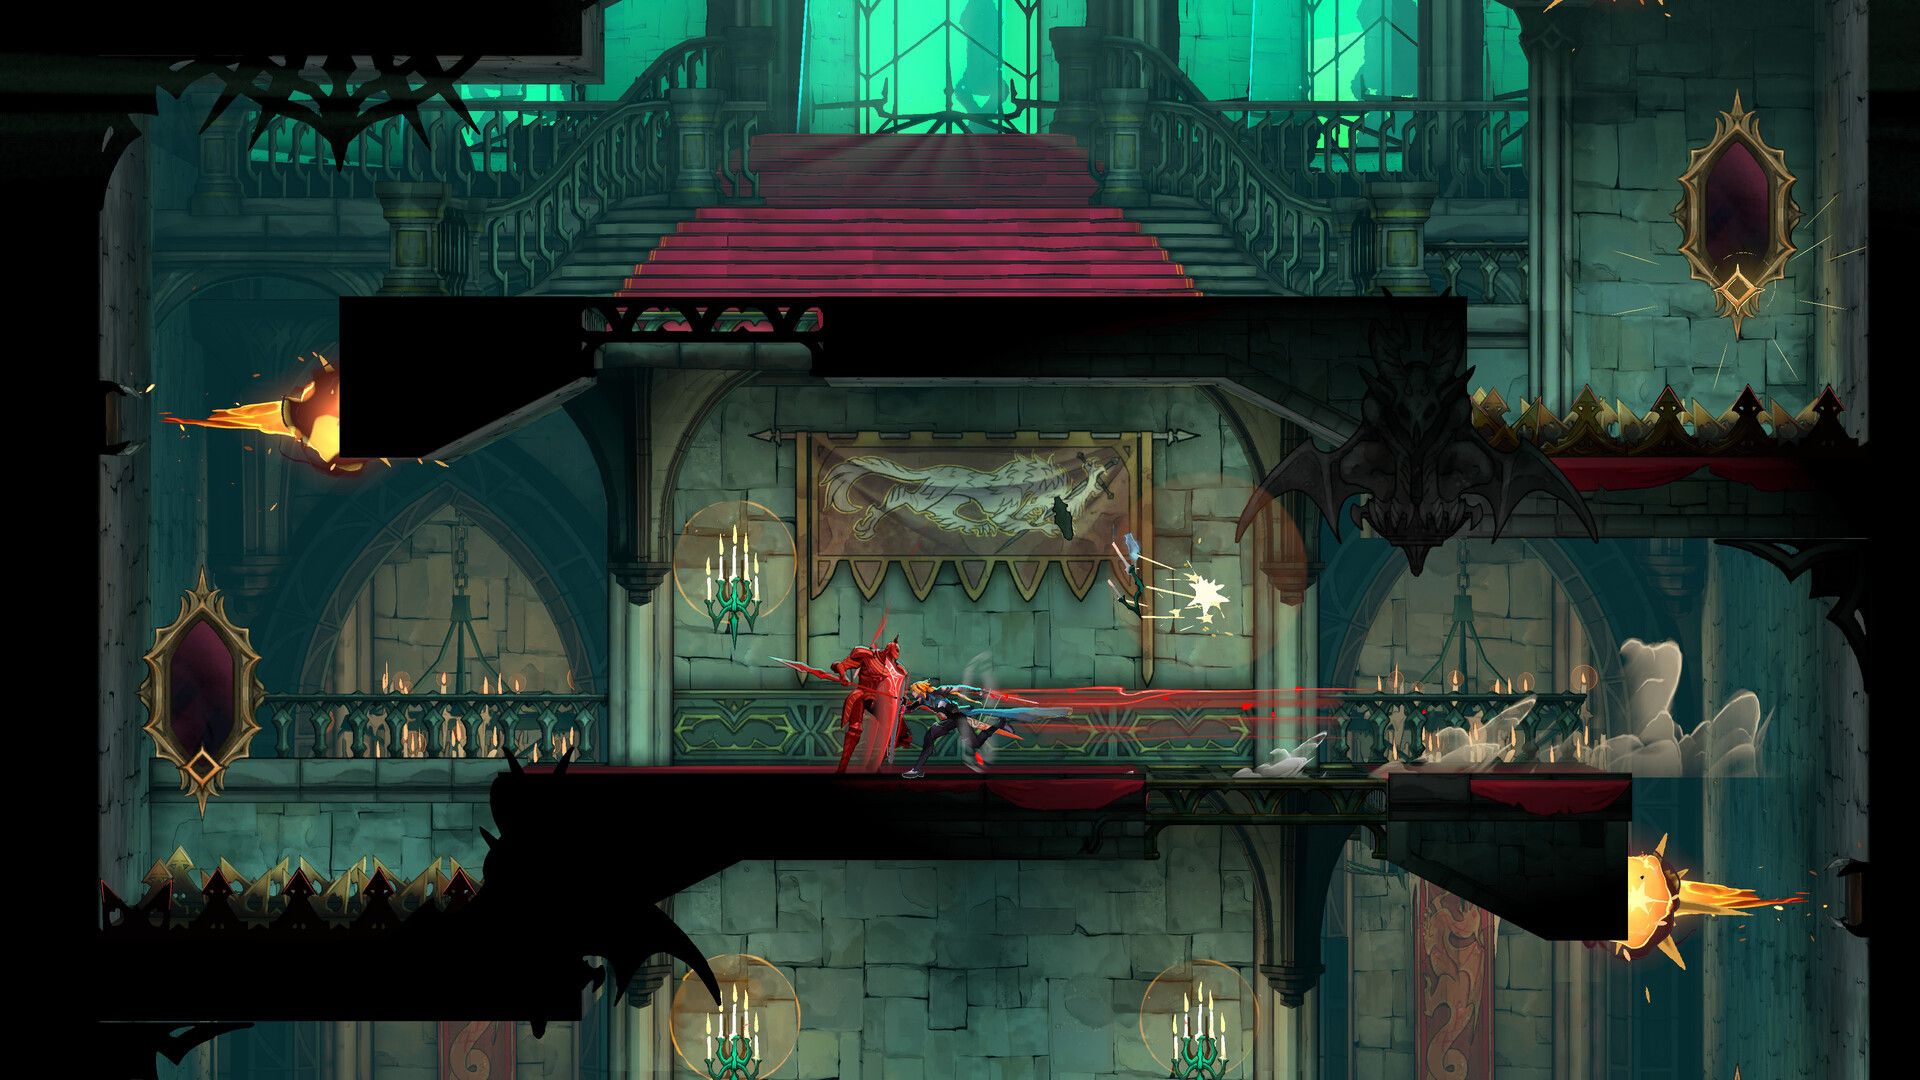

Castlevania: Belmont's Curse hides one of its best weapons behind a cathedral organ puzzle that most players walk straight past. The Notre Dame zone is packed with secrets, but the Zodiac Organ sequence stands out because the reward is genuinely worth the detour: War and Famine, a legendary pair of dual swords with 100 base attack power, an area-effect ground sigil, and a chainable Blade Flurry that tears through heavy enemies. This guide walks you through every step, from spotting the cryptic plaque to dropping into the vault and walking out with the blades.
What is the Notre Dame piano secret?
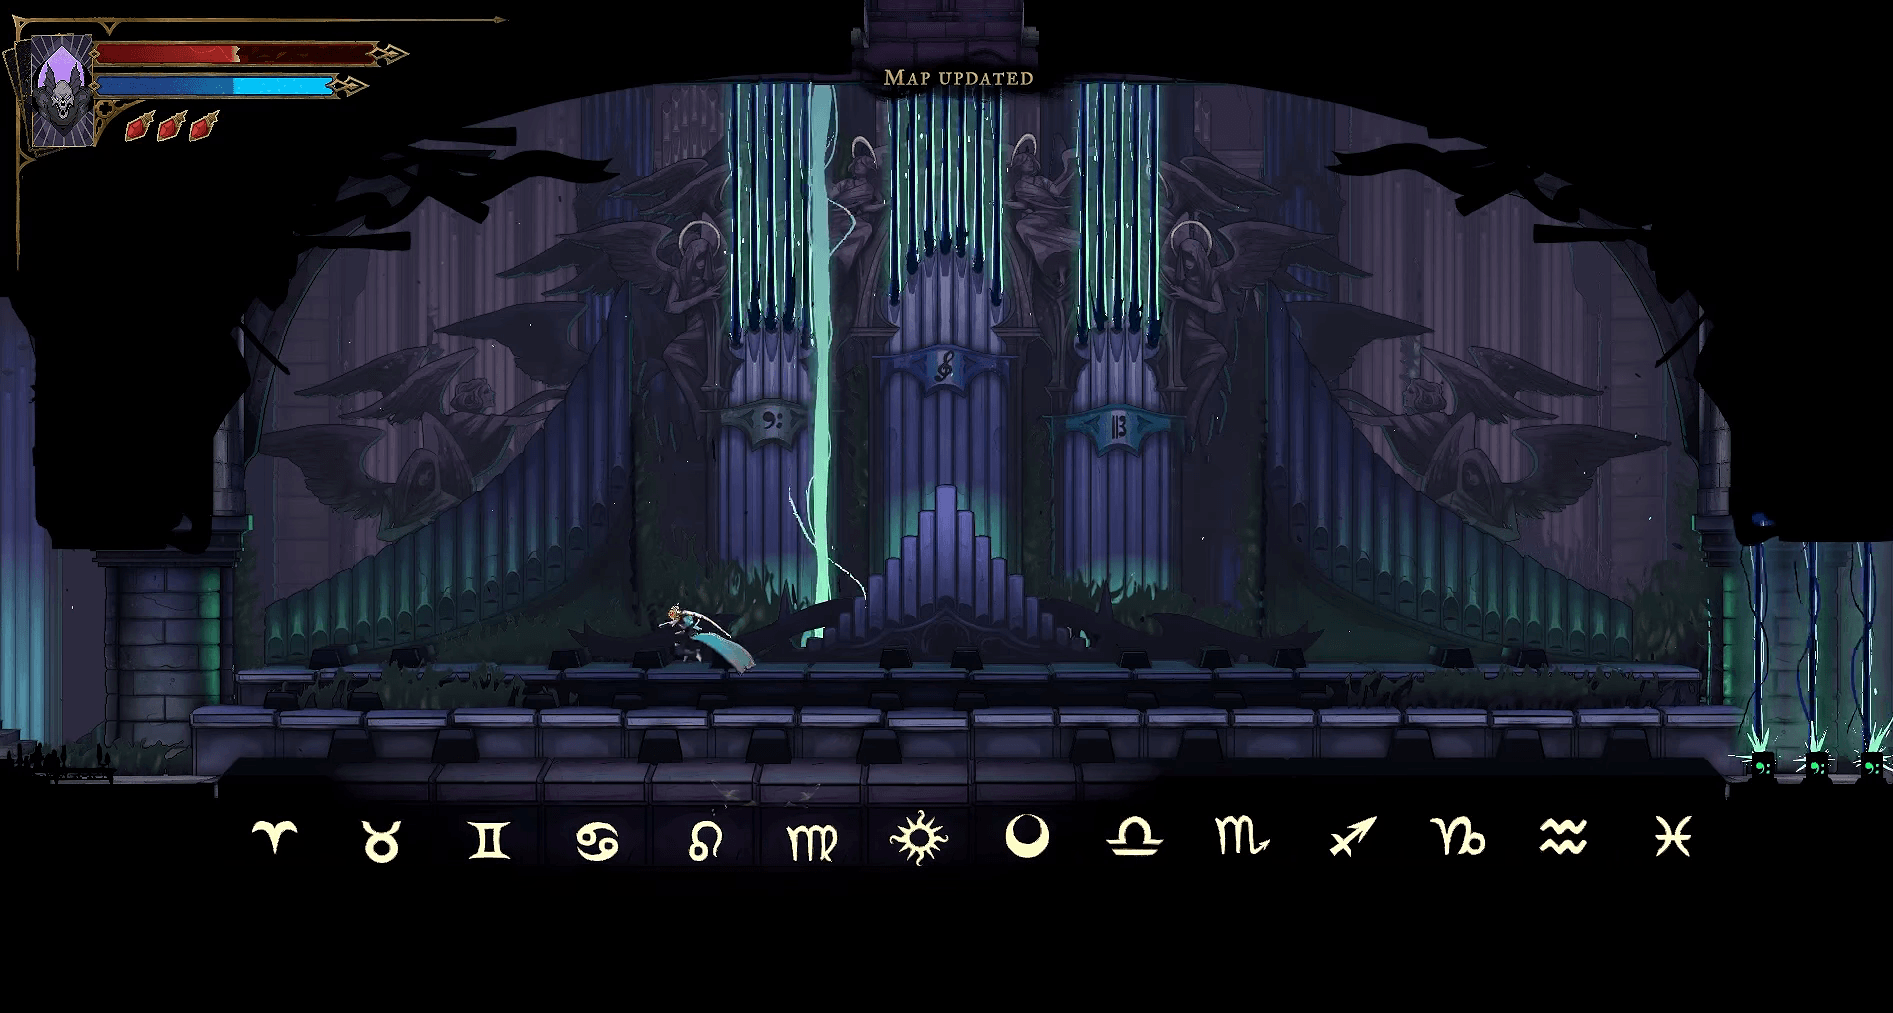
Deep inside the Notre Dame sub-area, a giant Zodiac Organ sits at the base of the Great Organ Room. The keyboard spans the full width of the chamber, and each oversized pedal key is engraved with an astrological symbol. Stepping on the keys in the correct order triggers a mechanism that unseals a hidden vault beneath a nearby staircase, where the War and Famine dual swords are waiting on an altar.
The puzzle is entirely environmental. No quest marker points you toward it, and the solution is encoded in the stained glass windows of a separate room. Miss that room and the organ looks like set dressing.
Castlevania: Belmont's Curse Guide: Notre Dame Piano Puzzle Solution
Finding the cryptic plaque first
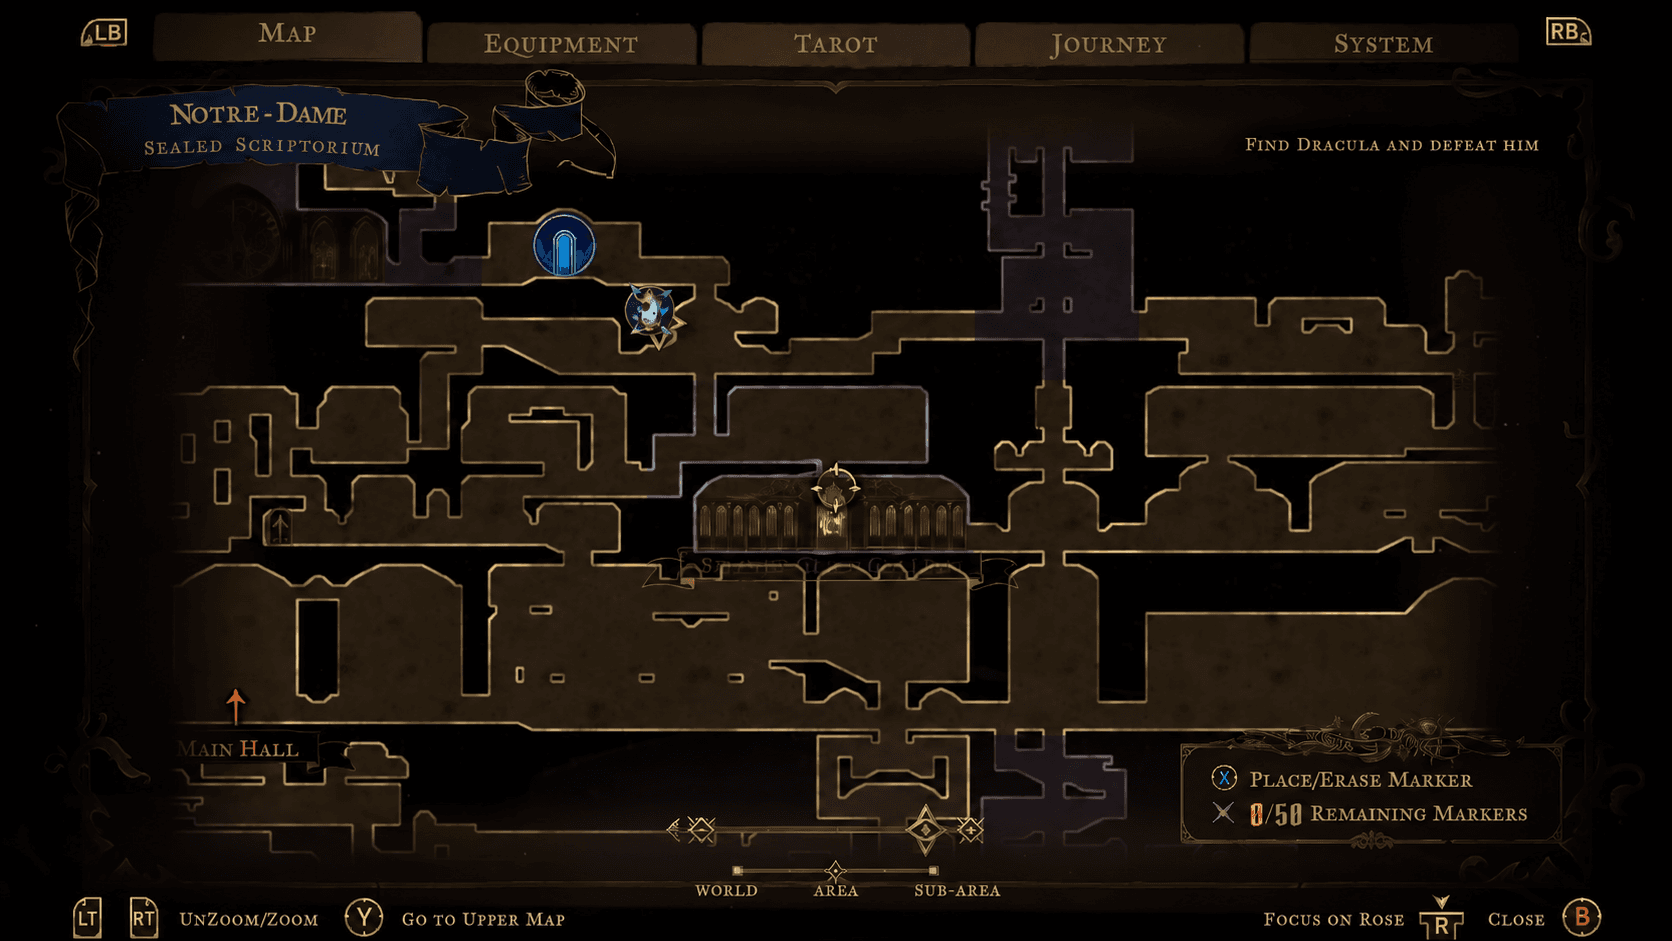
Before touching the organ, head to the vertical corridor adjacent to the Sealed Scriptorium and the Great Organ Room. A gold wall plaque sits mounted above a locked platform passage that stays sealed during normal exploration.
Interact with it by pressing Triangle and you get the message: "Beneath these stairs lies our order's greatest sin." An iron gate blocks the floor directly below Rose's feet. That gate is what the organ sequence opens.
How to read the Stained Glass Gallery clues
The Stained Glass Gallery sits in the central section of Notre Dame, east of the Main Hall and slightly below the Sealed Scriptorium. It is a wide ceremonial hall that looks unremarkable at first, but the back wall holds every number you need.
Each stained glass pane depicts a zodiac symbol above a cluster of glowing candles resting on church desks. The candle count under each symbol is the order in which you press that key on the organ. Run the full length of the nave from left to right and record the counts:
- Libra = 1 candle
- Scorpio = 2 candles
- Sagittarius = 3 candles
- Pisces = 4 candles
- Virgo = 5 candles
- Sun & Moon = 6 candles
- Leo = 7 candles
- Cancer = 8 candles
- Aries = 9 candles
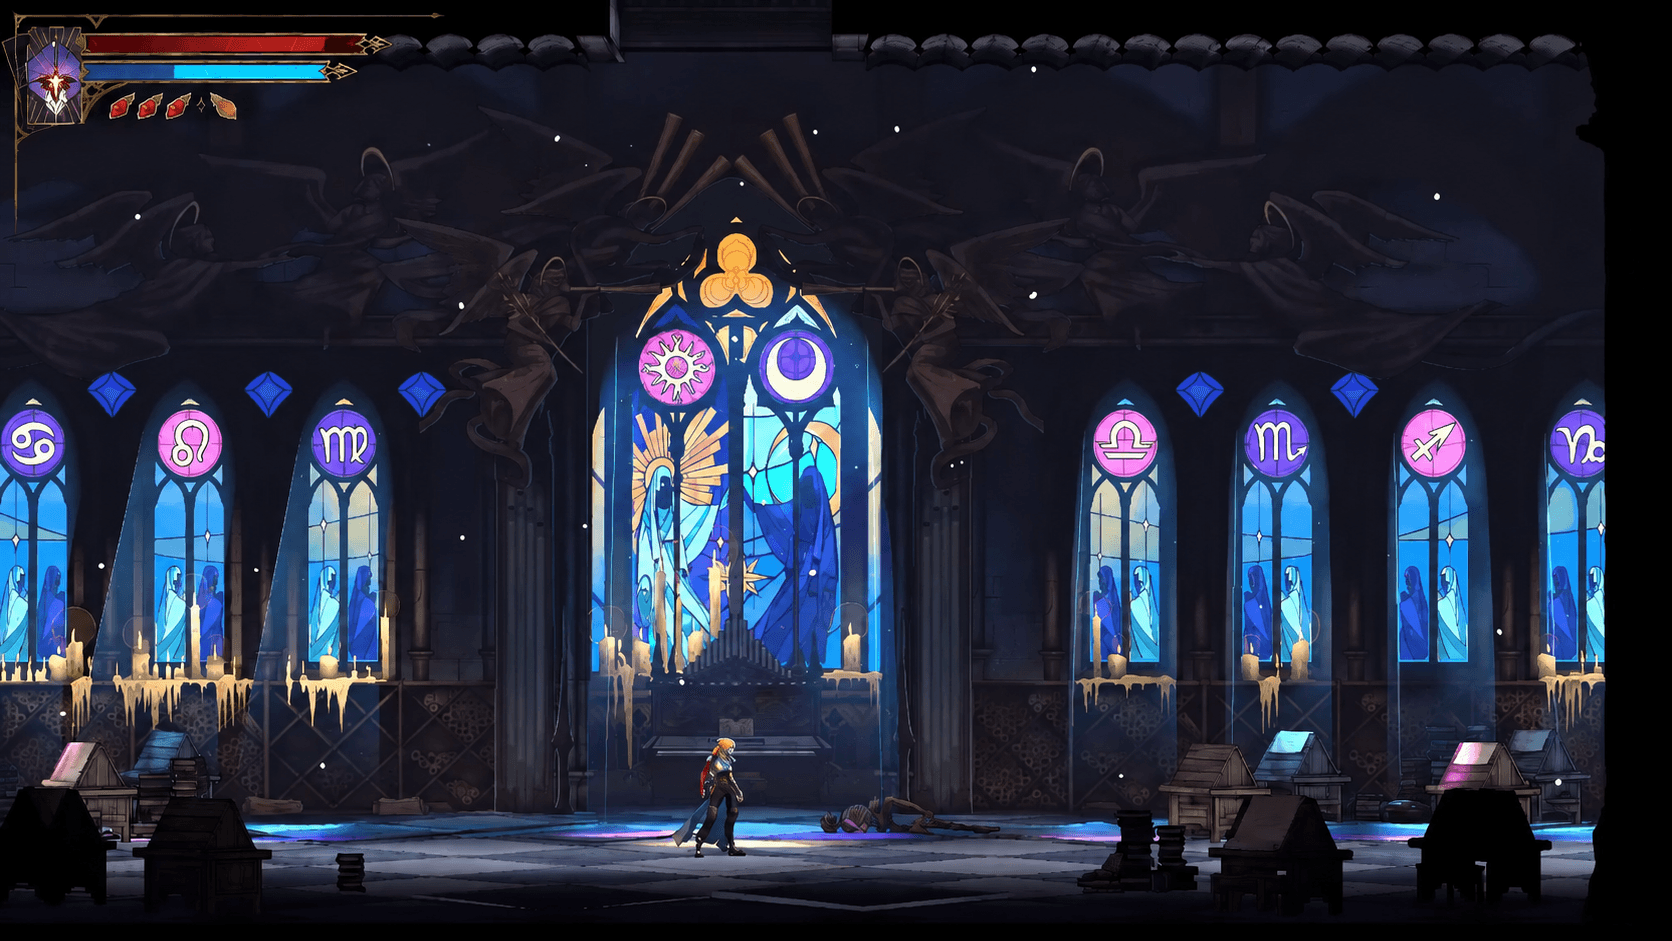
Castlevania: Belmont's Curse Guide: Notre Dame Piano Puzzle Solution
How to solve the Zodiac Organ puzzle
Return to the Great Organ Room and approach the keyboard. The keys are spaced far enough apart that reaching the outermost ones requires the Air Dash movement ability. Make sure you have unlocked it before attempting the sequence, or you will not be able to land on the Aries and Pisces keys at the far ends.
Step on each key in ascending candle-count order, 1 through 9:
| Step | Zodiac Sign | Candle Count | Key Position |
|---|---|---|---|
| 1 | Libra (♎) | 1 | Right side, 1st from center |
| 2 | Scorpio (♏) | 2 | Right side, 2nd from center |
| 3 | Sagittarius (♐) | 3 | Right side, 3rd from center |
| 4 | Pisces (♓) | 4 | Far right, outer key |
| 5 | Virgo (♍) | 5 | Left side, 1st from center |
| 6 | Sun & Moon (☼☽) | 6 | Elevated center platform key |
| 7 | Leo (♌) | 7 | Left side, 2nd from center |
| 8 | Cancer (♋) | 8 | Left side, 3rd from center |
| 9 | Aries (♈) | 9 | Far left, outer key |
When you land on the ninth key, a green flash erupts on the left side of the screen and Loki unseals the hidden pathway permanently.
Reaching the vault and claiming War and Famine
Once the green signal fires, the mechanism is permanent. Exit the Great Organ Room through the left hallway and backtrack to the gold plaque ledge near the Sealed Scriptorium. The floor beneath the stairs is now fully open.
Drop straight down through the hatch and follow the underground corridor to the altar on the far side. War and Famine sit there waiting.
- Exit the Great Organ Room left.
- Climb back to the gold plaque location.
- Drop through the open floor hatch.
- Follow the corridor and collect the dual swords from the altar.
War and Famine weapon stats and moves
These swords are not just a stat upgrade. One blade glows blue with spectral energy, the other burns red. The visual contrast carries over into the combat mechanics, which reward aggressive, combo-heavy play.
Weapon attributes
- Rarity: Legendary
- Attack Power: 100 ATK
- Empowered Ground Sigil: Finishing a standard ground attack string drops a glowing circular glyph beneath Rose. While active, it temporarily boosts her outgoing damage.
- Blade Flurry (Special Move): Pressing Square at the exact moment an ongoing attack connects launches Rose into a high-speed continuous multi-hit slash. The timing window is tight but the payoff against tanky cathedral enemies is significant.
- Lore:"Swords from the armory of the Four Horsemen of the Apocalypse, stolen by Death to equip Dracula's most powerful lieutenants."
After testing these swords against the heavier demons patrolling the cathedral corridors, the combination of the ground sigil and Blade Flurry makes War and Famine one of the most reliable offensive tools available in Notre Dame. The 100 ATK base is competitive with weapons found much later in the zone, which makes grabbing them early a meaningful advantage.
For more on Castlevania: Belmont's Curse launch details including regional start times and edition pricing, that guide has everything in one place. The game sits firmly in the action games genre and rewards the kind of thorough exploration that secrets like this one are built around. Browse the full Castlevania: Belmont's Curse strategy guides collection for more hidden weapon locations and puzzle solutions across every zone.