
Welcome to Paradise is one of two new side quests added in Cyberpunk 2077 Update 2.5, and it's a slower burn than most Night City jobs. You're not busting into a corp tower guns blazing. Instead, you're following a stolen shard through a guided tour of Night City narrated by Richard Night, the city's founder, while quietly unraveling what happened to a woman named Haze. The quest spans nine locations across the map, includes a hacking puzzle, and ends with a choice that changes how Aera, Haze's sister, walks away from the whole thing.
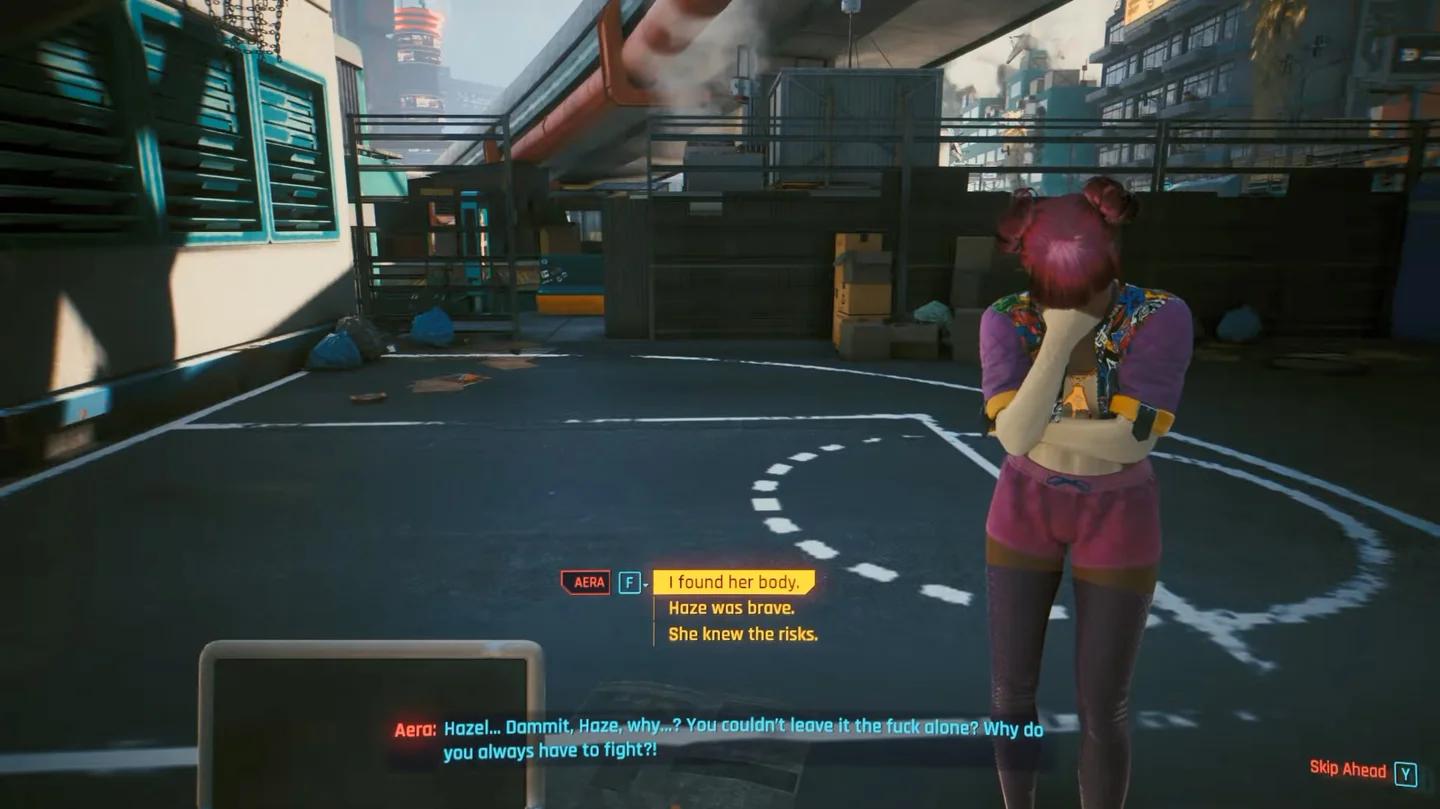
Aera's opening message
How to unlock Welcome to Paradise
The quest does not appear on your map automatically. Two conditions must be met before Aera reaches out:
- Complete The Heist, the Act 1 main job
- Reach Street Cred Level 15
Once both boxes are checked, wait for a text message from Aera. Read it, call her back, and agree to help. She explains that her sister Haze stole a shard from Night Corp and then vanished. Saying yes locks in the quest and places your first objective in Kabuki, Watson.

Where to find Haze's shard in Kabuki
The nearest fast travel point is Creek Loop. Head to the objective marker and look for a piece of sheet metal standing vertically against a pipe. Push it aside and grab the NC Revitalization Project Shard from inside the pipe.
Slotting the shard automatically plays Richard Night's introduction to his guided Night City tour. After the recording ends, call Aera. She mentions Haze referenced something called "Red Cal" in a message, though the meaning won't become clear until much later.
All nine Night Corp tour stops
The bulk of the quest involves visiting tour terminals scattered across Night City. Each one plays a segment of Richard Night's presentation, and a few require extra steps.
Stop 1: Night Corp Tower (Downtown, City Center)
Fast travel to Halsey & MLK and enter Night Corp Tower. Take the elevator to Floor 3, follow the walkway to the blue City Tour Terminal, and interact with it. When Richard's hologram finishes speaking, connect to the nearby drone and stay connected through the aerial tour segment.
Stop 2: Corpo Plaza (City Center)
Return to street level and head toward Arasaka Tower. The terminal here is visibly damaged but still functional. Activate it and listen to the presentation. Haze's voice interrupts Richard's recording at this stop. Call Aera afterward to update her.
Stop 3: Arasaka Memorial (City Center)
The memorial is close to Corpo Plaza. Activate the terminal, then walk over to Richard's hologram when prompted to continue the tour.
Stop 4: City Hall (The Glen, Heywood)
Fast travel to Palms View Way and head to City Hall. Activate the terminal and connect to the drone. The tour plays out the same way as Night Corp Tower, except a gang fight breaks out in the streets below while Richard speaks. Disconnect from the drone when he finishes.
Stop 5: Biotechnica Farms (Badlands)
This one pulls you out of the city entirely. Head to the Badlands, find the terminal at Biotechnica Farms, and listen to the presentation. Aera calls you after this stop with another update on Haze.
Stop 6: NCART
Activate the NCART terminal and follow Richard as he moves through the station area. When his segment ends, the quest pauses and asks you to decrypt the tour shard before continuing.
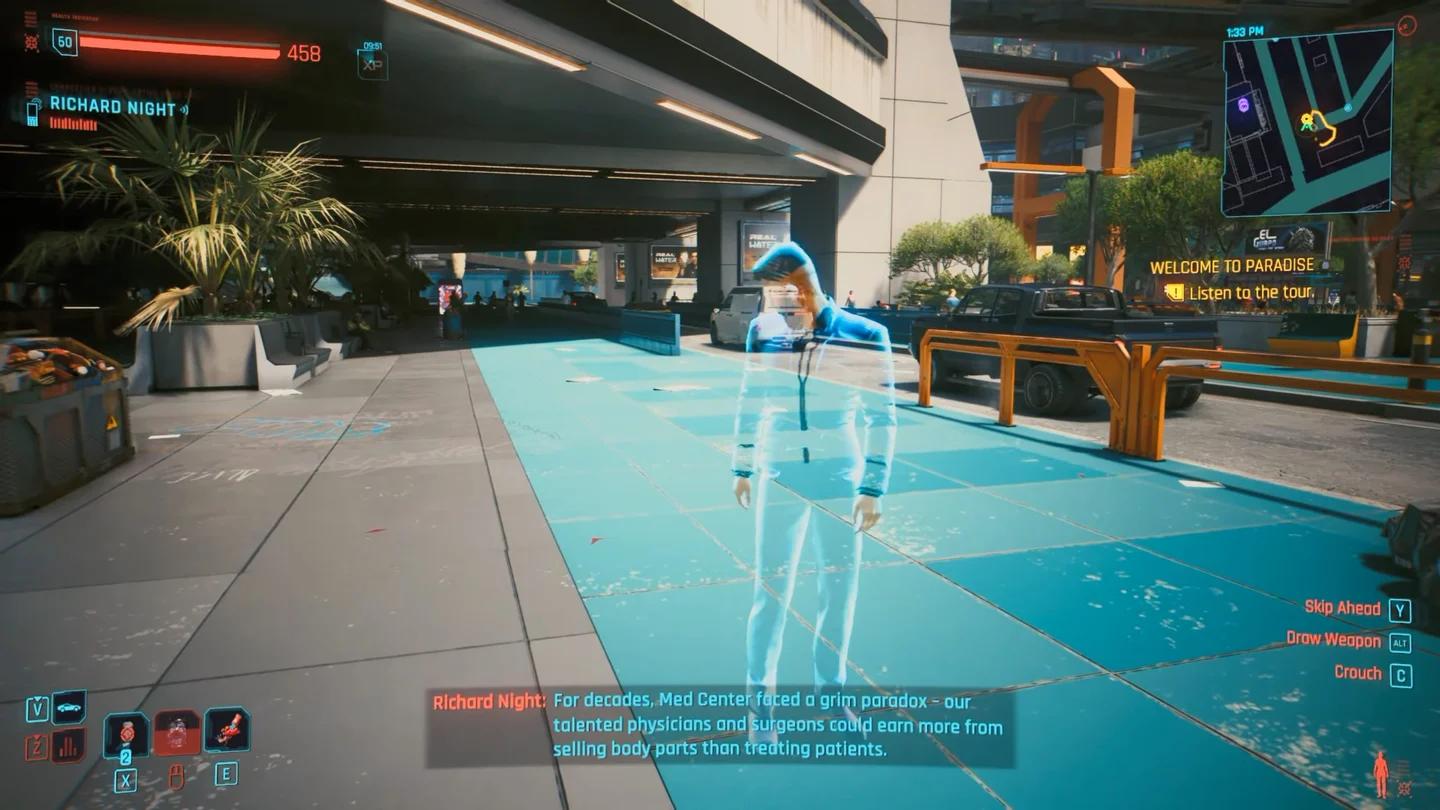
Encrypted shard in Journal
How to decrypt the NC Revitalization Project shard
The encrypted file is already in your inventory. You don't need to find another physical item.
- Open the menu and navigate to Journal > Shards
- Scroll to the Encrypted category
- Select NC Revitalization Project – Identity Cache
- Choose Crack Security and complete the hacking sequence
Once decrypted, the file contains information about the investor connected to Night Corp's revitalization plans. Keep the shard name in mind, because you'll need to read it again after the Med Center stop.
Stop 7: Coronado Dam
Hostile soldiers are waiting near the terminal. Clear them out before interacting with the tour stop. After activating it, jump over the railing and stand at the marked observation point beside Richard's hologram to hear the rest of his presentation.
Stop 8: Med Center
Activate the terminal and listen to the tour. Call Aera when prompted to share what you've found so far. After the call, the quest asks you to look for clues in the shard.
How to find the Red Caliburn clue
This step trips up a lot of players because the shard has moved categories in your journal.
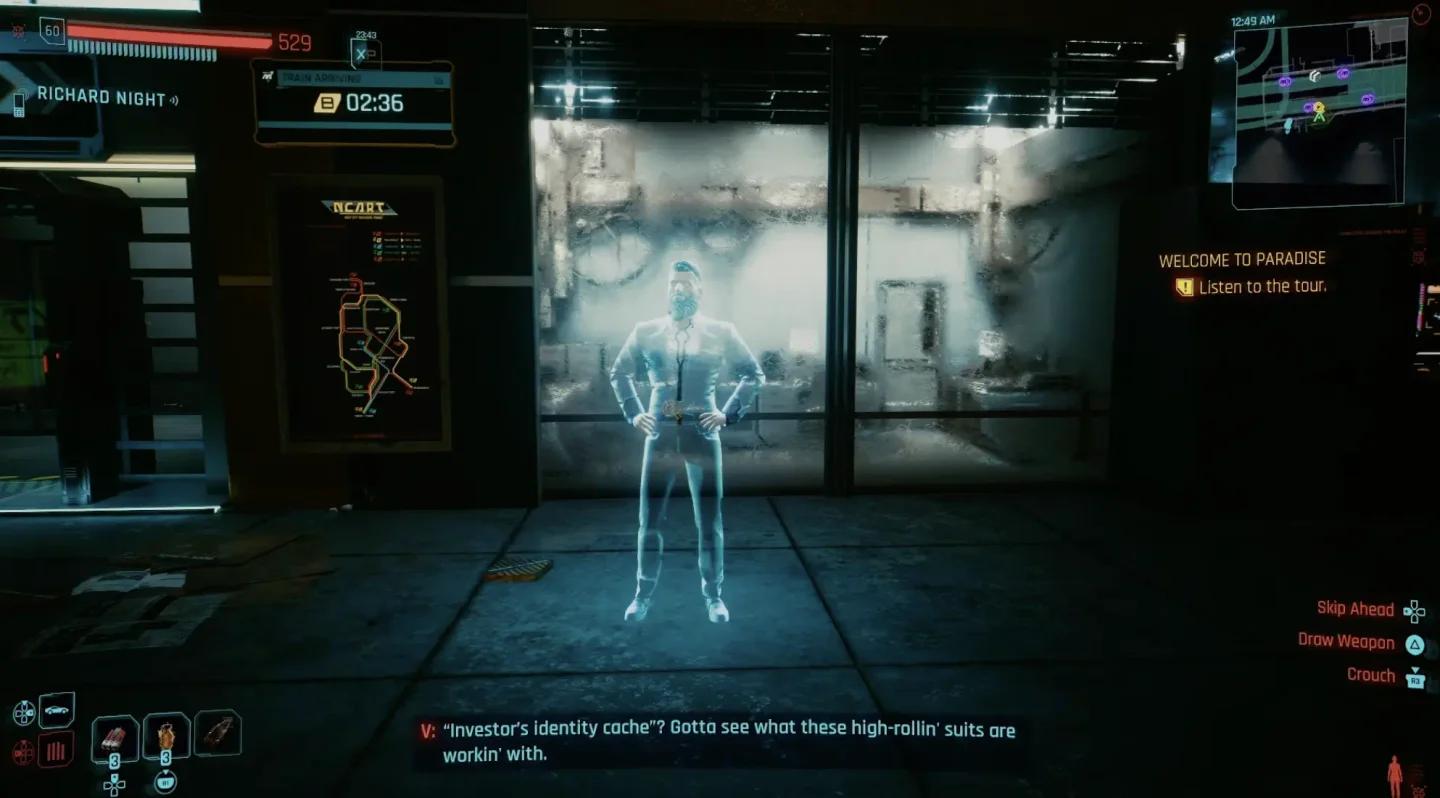
- Open Journal > Shards
- Navigate to the Other category (not Encrypted)
- Find NC Revitalization Project – Identity Cache
- Scroll through the document until V identifies the connection to a Red Caliburn
The Red Caliburn is a story clue tied to the investigation, not a vehicle reward. Once V makes the connection, the ninth and final tour stop unlocks.
Identity Cache clue in Shards
Stop 9: Kabuki (final stop)
The tour comes full circle back to Kabuki. Activate the terminal and listen to Richard's final segment. After Haze's voice interrupts again, follow the objective toward a nearby bridge.
How to find Haze on the bridge
Walk along the bridge until you reach a group of children and a body on the ground. Don't stop there. Keep moving, turn right, and look over the edge toward the beach below. You'll spot Militech soldiers on the shoreline.
Drop down, eliminate the soldiers, and search the area where they were standing. Haze's body is nearby. Pick up the shard beside her and read it, then scan her face to complete the investigation.
After scanning, message Aera and arrange to meet her at the basketball court close to the beach. Wait there if she hasn't arrived yet.
Should you give Aera the shard?
When Aera arrives, she asks for the shard recovered from Haze's body. The choice doesn't change your payment, but it does change how the conversation ends and what Aera does next.
| Choice | What happens |
|---|---|
| Give Aera the shard | She thanks you, decides to continue Haze's investigation despite the danger |
| Refuse to give the shard | Aera becomes angry and tells you never to contact her again |
Handing over the shard is the recommended choice if you want to fulfill the original request. Aera knows the risks. Refusing keeps the information away from her, but she leaves the meeting without the evidence her sister died for and without any goodwill toward V. Neither choice unlocks a follow-up mission or a different reward.
Welcome to Paradise rewards
The quest pays out €$1,050 regardless of your final decision. There is no exclusive weapon, outfit, or vehicle tied to either ending. The Red Caliburn referenced in the shard is a narrative detail, not something V receives.
Welcome to Paradise runs about an hour if you listen to every line of Richard Night's tour, or closer to 30 minutes if you skip dialogue and follow the markers. For more on what Update 2.5 added alongside this quest, the full Update 2.5 patch notes and Edgerunners 2 content breakdown covers everything from the new dual-wield system to console mod support. If the fight at Coronado Dam made you realize your build needs work, the dual-wield Double Trouble build guide is worth a look before you tackle the second new quest, Clampdown.
For everything else added in Update 2.5, the full Cyberpunk 2077 guides collection has walkthroughs for both new side quests, all Glamdoc locations, the new outfit drops, and more.