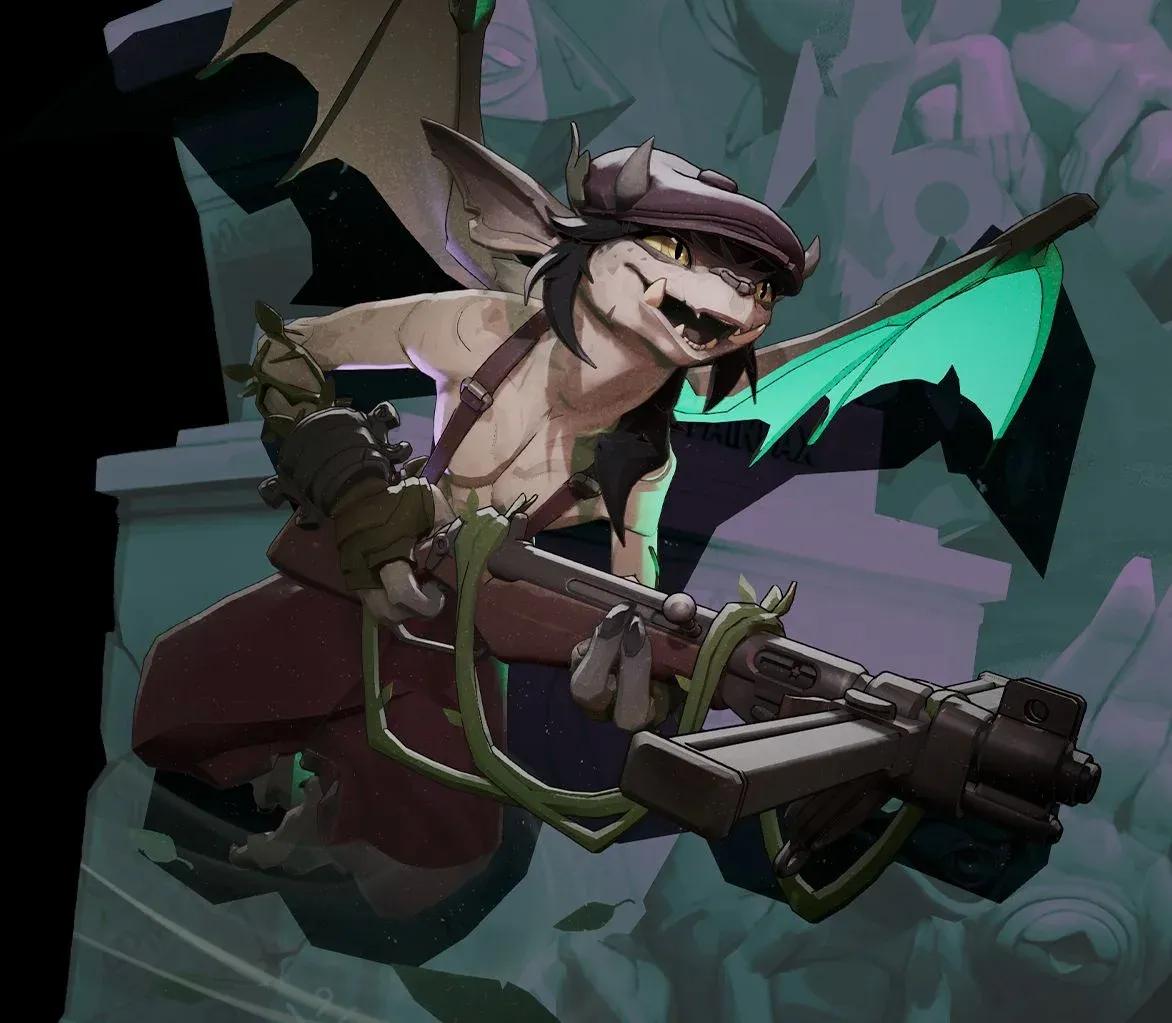

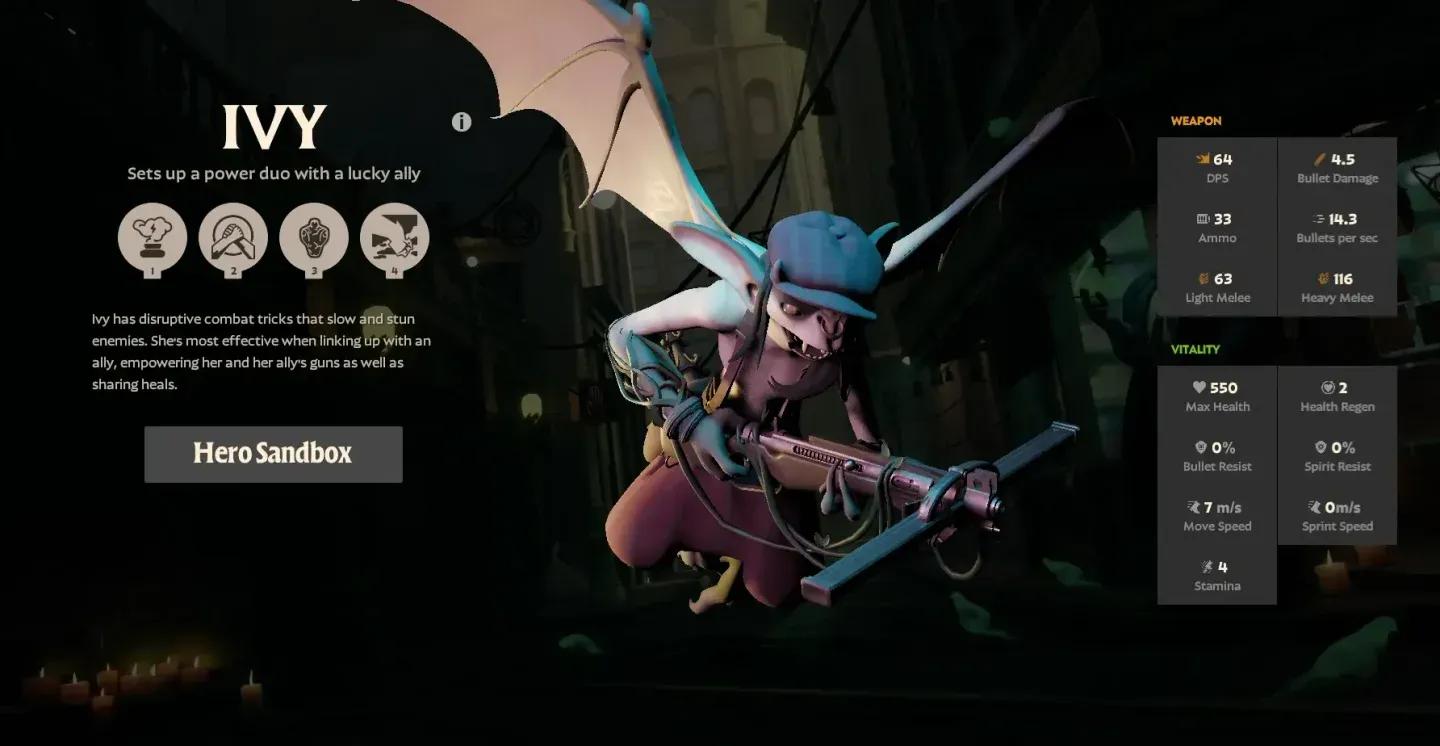
Ivy is one of the most rewarding heroes in Deadlock when played correctly, and one of the most punishing when you're not. She's a gargoyle-turned-vigilante with a kit built entirely around keeping teammates alive, disrupting enemy positioning, and creating coordinated engage opportunities that other heroes simply can't replicate. Her 54.1% win rate across over 10,000 matches puts her firmly in S-tier, but that number only holds if you know what you're doing.
Custom uploaded: Ivy deadlock.webp
What makes Ivy worth playing in Deadlock?
Ivy fills a role that most teams desperately need but rarely fill well: a mobile protector who can physically move allies around the map. Her Air Drop ultimate lets her grab a teammate and fly them to any point on the battlefield, either dropping them into the middle of a fight for a devastating engage or pulling them out of a losing situation entirely. No other hero in the current roster does this.
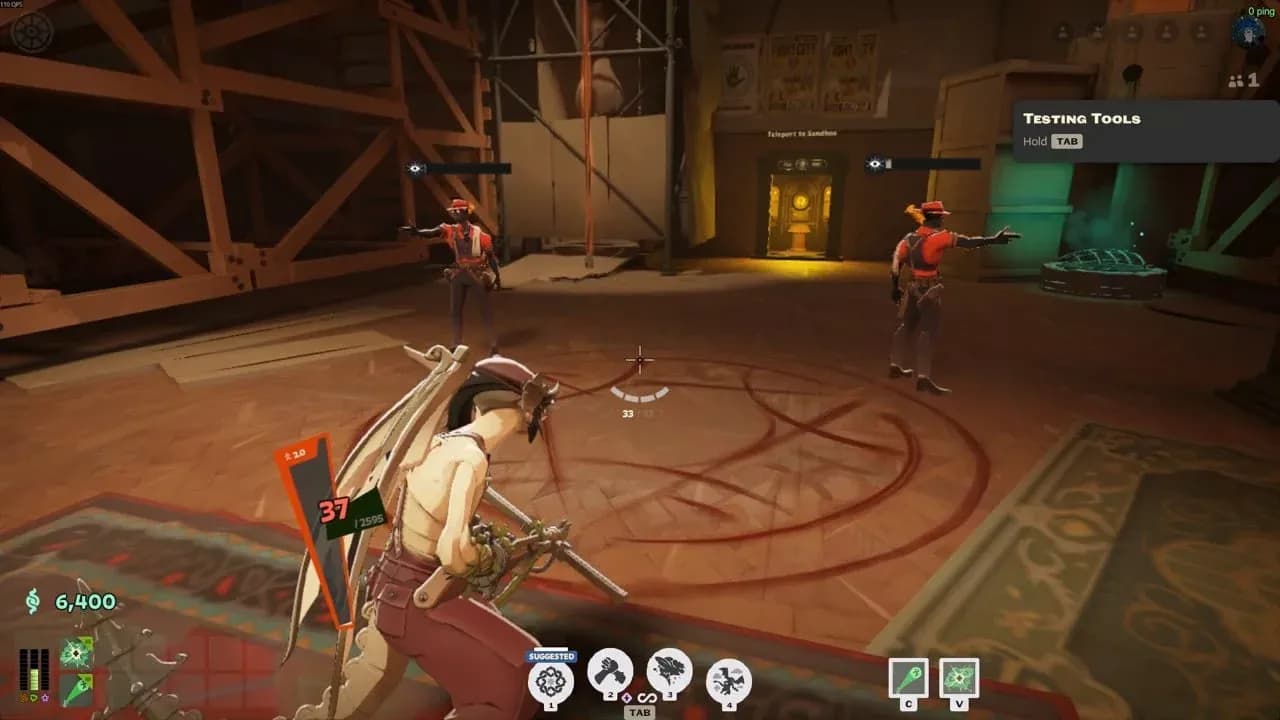
She also brings Kudzu Connection, a tether that shares fire rate, bullet lifesteal, and replicated healing with a linked ally. At Tier 3, the tether becomes permanently active, which is a significant power spike at around 9,800 souls. Pair that with Entangling Thorns for zone control and Stone Form for a self-heal and stun combo, and you have a kit that scales into every phase of the game.
The mistake most players make is treating Ivy like a passive babysitter. She's not. Her base health of 755 (scaling with Boon) and 7.2m/s move speed let her contest forward positions. The goal is to be aggressive about positioning, not about raw damage.

What is the best Ivy build in Deadlock?
Here's the short answer: the Aerial Support build running through Heroic Aura and Rescue Beam is the current standard. It maximizes Ivy's team utility while giving her enough personal durability to stay relevant in extended fights.
Opening buys (laning phase)
Start with Extra Health and Healing Rite to establish lane stability. Enduring Speed rounds out the opener and keeps you mobile enough to peel for your carry. The goal in lane is to keep the wave orderly, take bridge control with your partner early, and use Entangling Thorns efficiently. You get one charge at base, so time your Thorns throws to catch trooper waves as they land. The first hit staggers troopers in place, which keeps them inside the patch longer.
Active Reload is worth noting here: it's a strong mid-transition item, but it's extremely loud. If you're setting up a flank or sneaking up on an unsuspecting side laner, don't proc it early or you'll announce yourself from across the map.
Core spike (midgame)
The real power spike arrives when you complete Heroic Aura and Rescue Beam together. This is when Ivy transitions from a lane support into a full map enabler. Colossus rounds out this phase and gives you the bulk to survive the forward positioning the role demands.
For weapon items, Tesla Bullets and Capacitor are the gun Ivy core. Aim to have Tesla Bullets by the 6-minute mark, around when T2 jungle camps spawn. Capacitor is a significant power spike on its own. Swift Striker pairs well with the Tier 3 tether timing at 9,800 souls, since the fire rate bonus from Kudzu Connection stacks with it effectively.
Kudzu Connection buff icons
Late upgrades
Debuff Reducer and Phantom Strike close out the build once teamfights become the primary activity. Siphon Bullets and Headhunter are strong late additions for sustained damage. For survival flex slots, Spirit Resilience is strong, and Colossus (if not already purchased) or Juggernaut work well in high-damage environments.
| Phase | Core Items | Purpose |
|---|---|---|
| Laning | Extra Health, Healing Rite, Enduring Speed | Lane stability and mobility |
| Core spike | Heroic Aura, Rescue Beam, Colossus | Map enabler, team utility |
| Weapon core | Tesla Bullets, Capacitor, Swift Striker | Sustained gun damage |
| Late game | Debuff Reducer, Phantom Strike, Siphon Bullets | Finishing power and debuffs |
| Flex survival | Spirit Resilience, Juggernaut, Healing Tempo | Situational durability |
What is the correct ability order for Ivy?
Prioritize Kudzu Connection (Ability 3) first, Entangling Thorns (Ability 1) second, and Stone Form (Ability 2) third. Take Air Drop (Ability 4) whenever it becomes available.
The practical opening sequence is: Kudzu Connection → Entangling Thorns → Kudzu Connection → Entangling Thorns → Kudzu Connection → Air Drop.
The soul cost checkpoints worth knowing:
- Ability 2 (Entangling Thorns): 1,100 souls
- Ability 3 (Stone Form): 2,000 souls
- Ability 4 (Air Drop): 3,800 souls
- T2 Stone Form: 2,600 souls
- T3 Kudzu Connection (always active): 9,800 souls
- T3 Air Drop: 18,000 souls
- T3 Stone Form: 27,500 souls
The Tier 3 Kudzu Connection upgrade at 9,800 souls is the single most important ability investment in Ivy's kit. Once the tether is always active, your fire rate and bullet lifesteal bonuses never drop, which transforms your sustained pressure in extended fights.
Stone Form stun radius active
Ability breakdown
Entangling Thorns throws a patch of choking growth that deals 40 spirit damage per second and applies a 28% movement slow in a 6m radius for 4 seconds. The Tier 3 upgrade adds a 1.6s immobilize to any enemy caught in the patch for 2 seconds. Importantly, Thorns goes through walls, so you can throw it into jungle camps or around corners without needing line of sight.
Kudzu Connection tethers to a nearby ally within 16m and grants both of you 10% fire rate, 15% bullet lifesteal, and 35% replicated healing. Even without a connected ally, you receive 50% of these bonuses passively. The Tier 1 upgrade adds 2m/s move speed to both tethered heroes.
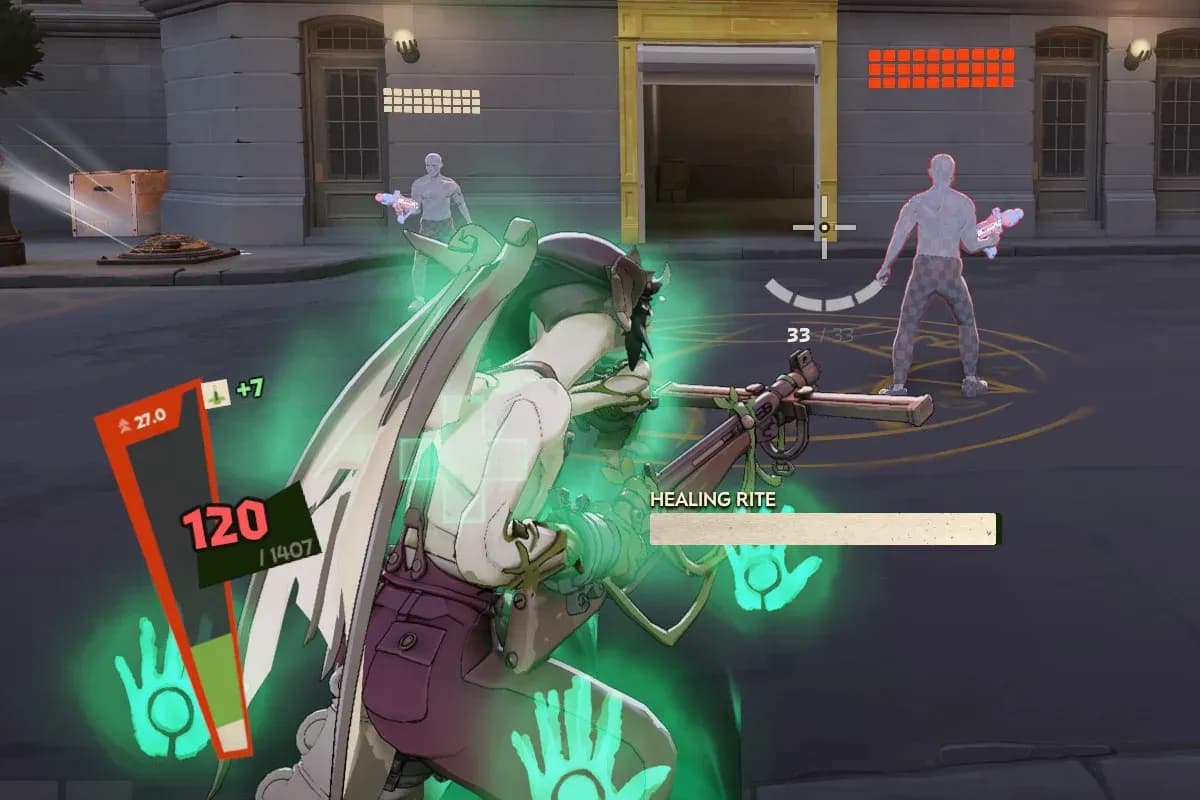
Stone Form converts Ivy into impervious stone, then slams into the ground for 75 spirit damage, a 0.75s stun, and heals Ivy for 6% of her max health (12% with Tier 1 upgrade). The 40-second cooldown drops to 15 seconds with the Tier 2 upgrade, which is enormous. Stone Form can be cast while riding ziplines, during item cast delays, or during a heavy melee cancel, which gives it a lot of hidden flexibility. It also drags down airborne enemies near the center of its hitbox.
Air Drop grabs an ally within 22m and takes flight with them for up to 21 seconds. Dropping the ally causes a 115 spirit damage explosion in a 20m radius. Both Ivy and the dropped ally gain 20% outgoing damage for 8 seconds after landing. Cooldown is 100 seconds, reduced to 70 seconds when used on an ally. Taking damage locks out the ability for 3.5 seconds, but you can bypass this by casting Stone Form first and then immediately casting Air Drop.
Who counters Ivy, and who does Ivy counter?
Ivy's hardest counter is Rat King at a 44.99% win rate for Ivy. Graves (47.0%) and Seven (47.5%) are also difficult matchups. Paige and Victor round out the top five counters. Against these heroes, play safe, prioritize farming, and look for opportunities to impact other lanes rather than forcing a losing lane matchup.
On the favorable side, Ivy dominates Solomon with a 60.28% win rate, followed by Pocket and Mirage both at 58.0%. Bebop at 57.6% and The Doorman at 57.5% are also strong targets.
| Counter (Ivy loses) | Ivy Win Rate | Favorable (Ivy wins) | Ivy Win Rate |
|---|---|---|---|
| Rat King | 45.0% | Solomon | 60.3% |
| Graves | 47.0% | 58.0% | |
| Seven | 47.5% | Mirage | 58.0% |
| Paige | 47.5% | Bebop | 57.6% |
| Victor | 48.1% | The Doorman | 57.5% |
Who should Ivy be paired with?
Ivy's Air Drop works best with heroes who benefit from being delivered into a specific angle. Apollo loves being placed on protected high-ground positions. Grey Talon gets access to sniper angles that are otherwise unreachable. Billy wants to be dropped directly into backline brawling positions. These pairings convert Air Drop from a defensive rescue tool into an aggressive engage weapon.
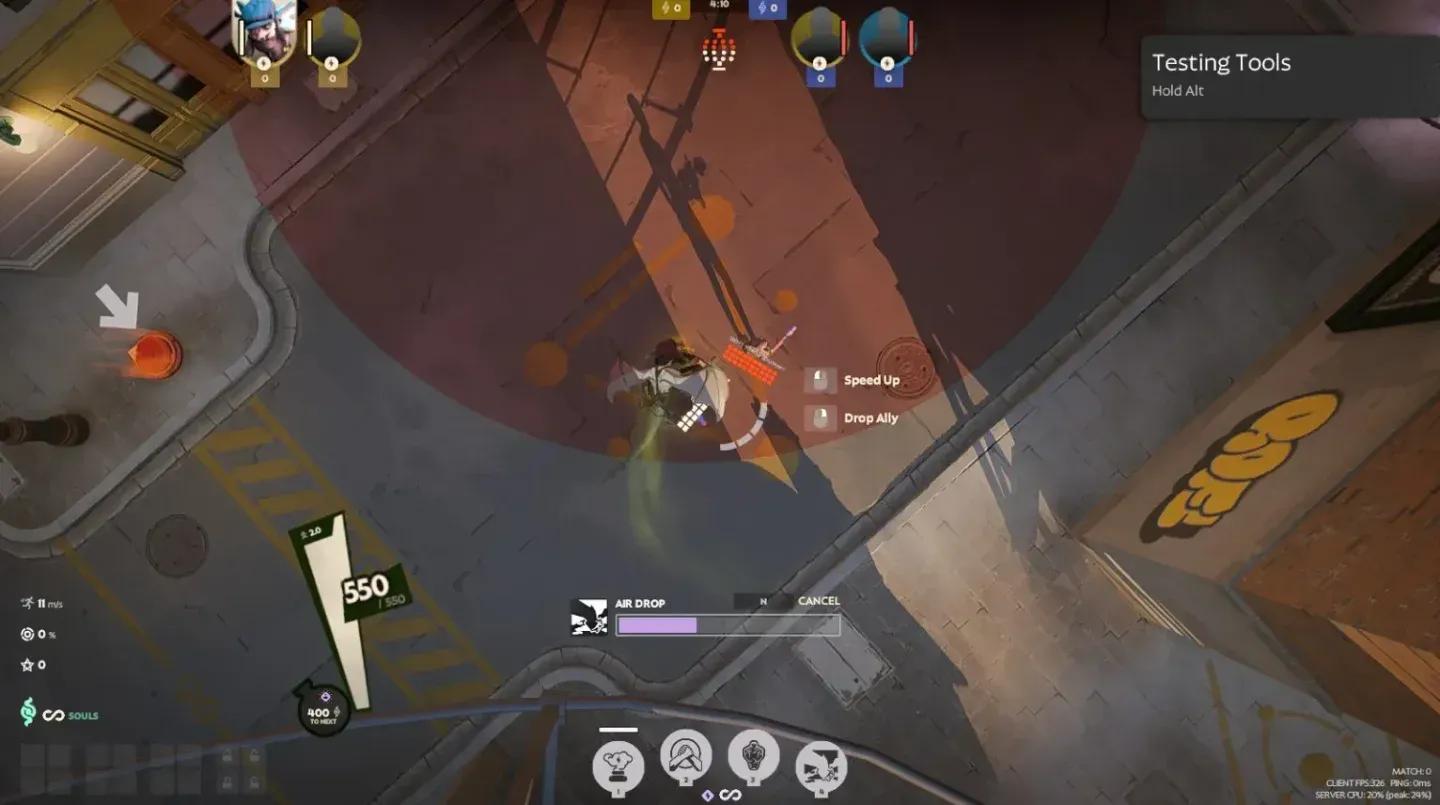
Ivy carrying ally to position
Common mistakes Ivy players make
The biggest one: using Air Drop at the wrong time. The ability has a 100-second cooldown when self-cast and a 70-second cooldown when used on an ally. Wasting it on a sub-optimal engage or a panicked rescue when the ally was going to survive anyway is a significant resource loss.
Second: positioning Ivy herself too aggressively before her utility comes online. She has 755 health and solid move speed, but she's not a frontliner. Getting caught out before you've completed your core spike means your team loses both your damage and your utility simultaneously.
Third: using the Stone Form height cancel wrong. Stone Form floats you upward from your cast position. If you land on higher terrain, you exit the form sooner. Sometimes that's exactly what you want, because the longer you stay in Stone Form, the more time enemies have to set up CC or burst damage for when you exit. Look for elevated terrain to stomp on when you need to exit Stone Form quickly.
Pro tips for mastering Ivy
- Flight dash cancel: Immediately after casting Air Drop on yourself or an ally, press forward dash (shift + W) to instantly reach maximum flight velocity. This is faster than normal flight and faster than crouch-flying.
- Thorns through walls: Entangling Thorns passes through walls. You can throw it at jungle camps from behind cover, dealing damage without exposing yourself.
- Healing Tempo in late game: Once you have Healing Tempo at around 40,000+ souls, manually press Kudzu Connection on multiple allies during a siege or objective fight to spread the Healing Tempo buff to several teammates at once instead of just the auto-selected single target.
- Air Drop lockout bypass: Taking damage locks out Air Drop for 3.5 seconds. Cast Stone Form first, then immediately cast Air Drop to bypass this lockout window.
- Kudzu bomb wave management: Time your Thorns throws to coincide with trooper wave arrivals. The first headshot staggers troopers in place, keeping them inside the patch. With proper timing, you can cover three waves without needing to upgrade to an extra charge.
For more on building your soul economy to hit these power spikes on time, the Deadlock soul farming guide covers wave discipline and jungle timing in detail. If you're still getting comfortable with the map's zipline network and jungle camp routing, the Deadlock map mastery guide is worth reading before you commit to Ivy's more demanding positioning requirements.
For a broader look at the hero roster and how Ivy fits into the current meta, the full Deadlock strategy guides collection has hero-specific breakdowns for every major pick.