
Use Martelo in Delta Force to close distance with Ariete, control sightlines with smoke, and follow knockdowns with temporary movement and reload boosts.
Veronica Cardozo, callsign Martelo, is an Assault operator introduced in Season Aurora. Her kit rewards a planned entry: choose where your charge should finish, place smoke where it supports that approach, and prepare to use your weapon afterward. The most important controls are Ariete's early finish and Smoke Halo's hold-and-release targeting. Learning those choices gives you more control than treating every encounter as a reason to charge straight ahead.
How does Ariete reduce damage during a charge?
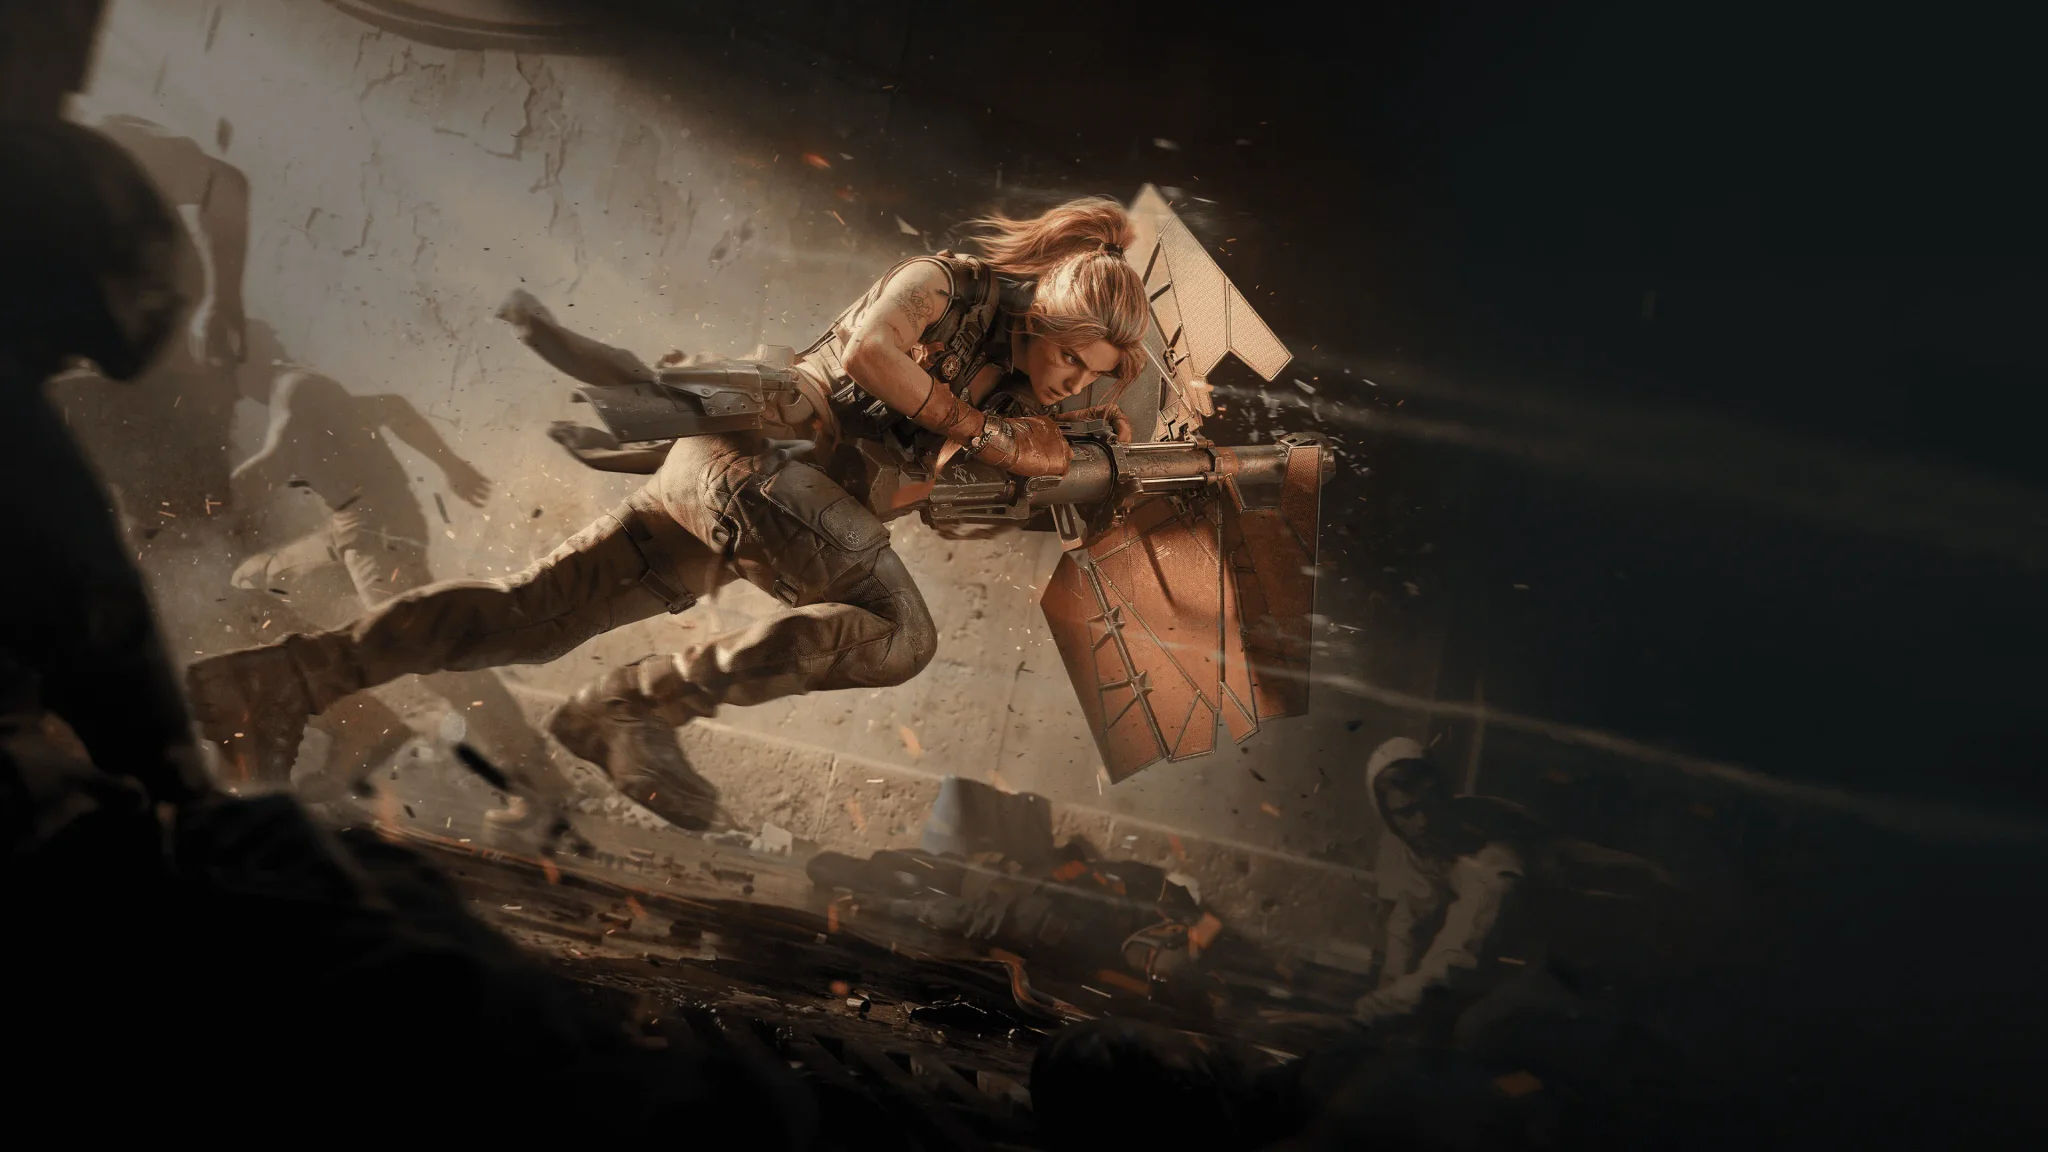
Activating Ariete deploys Martelo's shielded battering ram and sends her charging forward continuously. It is a moving entry tool, not a stationary shield stance.
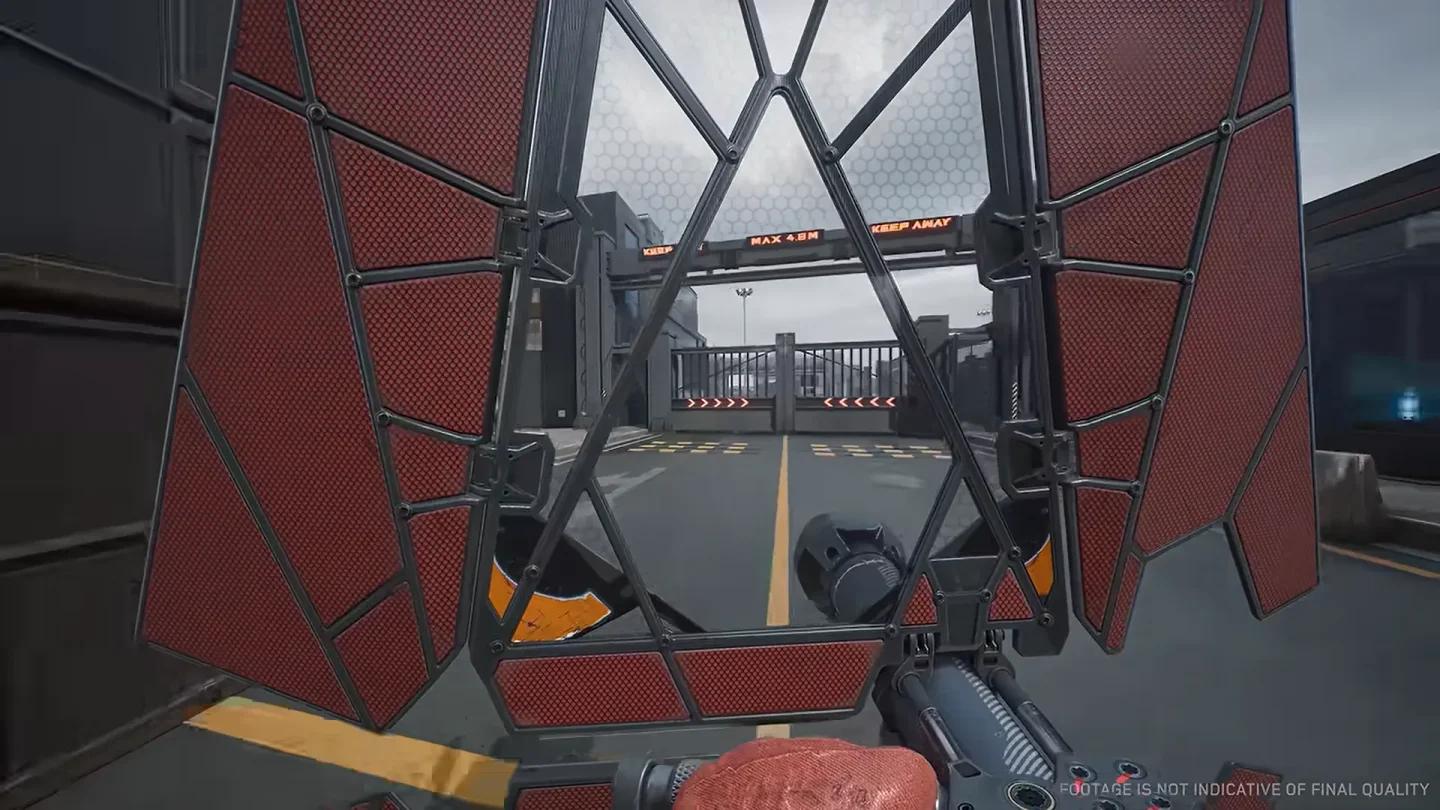
Martelo's Ariete battering ram
Choose the destination first. Before activating the ability, identify the position you want to reach, the cover near it, and the route your teammates can use to support you. Charging toward an enemy is only part of the decision; you also need a workable position when the movement ends.


Check who can support the finish
Ariete can move you into a fight before your squad is ready to follow. Check whether teammates can cover the intended destination before committing, especially if the approach leaves other enemy positions beside or behind you.
Keep an exit route in mind, too. A charge that reaches its target but leaves you isolated still creates a difficult weapon follow-up. Use the ability to reach a position your squad can support, not simply to cover distance whenever it becomes available.
How do you trigger Heavy Strike or end the charge early?
Ariete has an automatic collision finish and a manual early finish. The collision version triggers Heavy Strike; the early version lets Martelo leap and slam the Ariete into the ground ahead.
| Finish | How it happens | Effect |
|---|---|---|
| Heavy Strike | The charge collides with an enemy or wall | Damages and knocks down enemies in range |
| Early leap and slam | You end the charge early | Damages and knocks down enemies in range ahead of Martelo |
A wall is therefore an ending condition, not just scenery along your route. Account for obstacles when choosing your approach. If you want to finish before reaching an enemy or wall, use the early-ending action instead of waiting for a collision.
Learn that action on your input device before relying on it in a match. The useful skill is controlling where the slam lands, rather than always allowing Ariete to carry you to the next obstacle.
Prepare your weapon follow-up
Practise returning to your firearm after both finishes. Your next shot depends on that transition, so get comfortable with the ending animation before building an entry around immediate gunfire.
Start with a weapon you already handle comfortably. If you use either weapon, the Delta Force MCX LT and FS-12 build guide provides configurations to consider, but neither is a required part of Martelo's kit.
How do you switch Smoke Halo to single-shot mode?
Smoke Halo uses a shoulder-mounted launcher. Its standard activation fires multiple smoke grenades around Martelo, creating a halo of smoke when they detonate.

Smoke Halo's shoulder launcher
To place smoke at a selected location, use the alternate input:
- Hold your assigned Smoke Halo control to enter single-shot mode.
- Select the target location while holding the control.
- Release it to fire a smoke grenade, creating a full smokescreen over the targeted area.
The choice is about placement. Standard activation covers the area around your current position; single-shot mode lets you put smoke ahead of you. Decide which sightline needs interruption before choosing the input.
Match the smoke to your approach
Use nearby smoke when your plan concerns Martelo's current position. Aim the single shot when you need smoke near a destination or along an intended approach. Neither option guarantees that an opponent cannot track or damage you.
When coordinating with a teammate using the smoke and support tools covered in the Delta Force Vlinder drone deployment guide, agree on smoke placement before Martelo commits. The squad needs a shared destination, not two separate plans hidden inside the same cloud.
How does the High-Explosive Grenade detonation work?
Martelo quickly throws her High-Explosive Grenade forward. Its detonation countdown begins after it is thrown, and it explodes a few seconds later.
Treat it as delayed pressure on a position. Throwing the grenade does not produce an immediate explosion, so account for the delay before advancing toward the area it threatens.
An opponent may move before detonation. Use the grenade to pressure a position before your entry, but do not make the rest of the push depend on a guaranteed takedown. Cover and spacing can change what the explosion achieves.
You also do not need to spend the grenade before every Ariete activation. Use it when explosive pressure helps the approach you have chosen, not because every ability must fit into one fixed sequence.
How do you trigger Guerreira's movement and reload boosts?
Guerreira briefly increases Martelo's movement speed and reload speed when either of these conditions occurs:
- Martelo knocks down an enemy.
- Her HP drops below a certain threshold.
The enemy-related trigger is a knockdown, so you do not need to wait for an elimination. Ariete's finishing attacks can knock enemies down, connecting its entry effect with Guerreira's combat-triggered boosts.
Use the temporary boost for the next movement or reload decision. It supports your follow-up, but it does not replace the need to reach cover or keep teammates close enough to help.
Treat the low-HP condition as a reactive trigger. Deliberately taking extra damage to activate it makes your entry depend on surviving the damage first.
Practise the kit in separate parts
Season Aurora's shooting range supports operator abilities and training dummies with configurable movement, health, and armor. Use those options to learn the controls before trying to combine everything under pressure.
Work through three short checks:
- Control the charge ending. Practise a collision finish and an early slam, then return to your weapon after each.
- Place smoke deliberately. Compare the standard activation with the hold-and-release shot from the same starting position.
- Watch your follow-up after a knockdown. Practise moving or reloading when Guerreira activates, using a firearm you know well.
Once those actions feel familiar, coordinate an entry with your squad. Pick the destination, choose only the tools that help you reach it, and finish somewhere your teammates can support.