Search games, articles, guides...CtrlK
Sign InGet Started

Master the Enshrouded greatsword build with top skills, best-in-slot armor, and weapon picks for maximum melee damage in Update 7.

Written by Nuwel
Content Writer
See more GAMES.GG guides on Google
Add us as a preferred source and our guides show up first in your results.

Enshrouded Best Skills Guide: Top 10 Picks for Every Build
Discover the top 10 must-have skills in Enshrouded, from Double Jump to Blink, and learn exactly why each one transforms your build.
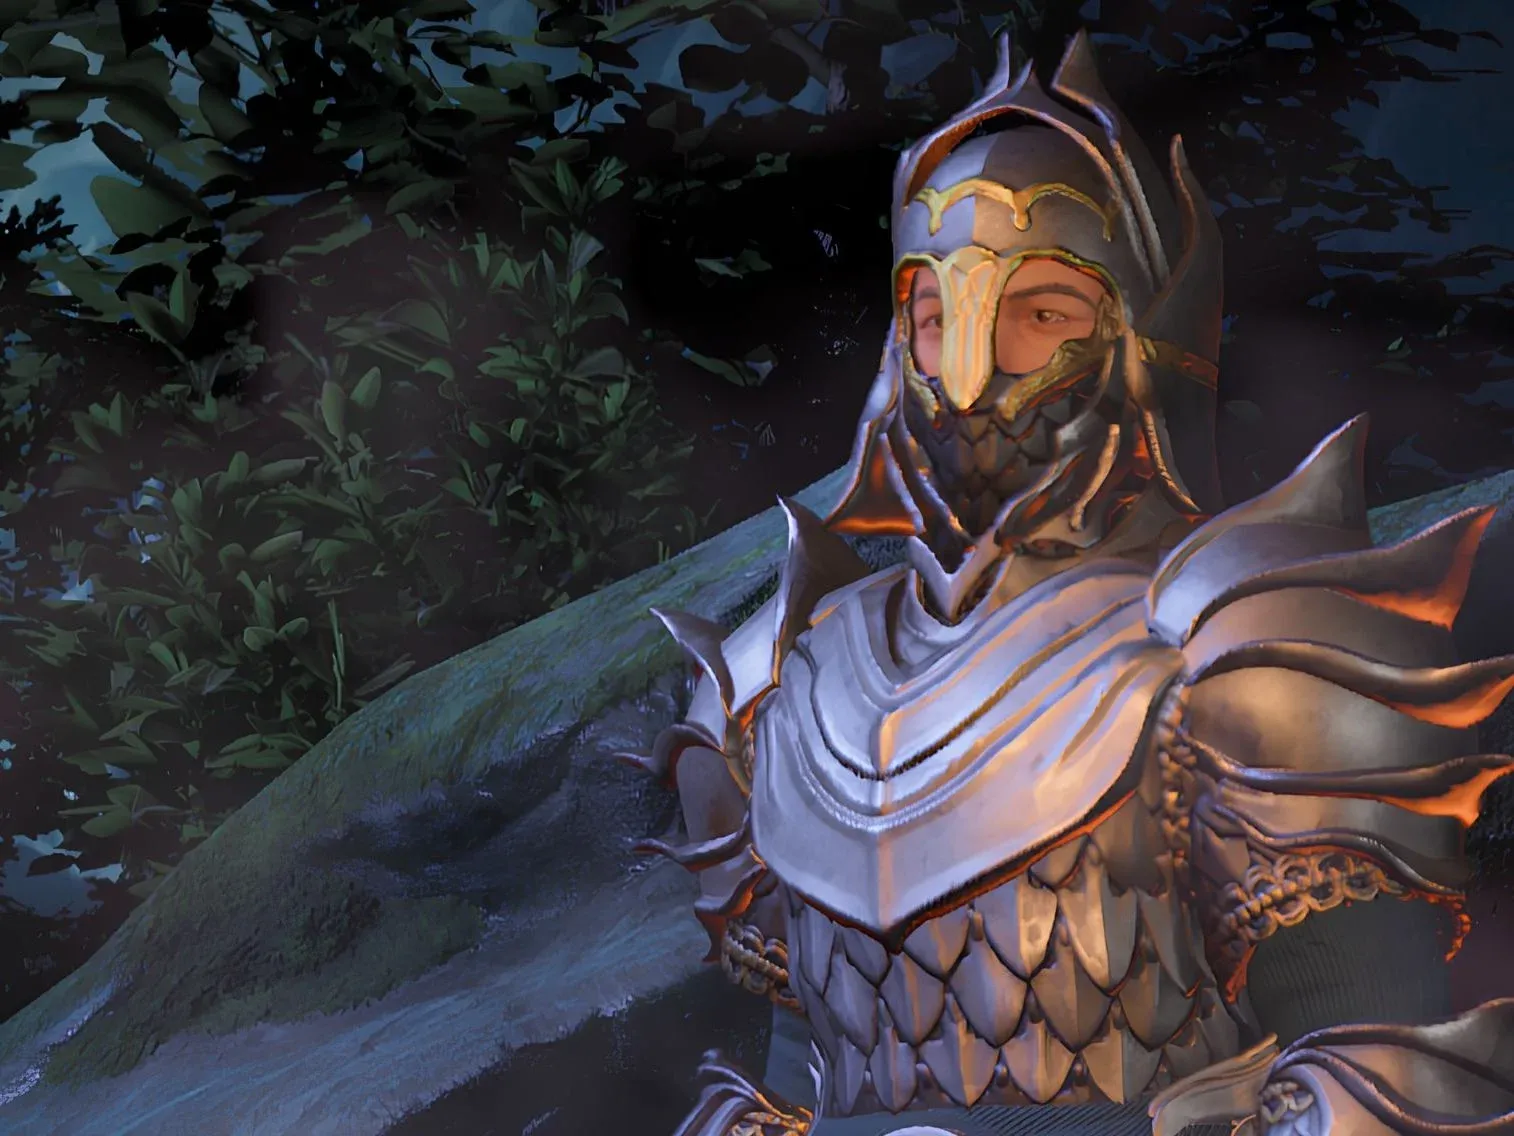
Enshrouded Paladin Build: Master the Hybrid Mage-Knight Playstyle
Build the ultimate Enshrouded Paladin with the best skills, weapons, armor, and consumables for a hybrid melee-mage playstyle.
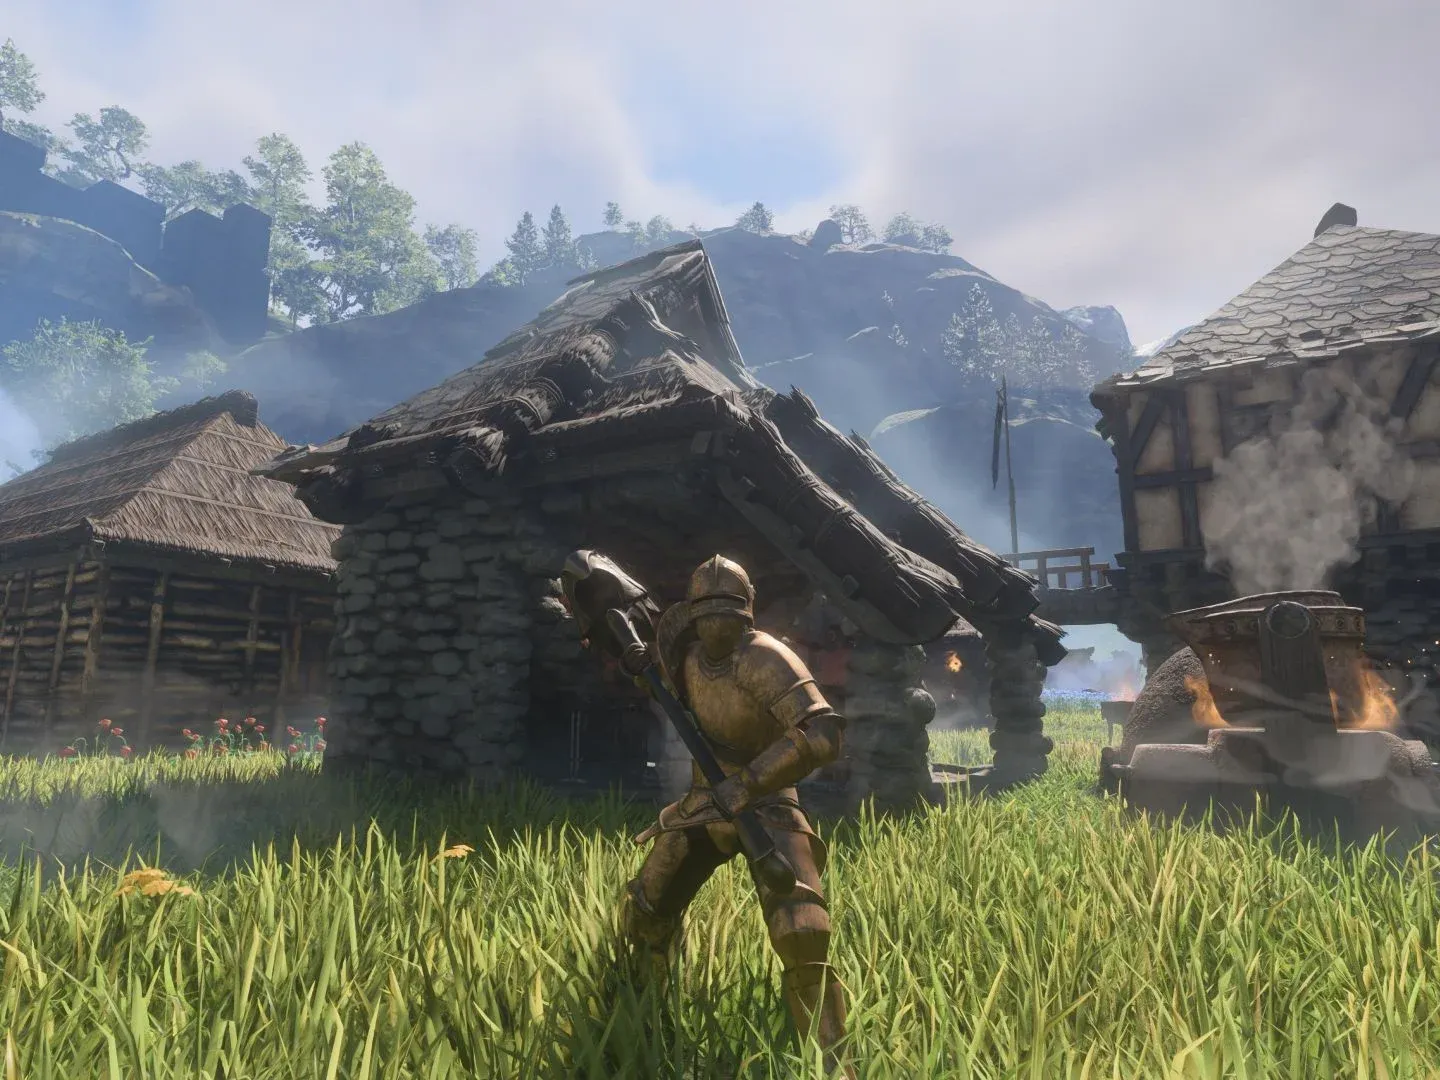
Enshrouded Barbarian Build Guide: Dominate Embervale with Melee
Master the Enshrouded Barbarian build with the best skills, weapons, armor, and consumables to crush enemies in Embervale.
The greatsword is one of the most exciting weapons added to Enshrouded in Update 7: Wake of the Water. It trades subtlety for raw, two-handed power, rewarding players who commit to every swing and manage their stamina with precision. Whether you're carving through Fell creatures in the Shroud or taking down elite bosses in the Veilwater Basin, this build turns you into a walking force of destruction. Here's everything you need to know to get the most out of it.
Unlike other two-handed weapons such as axes and hammers, the greatsword uses a three-swing attack chain that mixes area-of-effect and single-target damage. The dedicated Titan Edge passive gives a flat 10% damage bonus exclusive to greatswords, making it one of the best weapon-specific perks in the game.
What most players miss is how well the build sustains itself in prolonged fights. The Battle Heal passive heals you for 5% of your maximum health every time you land a critical hit with a melee weapon. Stack this with two Gemini Rings (each providing +7% Life Leech Chance) and you can stay in melee range through almost any encounter without burning through potions.
The main weakness is range. Strength scales your melee damage, but bows and staves use Dexterity and Intelligence respectively, so you will feel the gap when fighting distant enemies. Keeping a backup staff like the Staff of the Moor on your secondary slot helps you chip away at ranged targets while your stamina recovers.
At max level 45 (Update 7), you can earn up to 184 skill points by clearing Shroud Roots and Elixir Wells in each zone alongside leveling. Spend them efficiently and you will have room for both offensive power and meaningful utility.
Prioritize skills in this order as you level up:
Key skill tree nodes selected
| Skill | Tree | Points Cost |
|---|---|---|
| Crash Down Attack | Athlete | 3 |
| Double Jump | Survivor | 4 |
| Battle Heal | Tank | 3 |
| Vigorous Deflection | Athlete | 2 |
| Whirlwind Crescendo | Athlete | 5 |
| Blood Rage | Barbarian | 5 |
| Barbarian | Barbarian | 5 |
| Heavy Specialization | Barbarian | 5 |
| Breach | Barbarian | 3 |
| Shockwave | Barbarian | 3 |
| Titan Edge | Warrior | 4 |
| Slasher | Warrior | 3 |
| Butcher | Warrior | 3 |
| Counterstrike | Trickster | 2 |
| Thick Skin | Tank | 5 |
| Rebound | Survivor | 2+ |
The top greatsword choice in Update 7 is the Horned Greatsword. Its standout traits are two Retaliation bonuses (each reflecting 10% of incoming damage back to attackers) and a 5% Stamina Leech perk. The Retaliation stacks with the Counterstrike skill from the Trickster tree, creating a passive damage loop that punishes enemies for hitting you. Add a Precise perk that raises critical hit chance by 5% and you have a weapon that feeds directly into Battle Heal sustain.
End-game greatswords cannot be crafted, so you will need to farm them. The latest developer update confirms that powerful weapons including the fearsome Fell Thunderbrute Greatsword and the Acid Cleaver now drop from defeated enemies, expanding your loot options significantly. When hunting for weapons, prioritize traits in this order:
For secondary slots, keep a Staff of the Moor (with +5% Health Leech and +20% Magic Shroud Damage) for ranged pressure, a Mythic Wand for mana regeneration, and the Devilish Bow with Ice Magic Damage to chill and slow enemies before closing to melee range.
The Sunpiercer Set is the recommended armor for this build, crafted at the Blacksmith using materials including Capybara Bristles, Green Vitriol Dust, and Water Reptile Leather. However, the single best piece in the game for a greatsword user is actually the Greatsword Gauntlets, found in the Goldrock Saddle area within Veilwater Basin. These gloves grant 21% Two-Handed Damage, beating the Sunpiercer Gloves' 18% bonus.
Here is the full best-in-slot setup:
| Slot | Item | Key Bonuses |
|---|---|---|
| Head | Sunpiercer Helmet | +18% Melee Crit Chance, +15% Crit Damage |
| Chest | Sunpiercer Chestplate | +360 Health, +36 Stamina |
| Arms | Greatsword Gauntlets | +21% Two-Handed Damage, +36 Parry Power |
| Legs | Golden Bulwark Pants | +135 Health, +9 Stamina Regen |
| Feet | Quetzal Hunter Shoes | +18 Stamina Regen, -0.4s Regen Delay |
| Ring x2 | Gemini Ring | +7% Life Leech Chance, +7% Damage vs Fell |
The Sunpiercer Helmet and Greatsword Gauntlets handle your offensive output. The chest and legs are pure survivability. Feet and accessories cover resource regeneration. This division keeps your stat priorities clean.
Food buffs are a major damage multiplier for the greatsword build. Strength no longer grants raw stat points from food in Update 7. Instead, consumables now boost melee damage by percentage, making your food selection a genuine power decision.
| Food | Rarity | Duration | Key Stats |
|---|---|---|---|
| Fried Rice | Rare (Grain) | 45 min | +10 Stamina, +21% Melee Damage |
| Crab Cakes | Rare (Meat) | 50 min | +280 Health, +21% DMG vs Wildlife |
| Popcorn | Rare (Fruit) | 4 min | +20 Stamina Regen, +4% Melee Damage |
| Black Coffee | Uncommon (Liquid) | 55 min | +30 Stamina, +30 Stamina Regen, +6% Melee Damage |
Popcorn and Black Coffee together add an extra 10% melee damage on top of your other bonuses. If Fried Rice materials are scarce (the egg requirement can be annoying early on), swap in an Open Sandwich as a direct substitute for the melee damage buff.
For healing and utility, carry:
The Gem of Bleeding is the recommended socket choice. On a critical hit, it adds cutting damage and applies a bleed debuff that ticks for passive damage over time. Since you will be landing crits constantly through Battle Heal, the bleed uptime approaches 100% in most fights.
The Gem of Battle Mania is a powerful alternative when you have an Elixir active. It regenerates health, stamina, and mana as you attack, letting you chain Whirlwind Crescendo repeatedly. The catch is a 10-second cooldown if you stop hitting targets, so stay aggressive.
Every greatsword swing costs stamina, and Whirlwind Crescendo alone drains 75 in a single use. Poor stamina management is the number one reason players struggle with this build. Here are the habits that separate good greatsword users from great ones:
For a deeper look at all the new systems introduced alongside greatswords, the complete Update 7 Wake of the Water breakdown covers the Veilwater Basin biome, water mechanics, fishing, and the full range of weapon adjustments that shape this build's context.
You won't have Sunpiercer gear from the start. Here's how to gear up efficiently through each phase:
Focus your gloves and helmet slots on two-handed damage bonuses at every tier. Chest and legs are for health and defense. Don't stress about chasing the Radiant Paladin set if you're progressing quickly since you will outgrow it within a few hours.
For more builds, weapon rankings, and survival strategies across Enshrouded and other games, browse the latest guides on GAMES.GG to keep your edge in Embervale and beyond.