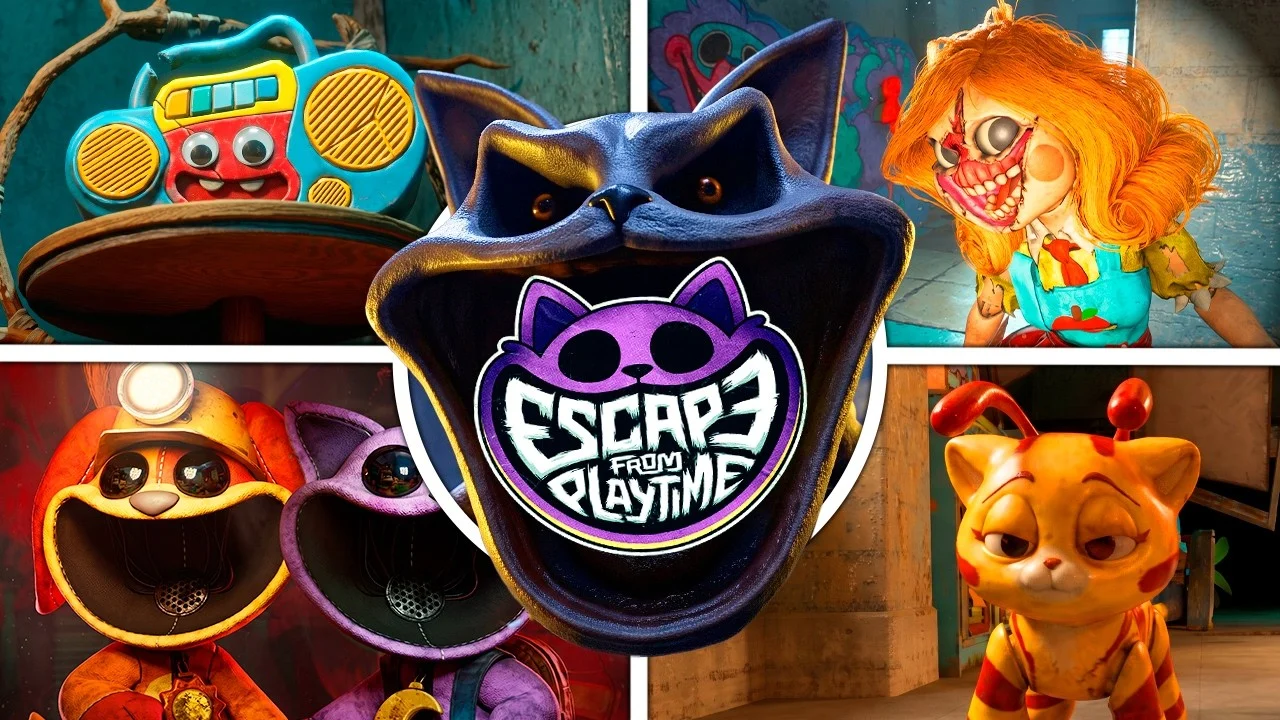
Escape from Playtime drops you into the Playtime Co. factory with one job: fill Barry's cart to quota and get out alive. The problem is that almost every item you pick up can either save your life or count toward that quota, and choosing wrong at the wrong moment ends runs fast. This guide covers every confirmed item, its tribute value, when to use it instead of banking it, and which enemies each tool helps you survive.
How does the tribute system work?
Every shift has a quota displayed on the screen above Barry's cart. You collect items scattered through the factory and drop them into Barry to fill that quota. Once the bar hits 100%, the exit hatch opens automatically.
Here's why that matters for item decisions: the same Sewing Kit that revives a downed teammate is also worth 300 tribute. A Mini-Battery that keeps your flashlight alive against Miss Delight is worth 50. The math is obvious in isolation, but mid-shift with two teammates down and gas rolling in, those decisions get complicated fast.
The blue bar on the UI shows items sitting in Barry's cart before they register. Once confirmed, it converts to yellow. A tooltip appears when you hover over an item showing its individual tribute value, so you can compare on the fly.
What are all the items and their tribute values?
The table below covers every confirmed item from the Early Access launch. Items marked with an asterisk have reported value discrepancies across early builds, so check the in-game tooltip for the current number.
| Item | Tribute Value | Primary Survival Use |
|---|---|---|
| Critter Head | 10 | Restores health; used to recover fallen teammates |
| Hoppy Ears | 50 | Wearable mobility boost; faster jumps and movement speed |
| Balloon | 50 | Lifts you to elevated areas; pops on overhead surfaces |
| Glowstick Pack | 50 | Navigation and route marking in dark corridors |
| Blairhorn | 50 | Produces a powerful blast; risk of combustion with overuse |
| Mini-Battery | 50 | Fully restores flashlight charge |
| Ping Beacons | 75 | Teammate location and communication |
| Go-Go Goop | 75 | Unlimited stamina for a short window |
| Sneak-in-a-Box | 75 | Creates a large box for emergency concealment |
| Flare | 100 | Deters enemies including Miss Delight; lights dangerous areas |
| Doey-Ball | 100 | Expanding sticky mass for traversal and platforming |
| Slap Hand | 100 | Stuns many creatures including Boogie Bot |
| Poppy-gel Injector | 100 | Heals yourself or a teammate |
| Torso* | 150 | Smiling Critter remains; consume or deposit |
| Umbrella* | 150 | Reduces fall damage during descents |
| PFG-2000 | 150 | Stuns weaker experiments |
| Maxi-Battery | 150 | Enhances flashlight stun duration on creatures |
| Water Balloon | 200 | Heals players in area of effect when thrown |
| Doey-Cement | 200 | No known survival use; deposit immediately |
| Boogie Bits | 200 | Mechanical remains from exploded Boogie Bots; no survival use |
| Sewing Kit | 300 | Revives a downed teammate |
| Surprise Hare | 400 | Transforms into random items when thrown |
| Carcass | 400 | Smiling Critter remains; consume or deposit |
| Play Coin | None | Factory currency for Doo-hickey Den purchases only |

Sketch-A-Map overhead minimap
Which items should you always keep?
The mistake most players make is depositing survival tools the moment they pick them up. Here's the short answer: if an item can stop you dying or keep a teammate in the run, it is almost always worth more than its tribute value.
Keep these unless you are desperate for quota:
- Mini-Battery (50 tribute): Your flashlight is your only reliable counter to Miss Delight. Running out of battery mid-encounter is a wipe. 50 tribute is not worth that risk.
- Sewing Kit (300 tribute): The only item that revives a downed teammate without also healing them. High tribute value, but a dead teammate in a co-op run costs you far more than 300.
- Poppy-gel Injector (100 tribute): Heals you or a teammate. In longer shifts where damage accumulates, this keeps runs alive.
- Go-Go Goop (75 tribute): Unlimited stamina for escaping dangerous encounters. Save it for emergencies rather than sprinting back to Barry.
- Flare (100 tribute): Keeps Miss Delight and other enemies at a distance while it burns. Worth holding until you hit a dangerous section.
- Antidote: Counters CatBee poison. If CatBee is active, keep one available.
- Slap Hand (100 tribute): Stuns Boogie Bot and other creatures. Reusable defensive tool.
Deposit these immediately:
- Doey-Cement (200 tribute): No confirmed survival use. Straight to Barry.
- Boogie Bits (200 tribute): Same situation. High value, no practical function.
- Carcass (400 tribute): One of the highest tribute items in the game. Unless you need to consume it for health, it belongs in Barry's cart.
- Surprise Hare (400 tribute): Throwing it gambles 400 guaranteed tribute on a random outcome. The safe play is to deposit it directly.
How do you counter every enemy in the factory?
How to survive Miss Delight
Miss Delight is the Bigger Body Program experiment in the Playcare School and the most dangerous threat in the current build. Her attack range is wide enough to catch players who think they have enough distance, and narrow corridors give her a significant advantage.
Her weakness is direct light. Shine your flashlight at her and she stops. The catch is that holding her in place drains your battery continuously, so your team needs to act fast when someone is keeping her pinned.
- Keep the flashlight beam on her face, not her body.
- Back away while maintaining the beam rather than turning to run.
- Avoid dead-end rooms entirely when she is active.
- One player holds her with the flashlight while others move resources or clear the area.
- Flares create a temporary barrier she will not cross, useful when battery power is low.
- Listen for human-like footsteps to catch her approach before she is visible.
The common mistake is panicking and sprinting past her. She will catch you. Slow, controlled retreat with the flashlight on her face is the correct response.

Flashlight stops Miss Delight cold
How to counter Boogie Bot
Boogie Bot looks small and manageable until it detects you and closes the gap. The instinct to sprint away in a straight line is exactly wrong.
- Throw any object at it to stun it briefly.
- Climb onto furniture or boxes. Boogie Bot struggles to detect targets above its normal line of sight.
- Use large obstacles to break its direct path.
- The Slap Hand stuns it reliably.
- Boogie Bots can explode and drop Boogie Bits worth 200 tribute, but baiting an explosion is risky and not recommended for beginners.
Elevated positions are temporary cover, not permanent safety. If a Boogie Bot is close enough, it may still spot you above it.
How to avoid Bunzo Bunny
Bunzo Bunny waits above players and drops when someone walks beneath it. The factory ceiling is not somewhere most players look, which is exactly why Bunzo works.
- Scan overhead positions before entering unfamiliar rooms.
- Avoid lingering directly beneath elevated objects or platforms.
- Alert teammates immediately when you spot one.
- If Bunzo grabs a teammate, throwing an object at it may interrupt the attack.
How to deal with CatBee
CatBee flies and attaches to players, inflicting poison. It does not always pursue aggressively, so distance management matters.
- Throw an item directly at it. A clean hit eliminates it.
- If it attaches to you while playing solo, look downward and throw toward yourself to knock it off.
- Keep an Antidote available when CatBee is active in the current area.
- Use elevation changes and obstacles to disrupt its flight path.
How to handle Candy Cat
Candy Cat is not interested in hurting you. It wants your loot. Left unattended, it will eat valuable items off the factory floor, potentially wiping out an entire shift's collection.
- Listen for a rattling wheel sound, similar to a shopping cart.
- Never leave large piles of tribute on the ground unattended.
- Throwing items at Candy Cat stuns it temporarily.
- Do not corner or provoke it. Unprovoked, it ignores players.
What do we know about CatNap?
CatNap is in the game but its behavior and specific counters are not fully established in the current Early Access build. Mob Entertainment noted in the October 23 patch that CatNap balance is ongoing and difficult to pin down. Until more is confirmed, the practical advice is: maintain distance, preserve stamina, and do not extend a shift unnecessarily when CatNap is present. If you have already hit quota, leave.
What navigation tools should you prioritize?
Getting lost in the factory is one of the most punishing problems in the game because the layout shifts between runs. Three tools address this directly.
Glowsticks are the most efficient navigation tool per tribute value. Place them at intersections and decision points rather than scattering them through open corridors. A glowstick at a T-junction tells you which direction you came from. A glowstick in the middle of a straight hallway tells you nothing useful.
Sketch-A-Map opens a minimap with an overhead view of the surrounding area, teammate positions, and Barry's location. This was added directly in response to beta feedback about navigation difficulty. Use it when you are genuinely lost, not constantly, since checking it repeatedly slows your movement.
Ping Beacons (75 tribute) help separated teammates regroup. Worth keeping at least one when your team is covering separate sections of the factory.
There is also a flashlight battery trick worth knowing: between shifts in the Operations Hub, drop your valuable items somewhere safe, jump into a pit, and let your character respawn. Your flashlight recharges to full. Pick up your items and start the next shift without immediately hunting for a battery.
Pro tips for completing quota faster
- Alternating sprints with jumps is more stamina-efficient than continuous sprinting. Useful for long runs back to Barry.
- Deposit items to Barry in smaller, regular trips rather than one large haul. Candy Cat cannot eat what is already in Barry's cart.
- In co-op, assign one player to carry the Sewing Kit and another to carry the Poppy-gel Injector. Do not have everyone carry the same healing items.
- When one player holds Miss Delight with a flashlight, everyone else should be moving resources or clearing the path. That battery is burning.
- Once quota is met, stop exploring. Extra loot is optional. A successful escape with enough tribute beats dying with a full inventory.
- Smaller groups now get additional time to complete a shift following the October 23 patch. If you are running a two or three-player lobby, the timer is more forgiving than it was at launch.
For more on running the factory with a full squad, the Escape from Playtime co-op survival guide covers lobby setup, role assignments, and proximity voice chat tactics for groups up to 8 players.
Frequently asked questions
Does the Sewing Kit heal the teammate it revives? No. The Sewing Kit revives a downed Critter but does not restore their health. They come back vulnerable. The Poppy-gel Injector heals but does not revive. Use the Sewing Kit first, then heal them immediately after.
Can you remove Hoppy Ears once equipped? No. Once you put on Hoppy Ears, they stay on. Decide before equipping whether the mobility boost is worth locking yourself into the effect.
Is the Surprise Hare worth throwing or depositing? Deposit it. The random item transformation might produce something useful, but 400 guaranteed tribute is hard to beat. Only throw it if you are already well past quota and want to gamble.
What happens if Candy Cat eats your loot? It is gone. There is no recovery mechanic. This is why consistent deposits to Barry beat stockpiling on the floor.
How many players is the game balanced for? Mob Entertainment designed the core experience around 3 to 5 players, but the game officially supports 1 to 8. Smaller groups now receive additional shift time as of the October 23 update, and enemy scaling for smaller lobbies (including CatBee swarms) is being adjusted in an upcoming patch.
Find the full collection of tips and strategies in the Escape from Playtime guides hub, or browse more action games for similar co-op survival experiences.