
The hideout in Gray Zone Warfare is not a shortcut you buy your way through. It is a dependency graph, and if you build in the wrong order you will spend two sessions waiting on components for stations that could not run anyway. Update 0.5: Rogue Ops, which launched on October 22, 2026, made the hideout the central progression path in the game. Here is how it works, what each room actually does, and the build order that gets your laboratory producing sellable goods before you touch anything expensive.
How do you unlock the hideout?
The hideout does not unlock at a specific player level. The gate is vendor reputation. To access the Laboratory and Utility Room, your character needs Lab Rat at rank 2. To unlock the Electronics Workshop, you need both Lab Rat at rank 2 and Artisan at rank 2. The Utility Room itself is available from the start.
There is a third vendor to consider beyond those two. The smuggling contracts tied to hideout production require Banshee at rank 3, which catches a lot of players off guard. Reputation comes from tasks and contracts, so the practical advice is to keep running tasks in parallel with any hideout building you do.
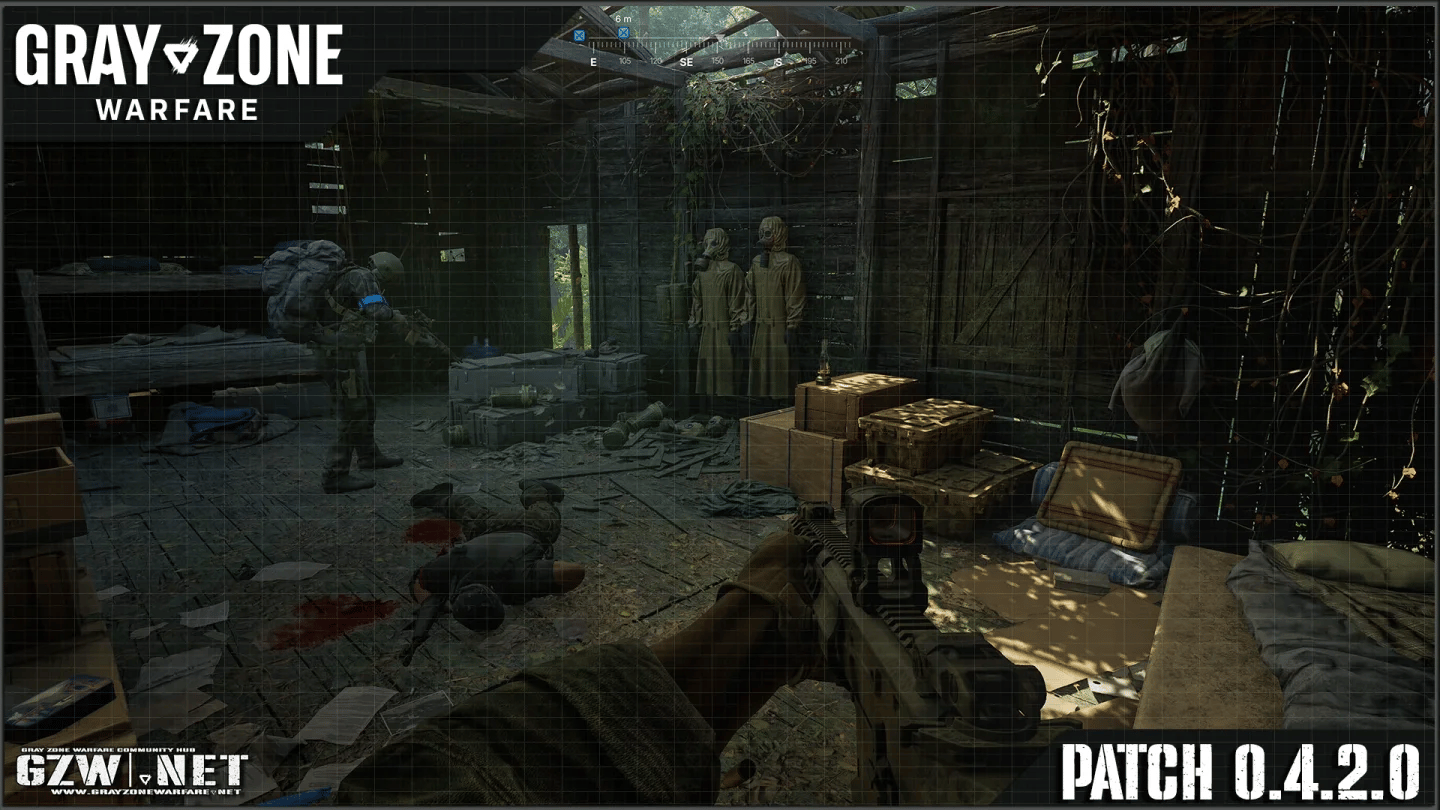
Laboratory station upgrade menu

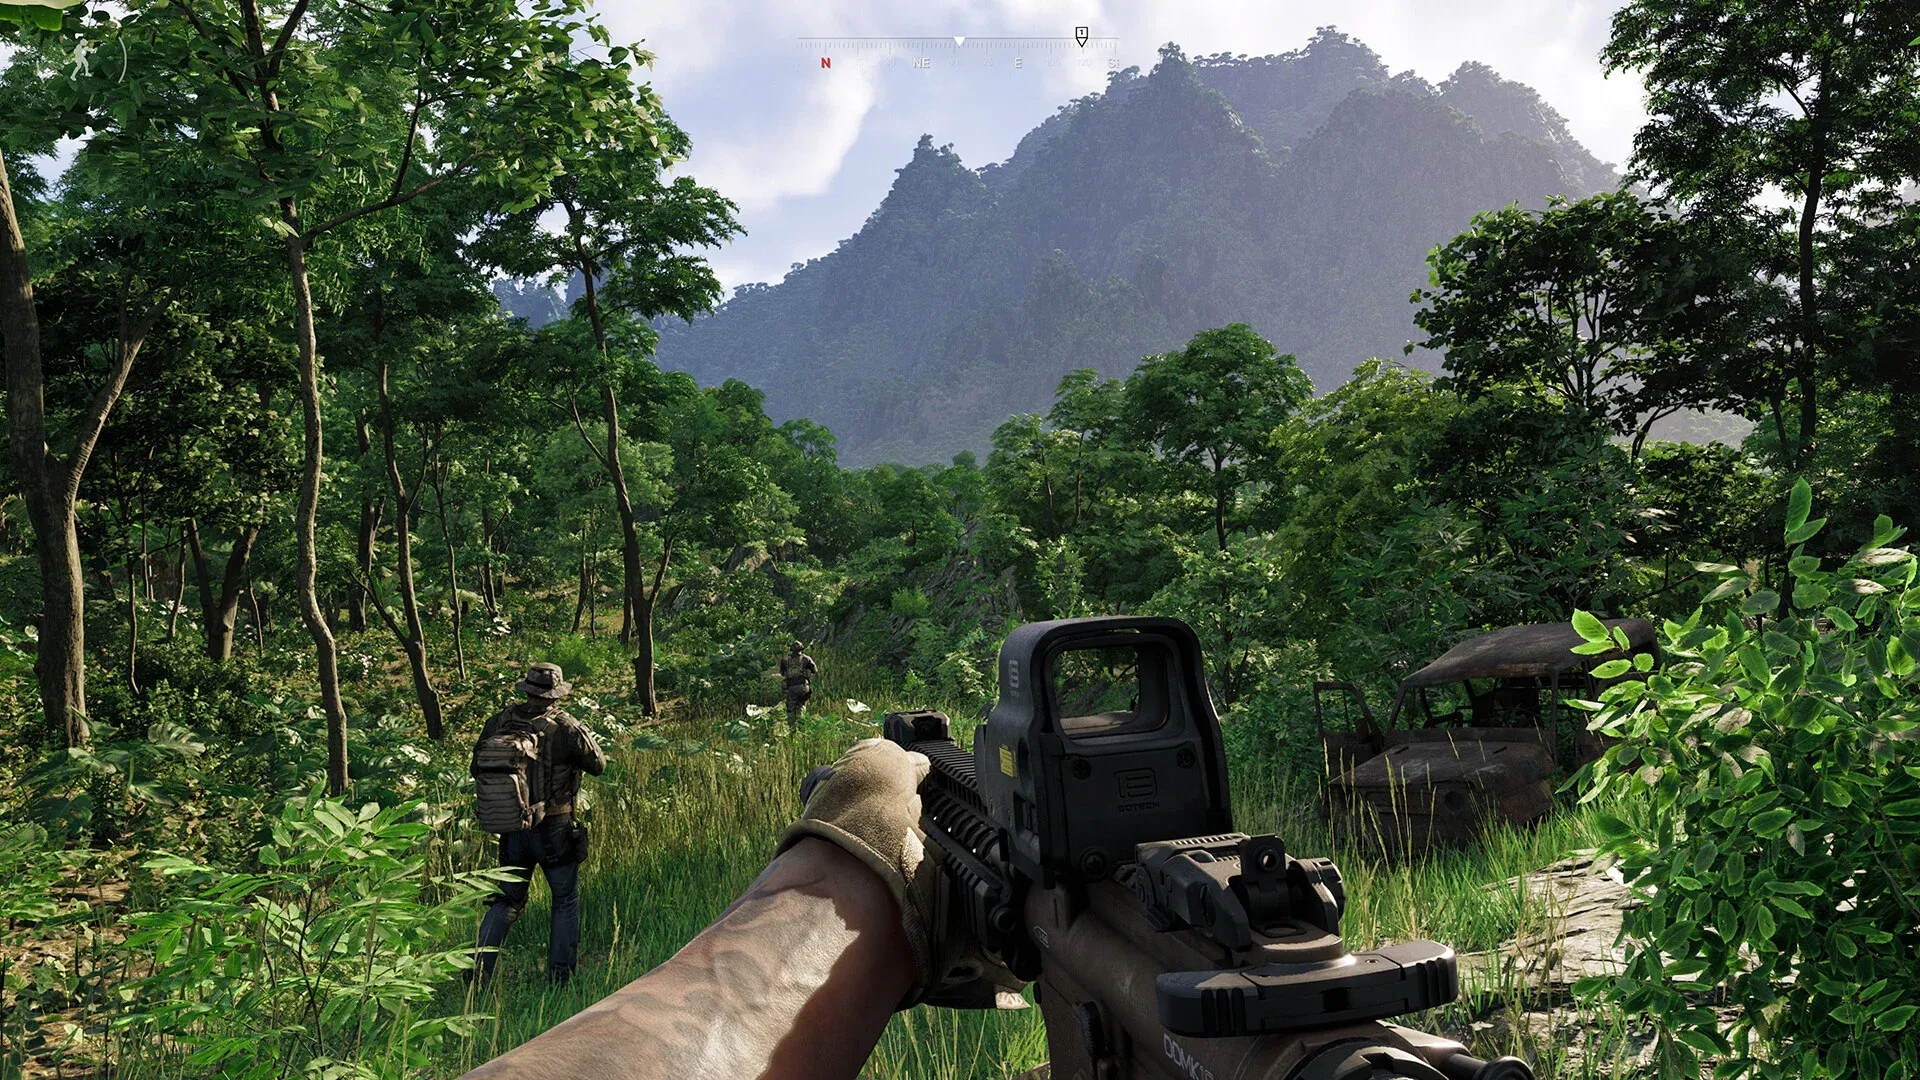
What are the three hideout rooms?
Each room handles a distinct part of your operation. None of them work in isolation.
| Room | Primary function | What it produces |
|---|---|---|
| Utility Room | Supplies power to the other two rooms | Nothing directly; raises available kilowatts |
| Laboratory | Heats, filters, and processes chemical inputs | Medical items, stims, contraband for smuggling |
| Electronics Workshop | Disassembles and rebuilds military electronics | Hacking tools, tracking tags, disassembled components |
MADFINGER's 0.5 devlog also references a fourth room slot that remains locked in this update. The hideout is described as a first iteration, with expanded functionality planned for future updates targeting Ground Zero content.
Utility Room: the power foundation
The Utility Room holds a single station in 0.5: the Generator. At level 1, the Two-Stroke Engine provides 9 kW of available power. Upgrading to level 2 doubles that to 18 kW. Every station in the Laboratory and Electronics Workshop draws power before it can be placed, so the Generator is not optional and not something to defer.
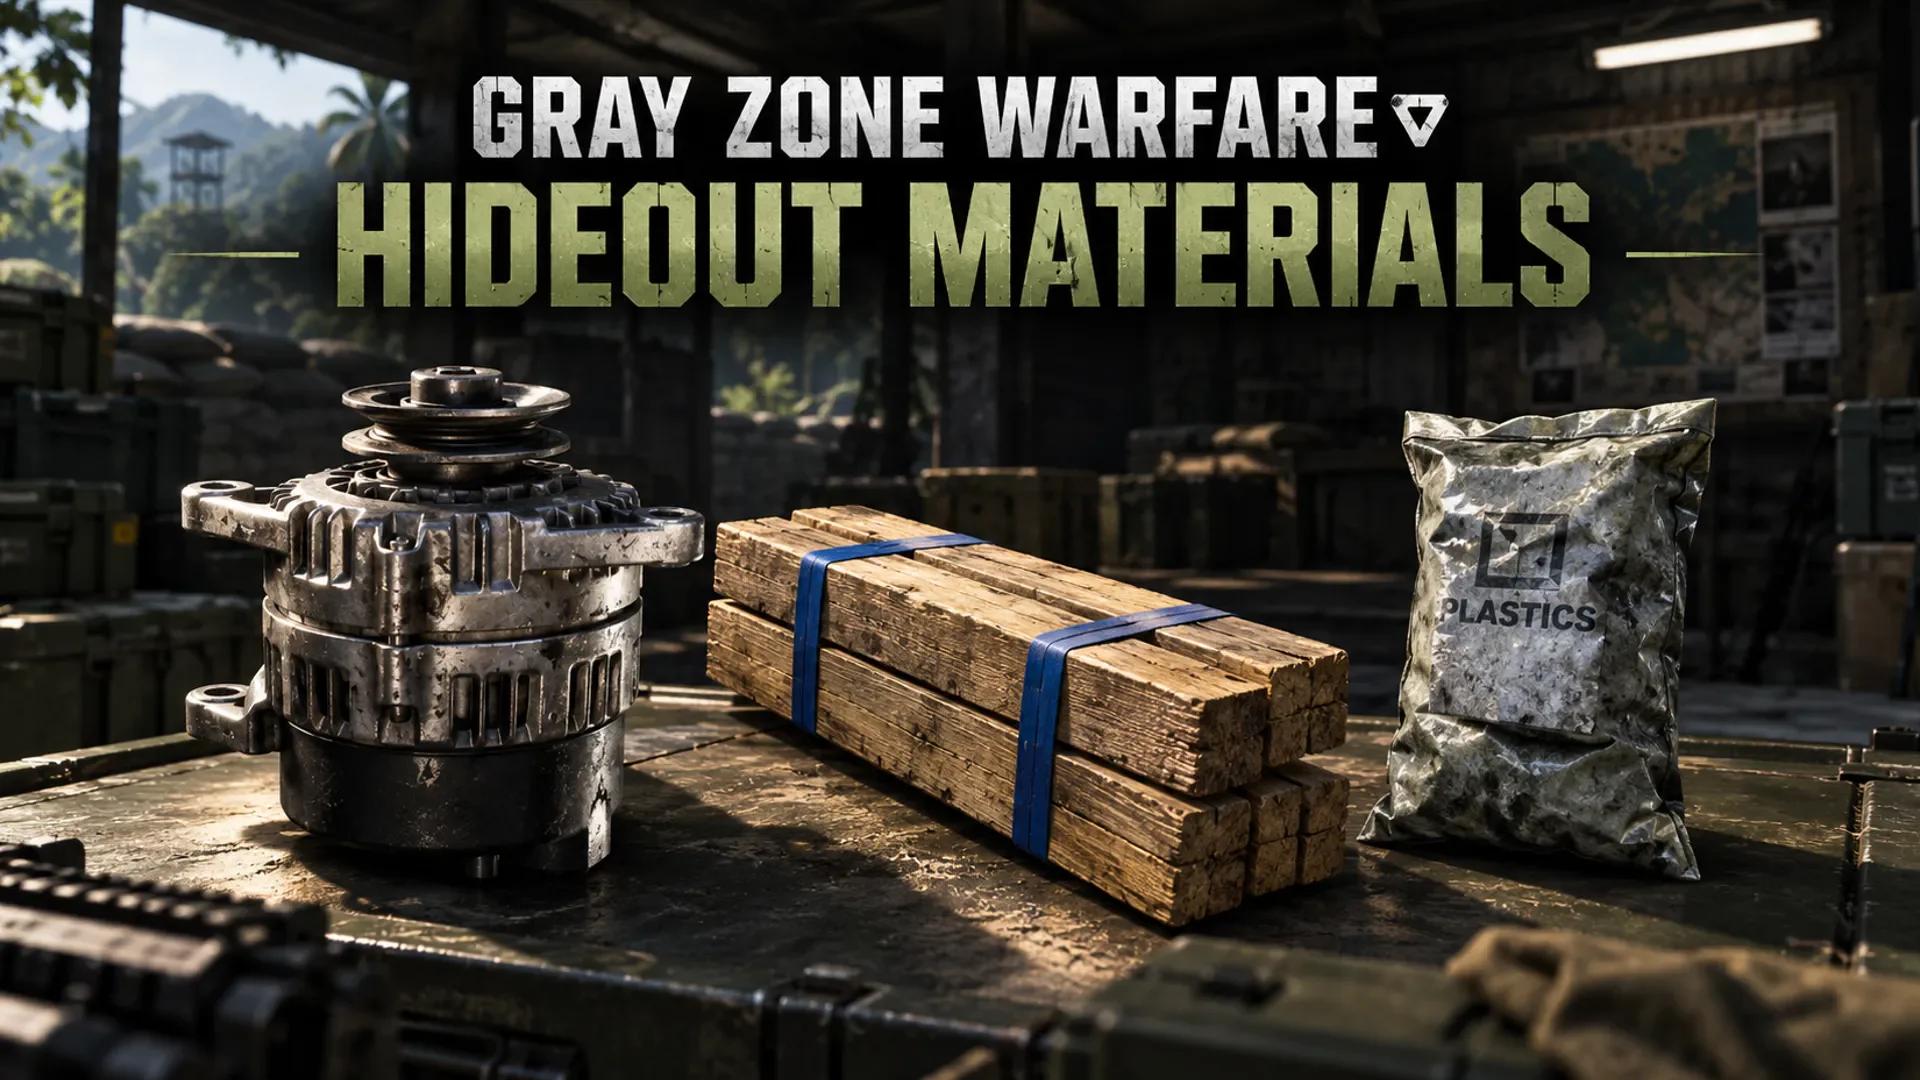
Level 1 Generator materials: Steel ×1, Mechanical Parts ×1, Motor Oil ×1, Dynamo ×1.
Laboratory: where the money comes from
The Laboratory holds eight stations: Heat Source, Extraction Vessel, Reaction Vessel, Filtration, Analysis, Glassware, Laboratory Storage Equipment, and Safety. Each station raises a specific capability score, and those scores gate what you can build next.
The key dependency chain to understand: the Oil Tank (Extraction Vessel level 1) requires +1 Heat Control before it can be placed. That means the Open Fire Pit has to come first, not alongside it. Miss that and you will try to place the extraction vessel and get a locked icon with no obvious explanation.
The Laboratory is also where production happens. Stims and tracking tags moved out of vendor sales in 0.5 and into crafting, which means the Laboratory is now a supply chain for items you used to simply purchase.
Electronics Workshop: tools and disassembly
The Electronics Workshop holds six stations: Hardware, Software, Micro Electronics, Machine Tools, RF Sensors, and Workshop Storage Equipment. It is where you build hacking tools across three tiers, which let you bypass electronic locks in restricted areas.
Disassembly also runs through the Electronics Workshop. You move items into the disassembly grid, and the game processes them sequentially from the top-left. Each item takes approximately 12 hours to disassemble. The output is stored in the Workshop's storage space, and the process continues while you are offline. Moving an item within the grid or returning it to your locker resets its timer, so place items and leave them.
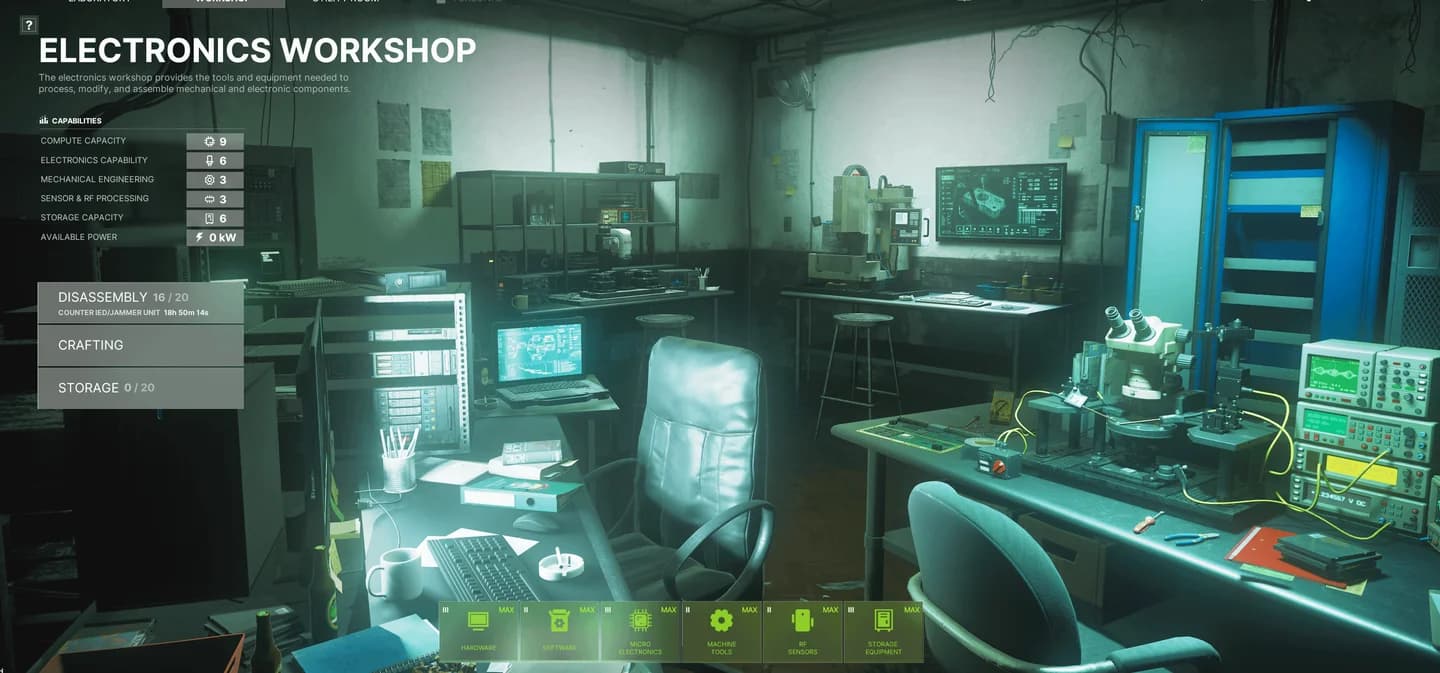
Workshop disassembly queue timer
What is the best build order for the hideout?
Here's the short answer: Generator first, then Laboratory basics, then the Electronics Workshop. The Laboratory produces sellable goods at level one. The Workshop mostly produces tools you will not need until you are doing locked-door content. Fund the Laboratory with runs, then let the Workshop catch up.
The detailed sequence:
- Generator (Utility Room) — Nothing else runs without it. Build this before you touch anything else.
- Open Fire Pit (Heat Source level 1) — Steel ×3, Construction Material ×2, Wood ×1. Opens basic Laboratory chemistry and gates the extraction vessel.
- Oil Tank (Extraction Vessel level 1) — Steel ×1, Copper ×1, Plumbing Parts ×1, Analog Indicator ×1. Raises Extraction & Reaction by 2 and feeds the next tier.
- Plastic Drums (Reaction Vessel level 1) — Plastics ×2, Construction Material ×1, Silicone Sealant ×1. Adds Extraction & Reaction capacity.
- Cloth Sheet Filter (Filtration level 1) — Wood ×2, Fabrics ×4. Cheap and fast; do not skip it.
- Basic Glass Set (Glassware level 1) — Glass ×1, Plastics ×1, Laboratory Flask ×1. Adds Analysis & Precision.
- Scavenged PC Rig (Hardware level 1) — Motherboard ×1, Graphics Card ×1, CPU ×1, PC Fan ×1, RAM ×1, Power Supply ×1. First Workshop station; gives Compute Capacity for hacking software.
- Basic Electronics Bench (Micro Electronics level 1) — Soldering Iron ×1, Multimeter ×1, Toolset ×1, Power Supply ×1, Wood ×1.
- PH Meter (Analysis level 1) — Plastics ×2, Electrical Parts ×1, Circuit Board ×1, Complex Glass Electrode ×1. This is the gate to precision work; build it after you have a stable material supply.
Full station materials reference
| Room | Station (Level 1) | Materials |
|---|---|---|
| Utility | Generator | Steel ×1, Mechanical Parts ×1, Motor Oil ×1, Dynamo ×1 |
| Laboratory | Heat Source | Steel ×3, Construction Material ×2, Wood ×1 |
| Laboratory | Extraction Vessel | Steel ×1, Copper ×1, Plumbing Parts ×1, Analog Indicator ×1 |
| Laboratory | Reaction Vessel | Plastics ×2, Construction Material ×1, Silicone Sealant ×1 |
| Laboratory | Filtration | Wood ×2, Fabrics ×4 |
| Laboratory | Glassware | Glass ×1, Plastics ×1, Laboratory Flask ×1 |
| Laboratory | Analysis | Plastics ×2, Electrical Parts ×1, Circuit Board ×1, Complex Glass Electrode ×1 |
| Workshop | Hardware | Motherboard ×1, Graphics Card ×1, CPU ×1, PC Fan ×1, RAM ×1, Power Supply ×1 |
| Workshop | Micro Electronics | Soldering Iron ×1, Multimeter ×1, Toolset ×1, Power Supply ×1, Wood ×1 |
| Workshop | Machine Tools | Wood ×1, Steel ×1, Toolset ×1 |
| Workshop | Storage | Wood ×1, Mechanical Parts ×1 |
The pattern worth noticing: nearly every level-one station wants wood or steel plus one specialist component. That is why a wood run feels tedious and still decides your first two sessions.
How does smuggling connect to the hideout?
The Laboratory's production feeds directly into smuggling contracts. Once you accept a contract, a vendor marks a pickup location on your map. You collect the smuggling backpack, which is visibly distinct, and then have one hour to reach the designated drop zone and deposit the shipment.
The backpack makes you identifiable. In Warfare mode, other players can intercept you. In Joint Operations, the opposition is AI, but it is still armed.
A contract fails if you die, if the hour expires, or if the backpack ends up in another player's stash. That last condition matters in squad play. Do not use a squadmate's stash as temporary storage for the shipment.
Prepare everything before you accept the contract. Gather the contraband, plan your route, and account for combat time. The one-hour window is not travel time.
What timing should you plan around?
Crafting an item is nearly immediate. Production and disassembly are not.
| Activity | Timing |
|---|---|
| Crafting | Almost immediate |
| Production (Laboratory) | Takes longer than crafting |
| Disassembly (Workshop) | Approximately 12 hours per item |
The practical rule: start a disassembly job before you log off, not when you need the component. If you queue it up mid-session expecting to use the output in the same session, you will spend a raid waiting on a workbench.
Common mistakes to avoid
The mistake most players make is treating all loot as interchangeable crafting material. Only specific items can be disassembled, and recipes have their own requirements separate from raw materials. Build your collection around a specific target, not around filling your stash with anything that looks technical.
A second common error is skipping the Utility Room and trying to build Laboratory stations first. Without the Generator, nothing places. The error message is not always obvious about why.
For players returning from update 0.4: Rogue Ops uses a soft wipe. Completed tasks, rank, vendor levels, and apparel carry forward. Locker contents and money do not. When moving your existing character into 0.5, you choose PvE or PvEvP, and that choice is permanent for that character.
If you are still finding your footing on Lamang, the Gray Zone Warfare beginner tips and tricks guide covers the core survival systems worth knowing before you start burning resources on hideout builds. For players ready to push further, the advanced tips and tricks guide picks up where the basics leave off.
FAQ
Is the hideout available right now? Yes. It launched with update 0.5: Rogue Ops on October 22, 2026.
Does the hideout work in PvE? Yes. Both the crafting loop and smuggling contracts function in Joint Operations. Smuggling in PvE means AI opposition rather than player interception.
Can you build all three rooms at once? The Utility Room is available from the start. The Laboratory and Utility Room together require Lab Rat rank 2. The Electronics Workshop additionally requires Artisan rank 2.
What happens if you run out of storage in the Workshop? Disassembled components are stored in the Workshop's storage space. If that fills up, completed disassembly jobs have nowhere to go. Build Workshop Storage early to avoid blocking your own queue.
Is there a fourth room? There is a locked slot visible in the hideout interface. MADFINGER has described the current system as a first iteration, with expanded functionality planned for future updates. No confirmed timeline as of the latest update.
For more quest walkthroughs and progression help, browse the full Gray Zone Warfare guides collection.