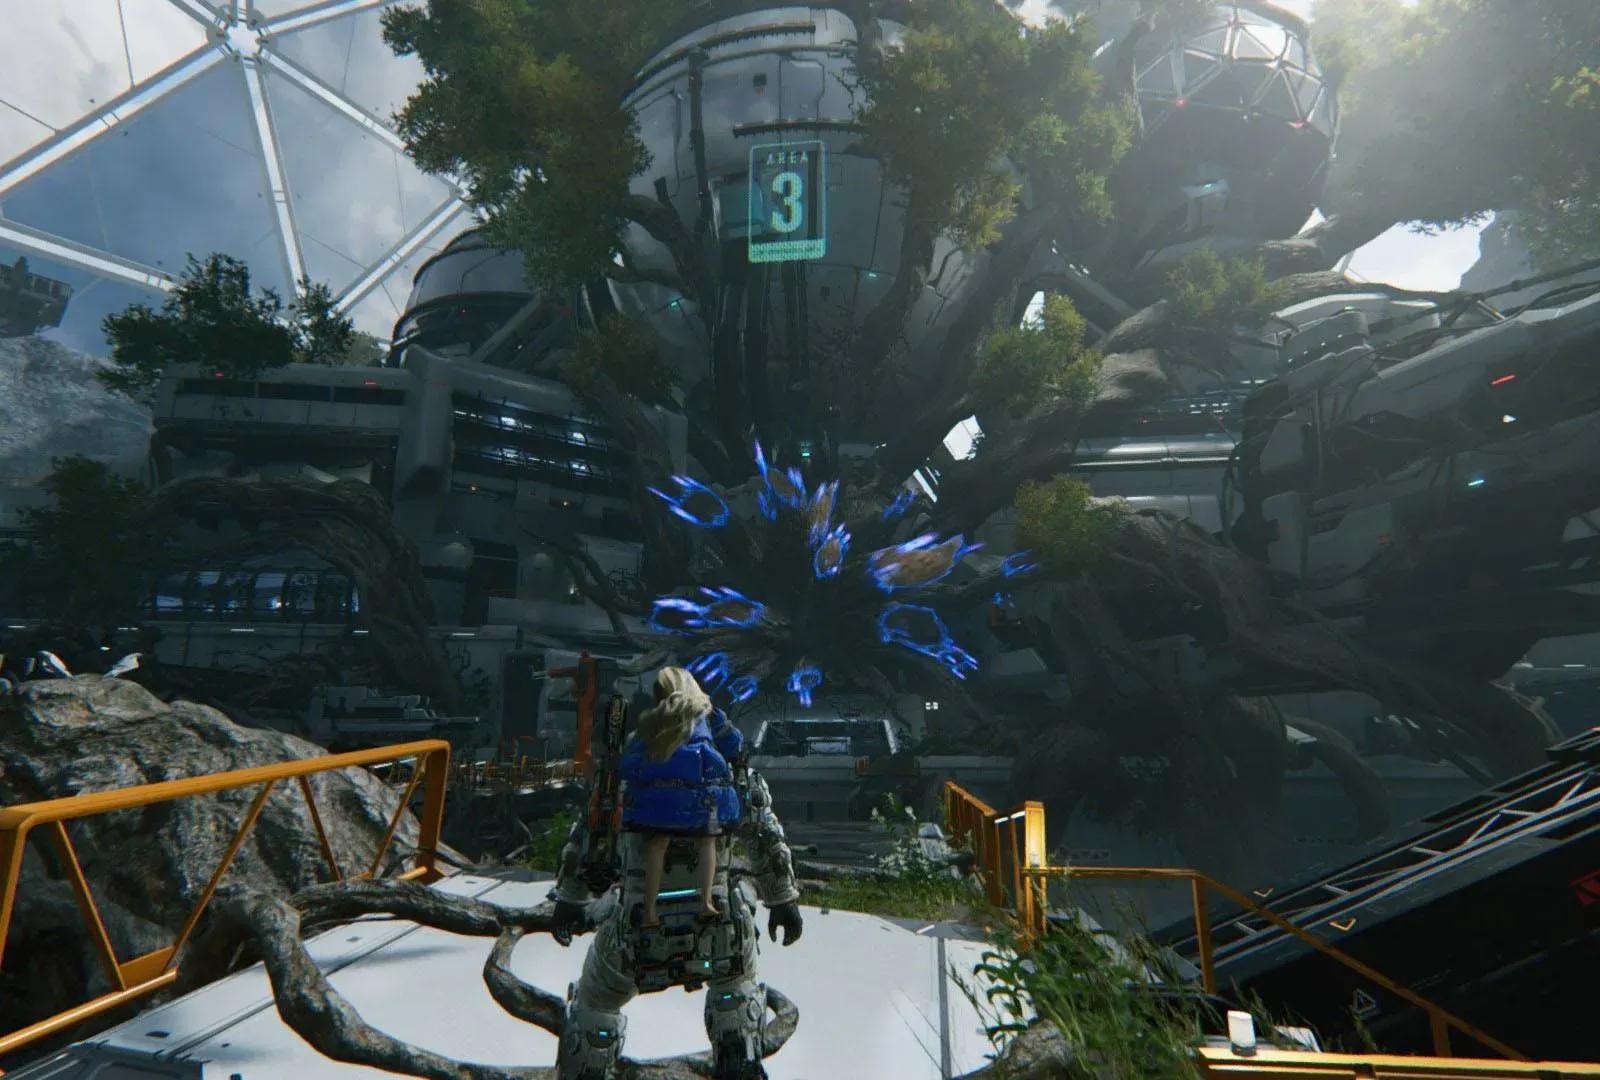

A full gameplay walkthrough for Pragmata's Sector 3 area, the Terra Dome running over an hour and covering every significant collectible, enemy rush, and boss encounter in the zone.
For players who've hit a wall in this section, the walkthrough is a detailed breakdown of what is arguably one of the more demanding areas in the game so far.
What the Terra Dome actually throws at you
The Terra Dome is not shy about its enemy rushes. The walkthrough timestamps at least eight separate enemy rush encounters before you even reach the second boss, meaning resource management and knowing when to push versus hold position matters a lot here. The section starting around the 3:25 mark kicks things off, and the encounters keep stacking from there.
Between the fights, the area contains multiple upgrade components, two Data Shards, and four Gen Chips scattered across different sub-sections. The Gen Chips in particular are tied to progressing the Plant Factory Lim Regulator objectives, which appear twice in the walkthrough at the 17:16 and 42:10 timestamps.
Mods, Gen Chips, and the locked gate sequence
Three mods are obtainable in this sector: Cheap Shot (around the 15:55 mark), Aggressive Defense (25:21), and Precision Shot (50:07). Each one drops in a different part of the zone, so players who miss them on a first pass through will need to backtrack.
The four Gen Chips are spread across the walkthrough at roughly 22:25, 24:45, 25:02, and 32:58. Collecting all four is tied to unlocking the Plant Factory Regulator objectives, which gate access to later parts of the sector.
After the first boss, the walkthrough moves into a four-lock sequence starting at 50:07 and running through 54:05. These locks open sequentially and lead into the final stretch of the sector before the second boss encounter.
The two boss fights
Sector 3 has two boss encounters. The first hits at the 35:19 mark and is followed by a Pure Lunum drop at 41:25. The second boss is a longer fight starting at 1:07:19 and runs through to the 1:18:24 end of the walkthrough, suggesting it is significantly more involved than the first.
A second Pure Lunum appears at 1:05:21, just before the final boss, which lines up with the game's pattern of rewarding players with upgrade materials right before a major encounter. Here's the thing: if you're going into that second fight underleveled, those Pure Lunum drops are there for a reason.
Why this walkthrough is getting attention
Pragmata has been building momentum since launch, and Sector 3 represents a noticeable difficulty spike compared to earlier areas. The Terra Dome's combination of back-to-back enemy rushes, multi-step objectives, and two boss fights within a single sector makes it one of the denser areas in the game.
The IGN walkthrough clocks in at over 1 hour and 18 minutes of footage, which gives a sense of just how much content is packed into this one zone. For players working through the latest guides on the game, having timestamped video coverage of every collectible and encounter is genuinely useful.
What most players miss in sections like this is the secondary upgrade components hidden between the major objective markers. The walkthrough flags at least five separate upgrade component pickups, with several appearing immediately after or during enemy rushes where attention is naturally elsewhere.
If you want a broader look at what Pragmata has to offer before committing to a full playthrough, browse our latest reviews to get a feel for where the game stands. The Terra Dome is waiting, and it does not ease you in.