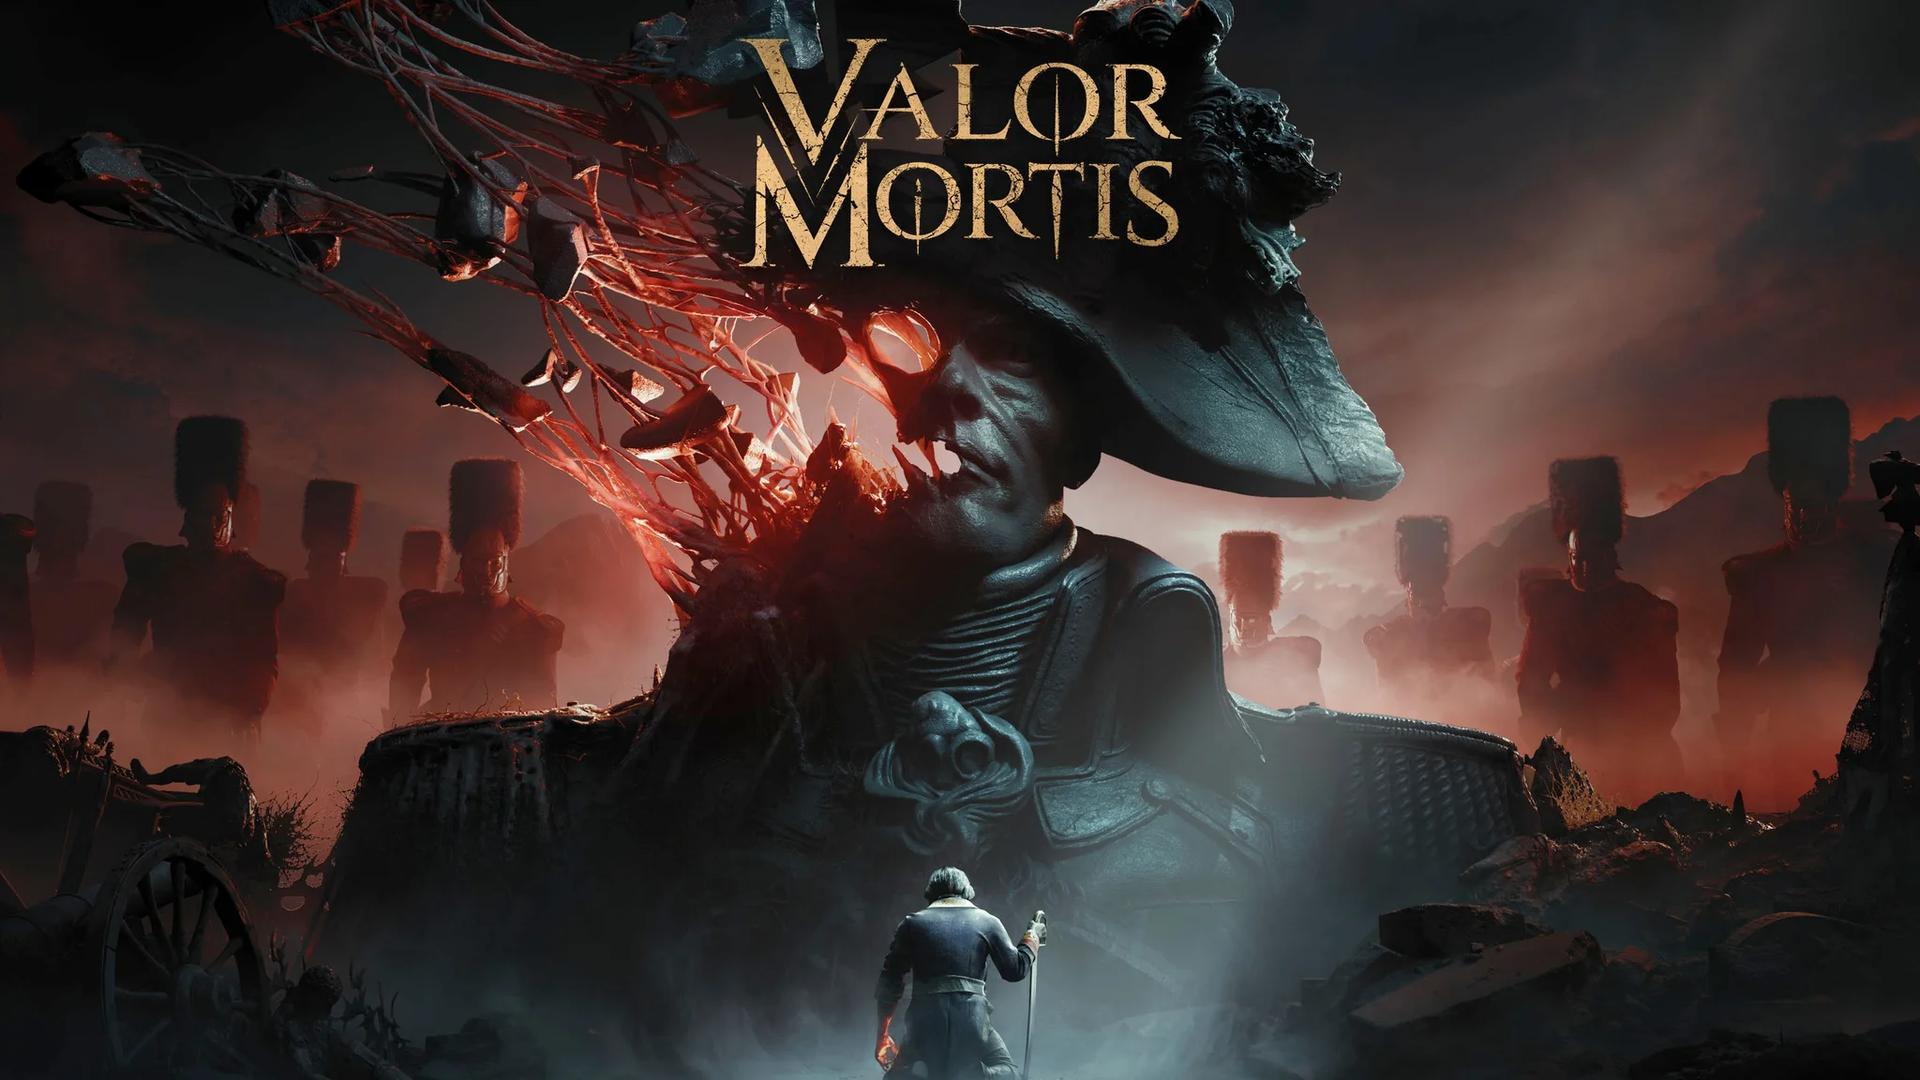

Ambers are the backbone of build-crafting in Valor Mortis. Equip them to William and you gain passive buffs covering everything from health regeneration and firearm damage to melee lifesteal and stealth. There are over 50 to track down, spread across every major area in the game, and missing even a handful can leave your build feeling incomplete heading into the late game.
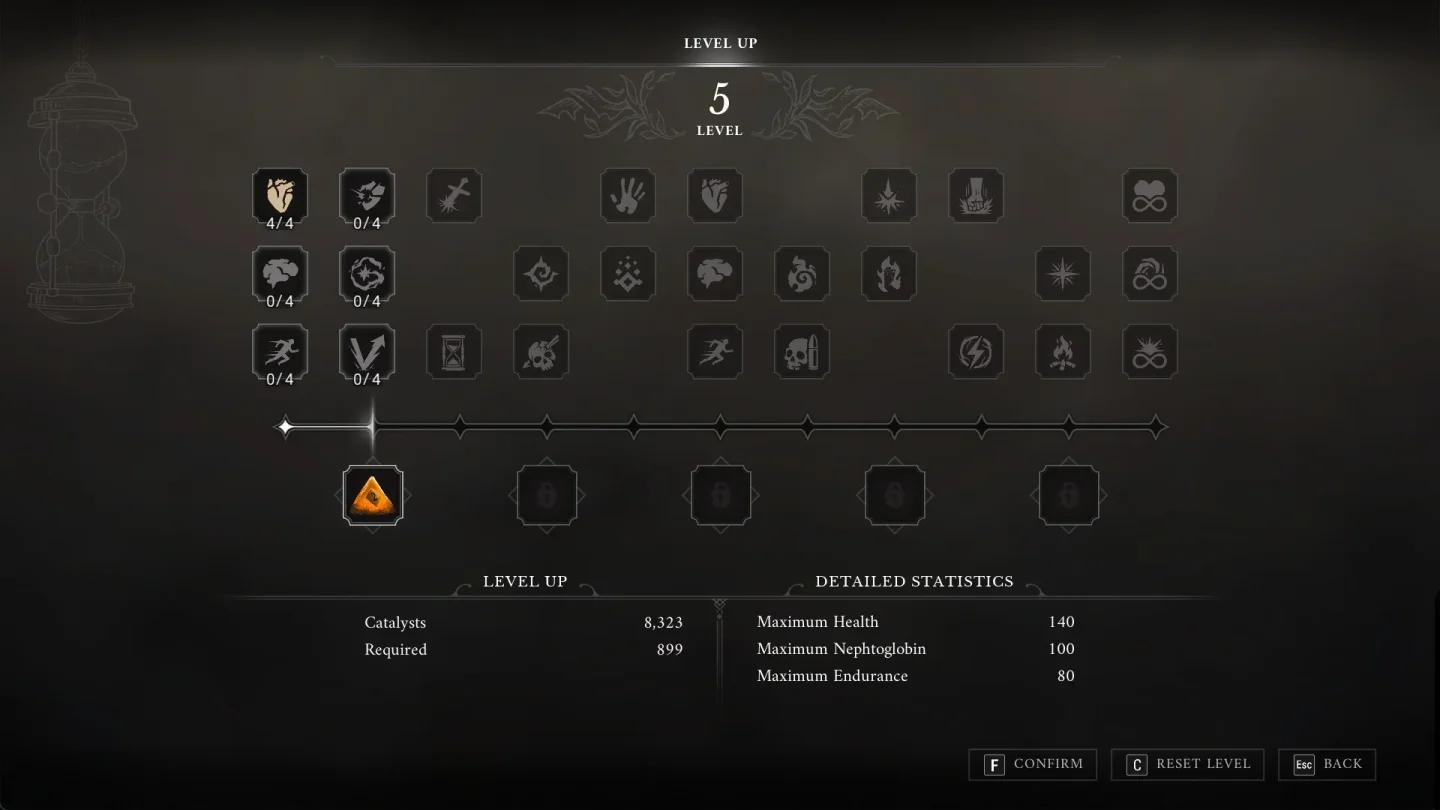
Equip ambers from inventory
Here's the lowdown on every Amber in the game, organized by type and where to find each one.
How ambers work before you start hunting
Some Ambers exist at up to three levels. Finding the same Amber a second or third time upgrades your existing copy rather than adding a new slot. Others are single-level only, so you only need to find them once. That distinction matters when planning which areas to revisit.
Ambers split loosely into support, damage, and defense categories. Bottomless Well slowly regenerates Nephtoglobin over time, while Wound That Heals does the same for Health. Glass Soldier trades survivability for raw melee damage output. Butcher's Carnage takes the tradeoff further, giving you melee lifesteal but locking you out of Ferrofluid Flask healing entirely. Know what you want before you commit.


Early-game ambers in the Battlefield and Valley of Ashes
Bottomless Well 1 sits in a chest near the Onslaught Arch Lantern. Backtrack from the Lantern, climb the snowy platforms with the tree branch jumps, and burn the yellow growth blocking the chest at the far end.
Transmuted Persistence (restores Recoverable Health when you damage enemies with Transmutations) is in the Battlefield area beyond the yellow growth left of the first Lantern. After escaping the cage encounter, burn another yellow growth on your immediate right to find the chest.
Duellist's Focus expands your Parry window for melee weapons and is guarded by an Eternal Guardsman near the Onslaught Arch Lantern. Follow the cliff edge past two bridges, shoot the Nephtoglobin node near the sleeping soldier, then defeat the Guardsman ahead.
Iron Grip speeds up Ferrofluid Flask use and prevents interruptions. After the Trenches Lantern, follow the watery path past the gunman section and go right instead of climbing the wooden platform. An enemy guards the chest at the end.
Marksman's Bane lets you Parry bullets and earn Pistol rounds on success. From the Quarry Lantern, ride the elevator up, climb the ladder, then platform across wooden railings to two towers. The chest is at the top of the second, taller tower.
Indestructible Shell 1 reduces explosion damage and is found just behind the multi-limbed Grenadier enemy before the Demolished Path Lantern in the Valley of Ashes.
Sleight of Hand cuts reload times and speeds up weapon switching. Complete the An Unheard Farewell side quest, which starts near the Demolished Path Lantern. You'll need to locate the missing scouts in the cave near The Climb Lantern and report back. For the full quest steps, the An Unheard Farewell walkthrough covers every beat.
Potent Concoction 1 makes Ferrofluid Flasks restore Nephtoglobin alongside Health. In the Valley of Ashes quarry near the Quarry Lantern, climb the wooden beams in the gunman area and look below for a yellow growth and mutant enemies. The chest is just behind that growth.
Dominatus 3 (restores Health on Critical Attacks) is in a tent at the back-left of the Military Camp, behind a Grenadier enemy near the Military Camp Lantern.
Mid-game ambers across the Caverns, Outskirts, and Fallen Village
Bottomless Well 2 requires completing The Homesick side quest in the Caverns.
Dominatus 1 drops from a red-eyed enemy with a skull icon near the Last Sunlight Lantern in the Caverns. He's inside the cave ahead of the Lantern among standard villager enemies.
Lucky Shot 3 (chance to fire without consuming ammo) is below the Last Sunlight Lantern. Drop into the hole at the back-left corner of the cave area and grapple across the water to reach the Grenadier guarding the chest.
Lunatic's Grasp 1 speeds up Ignite and Stasis buildup at the cost of lower resistance to those effects. From the Weeping Ledge Lantern, enter the cave and go right. The floor crumbles and drops you into a mutant-filled chamber. Burn the yellow growth blocking one of the paths to reach the chest.
Perfectionism 1 (bonus damage at full Health) is in the Old Mine area of the Caverns. Use the freezable crate with Stasis to cross the room, climb the ladder, cross back, and find the chest guarded by an enemy in the room just ahead.
Surplus 3 (more Catalysts per kill) is also in the Old Mine. Use the lever and Stasis cog to cross the room, then navigate through the passage with the skewered soldier and across the moving cog room to find the chest guarded by a swordsman.
Limit Break converts excess Flask healing into temporary bonus Health. From the Mine Cart Route Lantern, cross two bridges, grapple left, then immediately go right past a Howler to find the chest.
Bountiful Harvest 1 (Nephtoglobin Remnants restore Health) comes from completing The Scarecrow side quest in the Fallen Village.
Warrior's Fury 1 (kills temporarily boost movement speed and damage) is in the Fallen Village near the Marketplace Lantern. Navigate through the training ground, climb to the roof, jump into the building ahead, and reach the balcony chest. The middle of the balcony collapses, so jump over it.
Volatile End triggers a damaging explosion on Weak Point hits. From the Fields Lantern in the Fallen Village, use the node shortcut through the barns, go through the house on the left, and keep right in the fields to find a barn with three explosive horses. Clear the horses first, then grab the chest.
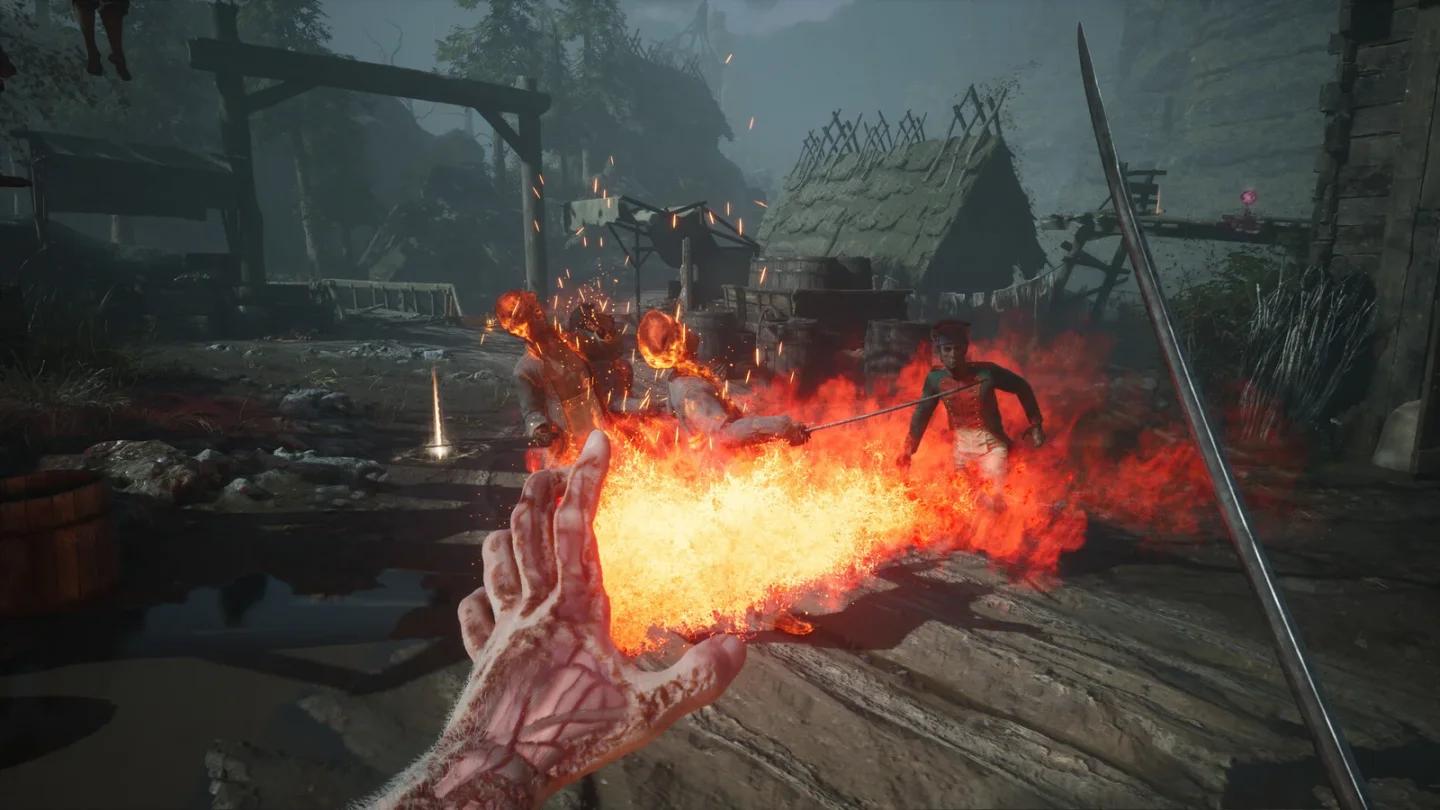
Volatile End amber chest reward
Late-game ambers in the Fortress, University, and City of Orphans
Indestructible Shell 3 is in the Fortress near the Traverse Lantern. Sprint right along the path while dodging the massive arrows, then go left past the corruption-blocked archway and kill the Howler to reach the chest.
Life Diverted 1 (Flasks restore Nephtoglobin, Transmutation damage heals you) is also near the Traverse Lantern. Go straight ahead and right past the Eternal Guardsman and Volunteer enemies, then head to the back-left corner of the ruined castle area. An Abomination guards the chest.
Lucky Shot 2 is near the same Traverse Lantern. Go through the open gate, keep right past the enemies, climb the ruins, then navigate the Nephtoglobin formations to find the chest on the opposite side.
Tomorrow's Promise 3 (Flasks grant regeneration over time) is in the Fortress brewery. From the Chapel Lantern, navigate through the brewery, wall-ride past the mutant enemy, deal with the Abomination, climb to the armory, and use the Stasis parkour room to reach the trapped chest by the altar.
Warrior's Fury 3 is in the University near the Lift Shaft Lantern. Follow the lab path to the green room, unlock the shortcut, then use the Nephtoglobin foundations to reveal an orange node. Shoot it, follow the path down, and survive the locked room full of Howlers including a skull-icon one.
Payback (Stasis explosion when hit at low Health) drops from a Grenadier in a circular room in the University. From the Main Hall Lantern, use the elevator in the office upstairs and go straight then left to find him.
Sixth Sense (Firearm damage boost on Perfect Dodges, bullet dodges slow time briefly) is in the City of Orphans near the Tribunal Square Lantern. Destroy crates on the left, follow the road with the Volunteer, go down the stairs, climb the white crates, and follow the wooden path around the buildings.
Silent Squeak reduces movement noise. From the Shamble Street Lantern, navigate through the courtyard and up to the third floor, grapple to the opposite house, climb out the window, go up the balcony ladder, and interact with the mice's nest on the left.
Bountiful Harvest 3 drops from a miniboss Volunteer in the City of Orphans. From the Shamble Street Lantern, go through the unlocked gate, navigate under three bridges, and find the enemy in the small garden on the left.
Perfect Copy upgrades all other equipped Tier 1 and Tier 2 Ambers by one rank. Return to The Other Side Lantern in the Valley of Ashes after unlocking the Shield Transmutation, use it to pass through the poison camp, and defeat the Risen Soldier to reach the chest.
Fire Breathing (dodge attacks trigger burning explosions) is at the Main Gate Lantern in the Fortress. U-turn and go through the poison swamp, then defeat the tough Grenadier waiting there.
A few ambers that need side quests
Several Ambers are locked behind quest completion rather than exploration. Bottomless Well 3 requires defeating a miniboss near the Tribunal Square Lantern in the City of Orphans. Potent Concoction 2 requires siding with the children over the old lady in the Laudanum quest in The Outskirts. Warrior's Fury 2 involves completing The Curious Case of Seamus Diggory in the hidden village of Cursed Hollow.
What most players miss is that Equivalent Exchange (sacrifice Health when Nephtoglobin runs out) drops from a fiery enemy in a glowing green cave in the Vale of Wrath, not from a chest. From the Wolfsbane Field Lantern, cross the water, cross the bridge, kill the Volunteer, and grapple through the green cave to reach him.
For new players still getting their footing with Transmutations and stamina management, the Valor Mortis beginner's guide breaks down the core systems before you start committing to a build. The full Valor Mortis strategy guides collection also covers boss fights, quests, and upgrade materials if you need a deeper reference while working through the game.