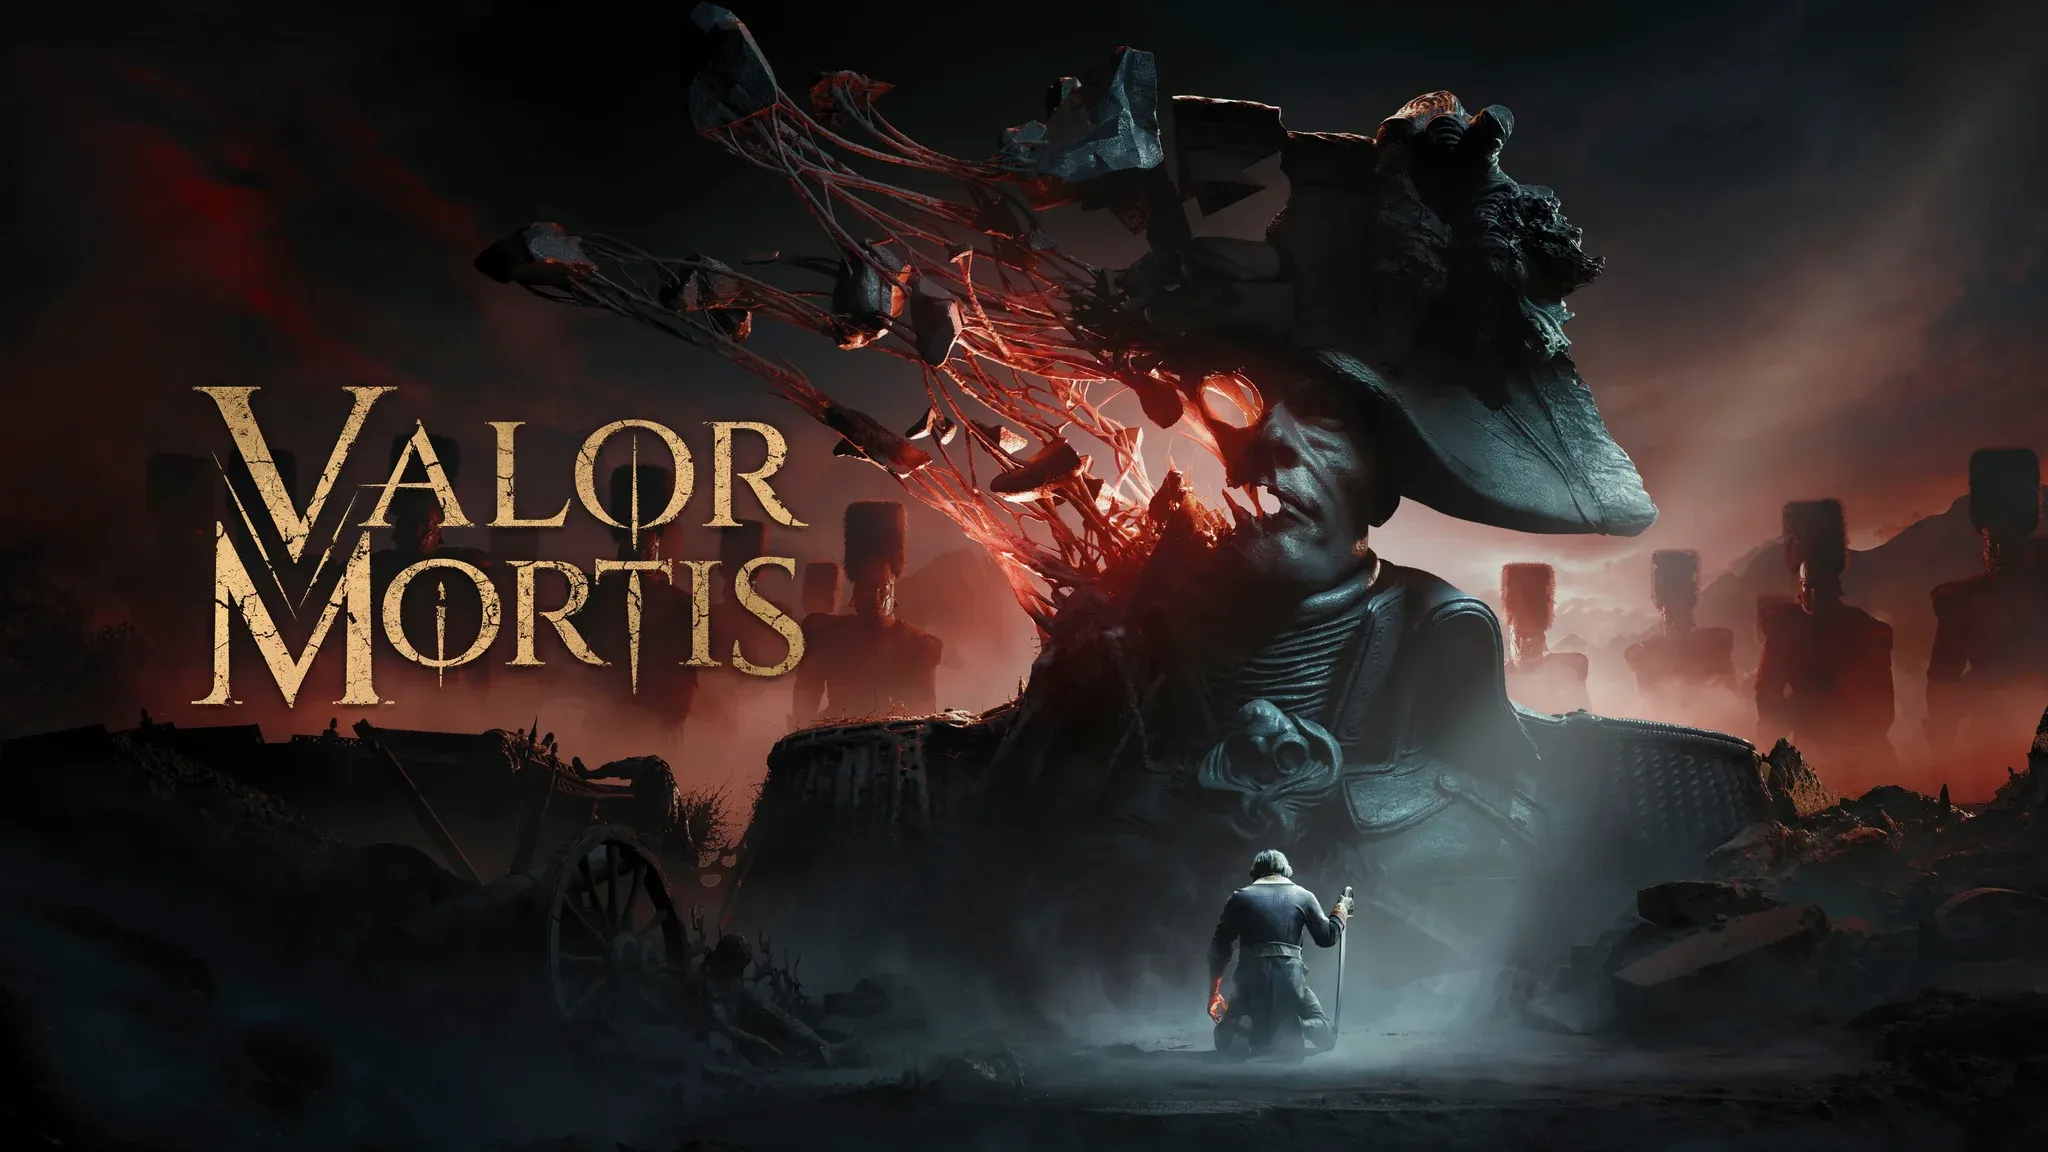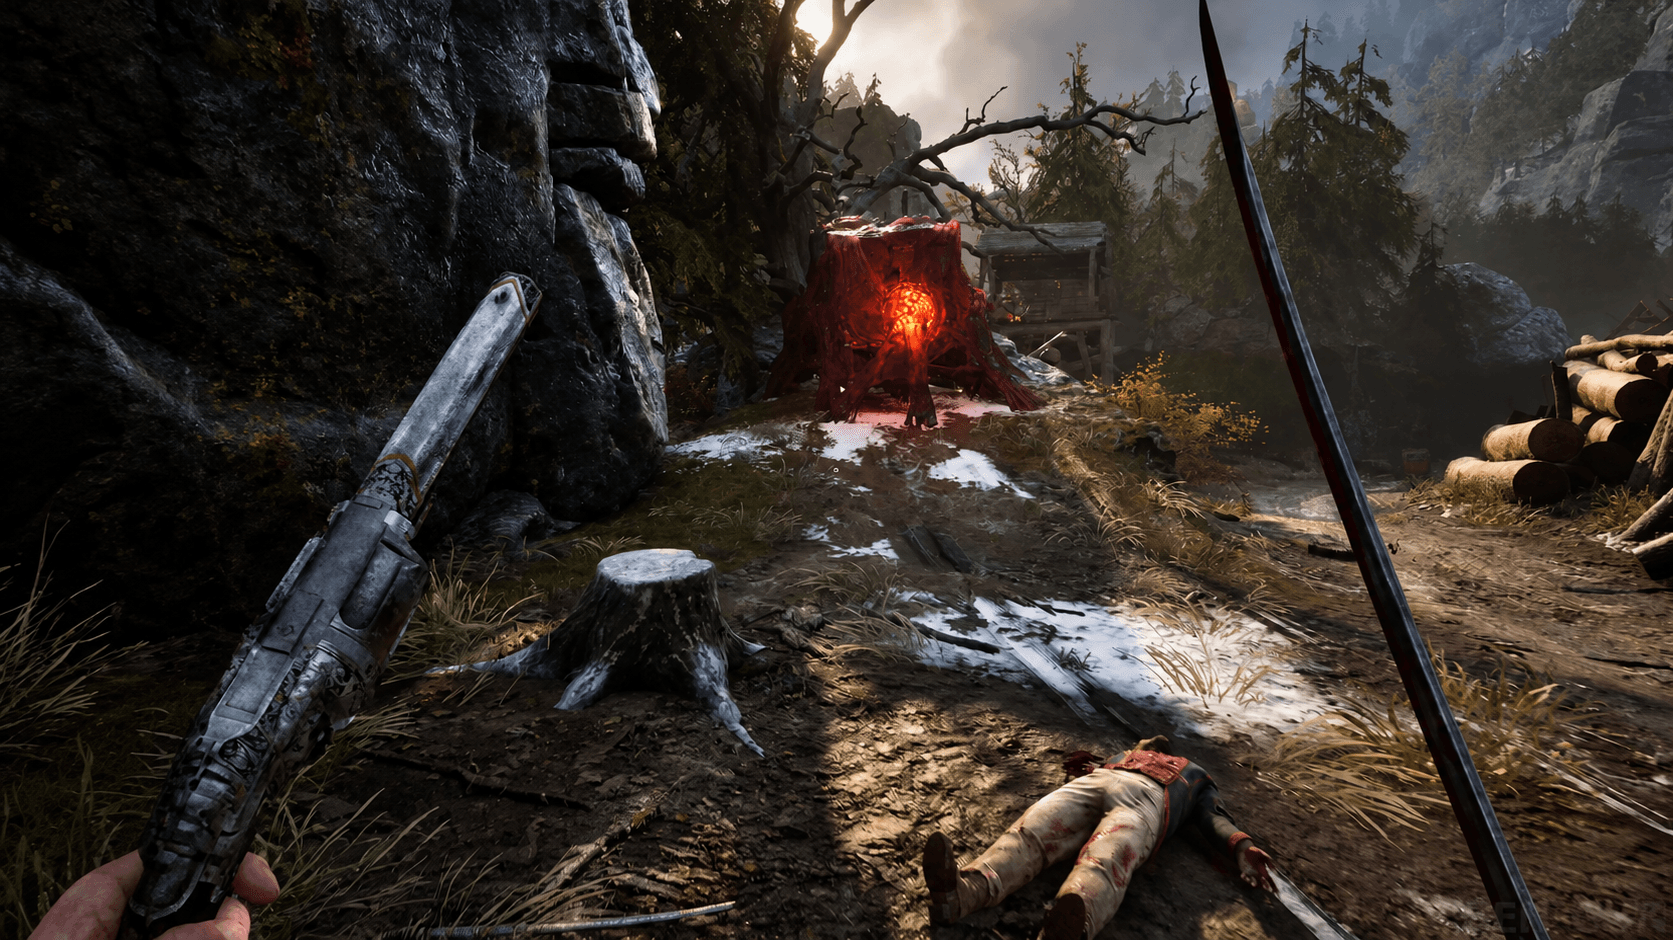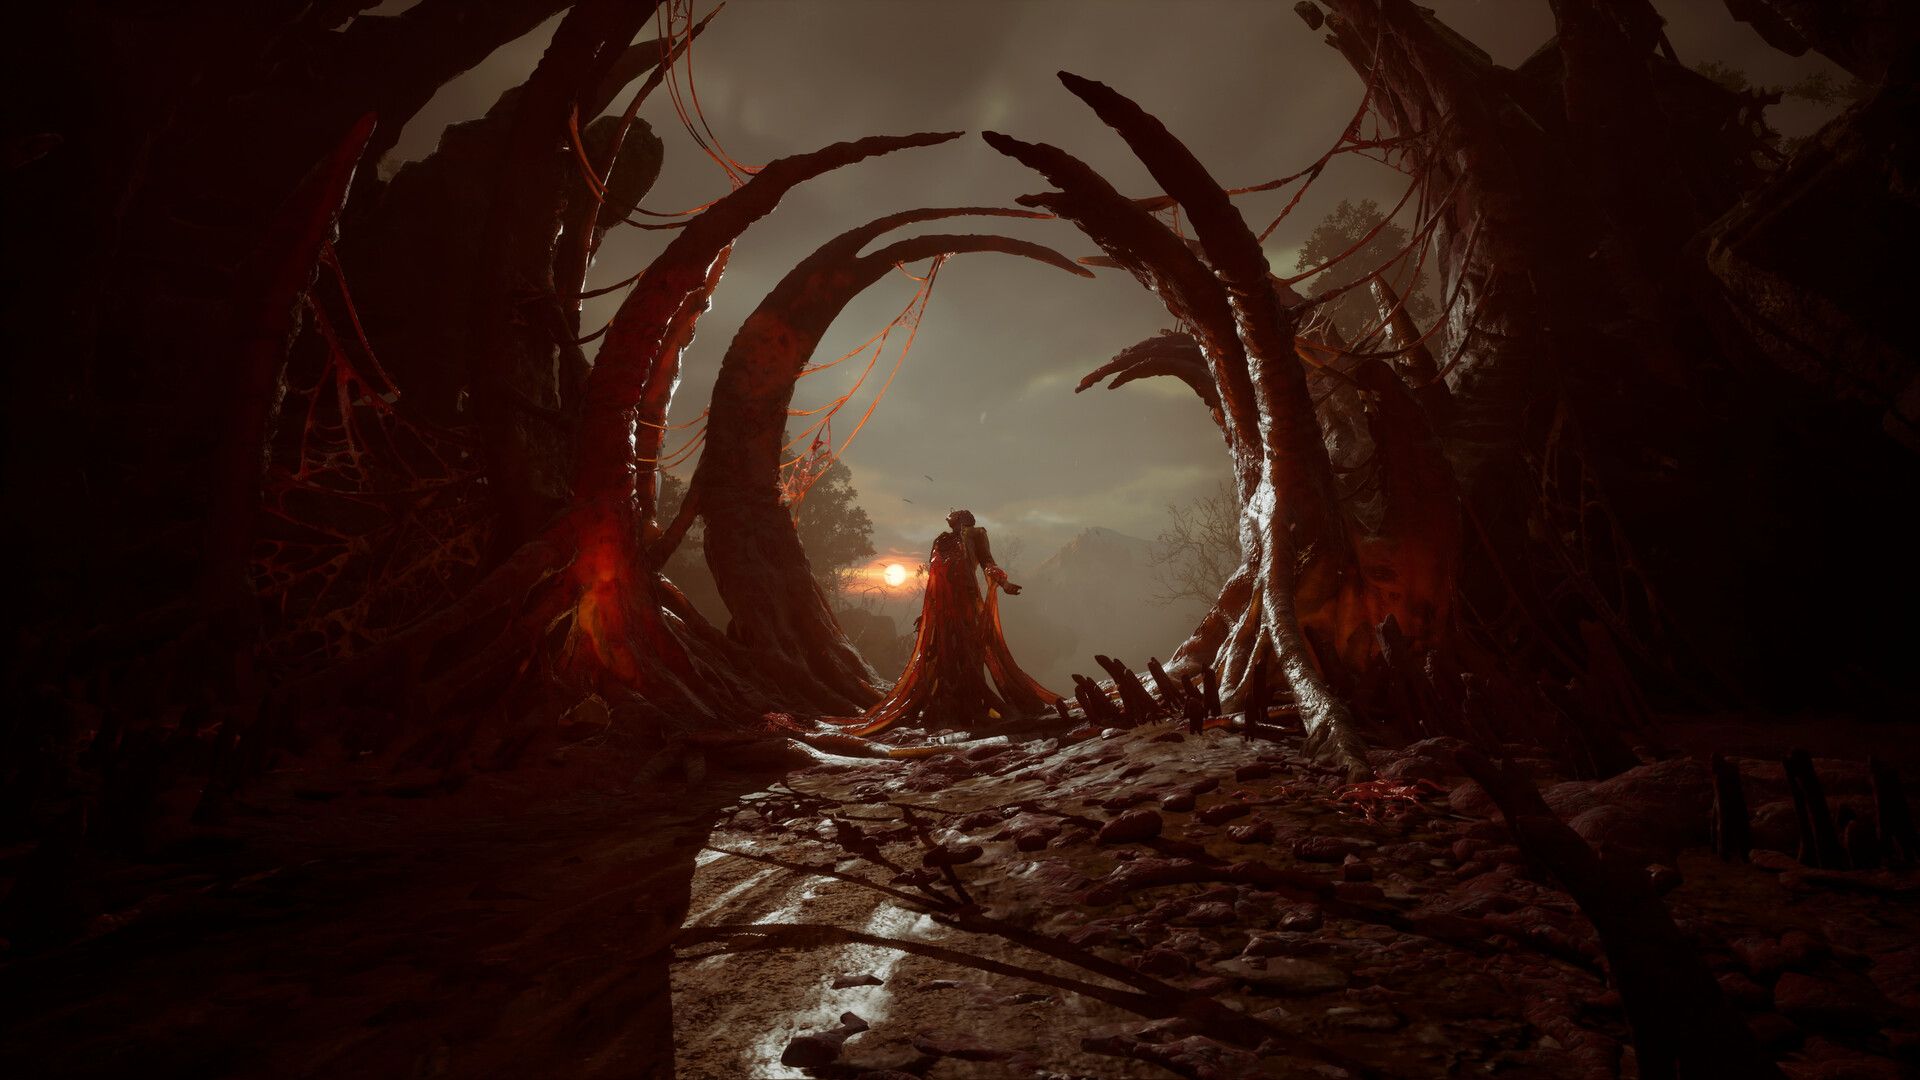

Valor Mortis drops you into a first-person Soulslike set in a plague-ravaged, supernatural take on Napoleonic Europe. You play as William Dowsett, a soldier who claws his way out of a battlefield grave and immediately faces enemies that want him back in it. Developed by One More Level (the studio behind Ghostrunner), the game blends melee combat, firearms, and supernatural abilities called Transmutations into a system that rewards patience and punishes button-mashing. The story runs roughly 20 hours, and every one of them will teach you something. Here's what you need to know before the first lesson kills you.

Quick Answer: Prioritize Maximum Endurance first, learn which attacks to parry versus dodge, collect every resource drop after fights, and spend your Catalysts before entering dangerous areas. These four habits separate players who progress from players who repeat the same death.
Why stamina management wins fights
Endurance (stamina) controls everything you can do in a fight. Attacking, blocking, parrying, dodging, and sprinting all drain it. Hit zero and you can't respond to anything, which is almost always fatal.
The mistake most players make is treating the endurance bar like a fuel tank to empty as fast as possible. Spend it all on a quick combo and you're standing still when the enemy's next swing arrives. Instead, treat the last portion of the bar as untouchable. Two hits and a reposition beats four hits and a death every time.
When you allocate your first skill points, put them into Maximum Endurance. Later, skills like Blocking Endurance Cost and Melee Endurance Cost reduce how fast the bar drains, but you need the base pool first. Keep one eye on the green endurance bar during every exchange.

How does parrying actually work in Valor Mortis?
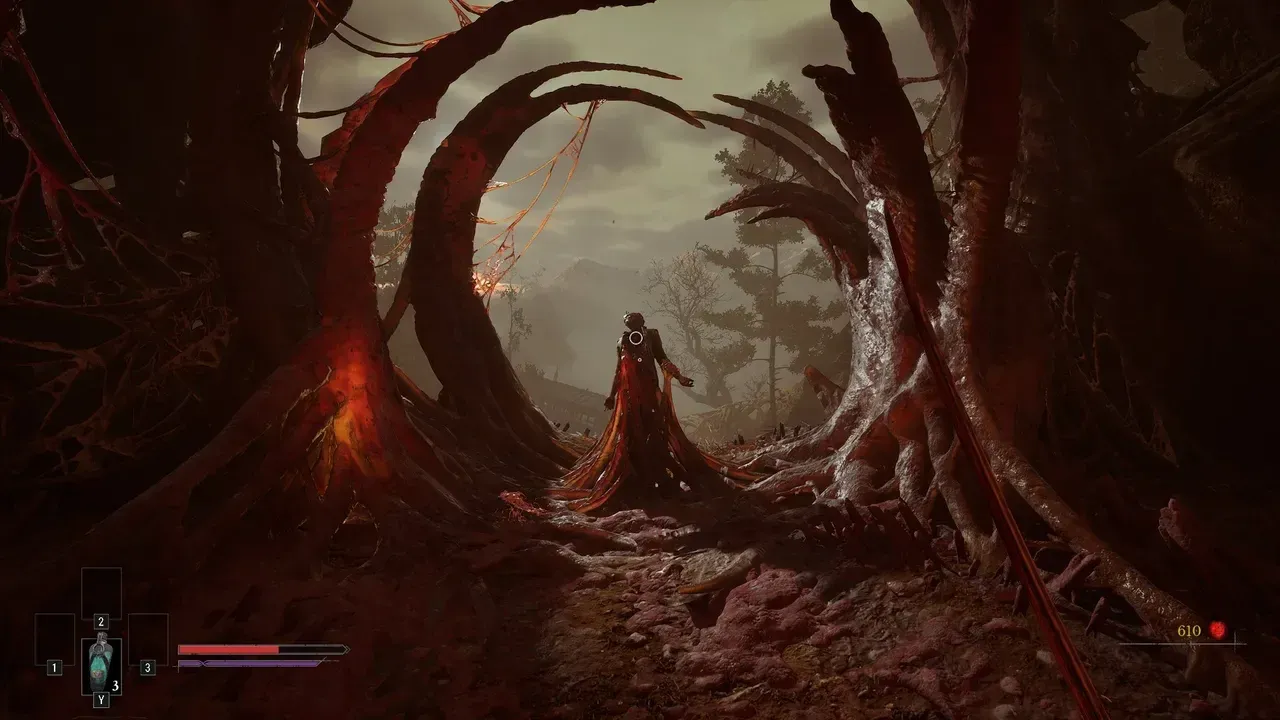
Parrying is the highest-value defensive tool in the game, but it has a specific rule that trips up newcomers: not every attack can be parried. If an enemy glows red before striking, that's an unblockable attack. Dodge it. Trying to parry a red-glow attack still deals full damage.
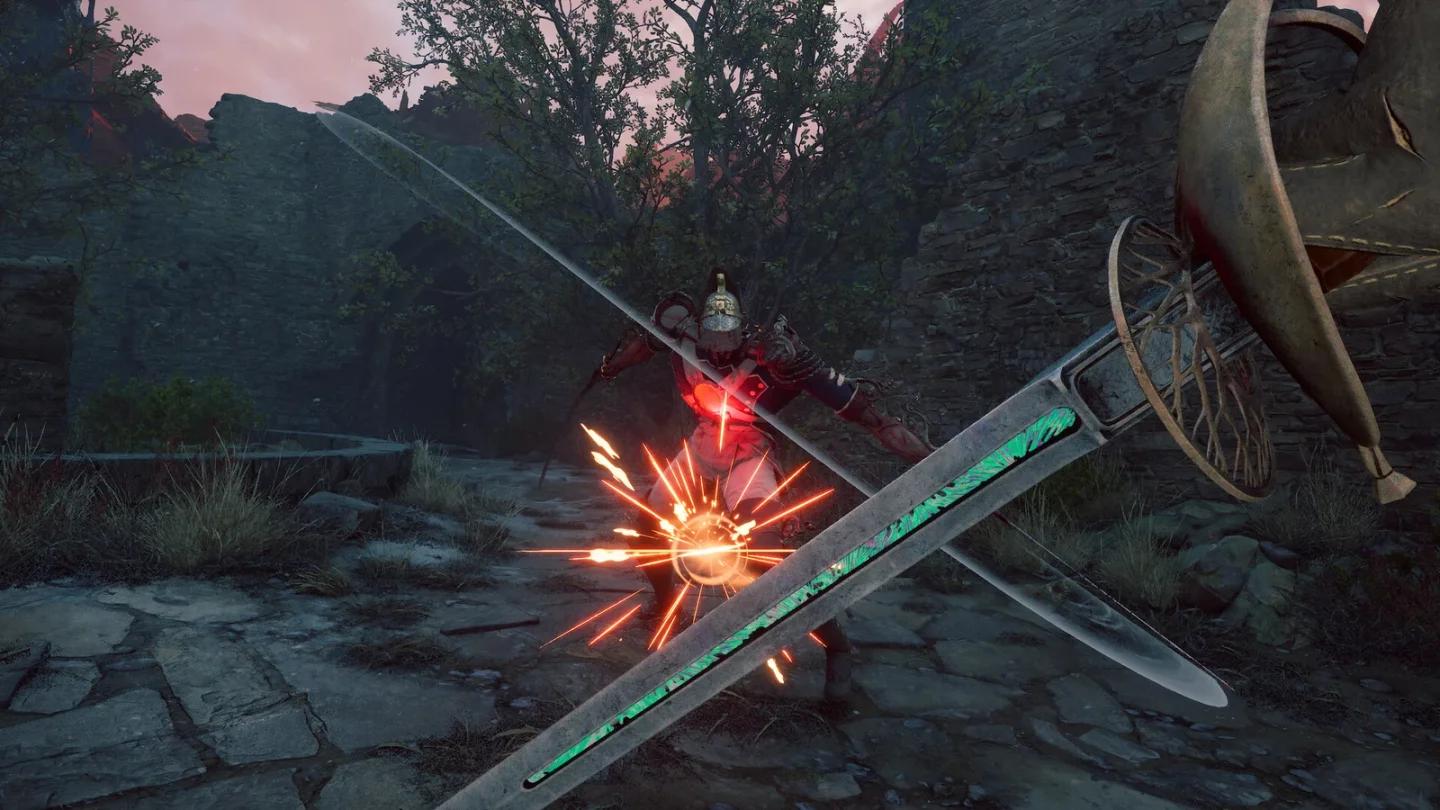
For everything else, a successful parry does three things. It negates all incoming damage. It consumes no endurance. It deals posture damage to the enemy, shown as a light yellow bar beneath their HP. Fill that bar and the enemy becomes vulnerable to a critical hit, which typically deals more total damage than several unparried melee exchanges.
Parrying too early costs you some HP. Parrying too late costs full HP. The timing window feels tight at first, so practice on weaker enemies before testing it on bosses. General Lother, the Eagle Bearer (the game's first major boss) is a good training ground because most of his sword attacks are parriable.
One more thing: if you miss the parry window but successfully block, you lose some HP but can recover it by landing melee hits immediately after. That recoverable HP appears as a pale red section on your health bar. Wait too long and it disappears.
What's the best weapon for beginners?
The game gives you three melee weapons, three firearms, and three Transmutations. Here's how they break down at a glance:
| Weapon | Style | Can block? | Best for |
|---|---|---|---|
| Saber | Versatile, balanced | Yes | Learning enemy patterns |
| Rapier | Precise, thrust-focused | No | Targeting weak spots |
| Claymore | Heavy, high damage | Situational | Aggressive, confident players |
| Pistol | Ranged, weak-point focused | N/A | Exposing vulnerabilities |
| Blunderbuss | Close-range burst | N/A | Crowd control |
The saber is the right starting choice. It blocks, it deals solid damage, and it doesn't punish you for not having memorized every enemy's moveset yet. Switch to the rapier once you're comfortable, because it's the better tool for targeting weak spots (more on those below).
Ammo is limited, so firearms aren't a replacement for melee. The pistol earns its uses by hitting exposed weak points for significant damage and staggering enemies mid-combo. Holding aim drains endurance and reduces firearm damage, so aim, shoot, and return to melee without lingering in aim mode.
Don't dump all your upgrade materials into the saber and pistol early. Valor Mortis features upgrade paths that branch at certain milestones, and you want to know how a weapon performs before committing. Spreading materials too thin leaves you with nothing strong. Pick your primary tool and invest there first.
How do Transmutations and Nephtoglobin work?
Transmutations are William's supernatural abilities, powered by Nephtoglobin (the meter beneath your health bar). Purple orbs dropped by defeated enemies restore it. Successful hits on enemy weak points also generate Nephtoglobin, so aggressive, accurate play keeps your abilities charged.
The three Transmutations serve distinct purposes:
- Fire: Releases a cone of flame that ignites enemies and deals damage over time. Filling an enemy's burn gauge stuns them, creating a free melee window.
- Time-freeze: Fills an enemy's freeze gauge until they're temporarily immobilized. Useful when you need a safe window to attack without pressure.
- Shield: Absorbs incoming damage and releases it back at enemies. Works alongside blocking and parrying as an additional defensive layer.
- Grapple: Pulls William across gaps and reaches elevated areas. Primarily a traversal tool, but worth watching for in combat environments with height differences.
Each Transmutation has its own upgrade tree requiring separate materials. Upgrade the ones you actually use rather than spreading resources across all three equally.

Fire Transmutation in use
How should you spend Catalysts?
Catalysts are the primary progression currency. You earn them by defeating enemies and spend them at Lanterns to improve attributes and unlock upgrades. When you die, your unspent Catalysts drop at the location of your death. Die again before recovering them and they're gone.
Here's the short answer on spending priorities:
| Upgrade | Priority | Reason |
|---|---|---|
| Maximum Endurance | First | Controls everything you can do in combat |
| Maximum Health | Early | More room for mistakes during learning |
| Melee Damage | Mid-game | Once you can survive, speed up kills |
| Parry/Stagger bonuses | When available | Multiplies the value of your best defensive tool |
| Niche utilities | Last | Only useful in specific situations |
The respec system is forgiving. Resting at any Lantern, selecting "level up," and choosing "reset level" returns your skill points for a Catalyst cost that scales with your level but costs less than leveling up. If your current build isn't working, reset and try something else rather than grinding through the wrong setup.
Spend Catalysts before entering unfamiliar or dangerous areas. Carrying a large stack into a boss fight you might lose is the most common way to set yourself back significantly. Check out our beginner's guide to Catalysts, Lanterns, and Transmutations for a deeper breakdown of the progression system.
What are Ambers and how do they change your build?
Ambers are equippable passive items that modify how William fights. You start with one slot and can unlock up to four more through the progression tree. Each Amber can be upgraded up to three times, and finding duplicate Ambers provides improved versions of existing effects.
Some examples of what Ambers do: one restores health through melee attacks, another triggers area damage when you land weak-point shots, and Indestructible Carapace reduces explosion damage (particularly useful against Grenadiers and in areas with explosive hazards).
The system offers fine-tuning rather than radically different character builds. Focus on a few Ambers that support how you're already fighting and swap them situationally before entering areas with specific enemy types.
Ambers are found in hidden chests and as side quest rewards. Side quests also reward upgrade materials and consumables, and there are 20 of them in total. One exception: the Choir quest in Chapter 10 (Shackled) can be permanently missed after escaping from prison. Don't skip it.
How do you target weak spots effectively?
Many enemies carry orange, tumor-like blisters on their bodies. These are weak spots. Hitting them deals bonus damage. Destroying them drops a Nephtoglobin orb, which immediately refills part of your ability meter.
The most reliable ways to destroy weak spots are shooting them with the pistol or stabbing them with the rapier. Some weak spots also have tactical value beyond raw damage:
- Risen Spearman: Shoot the arm holding the shield to weaken its defenses.
- Risen Grenadier: Shoot the explosive bag on its shoulder to trigger a blast and stop it from throwing grenades.
- Environmental explosive growths can be shot from a distance to damage grouped enemies without spending Nephtoglobin.
Golden pickups dropped by enemies replenish ammunition. Collect them after every fight where it's safe to do so.
Weak spot on enemy body
What do Lanterns do and when should you rest?
Lanterns are checkpoints. Activating a new one is always a priority because it shortens your respawn run after death and unlocks fast travel between discovered Lanterns. Fast travel becomes available after defeating the first major boss, making side quest completion and backtracking significantly less painful.
Resting at a Lantern restores your health and resets your Ferrofluid Flask charges (your primary healing item). At the start of the game, the Flask has only 3 charges. You can increase this by finding Empty Ferrofluid Flasks in the world, and separately improve how much health each charge restores through Ferrofluid Flask potency upgrades. Both upgrade types are found through exploration, including optional rooms and chests.
The trade-off: resting respawns regular enemies in the area. Bosses stay dead. Weigh how much health you need against how much of the area you want to re-clear.
For a full breakdown of when fast travel unlocks and how to use it, the Valor Mortis fast travel guide covers the exact unlock conditions.
How do you approach exploration without missing anything?
Valor Mortis has a finite number of upgrade materials, Ambers, and consumables in the world. You can't farm them infinitely, so thorough exploration pays off in ways that direct progress doesn't.
- Break every wooden crate and barrel you see. Items hide inside them regularly.
- The most valuable loot sits in red, embellished chests. Prioritize these.
- Red barrels are explosive. Don't break them by accident. Shoot them when enemies are nearby.
- Shortcuts often loop back to a previous Lantern. Unlock them before moving forward, not after.
- Locked doors and unreachable ledges signal content you'll access later. Remember their locations.
- Parkour mechanics (jumping from ledges for plunging attacks, grabbing tree branches, swinging across gaps) open routes that look impassable at first.
If you find a blocked passage you can't open yet, note it and return after acquiring new traversal abilities like the grapple. Optional areas accessible only through backtracking tend to contain Ambers and Ferrofluid Flask upgrades specifically.
For a complete list of every boss encounter you'll face during exploration, the Valor Mortis boss locations guide lists all 10 with weak spots and approach tips.
Common mistakes that end early runs
| Mistake | What actually happens | Fix |
|---|---|---|
| Emptying endurance on combos | Can't dodge or block the follow-up | Cap at 2 hits, reposition |
| Trying to parry red-glow attacks | Full damage, no benefit | Dodge these every time |
| Hoarding Catalysts before bosses | Lose them on death | Spend before dangerous areas |
| Upgrading every weapon equally | Nothing is strong enough | Pick one primary, invest there |
| Ignoring weak spots | Miss Nephtoglobin refills | Prioritize them in every fight |
| Skipping shortcuts | Long respawn runs after death | Unlock every shortcut you find |
| Using consumables on weak enemies | None left for hard fights | Save buffs for bosses |
The biggest mindset shift: death hands you information. Every run that ends badly shows you where an ambush waits, which attack has a long recovery window, which corridor doesn't go anywhere useful. Players who treat each death as data improve faster than players who treat it as a setback.
FAQ
Is Valor Mortis hard for new Soulslike players? Yes, but it's structured to teach you. The difficulty comes from learning enemy patterns and managing resources, not from unfair mechanics. Practice parrying on weak enemies first, and spend Catalysts before boss fights.
What should I upgrade first? Maximum Endurance. It controls how many actions you can take per engagement. Health is a close second. Damage upgrades pay off more once you can reliably survive encounters.
What happens when you die? You respawn at your last Lantern and drop your unspent Catalysts at the death location. Return and collect them before dying again. Dying a second time before recovery loses them permanently.
Can you respec in Valor Mortis? Yes. Rest at any Lantern, choose "level up," and select "reset level." It costs Catalysts but scales reasonably with your level and costs less than leveling up.
Does the game have free roam after the story ends? There are limitations. For the full breakdown of what locks off and what New Game Plus brings, check the Valor Mortis post-game free roam guide.
Is Valor Mortis on Game Pass? Yes, it launched day one on Xbox Game Pass. For details on what's included across Xbox, PC, and cloud, the Valor Mortis Game Pass guide has the specifics.
For the full collection of Valor Mortis strategy guides covering bosses, trophies, weapons, and more, the complete Valor Mortis guides hub is the best place to continue.