Accessories in Phantom Blade Zero can widen your parry window, improve medicine, or make Phantom Edges hit much harder. Finding them takes more than opening every chest you pass. Some require complete fragment sets, others sit behind tools earned in later regions, and several depend on finishing an NPC’s quest before moving on. This guide organizes accessory locations across seven regions around those requirements, with effects beside each pickup and separate instructions for longer quest chains. Start with the early damage boosts, then keep a return-trip checklist as Soul gains new tools.
How do accessory slots and categories work?

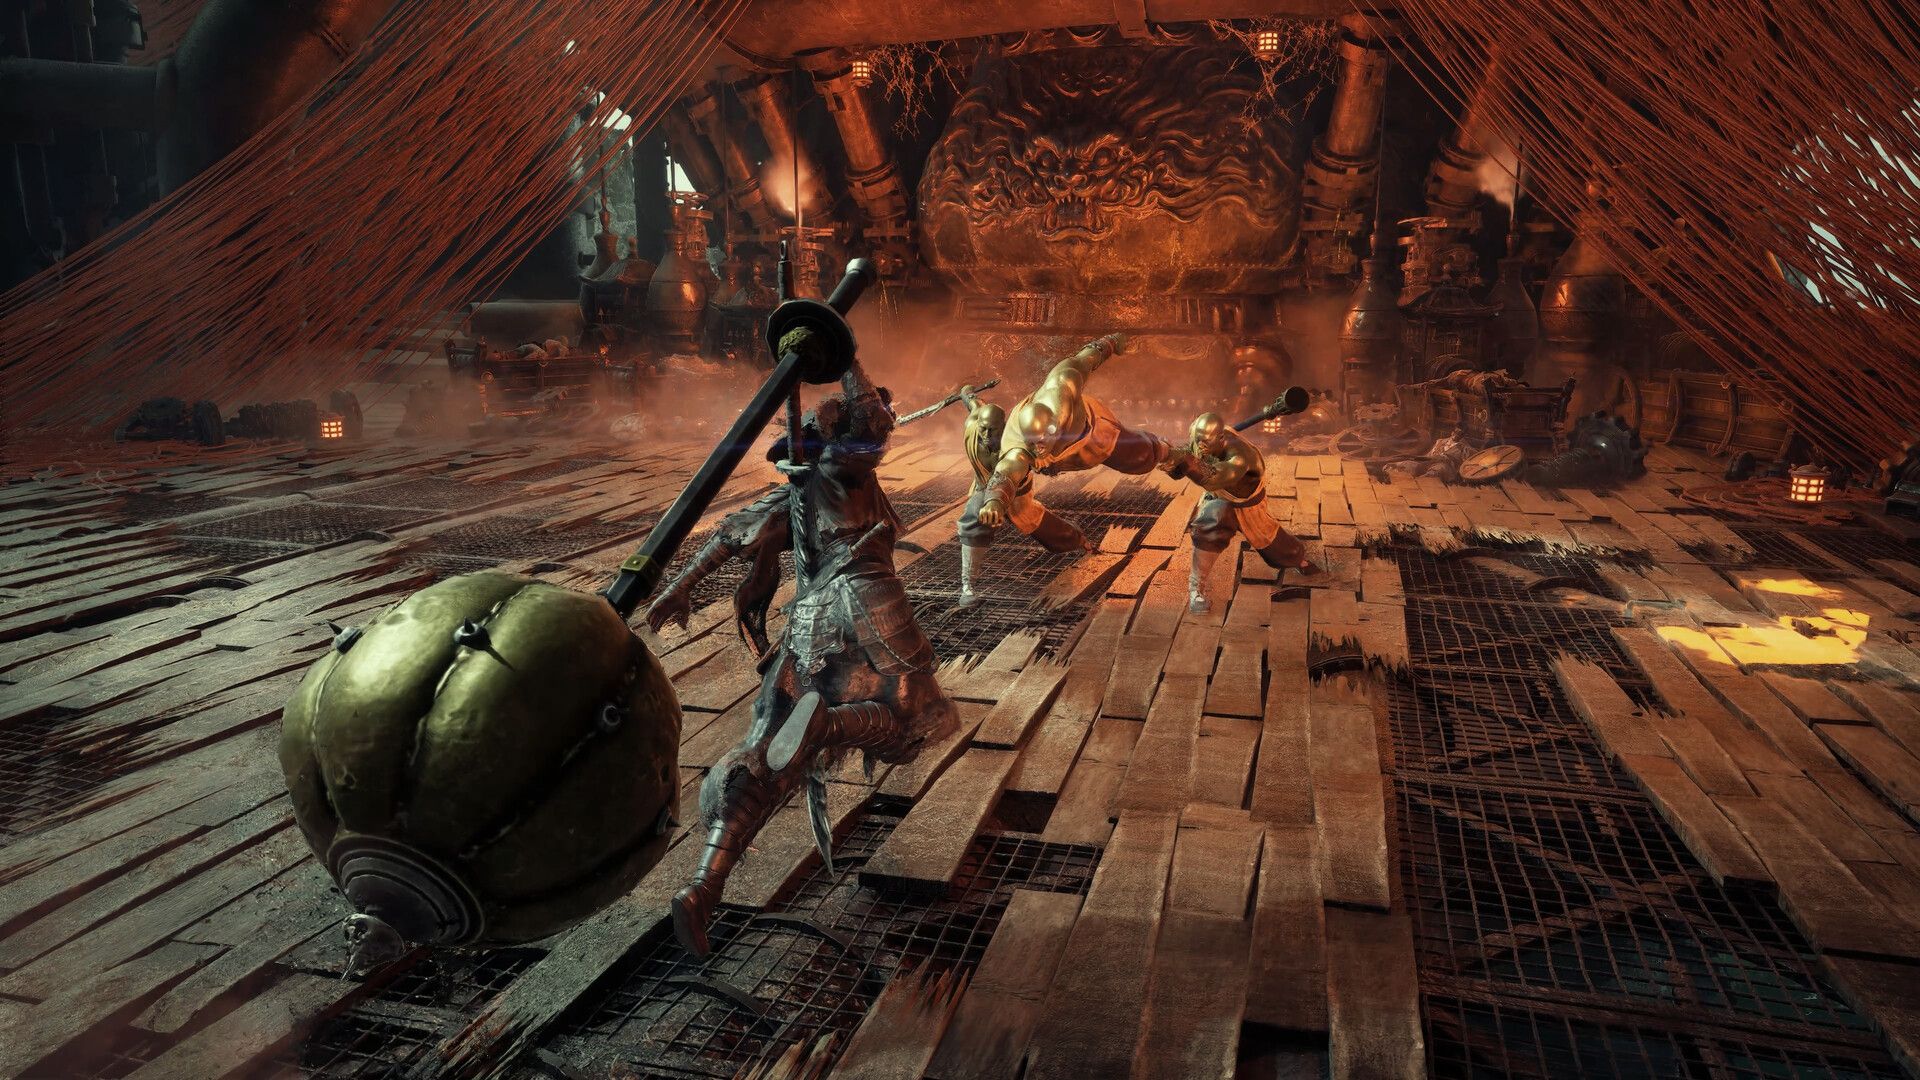
Equip accessories and unlock more slots
Open the equipment menu’s Accessories section, select an unlocked slot, and choose an item. Soul starts with two accessory slots and can eventually equip six. Unlock the Boundless Capacity skills to expand that capacity; some upgrades require Banyan’s Hearts.
| Category | What it changes | Example |
|---|---|---|
| Offensive | Damage, enemy sha-chi depletion, and attack-related effects | Battle Wraps adds 5% damage |
| Defensive | Damage resistance, healing, and protection against status effects | Medicine Case improves medicine healing by 20% |
| Support | Timing windows, resource recovery, and other utility | Reflex Device widens parry and perfect-dodge windows |

Expand Soul’s accessory capacity
Which early accessories should you equip?
Battle Wraps and Hunter’s Insight are the straightforward early damage pairing. Battle Wraps gives an unconditional 5% damage increase, while Hunter’s Insight adds 7% damage and sha-chi depletion against attacking enemies. That condition matters: Hunter’s Insight does not improve every opening.
If you received Treasure Basin as a pre-order bonus, it provides 10% more Remnant Dust and is useful while clearing ordinary enemies. You can also obtain it through normal progression at the White Serpent House in Meigu Lake.
Where are the Weeping Creek Valley accessories?
First-visit drops and quest rewards
| Accessory | Type | Effect | Where to get it |
|---|---|---|---|
| Hunter’s Insight | Offensive | 7% more damage and sha-chi depletion against attacking enemies | Defeat the enemy on the mountain climb before the Broken Puppet Valley bell |
| Battle Wraps | Offensive | 5% more damage | Defeat the Shadow Warden fighting Brutes past the First Meeting with Yu’er bell |
| Medicine Case | Defensive | 20% more healing from medicines | Complete Yu’er’s Apprentice Healer quest |
| Token of Pursuit | Offensive | 7% more damage against guard-broken enemies | Open the golden chest in Ruthless Archer Camp |
Deep in the Valley and tool-gated pickups
The Deep in the Valley walkthrough covers access to the lower Sha-Chi Tower route. For Reflex Device, collect the crank at the top of the tower near the Friendly Shadow Warden, then install it in the mechanism below. This Support accessory increases the timing windows for parries and perfect dodges.
Ancient Armor Fragment is in the yard outside Crimson Manor. This Defensive accessory provides greater damage reduction as your current HP rises, reaching 20% reduction at full health.

Reach the lower Sha-Chi Tower
Keep these additional rewards on your Valley return list:
- Counterstrike Bracers, Offensive: Defeat the Man in Black, also known as the Gold-Masked boss, in the Long Pillar encounter. Parries grant a 20% damage increase against enemies afterward.
- Lingran’s Pendant, Support: Once you have the Hunter’s Chain Sickle, return to the opening carriage-crash area. Grapple across the gap and open the chest. The pendant reduces sha-chi consumption from sha-chi combos by 15%.
- Shenji’s Ring, Support: Reach the Village of Lu and speak to Old Man Gen about the changes in Weeping Creek Valley. Return to the Outpost, defeat the hostile soldiers, cross the previously barricaded bridge, and continue to the cliff wall with pinwheels. The chest contains a ring that reduces sha-chi consumption while holding block by 20%.
Where are the Crimson Forest accessories?
Roadside loot, merchants, and camp rewards
| Accessory | Type | Effect | Location or requirement |
|---|---|---|---|
| Shieldbreaker Talisman | Offensive | 50% more shield-durability damage; 30% less damage from spiked shields | Chest on a wooden platform past the Abandoned Main Road bell |
| Cavalrybane | Offensive | 25% more damage against mounted enemies | After lowering Quick Hand Zhang’s cage with the machinery, check the ledge below in the nearby cavern |
| Seal of Dugu | Offensive | 8% more sha-chi depletion from sha-chi combos | Revisit the rope bridge leading to Thieves’ Camp later in the campaign; collect the item left by the two dead bandits |
| Quick Hand Pendant | Offensive | 10% more one-handed weapon damage | Free Quick Hand Zhang, then visit his hideout for the reward |
| Quick Hand Might | Offensive | 10% more two-handed weapon damage | Buy from Quick Hand Zhang for 30,000 Remnant Dust |
| Quick Hand Pair | Offensive | 10% more dual-wield weapon damage | Buy from Quick Hand Zhang for 30,000 Remnant Dust |
| Calming Gourd | Defensive | Medicine recovers you from guard break and prevents sha-chi depletion for 3 seconds | Complete Yu’er’s A Healer’s Mercy quest in Thieves’ Camp |
| Silent Wrap | Support | 40% less noise from footsteps and assassinations | Complete Honor Among Thieves |
| Resonance Talisman | Support | 15% more sha-chi | Defeat Bai Chilian; the reward enters your inventory after the cutscene and arrival in the Village of Lu |
The Quick Hand purchases cost 30,000 Remnant Dust each, so choose the accessory that matches your weapon class. Check the weapon locations and unlock guide before committing to Might or Pair.
For Silent Wrap, first collect the Nimble Thief’s note at the far end of the path beyond the Outlaw Trap bell and crank mechanism. Take it to the Gentle Thief in Thieves’ Camp and give these answers:
- “Stole a landowner’s jade belt.”
- “Butterfly.”
- “The letter never said. His fate is unknown.”
Preservation Jar fragment route
Preservation Jar requires two Preservation Talisman Fragments. Collect the first in the upper cavern near the Outlaw Trap bell, where you also find the Crimson Forest Tunnel Crank. Use that crank to reveal the underground mining area, then collect the second fragment below. The completed Defensive accessory reduces poison damage by 30%.
Dungeon access, Long Pillar, and snowy returns
Brass Chest Guard takes two separate unlocks. Collect the Thieves’ Camp Dungeon Key from the Cliffside Lodge cellar, then use it on the door to the right of the Thieves’ Camp bell. The arrow-trap corridor beyond requires Bastion, a Phantom Edge earned from a boss in the Village of Lu. Return with Bastion, deflect the arrows, and open the chest. This Support accessory reduces sha-chi drain while maintaining Guard Stance by 30%.
Miraculous Scabbard is another reward from defeating the Man in Black/Gold-Masked boss in Long Pillar. This Defensive accessory grants super armor and 25% damage reduction for 2 seconds when you switch main weapons.
Two more accessories belong on your later Crimson Forest sweep:
- Chaos Ring, Support: Search Mirrorwood, the maze before Bai Chilian’s arena, after snow covers this part of the region. Chaos Flame inflicts burn and restores 50% of the sha-chi enemies lose.
- Frostward, Defensive: During the snowy stage, head south from the Burial Grounds bell. Keep right through the tunnel toward the Sha-Chi Tower, then open the golden chest beside a Butcher. Frostward reduces chill effects and freeze duration by 50%.
Where are the Village of Lu accessories?
Chests, enemy drops, and regional errands
| Accessory | Type | Effect | Location or requirement |
|---|---|---|---|
| Jewel’s Knot | Defensive | 10% more HP | Chest inside Jewel’s shop |
| Mother’s Talisman | Defensive | Restores 10% HP when your guard breaks | Speak to the Weaver Puppet south of the Temple of the Blue Fireflies, then defeat the Village Auntie up the path behind the Well of the Three Puppets |
| Livingwood Talisman | Defensive | Makes bleed and lifesteal 50% effective against puppets, phantoms, and golden bodies | Chest inside a house between the Smuggler’s Tunnel Entrance bell and the broken bridge blocked by thread |
| Arrowward | Defensive | 20% less ranged damage and incoming sha-chi depletion | Complete the wounded thief’s relic errand near Master Bi Hai’s arena |
| Fine Thread | Offensive | 50% more damage and sha-chi depletion from summons and controlled objects | Collect all of Quick Hand Zhang’s treasures in the Village of Lu |
| Agarwood Prayer Beads | Support | Reduces recovery time from guard break by 15% | Return Huijue’s relic to the Stately Monk in Survivors’ Courtyard |
For Arrowward, speak to the wounded thief near the arena where you fought Master Bi Hai, the monk with the bell-shield spell. Return to Thieves’ Camp in Crimson Forest, defeat the enemies, collect the relic, and bring it back to him.
The Agarwood Prayer Beads errand overlaps with your Outpost return for Shenji’s Ring. Once Weeping Creek Valley’s soldiers have become hostile, defeat Huijue, the Bronze Man, near the merchant’s location. Deliver his relic to the Stately Monk in Survivors’ Courtyard.
How do you unlock Remnant Spark Cage?
Remnant Spark Cage is a Support accessory with a 33% chance to restore 1 Remnant Spark when you trigger a Phantom Edge follow-up attack. Its chest requires a sequence of keys:
- Defeat Mu Xiaoqui to obtain Puppet No. 44’s Eye.
- Use the eye on the mask doorway in Puppet Testing Grounds and collect the Tunnel Cage Key.
- Free the Trapped Thief with that key. He gives you the Village of Lu Cellar Key.
- Go to the Smuggler’s Treasure Cellar bell near Master Bi Yuan’s arena. Open the storage room below and loot the chest.
A Puppet’s Wooden Heart quest route
Speak to the Songstress Puppet at the Temple of the Blue Fireflies to begin A Puppet’s Wooden Heart. Take her letter to Pei in Survivors’ Courtyard, then return to the Songstress to find that Pei has also become soul-displaced.
Follow the quest marker to Pei’s body in the farm and read his note. Return to the temple to finish the chain. A Puppet’s Wooden Heart is a Support accessory that increases summon duration by 25%.
Where are the Pangzhen accessories?
Chest pickups and ability-gated paths
| Accessory | Type | Effect | Where to look |
|---|---|---|---|
| Flameward | Defensive | 40% less fire damage | Porch of a large establishment in South Gate Bridge plaza |
| Thunderward | Defensive | 30% less lightning damage and paralysis buildup | Banquet hall across from Green Serpent House |
| Congeal Talisman | Defensive | 30% less bleed duration and buildup | Golden chest at the end of the southwestern slums alley, beyond the Heartless Healer that drops a Blackstone Fragment |
| Formless Divine Mirror | Support | Sha-chi combo hits build temporary Remnant Spark; ranged Phantom Edges spend temporary Spark first | Burn the southwestern slums brambles with Flaming Mane, follow the mountain pass, and open the gazebo chest |
Town quests and medicine-related rewards
Manor Medicine Pot comes from four fragments inside Huang Manor. Speak to Shopkeeper Niu in Myst’s Tavern during A Brother Once More to receive the Huang Manor Key, then collect all four pieces. The completed Defensive accessory gives medicines a 15% chance not to consume a usage. You can obtain the accessory before the wider quest concludes in Meigu Lake.
Crimson Resolve depends on the Young Master Lan quest line. Speak to Lan after reaching the depths of the Village of Lu well and before leaving for Pangzhen. Visit the marked Lan Manor, talk to him, interact with a bell, and return. Enter the manor to receive the accessory from a guard. This Offensive accessory grants 15% more damage for 2 seconds after landing more than 2 consecutive hits within 1 second, with a 5-second internal cooldown.
Dance Fan is the reward for The Star Performer. Speak to the Leading Opera Actress in Myst’s Tavern and complete her quest. This Offensive accessory increases damage with the distance traveled during an attack, up to 40%.
Blessed Jade Pendant finishes the Flesh Lily errand that began with Yu’er in Weeping Creek Valley. Give the item to her father in Pangzhen. This Support accessory randomly triggers one of four effects after you use medicine:
- Burns you and nearby enemies.
- Poisons you and nearby enemies.
- Creates a chaos fireball that automatically attacks nearby enemies.
- Fully restores HP and restores 50% sha-chi.
Illusory Pipa and Mountain of Imprisonment returns
Auspicious Lion Fireball requires the repaired Illusory Pipa. At the Sealed Lion bell, near the Lion Dance Grandmaster arena, play it to clear the strong winds on the sloping path. Follow that path to the chest. This Offensive accessory adds 20% fire damage and lets ignite inflicted by your attacks spread to nearby enemies.
Ultimate Talisman is the Offensive reward for Don’t Forget Me. Its bonus increases Power Surge damage against guard-broken enemies by 20%. Complete the following chain:
- Use the Illusory Pipa to dispel the marketplace theater’s mist barrier and speak to Yu Ling.
- Find the Ailing Man, Zhou Ping, caged along the Mountain of Imprisonment cliffside, and free him.
- After defeating Kui Yanyan the Deranged, collect the letter from Zhou Ping’s corpse.
- Deliver the letter to Yu Ling.
Snow and Blood is tied to the Mountain of Imprisonment quest chain that eventually leads to Bai Xue and access to Pangzhen Backstreet Courtyard. This Offensive accessory grants 10% more damage against all enemies while a nearby enemy is bleeding. Enemies also take 20% more bleeding damage while attacking.
Where are the Mountain of Imprisonment accessories?
Path pickups and encounters
| Accessory | Type | Effect | Location or requirement |
|---|---|---|---|
| Baishan Writ | Offensive | 5% more enemy sha-chi depletion | Meet the Gravely Wounded Heroine shortly after the first bell, walk farther along the path, then turn back to collect the item after Hounds kill her |
| Talisman of Despair | Offensive | The next attack builds up to 25% more damage over 4 seconds; hitting an enemy resets it | Speak to the caged NPC after the cutscene featuring the huge monster previously encountered in Crimson Forest |
| Desperate Stand | Offensive | Damage increases as HP falls, up to 25% | Near the Lady’s Shrine bell after defeating Jade-Face |
Cui and Crude Radiant Heart
Begin Cui’s quest in Puppet Testing Grounds, the Village of Lu boss arena at the bottom of the well. Your objective is to find Cui’s grandfather, Lu Sanqian, in the Mountain of Imprisonment.
- Free Lu Sanqian from the cage in front of the courtyard gate. Defeat commander Bi Feng and open the gate.
- Find him imprisoned again in a hanging cage near the Shrine Outer Gate. Defeat the enemies and climb the ladder to release him.
- Give him Rootless Dew so he moves onward.
- Find him at the Lady’s Shrine in the northwest to collect his book, quest item, and Crude Radiant Heart.
Crude Radiant Heart is a Support accessory. Sha-chi attacks that hit enemies build temporary Remnant Spark, and Martial-type Phantom Edges consume that temporary Spark first. Its Martial focus differs from Formless Divine Mirror’s ranged focus.
Where are the Mandate Encampment accessories?
Guardian Idol’s four fragments
Guardian Idol is an Offensive accessory assembled from four body parts. Destruction-type Phantom Edges consume 1 additional Remnant Spark to deal 75% more damage while it is equipped.
| Fragment | Location |
|---|---|
| Head | Near a ruined building occupied by a projectile-throwing Maskwalker |
| Arm | Across the gap from the Cliffside Walkway Overlook bell |
| Torso | Inside the large pavilion that also contains Nameless Thumb Ring |
| Leg | In the battleground where you fight Wu Lengshuang the Soft Sword |
Pavilion loot and the duo-boss reward
| Accessory | Type | Effect | Where to get it |
|---|---|---|---|
| Nameless Thumb Ring | Support | 5% faster sha-chi essence buildup | Chest inside the large pavilion beside the Guardian Idol Torso location |
| Twin Fish Pendant | Offensive | Damage increases as sha-chi falls, up to 20% | Defeat the Chief Disciple and Red duo |
How do you get Sha-Chi Headscarf?
Defeat Corpse-Eating Xue at the western Mass Grave and read the dropped note to begin Xue, Admirer of Heroes. Collect these three warrior relics:
- Black Scabbard: Follow the sloping path after Xue’s arena to a ghoul beside a broken bridge. The relic is next to that enemy.
- Plain Hairpin: On the western side of Main Encampment, pass the friendly warden who turns hostile. Grapple across the gap, climb the ladder, and collect the item beside the Road to the Training Grounds bell.
- Broken Iron Sword: Search the riverbed leading back to the small barracks near the grand pavilion. Moji’s House Key is also at this location.
Take all three relics to the Child of Insight atop Pangzhen’s Pavilion of Knowledge. The reward, Sha-Chi Headscarf, is a Support accessory that increases sha-chi recovery by 15%.
Where are the Meigu Lake accessories?
Island chests, boss drops, and the dragon statue
| Accessory | Type | Effect | Location or requirement |
|---|---|---|---|
| Battleforged | Defensive | After 10 seconds without taking damage, become immune to the next hit | Cliffside route toward the Sha-Chi Tower bridge, guarded by Order troops |
| Rouge Box | Support | Reduces the delay before sha-chi regeneration begins by 50% after spending sha-chi | Defeat Grief-Stricken Jin at Village of Lu Shallows Dock during A Brother Once More |
| Venom Pouch | Offensive | Main weapon attacks have a 15% chance to poison | Chest on the southeastern Banyan Tree island, guarded by Butchers and Powderkegs |
| Sharpshooter’s Eye | Offensive | 15% more damage beyond its required distance; the lock-on reticle flashes red when active | Defeat the One-Eyed Archer on the easternmost island, then search the ruined building behind the arena |
| Treasure Basin | Support | 10% more Remnant Dust | Chest inside White Serpent House; also available early as a pre-order bonus |
| Deathlock | Offensive | Raises the execution threshold of guard-broken enemies by 5%; executions grant 5% more damage per stack, up to two stacks lasting 10 seconds each | At the far side of Meigu Village East Dock, near the Acolyte Mask scarecrow, douse the nook’s fire and place Preservation Jar at the dragon statue |
Remnant Spark Cube’s two-piece quest
Begin The Cube by speaking to the fisherman in Myst’s Tavern in Pangzhen. The fragments themselves are in Meigu Lake:
- Open the chest at Meigu Village East Dock for the first fragment.
- Defeat the boss at Blackwater Crew Dock to access the rest of the island.
- Defeat the Blackwater fish enemies along the shoreline to obtain the second fragment.
- Return to the fisherman in Myst’s Tavern, then speak to Myst.
The completed Remnant Spark Cube is an Offensive accessory that increases damage from all Phantom Edges by 12%.
Discordance and the Acolyte accessories
Bring all four Acolyte Masks to the Four Guardians’ Mirror bell on Meigu Lake’s western frozen shoal. This opens access to Discordance. Continue until you reach the fishing village area, then open the chest at the end of a pier for Acolyte Whisk.
Acolyte Whisk is a Support accessory that builds elemental energy when you inflict fire, ice, lightning, or poison. Filling that energy restores 1 Remnant Spark.
Continue beyond the fishing village into the settlement with extremely poor visibility. At its far end, open the chest beside the Illusionist NPC for Acolyte Icicle, a Support accessory that increases chill effect and duration against enemies by 30%.
Which accessories should you polish first?
Upgrade through Jewel
Speak to Jewel in the Village of Lu, encountered during Snake’s Reflection, to polish accessories. Polishing strengthens their effects and costs materials. Prioritize damage accessories you regularly equip rather than spending on every new pickup.
Battle Wraps is an easy early candidate because its 5% damage bonus does not require a specific enemy state. Hunter’s Insight is more conditional, while the Quick Hand accessories depend on your chosen weapon class. Read the current item description before investing, since polishing changes bonuses and updates may adjust effects.
Keep a return-trip checklist
Several accessory routes become available well after your first visit. Keep these requirements beside your regional checklist:
- Hunter’s Chain Sickle: Return to the opening carriage-crash area for Lingran’s Pendant.
- Bastion: Revisit the Thieves’ Camp dungeon’s arrow corridor for Brass Chest Guard.
- Flaming Mane: Burn the Pangzhen slums brambles to reach Formless Divine Mirror.
- Repaired Illusory Pipa: Clear the marketplace theater mist and the Sealed Lion wind barrier.
- Snow in Crimson Forest: Revisit Mirrorwood for Chaos Ring and the Burial Grounds route for Frostward.
- Four Acolyte Masks: Enter Discordance for Acolyte Whisk and Acolyte Icicle.
Use the Phantom Blade Zero guide collection to plan the unlock or exploration route holding up your next pickup. Clearing the Bastion, Illusory Pipa, and Acolyte Mask requirements gives those return trips a specific target instead of another aimless lap.