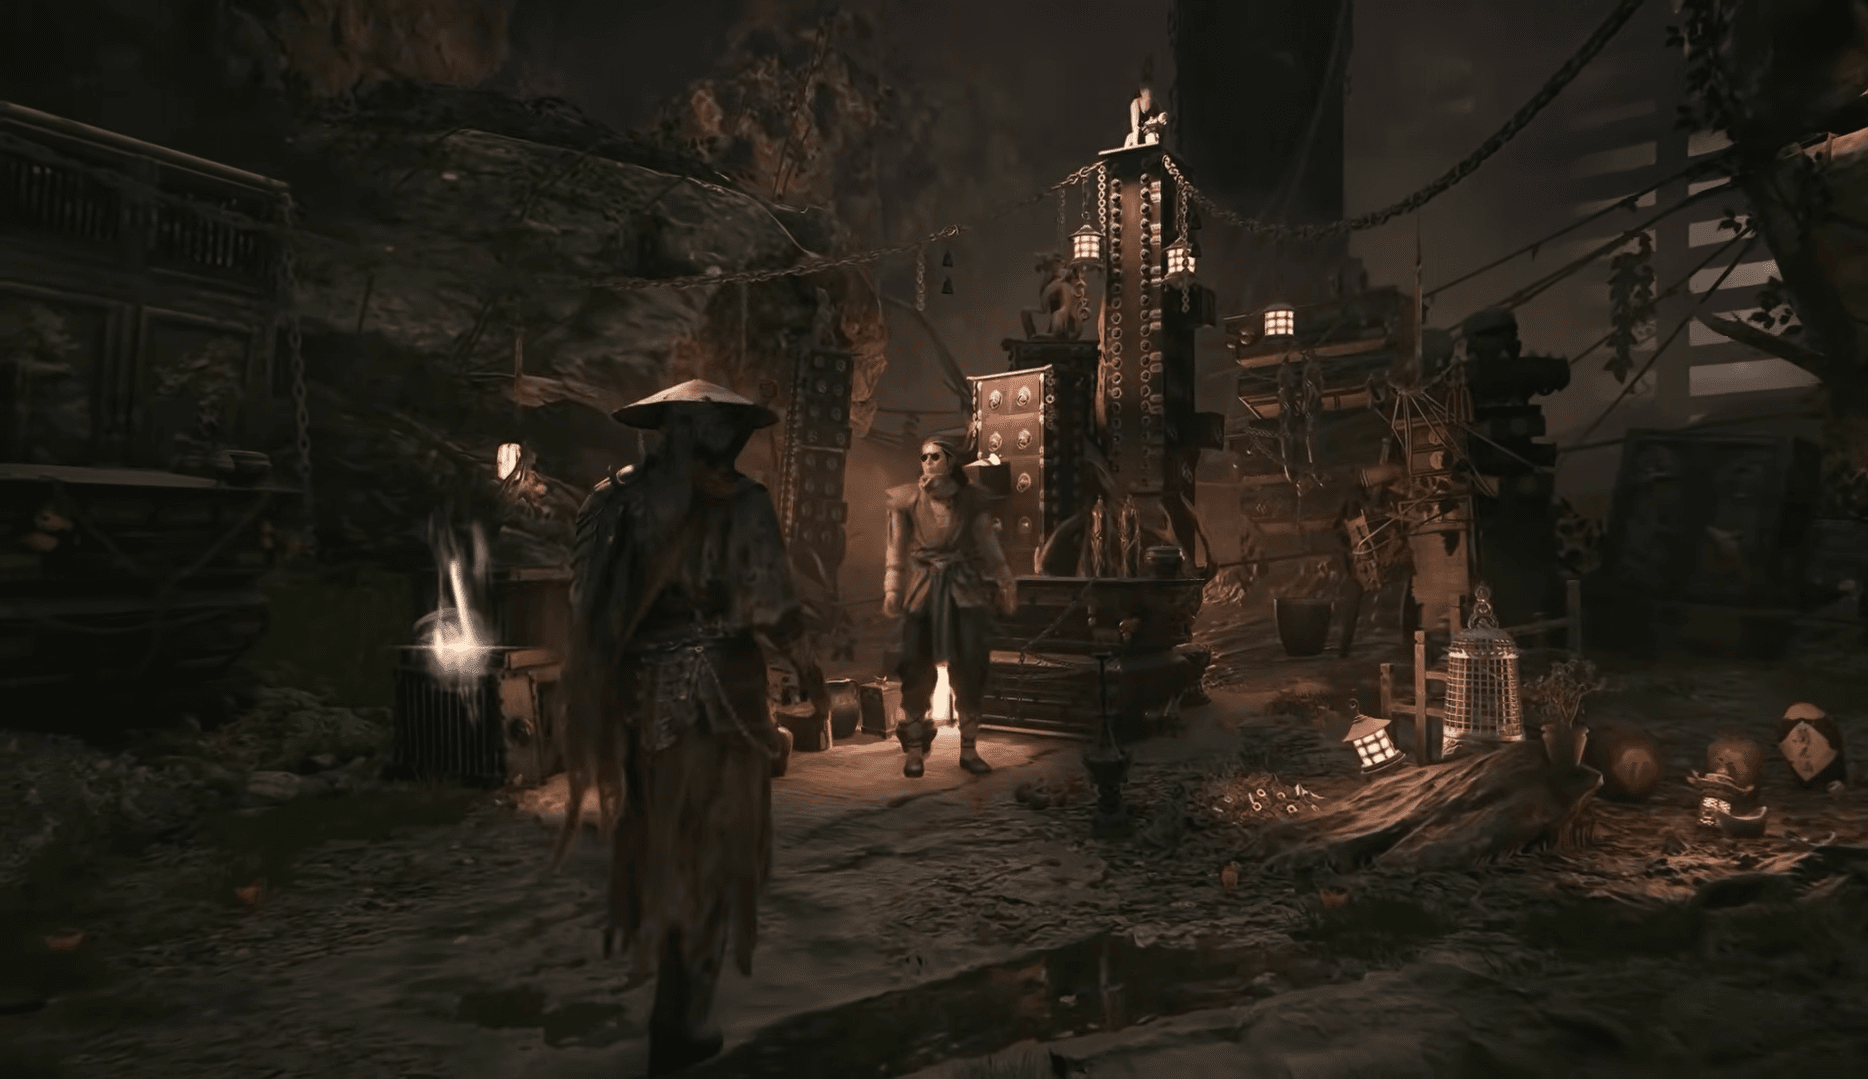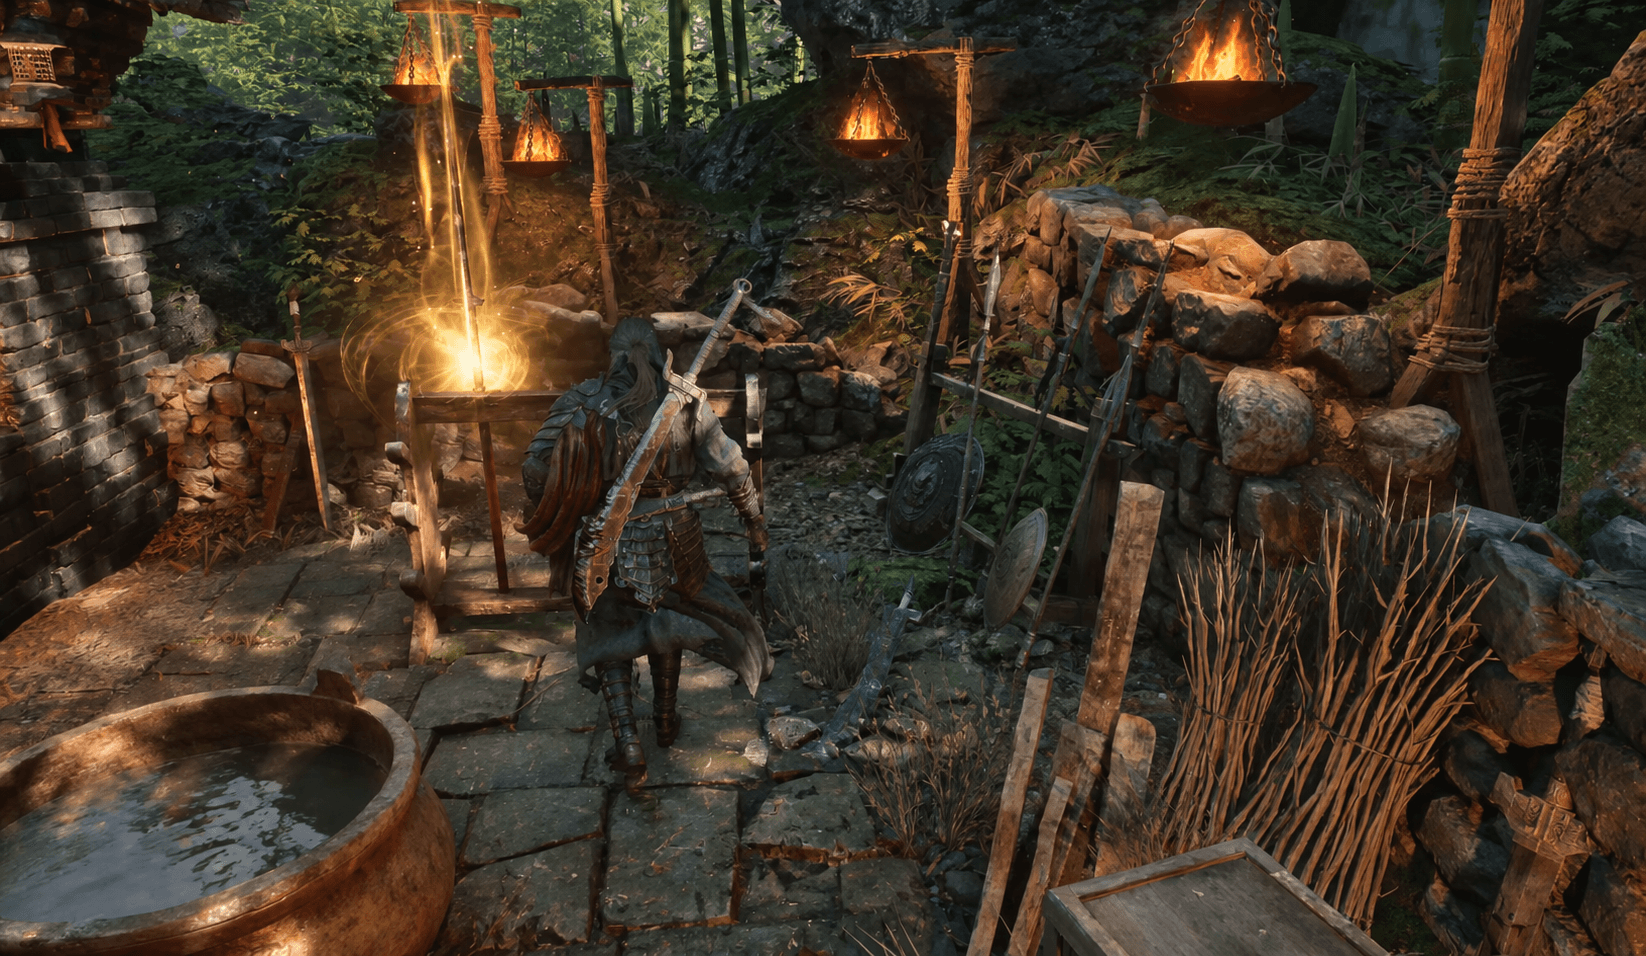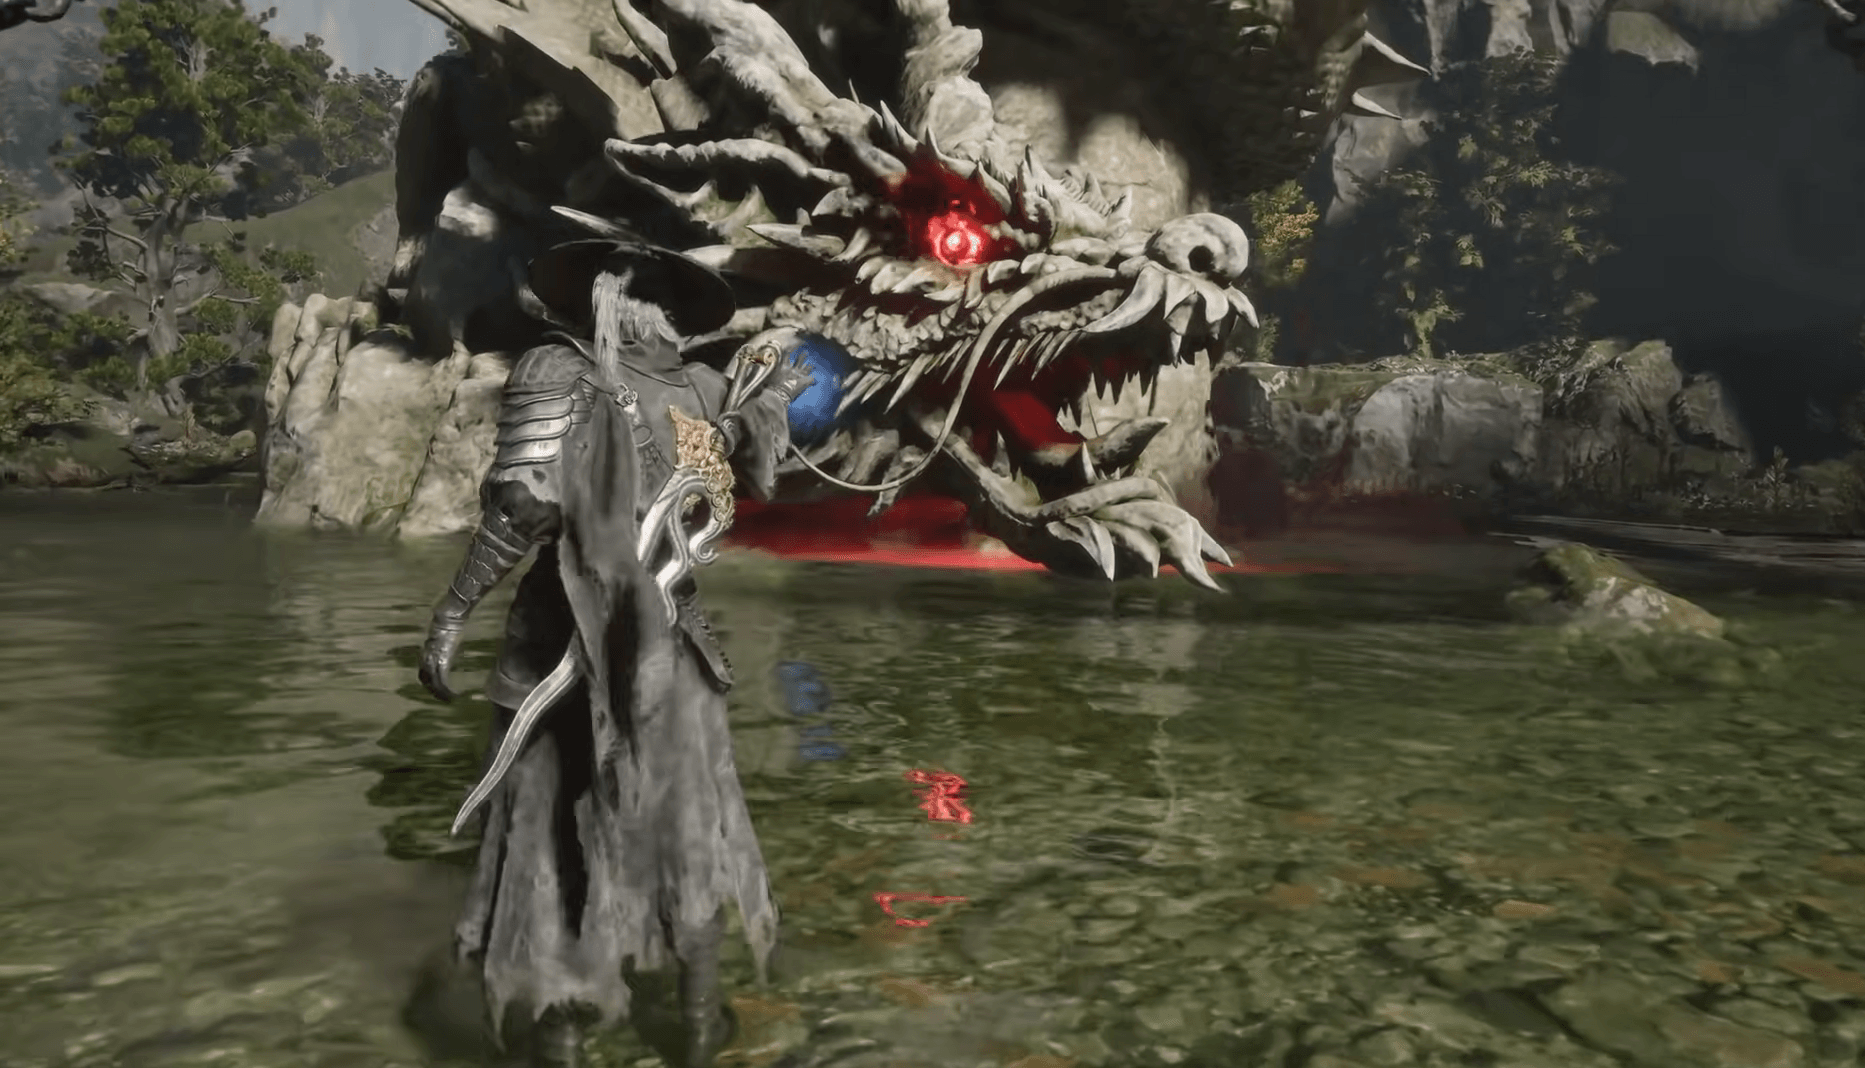

The five Long Pillars in Phantom Blade Zero hide more than optional boss fights. Each encounter with the Gold-Masked One, also called the Man in Black, pays out an accessory or Soul Temper material, and completing the set advances your Perfect Ending requirements. The catch is access: locked gates, Acolyte Masks, and story progression separate you from the statues. Follow the routes below to collect every reward without crossing an ending deadline too early.
How do you start Bloodline Awakening?
Interact with your first Long Pillar to begin the Bloodline Awakening quest. The game then marks the pillars on your map. These dragon statues also appear under the name Lóng Pillar, and each transports Soul into a duel against the Gold-Masked One.
You can leave an encounter and return with stronger equipment. That makes the first pillar worth finding early, even if its boss is more than your current setup can handle. Follow regional progression for the routes below, since later statues require tools and access earned elsewhere.


When must you finish the pillars for the Perfect Ending?
Bloodline Awakening has two important story checkpoints:
- Finish the first four pillars before opening the Green Serpent House door in Pangzhen.
- Finish the fifth pillar inside Mirage Estate before passing The Last Chance Bell on Mount Soulrend.
What rewards do all five Long Pillars give?
The first two victories provide accessories that suit the defensive demands of these duels. The remaining three award Soul Temper materials for the Sanguine weapon family.
| Long Pillar area | Reward | Effect or upgrade use |
|---|---|---|
| Weeping Creek Valley | Counterstrike Bracers | Increases damage by 20% for 2 seconds after a successful parry |
| Crimson Forest | Miraculous Scabbard | Briefly grants super armor and damage reduction when you swap your main weapon |
| Meigu Lake, eastern island | Quenched Flaming Grip | Part of the Flaming Grip needed to temper Sanguine Reach into Blazing Edge |
| Phantom Illusionist Ruins, Meigu Lake | Chaos Iron Fragment I | A material needed to temper Sanguine Twin into Shadowless Edge |
| Mirage Estate, Pangzhen | Bastion of Mó Mask | A material used to temper Sanguine into Infernal Rouge |
The Quenched Flaming Grip is one of two pieces that form the Flaming Grip. Keep that distinction in mind when planning the Sanguine Reach upgrade: winning the island duel supplies one piece of the requirement.
How do you reach all five Long Pillars?
Weeping Creek Valley: unlock the eastern detour
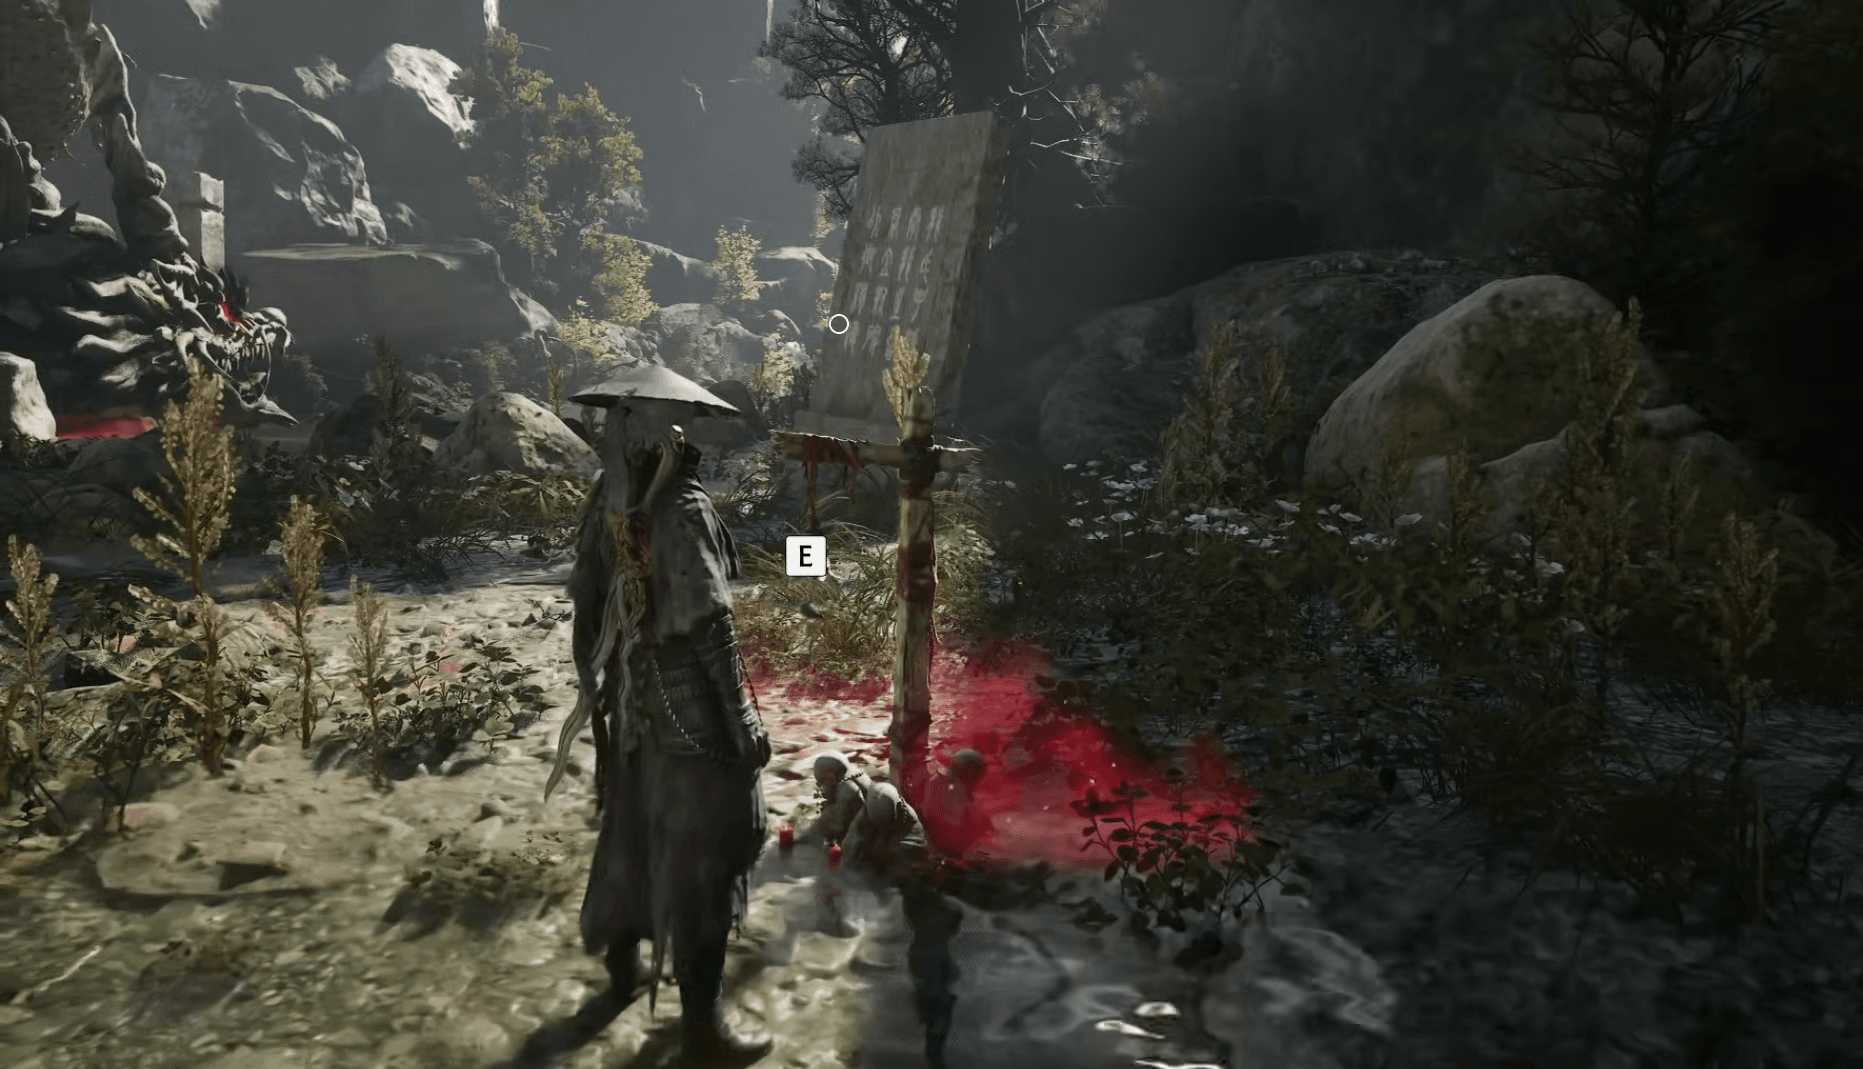
The Weeping Creek Valley pillar sits in the optional area reached through Deep in the Valley. If the eastern gate is still locked, follow the Deep in the Valley walkthrough to reach the route leading toward the statue.
You need both the Sha-Chi Tower Base Camp Gate Key and the Rusted Loong Key. The first opens the optional section; the second opens the door on the approach to the pillar.
- Defeat The Hunt, the final boss of Weeping Creek Valley, to obtain the Hunter's Chain Sickle.
- Use the sickle to obtain the Sha-Chi Tower Base Camp Gate Key, then unlock the gate near Sha-Chi Tower.
- Follow the eastern route to the cabin containing the Long Pillar Overlook Crane Bell. Open the nearby gold chest for the Rusted Loong Key.
- Cross the rope bridge, defeat the Maskwalkers, and wall-run across the gap.
- Unlock the door with the Rusted Loong Key. Follow the tunnel to the Weeping Creek Long Pillar Bell and the statue beyond it.
Two herbs for Yu'er's Apprentice Healer tale are on this detour. Congealeaf grows near the locked door, while Blemish Goldweed is near the pillar.
Phantom Blade Zero Guide: All Long Pillar Locations & Rewards
Crimson Forest: take the right fork after Iron Fever
Defeat Stone Hand Iron Fever, then follow the main route into the cave. A Memory Flower marks the fork where you need to turn right.
- Take the right-hand branch through the cave.
- After leaving the cave, head into the glowing red area on your left.
- Use the Hunter's Chain Sickle to grapple across the route.
- Rekindle the Mirrorwood Long Pillar Bell beside the statue.
The Memory Flower is the useful navigation cue here. If you continue past that fork without taking the right branch, you miss the approach to the Crimson Forest pillar.
Meigu Lake island: sail to the eastern edge
Once you have the Sha-Chi Powered Boat, sail to the far eastern side of Meigu Lake. Your destination is the small island served by the Midlake Long Pillar Dock.
Enemies guard the island, including a Butcher. Clear them before interacting with the statue, and bring the Hunter's Chain Sickle for the route.
Phantom Illusionist Ruins: open the mirror route
The second Meigu Lake pillar has the longest access checklist. Collect all four Acolyte Masks, earned through the Acolyte fights in Village of Lu, Pangzhen, Meigu Lake, and Crimson Manor.
You also need the Dread Axe, the Phantom Edge earned by defeating Axemaster Peng Meng in Weeping Creek Valley. The masks open the mirror route; the axe removes the barrier near the pillar.
- Sail to the frozen northwestern edge of Meigu Lake, pass through the narrow opening in the ice, and dock.
- Follow the path to the Four Guardians' Mirror Bell and interact with the mirror.
- After entering the Discordance realm, cross the mountain pass and reach the fishing village.
- Continue beyond the third bell and break the gate with the Dread Axe. The Long Pillar is on the cliffside beyond the barrier.
If the Four Guardians' Mirror will not open, check your Acolyte Masks before searching for another entrance. You need the complete set of four to enter this area.
Mirage Estate: look below the Covered Corridor
The final pillar becomes accessible after you open the Green Serpent House door and enter Mirage Estate. Finish the other four encounters before taking that story step if you are pursuing the Perfect Ending.
- Follow the estate's main story route to the Covered Corridor Bell.
- Take the corridor on the right and follow its right side to the end.
- Step onto the platform and look down for a Hunter's Chain Sickle grapple point.
- Grapple across, then follow the path to the Mirage Estate Long Pillar Bell and the final statue.
If the grapple point does not appear, stay close to the corridor's edge and drop down to reach the lower route. After the duel, turn left at the statue and glide down the rope to return to the Covered Corridor.
How do you beat the Gold-Masked One?
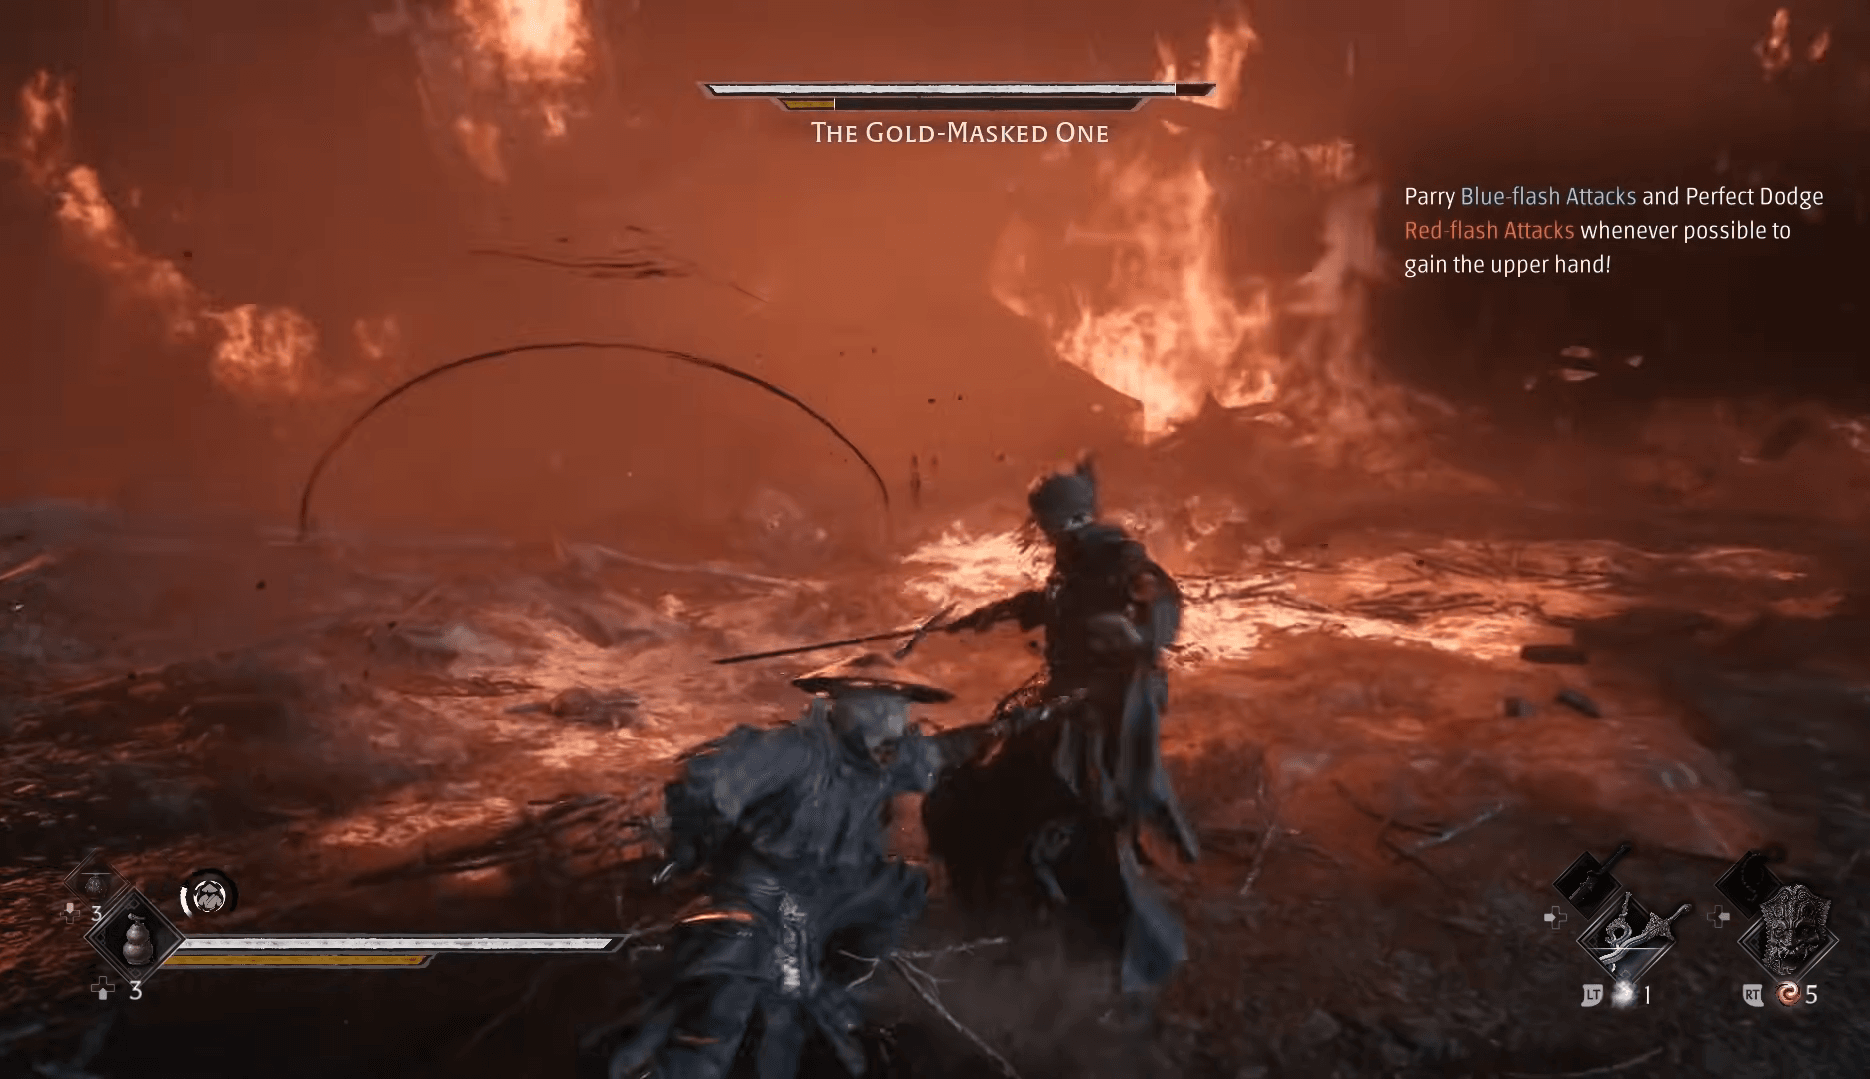
The first duel punishes ordinary aggression: normal attacks do nothing until you create an opening through the correct defense. Watch his attack flashes, answer them, and attack during the recovery rather than swinging into his pressure.
Match your defense to the attack signal
| Attack signal | Response | Detail to watch |
|---|---|---|
| Blue flash | Parry, using L1 on PS5 just before impact | Drains his Sha-Chi and creates a counterattack opening |
| Red flash or red-glowing grab | Perfect dodge, using R1 on PS5 | The grab can remove a large portion of your health |
| Red sword waves at range | Block the waves | Parry the blue strike when he closes the distance afterward |
| Black flash or black-and-white effect in later fights | Dodge | Blocking the black-and-white attacks empties your Sha-Chi |
The red sword waves are the exception you need to remember. Block those projectiles instead of treating them like his red melee attacks. For the aerial sword move, wait for the downward red slash; dodging during the earlier spin leaves you exposed.
His fast kicks and short sword strings can be blocked while you wait for a flash, but blocking consumes your own Sha-Chi. If your Sha-Chi breaks, swap main weapons to restore it.
Phantom Blade Zero Guide: All Long Pillar Locations & Rewards
Which equipment helps with the pillar fights?
The Outlaw Warblade is a strong return-trip choice because it heals you on hit. You obtain this two-handed weapon from Jing Ye in Crimson Forest, so finish Yu'er's herb tale first. Use the weapon locations and unlock guide to plan that pickup before revisiting the early pillars.
For Sha-Chi support, Resonance Talisman increases your Sha-Chi, while Shenji's Ring reduces the Sha-Chi spent on blocking. Upgrade your weapon before another attempt, especially if the first duel has become a long battle of attrition.
Your pillar rewards also fit the fight. Counterstrike Bracers reward the parries you already need, and Miraculous Scabbard adds brief protection when you swap main weapons. Those swaps are particularly useful when recovering from a Sha-Chi break.
What changes in the later encounters?
The Crimson Forest duel adds black-and-white attacks that you should dodge, plus a charging attack telegraphed by a crouch and red glow. For that charge, wait until he moves before dodging. He can follow the black-and-white moves with another red or blue attack, so keep watching after the first evade.
At the Meigu Lake island pillar, his Sha-Chi replenishes rapidly, making guard-breaks extremely difficult. Focus on the openings after parries and perfect dodges instead of building your entire plan around a stagger. Healing on hit and Sha-Chi support are useful here because you still need to survive his pressure while taking those smaller openings.
What happens after the final Long Pillar?
Defeating the Gold-Masked One at all five pillars completes Bloodline Awakening and unlocks the Phantom and Blade Silver trophy. Each victory also plays a cutscene exploring his past and his connection to Soul.
Bloodline Awakening fulfills one Perfect Ending requirement, alongside other tasks such as the Acolyte fights and Quick Hand Zhang's relics. Before passing The Last Chance Bell on Mount Soulrend, make sure the Mirage Estate duel is finished.
With the Quenched Flaming Grip, Chaos Iron Fragment I, and Bastion of Mó Mask collected, plan your next weapon upgrades using the Soul Temper material locations guide.