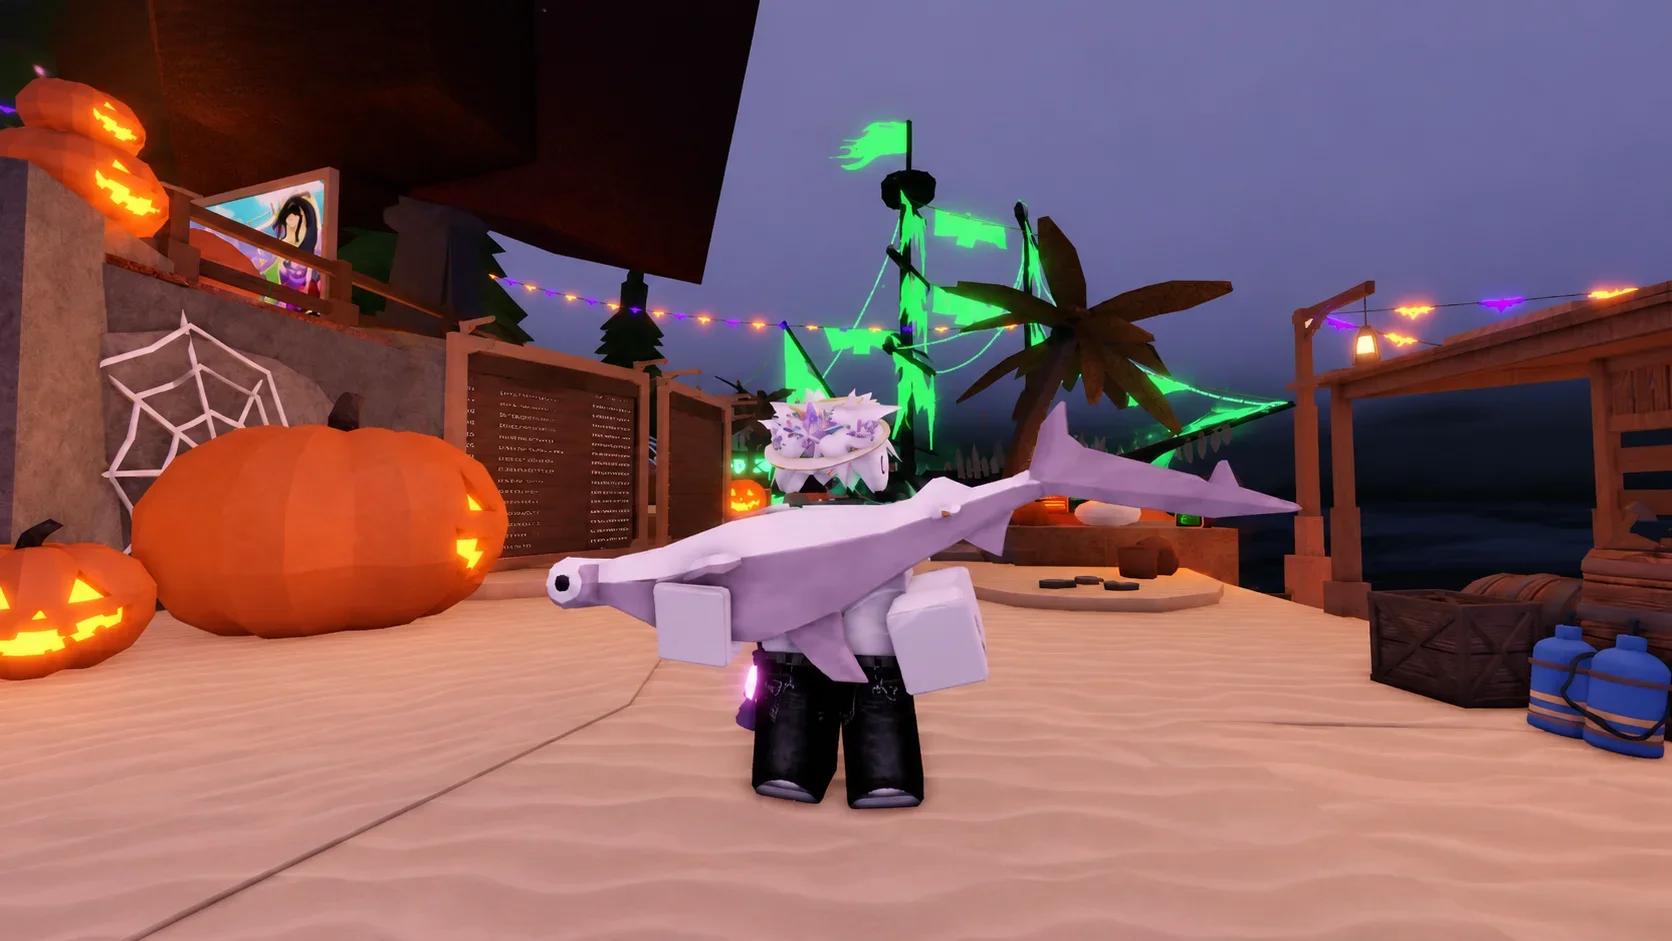

To get the Hammyshork Rod in Fisch, rescue an injured shark, meet Hammi in Shark Sanctuary, and hand over all 13 requested sharks.
Added with the Venue Encore Part 2 update, this Roblox rod sends you across Ocean hunt events and several named fishing locations. Your main preparation is bait: the quest mixes ordinary Ocean catches with sharks tied to specific event pools. Two extra modes become available after the base rod, so you can separate the fishing checklist from the later exploration challenges.
Start Hammi's quest in Shark Sanctuary

Rescue a shark during a hunt
Use a Great Hammerhead Shark Hunt as your starting point. Look for the large, dark-pink shark hunt pools around The Arch and Castaway Cliffs, then approach the active pool.
This opening rescue and the later fishing checklist are separate tasks. You will still need a caught Great Hammerhead Shark for Hammi's collection, so do not count the rescued shark as that hand-in.
Find the cave and speak to Hammi
The Shark Sanctuary entrance is underwater near The Arch. Follow this route after completing the rescue:
- Head to The Arch and dive toward Castaway Cliffs.
- Before reaching the broken ships, look beneath the rubble for a cave entrance.
- Use your GPS to approach X: 1284.2, Y: -9.3, Z: -1676.2.
- Enter the cave, walk straight ahead, and cross the obby.
- Speak to Hammi inside Shark Sanctuary to begin Emergency Recruiting.
If you reach Hammi without getting the quest, check the rescue step first. Finding the sanctuary alone does not satisfy the starting condition.
Catch all 13 sharks for Emergency Recruiting
Hammi requires 13 different shark species. Use the checklist below to track each catch and compare its location, bait, and preferred fishing window.
The weather, season, and time entries are preferred conditions. For the four hunt-event sharks, you also need the corresponding active event pool. Matching the bait does not replace that location requirement.
| Check | Required shark | Where to fish | Preferred bait | Preferred conditions |
|---|---|---|---|---|
| [ ] | Cookiecutter Shark | Standard Ocean waters | Bagel | Night; Spring or Summer; clear or foggy weather |
| [ ] | Gemstone Whale Shark | Waters around Treasure Island | Sapphire Krill | No weather, season, or time preference |
| [ ] | Ginsu Shark | Waters around Ancient Isle | Fish Head | Night; Summer; any weather |
| [ ] | Great Goldcursed Shark | Castaway Cliffs | Fish Head | Night; Autumn; foggy weather |
| [ ] | Great Hammerhead Shark | Great Hammerhead Shark Hunt pool in the Ocean | Fish Head | Day; Spring; windy weather |
| [ ] | Great White Shark | Great White Shark Hunt pool in the Ocean | Fish Head | Autumn; clear weather |
| [ ] | Icebeard Shark | Glacial Grotto at the top of Northern Expedition | Truffle Worm | Night; Winter; any weather |
| [ ] | Maelstorm Shark | Whirlpool vortices at Atlantean Storm | Truffle Worm | Autumn; foggy weather; any time |
| [ ] | Megamouth Shark | Megamouth Shark Hunt pool in the Ocean | Krill | Night; Summer; any weather |
| [ ] | Mutated Shark | The Depths | Fish Head | Night; Winter; any weather |
| [ ] | Nurse Shark | Standard Ocean waters | Minnow | Night; Summer or Autumn; any weather |
| [ ] | Umbral Shark | Keepers Altar below Statue of Sovereignty | Fish Head | Night; Winter; clear weather |
| [ ] | Whale Shark | Whale Shark Hunt pool in the Ocean | Shrimp | Day; Summer or Autumn; clear weather |
Prepare bait before traveling
Fish Head deserves the largest share of your bait preparation because six requested sharks prefer it. Truffle Worm covers two more entries. The remaining catches each use a different bait, so bring Bagel, Sapphire Krill, Krill, Minnow, and Shrimp as well.
Keep Krill and Sapphire Krill separate in your plan. Their similar names can hide an easy preparation mistake when moving between the Megamouth Shark and Gemstone Whale Shark targets.
For the Secret-rarity Great Goldcursed Shark, use a high-luck setup or an Aurora Totem to improve your chances. Save that preparation for its fishing location instead of using the same setup indiscriminately across every entry.
Organize catches around events and night fishing
Take an active hunt opportunity when the shark you need appears. Those entries depend on event pools, while the other targets can be pursued at their named fishing locations.
Most of the location-based sharks favor nighttime. Use those windows to work through nearby targets on your checklist, then reserve daylight for the hunt sharks with day preferences. Gemstone Whale Shark has no time preference, making it a flexible target between more restrictive windows.
Check the exact species name before setting a catch aside. Hammi needs different sharks, so duplicates cannot replace a missing entry. Keep the requested catches for the hand-in instead of selling them during the collection trip.
Claim the Hammyshork Rod and check its stats
Return to Hammi after collecting the full set and give him the sharks individually. Completing the hand-in awards the Hammyshork Rod and 10 Shark Tokens. You can then equip the rod from the Equipment Bag.
| Stat | Hammyshork Rod value |
|---|---|
| Lure Speed | 70% |
| Luck | 170% |
| Control | 0.15 |
| Resilience | 15% |
| Hunt Focus | SharkHunt(+15) |
| Max KG | Infinite |
The unlimited weight capacity is the clearest reason to inspect this rod when your current option has a restrictive weight limit. Compare its Control and Resilience with your existing rod before deciding which to use for your next catch.
The base rod does not require either plushie challenge below. Finish those only after completing Hammi's collection if your immediate goal is to equip Hammyshork.
Unlock the two extra Hammyshork Rod modes
Get Well Soon: retrace the mountain trails
The Get Well Soon mode requires you to retrace 20 plushie trails in Northern Expedition. Follow the blue star-marked symbols on the ground as you climb toward the top of the mountain.
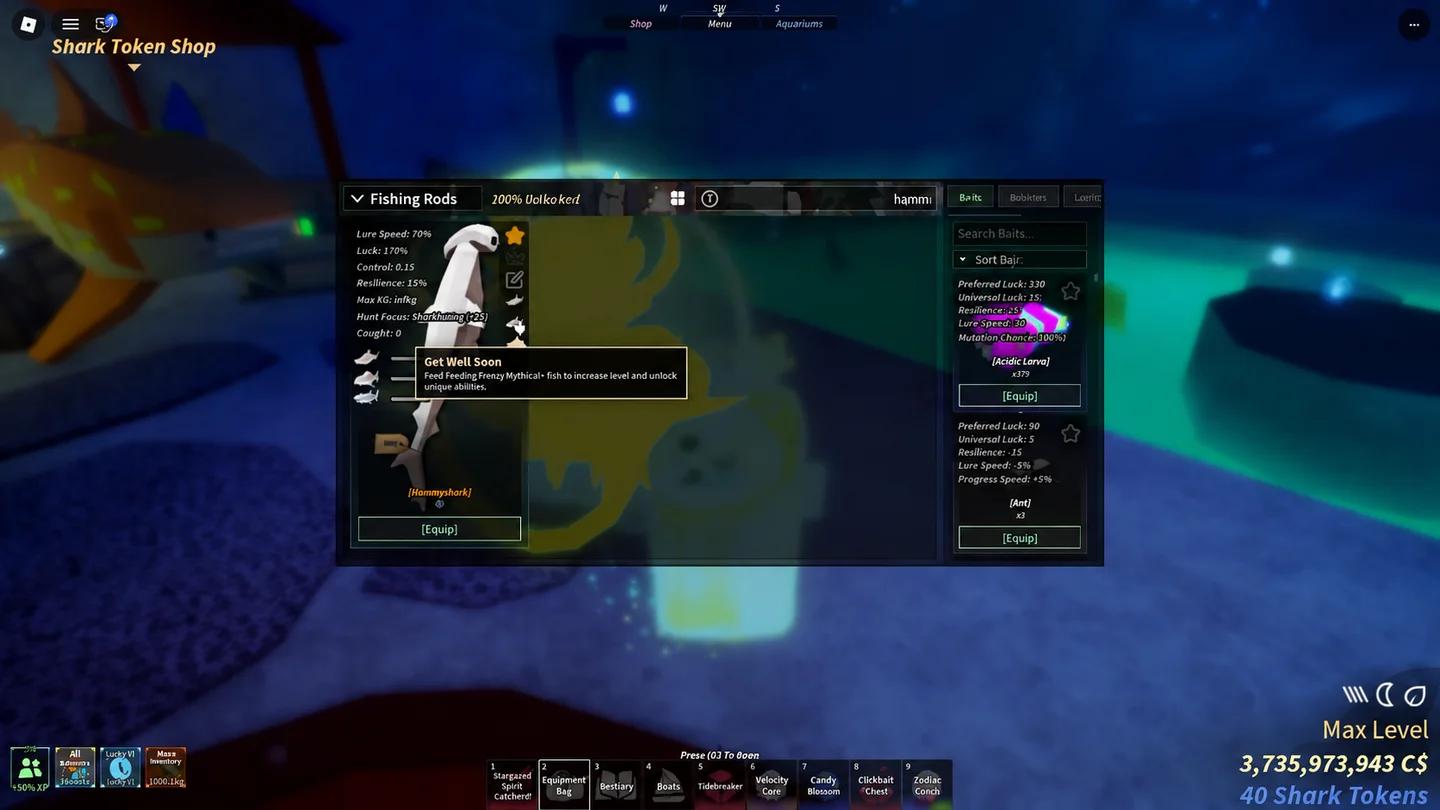
Follow the mountain's blue stars
Work through the route as a climb, checking the ground for the next marker before moving farther uphill. This challenge is about following the trail sequence, separate from the shark catches used to obtain the rod.
Well: rescue the Well Plush
The Well mode comes from finding and rescuing the Well Plush. Follow its marker and enter the well to begin the racing minigame.
Complete the race by passing through all the green circles. Follow the marked course through to the end to finish the rescue and unlock the mode.