
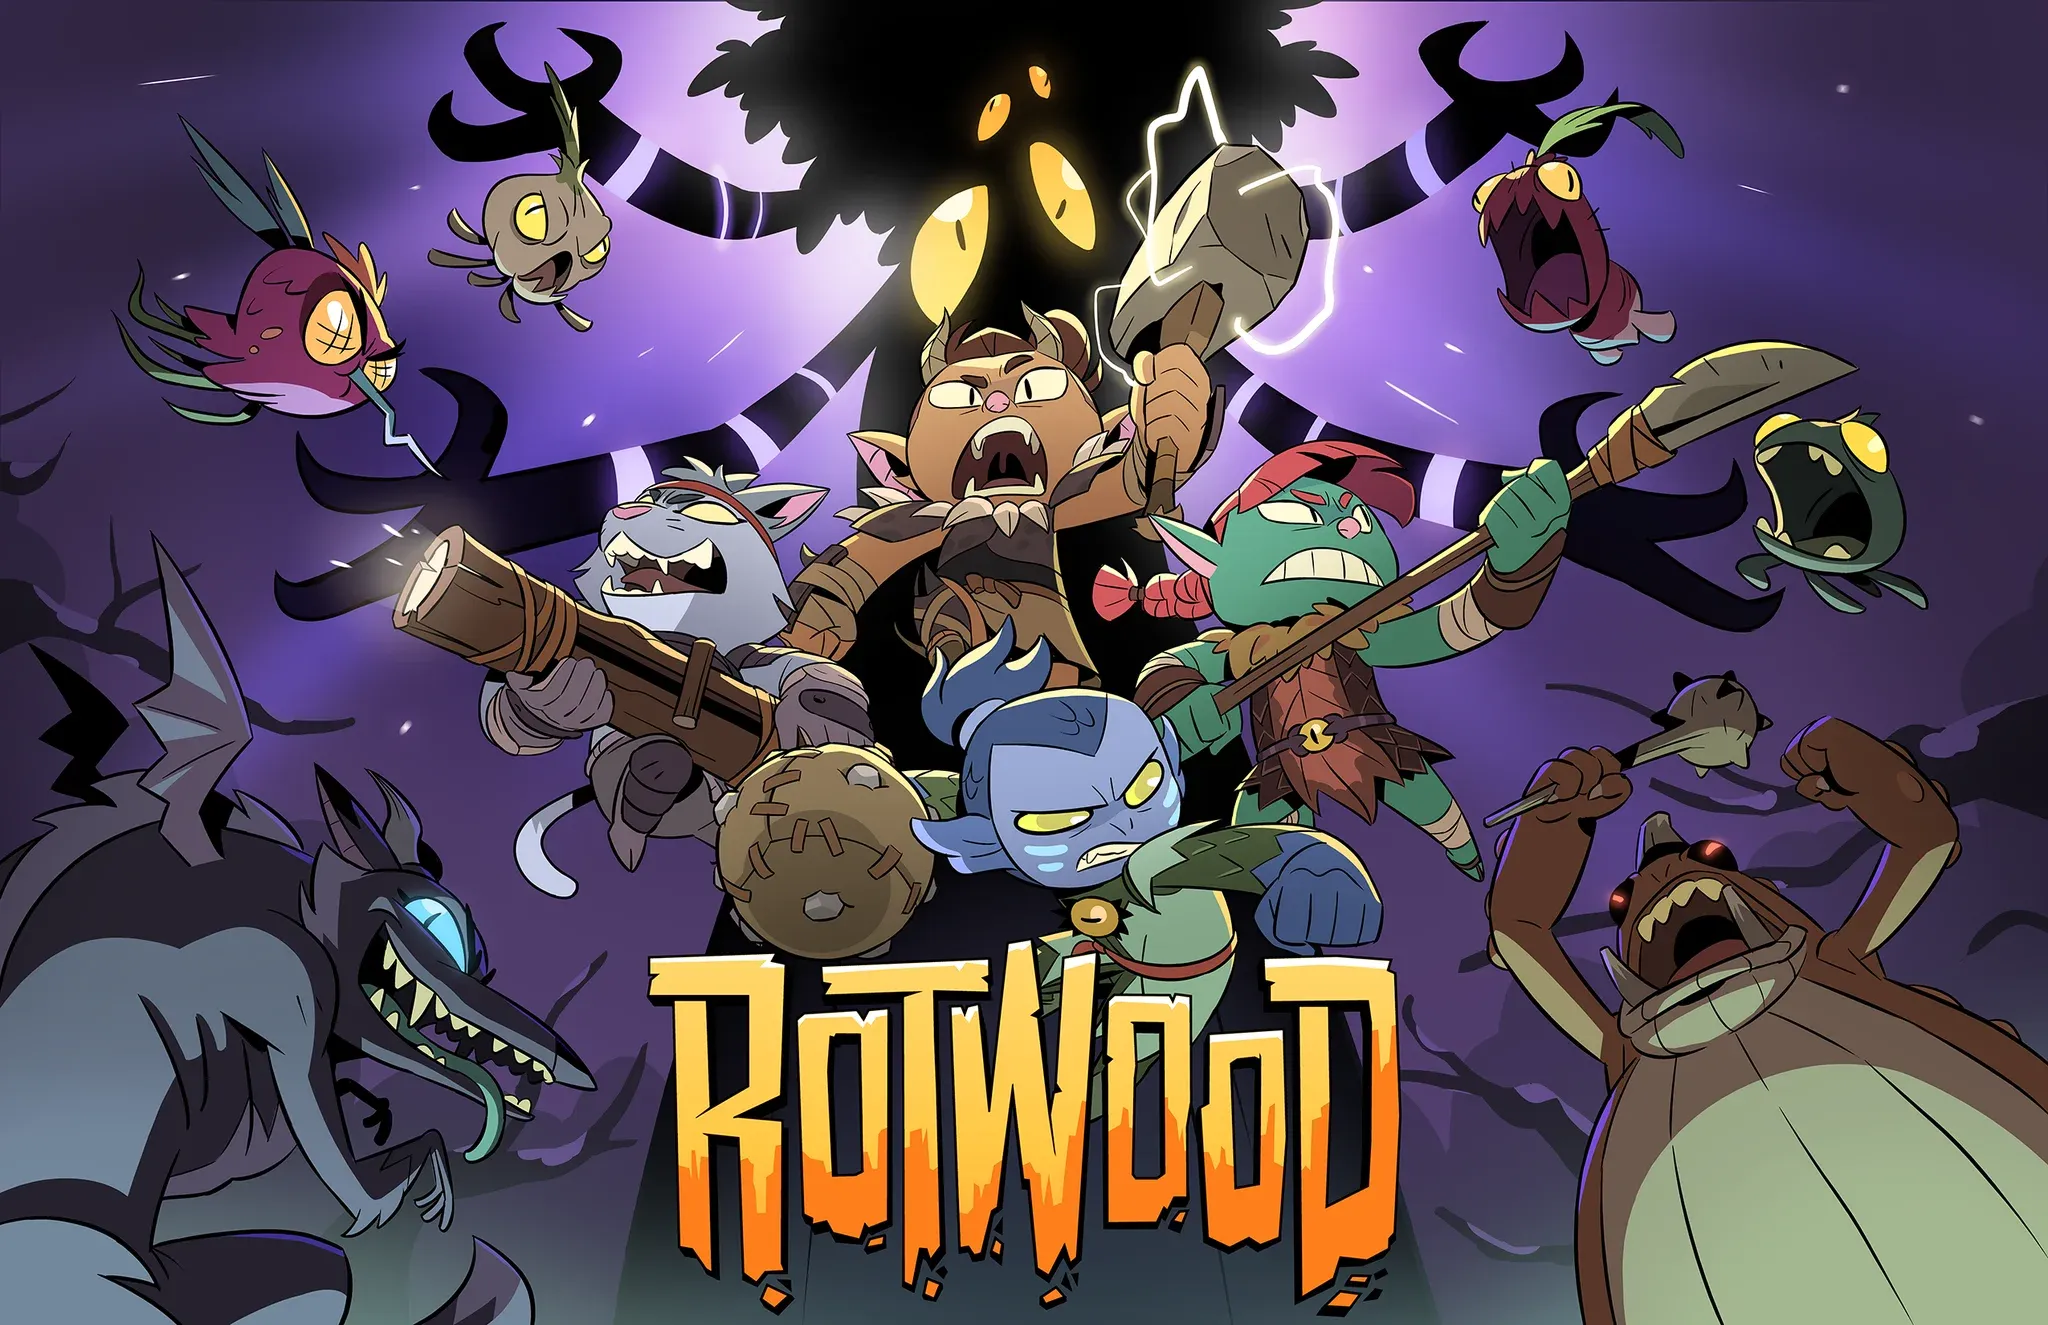
Gems are one of the most impactful systems in Rotwood, and they're easy to overlook if you're rushing through early expeditions. Once you unlock the Gemcutter's Tools and start slotting the right stones into your weapons, your damage output and survivability can shift dramatically. Whether you want to punish enemies from behind, absorb boss hits, or keep your health topped off mid-run, there's a gem for that.
How Do You Unlock the Gem System in Rotwood?
Before you can equip a single gem, you need to complete a short unlock chain. First, you must found the Mysterious Device in your town. After that, speak to the Blacksmith, who will hand you a quest to retrieve the Gemcutter's Tools. Once you have those tools in hand, the full gem system opens up.
From that point forward, gems become a permanent part of your loadout planning. Don't skip this quest chain early. The sooner you unlock it, the more gem experience you accumulate across your runs.

How Do You Get Gems in Rotwood?
There are three main ways to collect gems during your runs:
- Expedition drops with Teffra Saturation active: When the expedition has a Teffra Saturation modifier, look for the unidentified gem icon. These runs give you the best shot at finding new gems naturally.
- In-expedition shops: Gem vendors can appear during a run, letting you purchase unidentified gems on the spot.
- Gem Dust purchases: Trash gems you don't need to earn Gem Dust, then spend that dust to buy unidentified gems directly. You also gain Gem Dust when you reroll a gem into a new one.
Unidentified gems reveal their type and stats only once you identify them, so there's always a degree of randomness in what you get. Farming Teffra Saturation expeditions is the most reliable method for building a strong gem collection over time.
How Do Gem Levels and Slot Matches Work?
Every gem has three upgrade tiers: Alpha, Beta, and Gamma. Gems gain experience passively while equipped on a weapon during combat. The higher the tier, the stronger the effect.
Beyond leveling, placement matters. Each gem belongs to one of three categories: Damage, Support, or Sustain. When you place a gem into a weapon slot that matches its category, it receives a Slot Match bonus on top of its base stats. Always try to match gem types to their corresponding slots for that extra edge.
What Are the Best Damage Gems?
Damage gems focus on increasing your offensive output through a variety of conditions. Here's a full breakdown of every Damage gem and its scaling:
| Gem Name | Effect | Slot Match Bonus | Alpha | Beta | Gamma |
|---|---|---|---|---|---|
| Backstab Gem | Increases damage when attacking from behind | +5% | +5% | +10% | +15% |
| Counter Gem | Increases damage when counter-attacking | +4% | +4% | +6% | +8% |
| Critical Chance Gem | Increases critical hit chance | +1% | 1% | 2% | 3% |
| Critical Damage Gem | Increases critical hit damage | +10% | 10% | 15% | 20% |
| Focus Damage Gem | Increases focus hit damage | +4% | 4% | 6% | +8% |
| Heavy Gem | Increases heavy attack damage | +4% | +4% | +6% | +8% |
| Light Gem | Increases light attack damage | +4% | +4% | +6% | +8% |
| Pristine Gem | Increases damage against full-health targets | +15% | +15% | +20% | +30% |
| Risky Gem | Take more damage, deal more damage | +5% | +5% | +10% | +15% |
| Thorny Gem | Deals damage to your attacker | +50 | 50 | 100 | 250 |
The Pristine Gem at Gamma tier is one of the highest single-gem damage bonuses in the game at +30%, but it only activates against full-health enemies. Pair it with burst-damage playstyles where you open fights with a massive hit before the enemy takes any chip damage. The Critical Damage Gem at Gamma delivers a consistent +20% boost to every crit, making it a strong pick for builds that already invest in critical hit chance.
What Are the Best Support Gems?
Support gems handle utility functions like resource gathering, movement, and run flexibility. They don't directly boost damage, but the right Support gems can dramatically improve how smoothly a run flows.
| Gem Name | Effect | Slot Match Bonus | Alpha | Beta | Gamma |
|---|---|---|---|---|---|
| Brightside Gem | Gain Teffra when taking damage | +3 | 3 | 6 | 9 |
| Choosey Gem | See more power options | +1 | +1 | +2 | +3 |
| Crafter's Gem | Chance for bonus Fortifying Ingots | +5% | +5% | +10% | +15% |
| Forager's Gem | Chance for bonus Materials | +5% | +5% | +10% | +15% |
| Gambler's Gem | Chance to double Teffra pickups | +5% | +5% | +10% | +15% |
| Luck Gem | Increases Luck | +2% | +2% | +3% | +4% |
| Patient Gem | Hit streaks decay slower | +5% | +5% | +15% | +25% |
| Phasing Gem | Dodge passes through objects | N/A | N/A | N/A | N/A |
| Reroll Gem | Reroll power drops | +1 | +1 | +2 | +3 |
| Runspeed Gem | Increases run speed | +5% | +5% | +10% | +15% |
| Scavenger's Gem | Chance for bonus Imbued Materials | +5% | +5% | +10% | +15% |
| Surefooted Gem | Gain wind resistance | +10% | +10% | +25% | +50% |
| Teffra Extraction Gem | Gain Teffra when breaking environment objects | +1 | +1 | +3 | +5 |
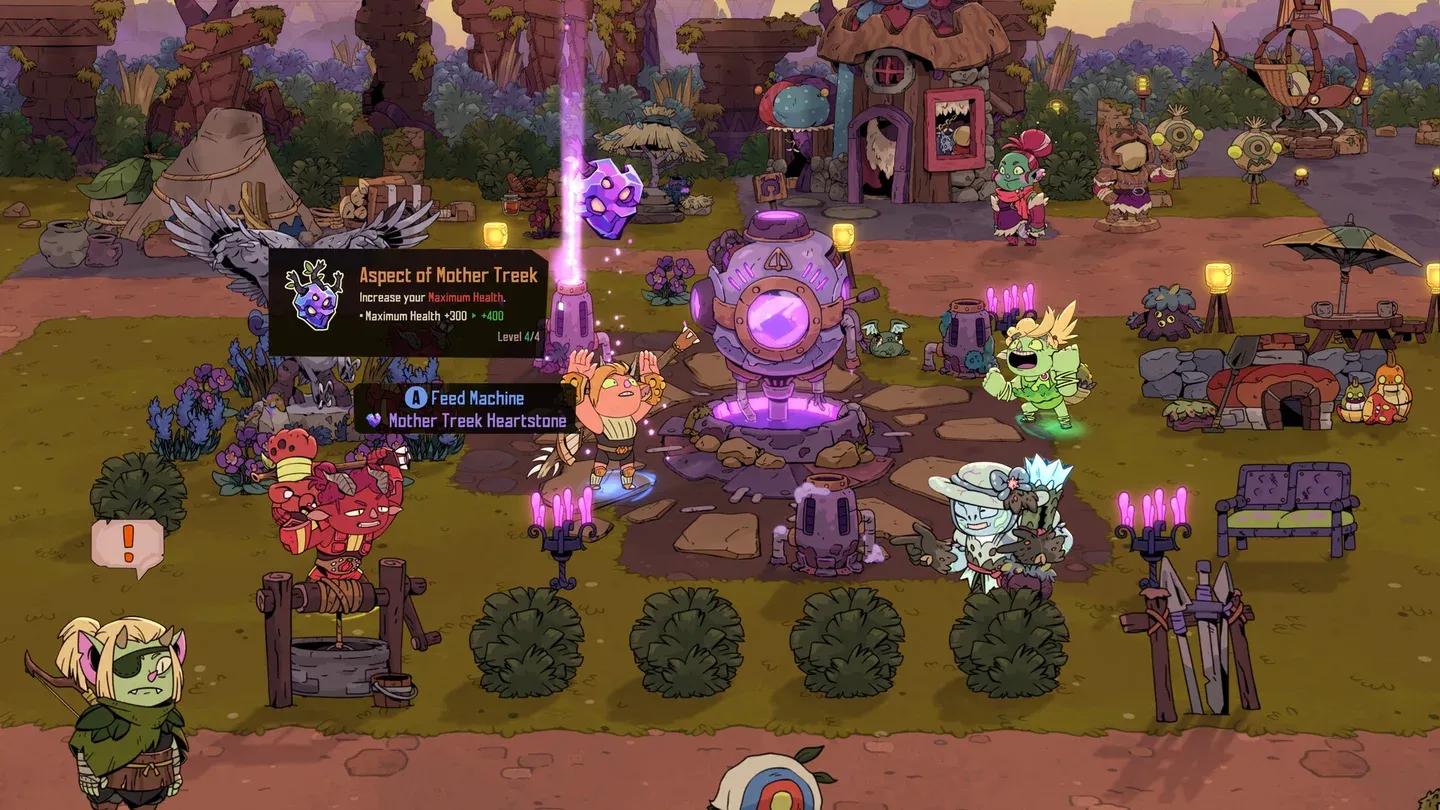
The Choosey Gem and Reroll Gem are standout picks for players who want more control over their power selections during a run. At Gamma, Choosey shows three additional power options each time, which significantly expands your ability to build toward a specific strategy. The Phasing Gem is unique in that it has no numeric scaling, but the ability to dodge through solid objects can be a lifesaver in tight arena layouts.
Choosey Gem expands power picks
What Are the Best Sustain Gems?
Sustain gems reduce incoming damage and restore health, making them essential for surviving harder expeditions and boss encounters.
| Gem Name | Effect | Slot Match Bonus | Alpha | Beta | Gamma |
|---|---|---|---|---|---|
| Acid Protection Gem | Reduces poison damage received | +10% | +10% | +25% | +50% |
| Backstab Protection Gem | Reduces damage from behind | +10% | +10% | +15% | +20% |
| Boss Protection Gem | Reduces damage from Boss Rots | +6% | +6% | +8% | +10% |
| Concentrated Gem | Heal on Focus Hit kill | +5 | 5 | 10 | 15 |
| Counter Protection Gem | Reduces damage while attacking | +4% | +4% | +6% | +8% |
| Healing Gem | Increases healing received | +3% | +3% | +6% | +10% |
| Max Health Gem | Increases maximum health | +50 | 50 | 75 | 100 |
| Miniboss Protection Gem | Reduces damage from Rot Minibosses | +6% | +6% | +8% | +10% |
| Pick-me-up Gem | Chance to heal from Teffra pickups | +5% | +5% | +10% | +15% |
| Projectile Protection Gem | Reduces projectile damage received | +10% | +10% | +15% | +20% |
| Regen Gem | Heal every second for the first 15 seconds of a Clearing | +2 | +2 | +3 | +4 |
| Trap Protection Gem | Reduces trap damage received | +10% | +10% | +15% | +20% |
The Boss Protection Gem and Miniboss Protection Gem are must-considers when pushing higher-difficulty content. The Regen Gem provides a reliable burst of healing at the start of each Clearing, which pairs well with aggressive playstyles that take early hits. For tankier builds, stacking the Max Health Gem (up to +100 HP at Gamma) alongside the Healing Gem creates a durable foundation.
Gem Farming Tips: How to Build Your Collection Faster
Building a full gem collection takes time, but these strategies speed up the process considerably:
- Prioritize Teffra Saturation expeditions when you need new gems. The unidentified gem drop icon is your clearest signal that a run is gem-productive.
- Reroll gems you won't use to generate Gem Dust, then reinvest that dust into unidentified gems at the shop. This creates a steady loop of gem turnover.
- Keep leveling gems you plan to use long-term. A Gamma gem delivers significantly stronger effects than an Alpha, so committing to your core gems early pays off.
- Match your gems to their correct slots every time. The Slot Match bonus is free extra power that requires no additional farming.
- Don't neglect Support gems in favor of pure Damage stacking. The Choosey Gem and Reroll Gem at higher levels give you more control over your run's direction, which often translates to stronger builds than raw damage gems alone.
Building Around Gem Types: Which Combination Works Best?
There's no single universally optimal gem loadout because your weapon slots and playstyle determine what fits. That said, here are three reliable frameworks to build from:
Aggressive Damage Build
- Slot Critical Damage Gem (Gamma) for consistent crit scaling
- Add Backstab Gem or Pristine Gem depending on your approach style
- Back it up with Counter Protection Gem in Sustain to reduce punishment while attacking
Balanced Utility Build
- Use Choosey Gem or Reroll Gem in Support slots for run flexibility
- Pair with Regen Gem for passive healing at the start of each room
- Fill remaining Damage slots with Light Gem or Heavy Gem based on your attack pattern
Defensive Survival Build
- Stack Boss Protection Gem and Miniboss Protection Gem for boss-heavy runs
- Include Max Health Gem at Gamma for +100 HP
- Use Pick-me-up Gem to generate healing from normal Teffra collection
The gem system rewards players who think about their loadout holistically rather than just stacking the highest damage numbers. Survivability gems often enable longer runs that net more total damage than a fragile pure-offense setup.