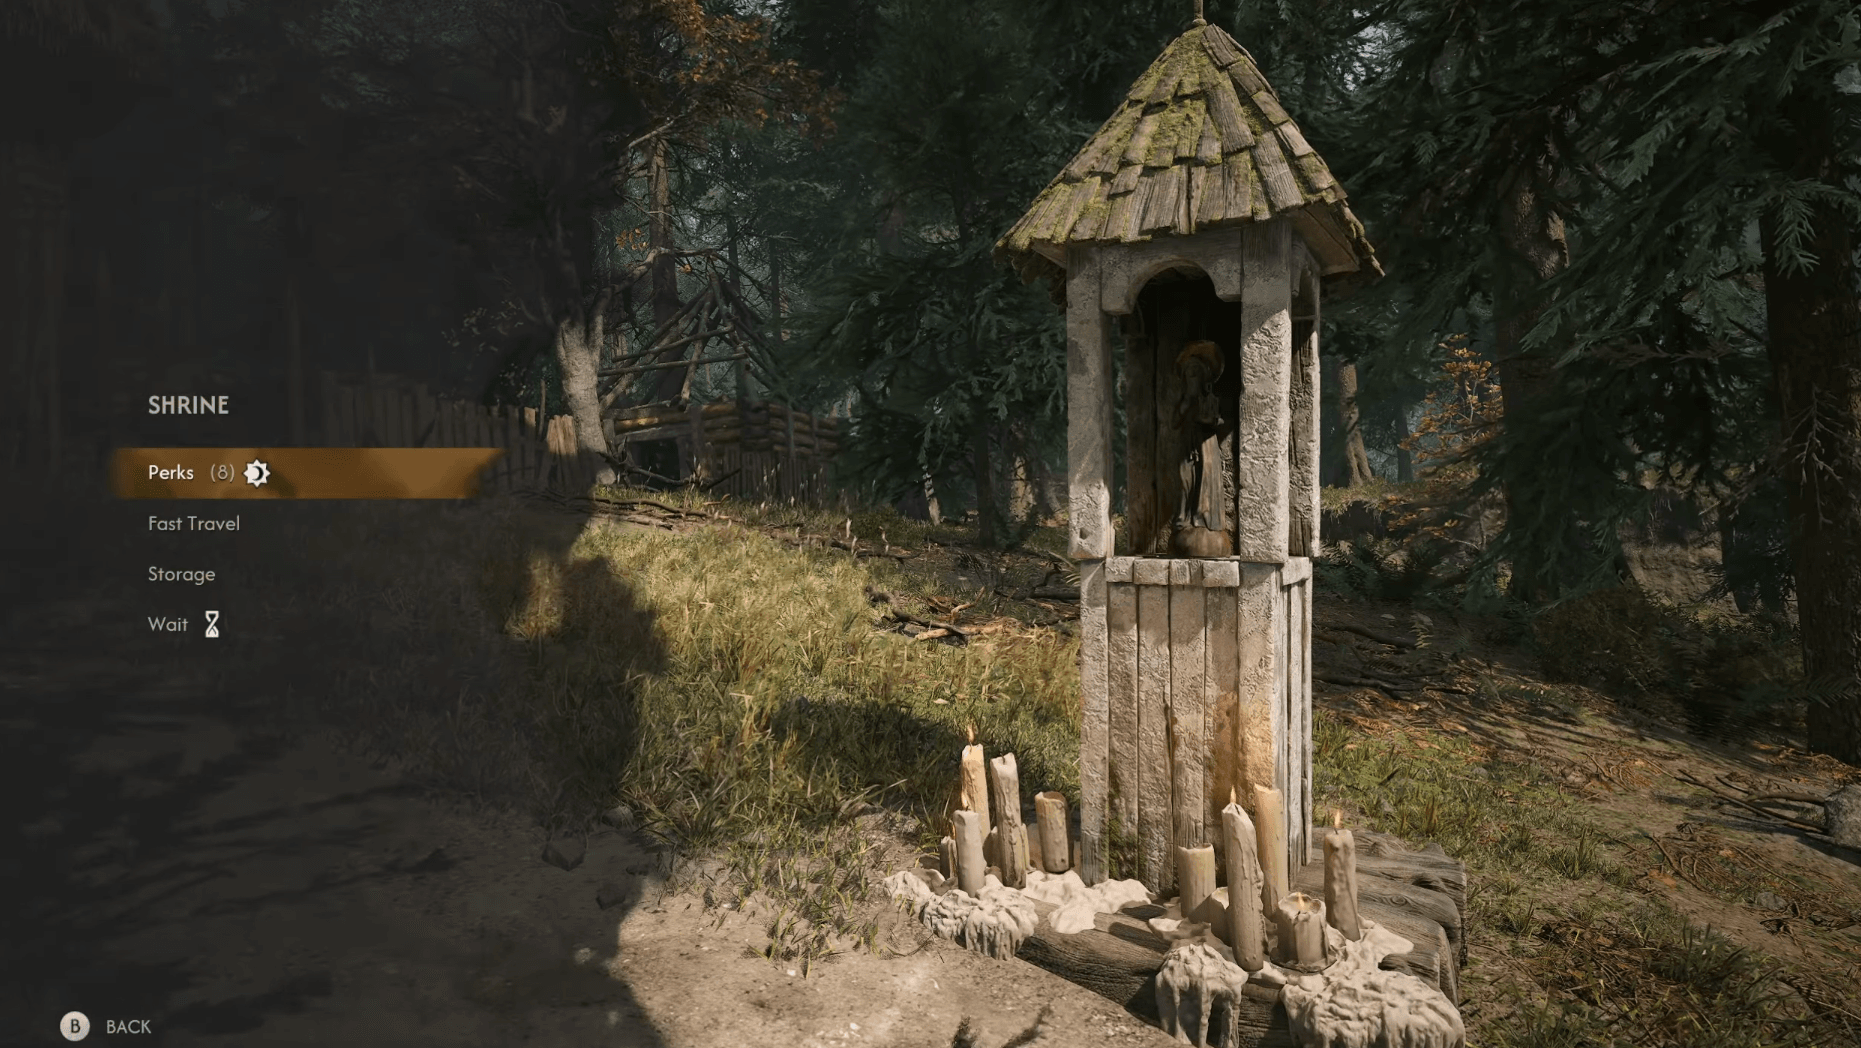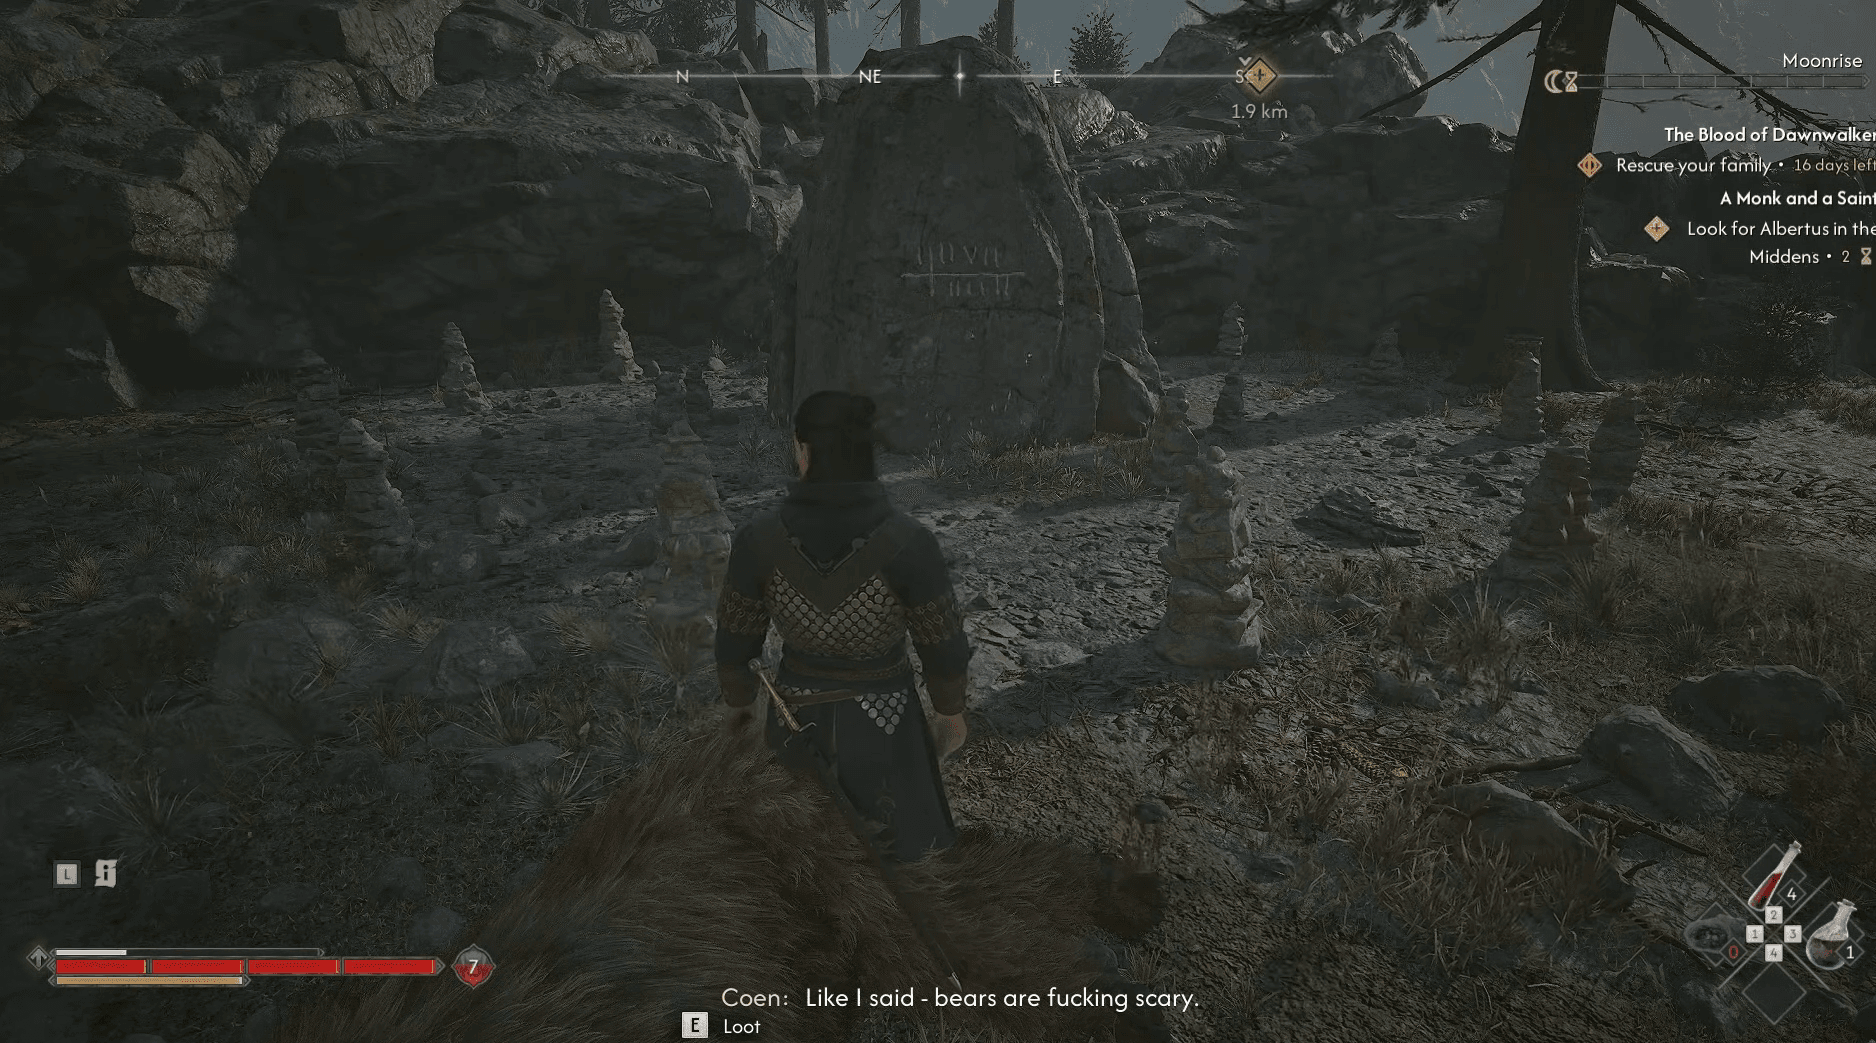

The Blood of Dawnwalker hides some of its best ability upgrades behind a side quest called A Pilgrimage for Power, and the Sacred Stones at its core are easy to miss if you're not paying attention to the windchimes. These ancient uriashi structures are scattered across Vale Sangora, one sitting in the north and three more clustered in the southern half of the map. Each one guards a Ravenous Flock Manual, and collecting all four maxes out one of the more useful Witchcraft abilities in the game.
What are the Sacred Stones in Blood of Dawnwalker?
Sacred Stones are uriashi-built structures marked with magical glyphs. Left behind by the uriashi long before the events of the game, each stone holds a boon that Coen can claim by interacting with the glyph directly. The quest A Pilgrimage for Power tasks you with tracking down all four.
A few things to know before you head out:
- You can visit any Sacred Stone during the day or at night, so timing is flexible.
- Hold down the Focus button to make the windchimes visible and easier to follow toward each stone.
- Interacting with the uriashi glyph costs two time segments, so plan accordingly.
- Each glyph rewards one Ravenous Flock Manual.


Where are all the Sacred Stone locations?
The four stones split neatly between northern and southern Vale Sangora. Here's every location with the combat encounter you'll need to handle at each one.
| Stone | Sub-quest Name | Location | Combat Encounter | Extra Drops |
|---|---|---|---|---|
| 1 | Bear Trouble | West of Briar Sloughs Scouting Tower (north) | Ravenous Bear | None |
| 2 | Dark Thing | Near Westridge Outpost shrine (south) | Essence of Grief (Vidmo specter) | None |
| 3 | Fanatics | Northeast of St. Tyna's Grove (south) | Wolves | None |
| 4 | The Ritual | Southern edge of the map (south) | Witch of the Barren Peaks | Aether Flow Manual, Crimson Band, Aetheric Essence |
Sacred Stone 1: Bear Trouble
Location: West of the Briar Sloughs Scouting Tower in the northern part of the map. This is typically the first Sacred Stone players encounter during the main campaign.
Once you follow the windchimes up to the plateau, save your game before going any further. A Ravenous Bear is waiting at the top, and it hits hard. After putting it down, examine the uriashi corpse and the dagger nearby before interacting with the glyph.
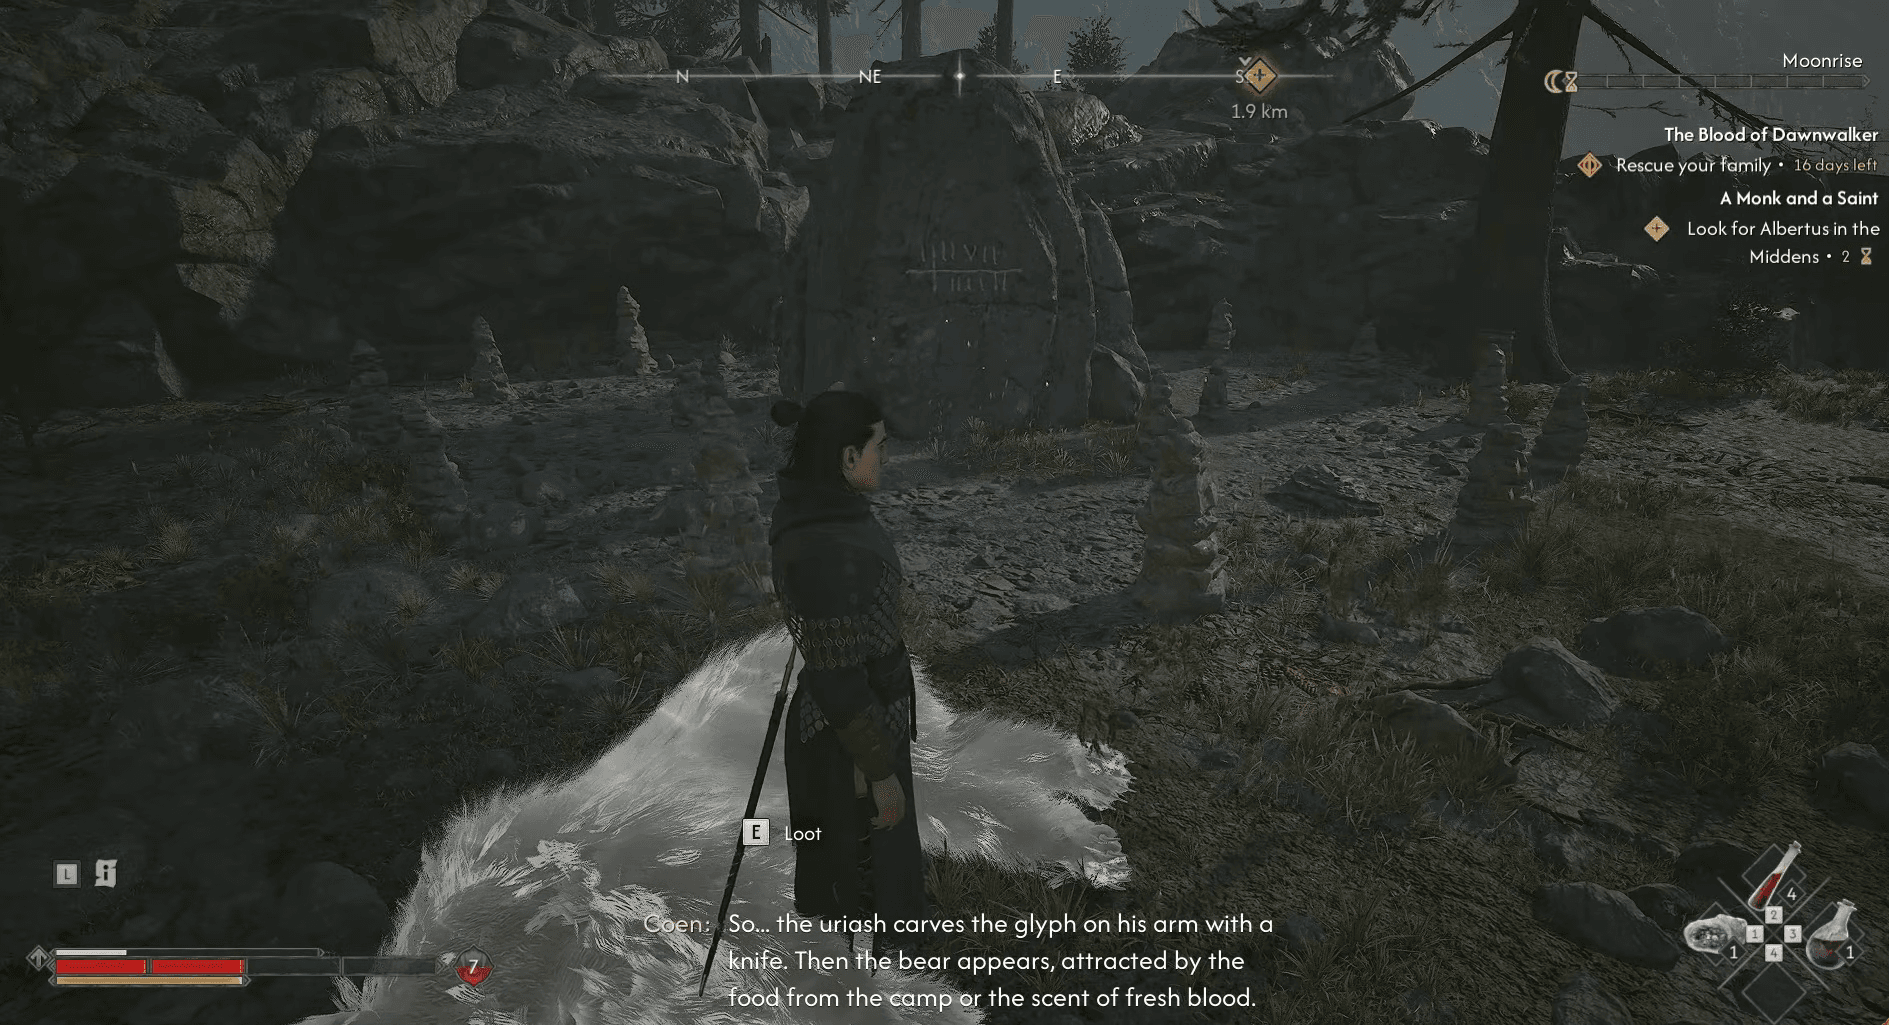
Blood of Dawnwalker Guide: All Sacred Stone Locations
Sacred Stone 2: Dark Thing
Location: Near the Westridge Outpost shrine. Head north from the abandoned outpost and climb the rocky crag until you reach the stone.
The encounter here is a miniboss called the Essence of Grief, also referred to as a Vidmo specter. Exorcise it, then speak with the two uriashi travelers you'll find in the area afterward. Tell them you've already dealt with the dark thing, and keep the tone friendly.
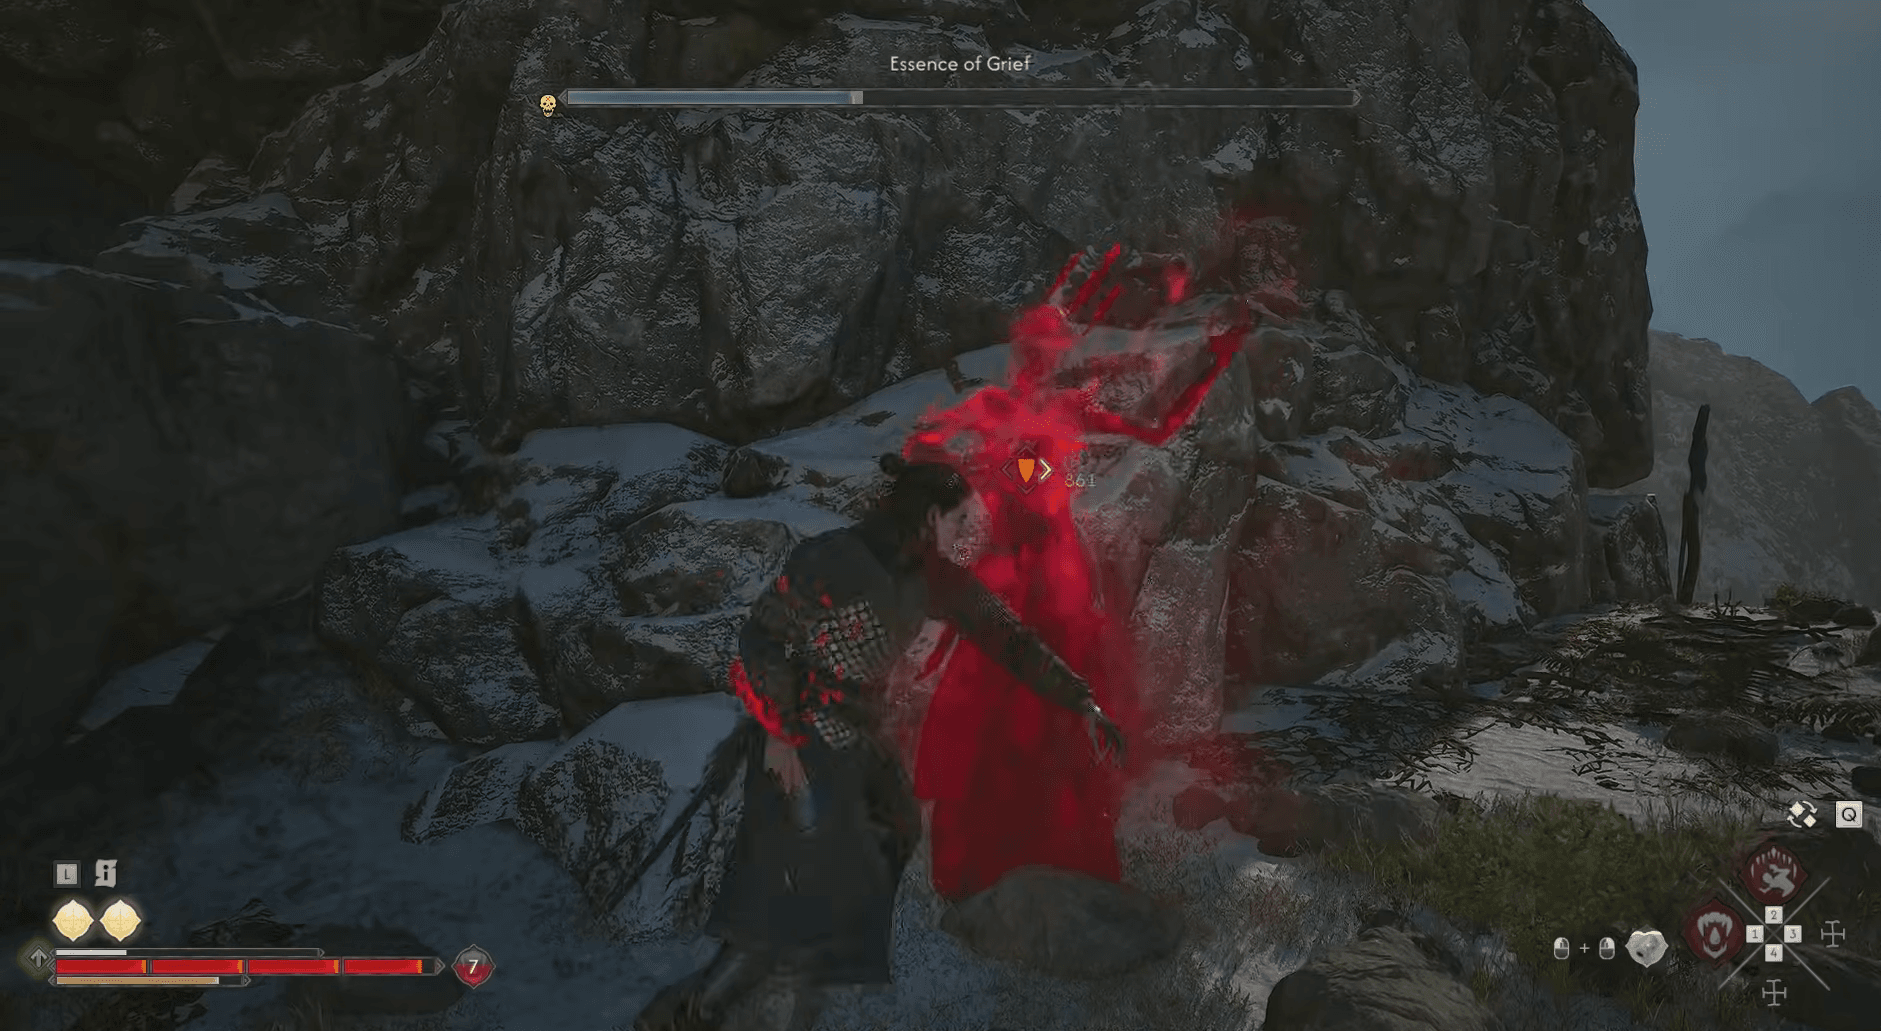
Blood of Dawnwalker Guide: All Sacred Stone Locations
Sacred Stone 3: Fanatics
Location: Northeast of St. Tyna's Grove, near a bandit camp north of one of Ambrus' outposts.
The path up to this stone is guarded by wolves. Clear them out as you climb the slope, then examine the fanatic corpses and the cross they left behind. An uriashi who killed them will appear once you finish your investigation. You can choose to let him go.

Blood of Dawnwalker Guide: All Sacred Stone Locations
Sacred Stone 4: The Ritual
Location: The southern edge of the map. Lightning will strike the area around you as you approach, but keep moving toward the clearing.
This stone is guarded by the Witch of the Barren Peaks, a miniboss who throws unblockable lightning spells. Dodging is your only option when she casts, so wait for an opening and punish her between attacks. Don't try to tank anything she throws.

Blood of Dawnwalker Guide: All Sacred Stone Locations
What do you get from collecting all Sacred Stones?
Every glyph you interact with drops one Ravenous Flock Manual. With all four collected, you have enough manuals to push Ravenous Flock to its maximum rank, provided you're willing to spend the skill points and time segments to do it.
Ravenous Flock is a Witchcraft ability that stuns a target and then triggers additional area attacks, making it genuinely useful against groups. Maxing it out turns what starts as a situational tool into something you'll actually slot into a regular rotation. The Witch of the Barren Peaks at Stone 4 also hands over the Aether Flow Manual and two epic-tier items on top of the glyph reward, so that stop alone is worth the trip even if you're not chasing the full quest.
For players working through all of Vale Sangora's side content, pairing this quest with the all Ancient Circle locations guide will help you knock out a large chunk of the map's collectibles in one efficient sweep. If you're also hunting gear, the legendary weapon and armor locations guide covers everything you need to find the best equipment in the game.
The minibosses tied to these stones are also good practice for the game's harder fights. If you're struggling with any of the encounters here, the Blood of Dawnwalker combat guide breaks down Perfect Blocks, directional attacks, and stamina management in detail.
For everything else in Vale Sangora, the full Blood of Dawnwalker strategy guides collection has you covered.