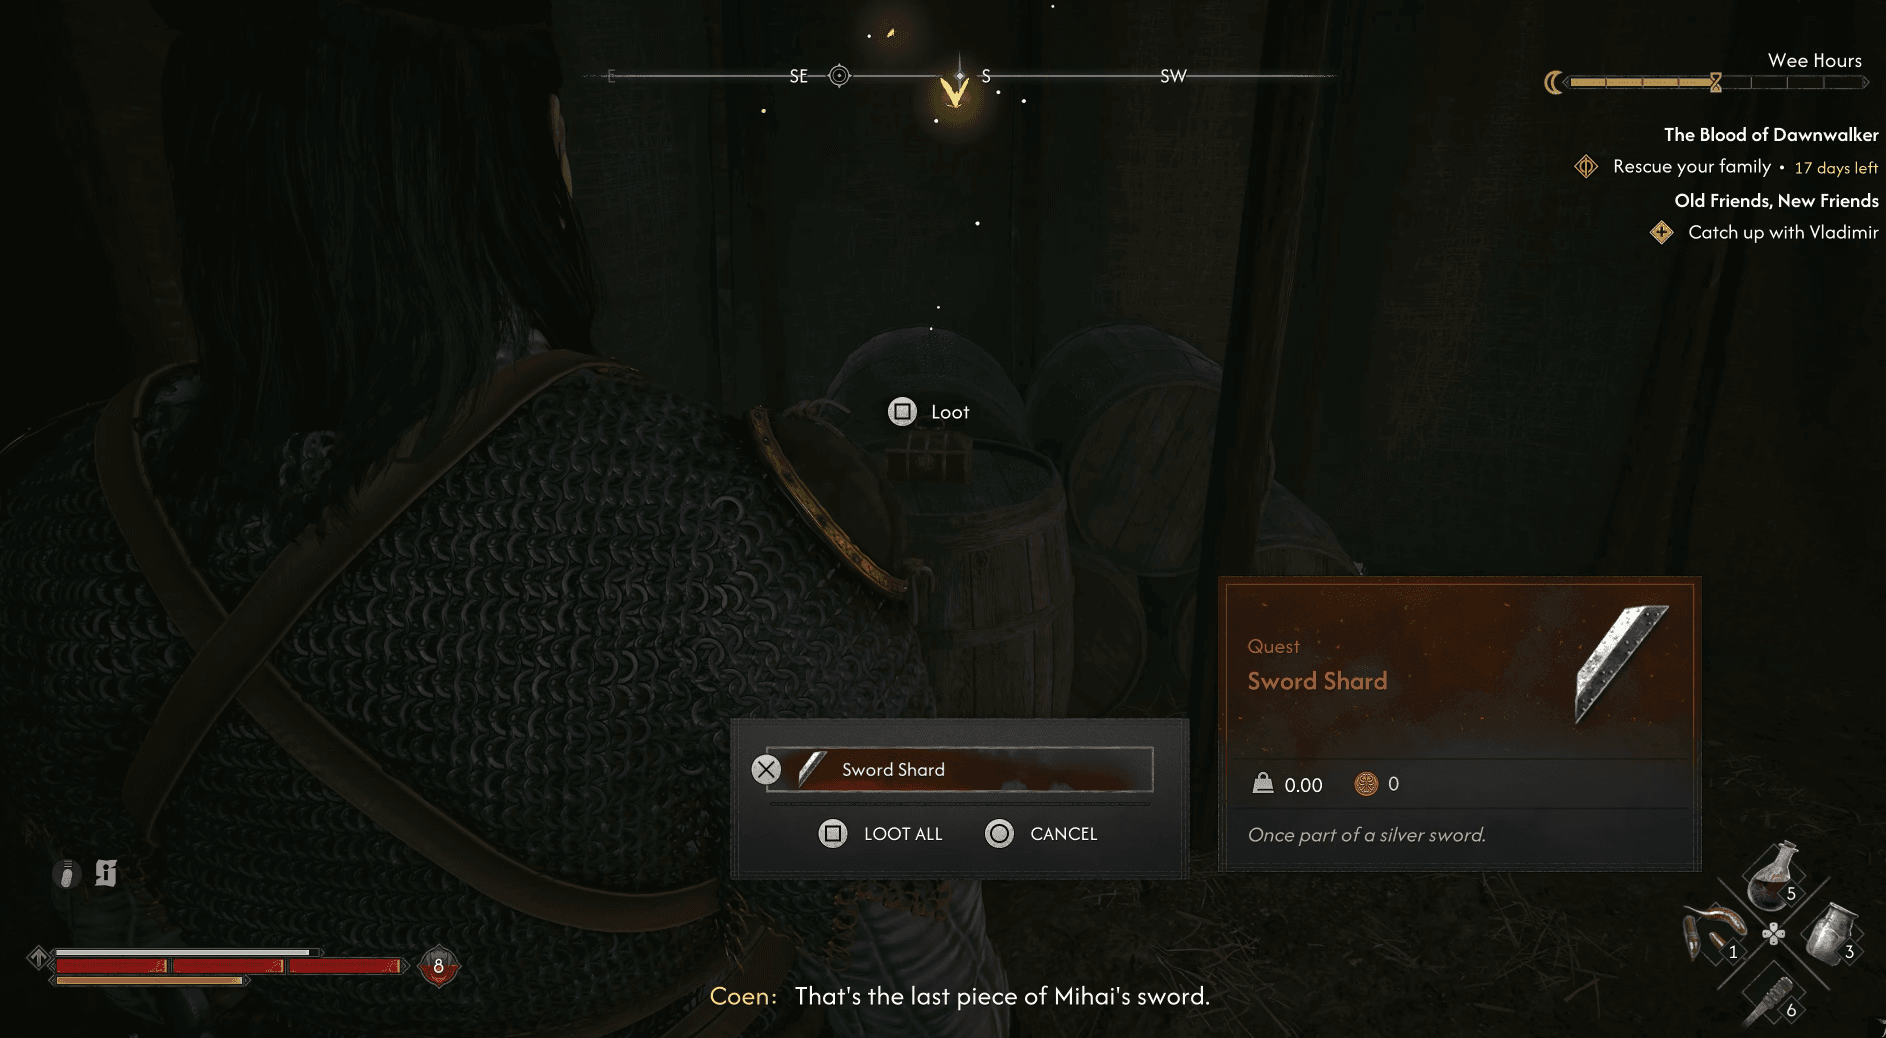

The Imbued Sword of St. Mihai is one of the strongest weapons in The Blood of Dawnwalker, and getting it requires tracking down three Sword Shards scattered across Vale Sangora's kobold caves, raiding a military camp, and surviving a brutal multi-wave ritual encounter. The Forge It Anew quest that ties it all together doesn't hand-hold you through any of it. This guide covers every shard location, the fastest way to handle each encounter, where to find the Uriash Blacksmith, and what to expect when you finally temper the blade into its legendary form.
How do you unlock the Forge It Anew quest?
The quest doesn't appear in your journal automatically. Two things can trigger it. The first is stumbling into any of the three caves described below — each one contains a mural showing the valley's geography, and inspecting it marks the other two locations on your world map. The second route runs through the A Monk and a Saint questline, which has you following St. Mihai's trail through Svartrau Cathedral. That path rewards you with the Broken Sword of St. Mihai and makes the need for three silver shards explicit.
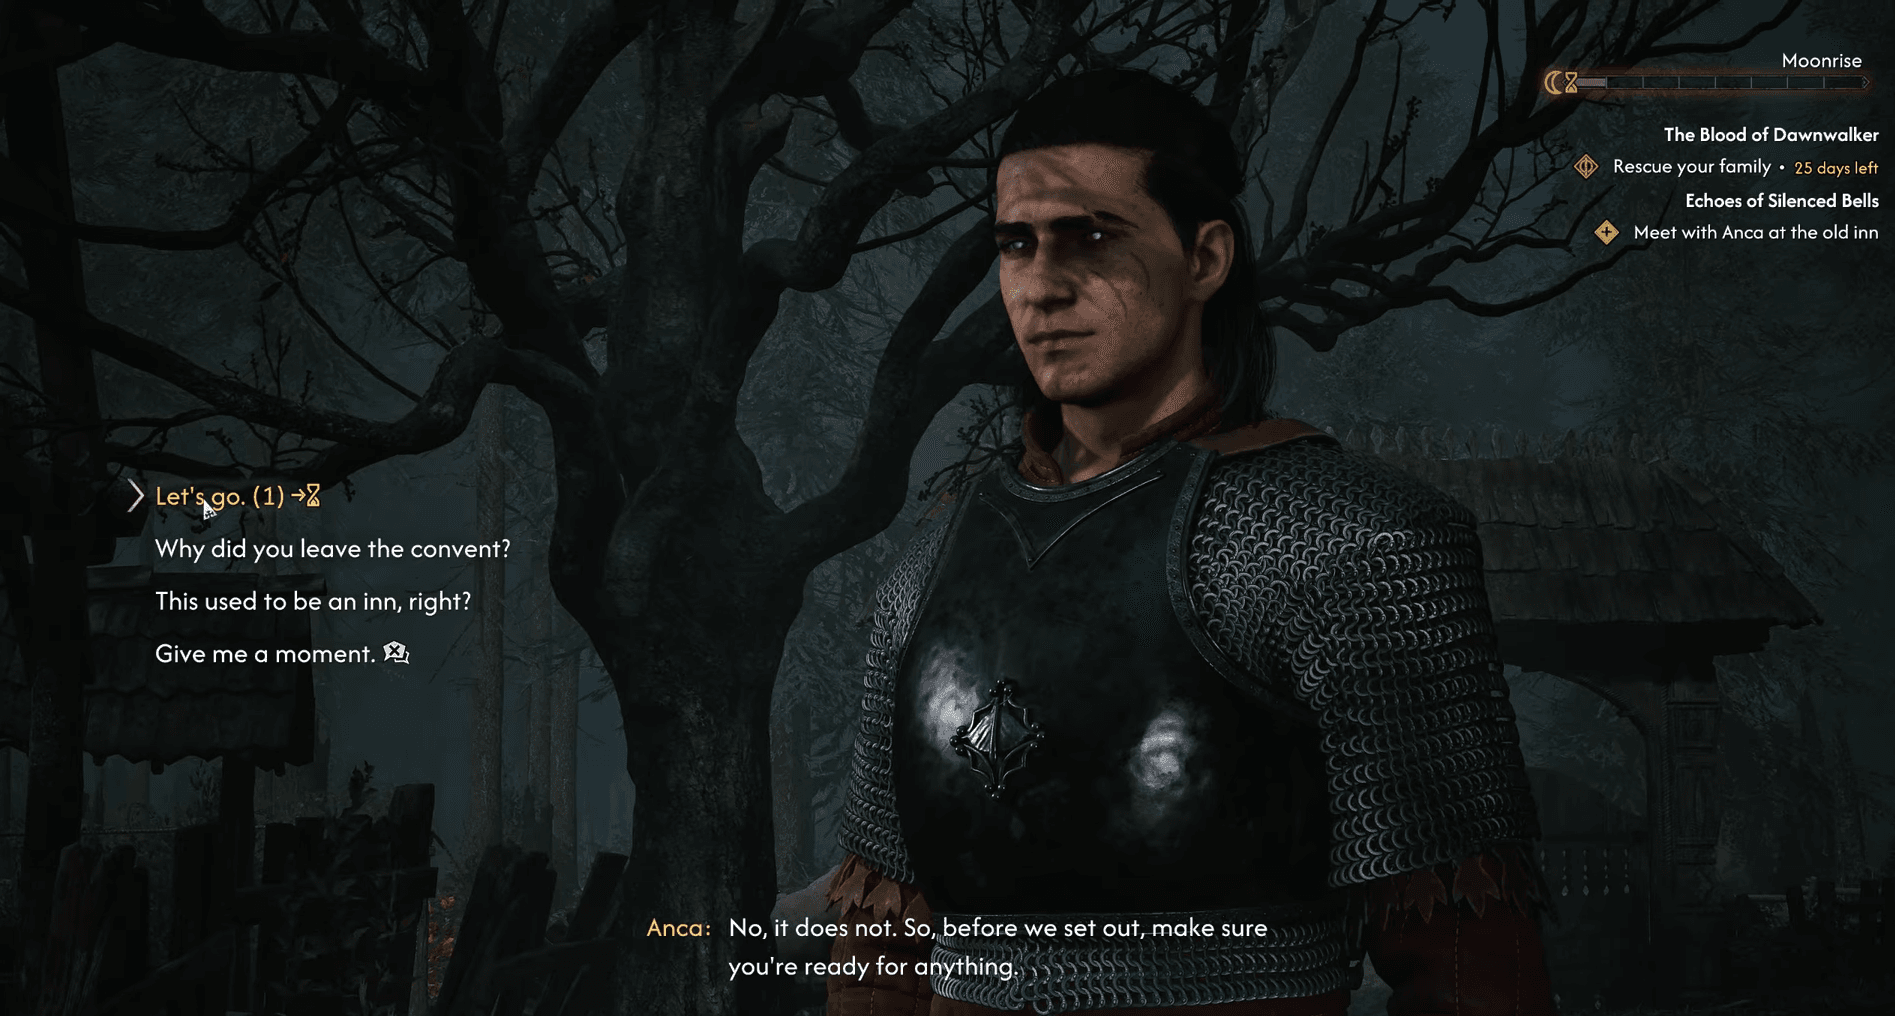
If A Monk and a Saint hasn't appeared yet, progressing Anca's questline past the St. Tryna's excursion and through the Echoes of Silenced Bells and Beyond the Words quests reliably unlocks it. The Svartrau Cathedral section is worth doing properly: navigating the belltower scaffolding gets you inside past Xanthe, studying the frescos reveals St. Mihai's emblem, and the rooftop key opens the crypts where the broken sword waits.

Where are all three Sword Shard locations?
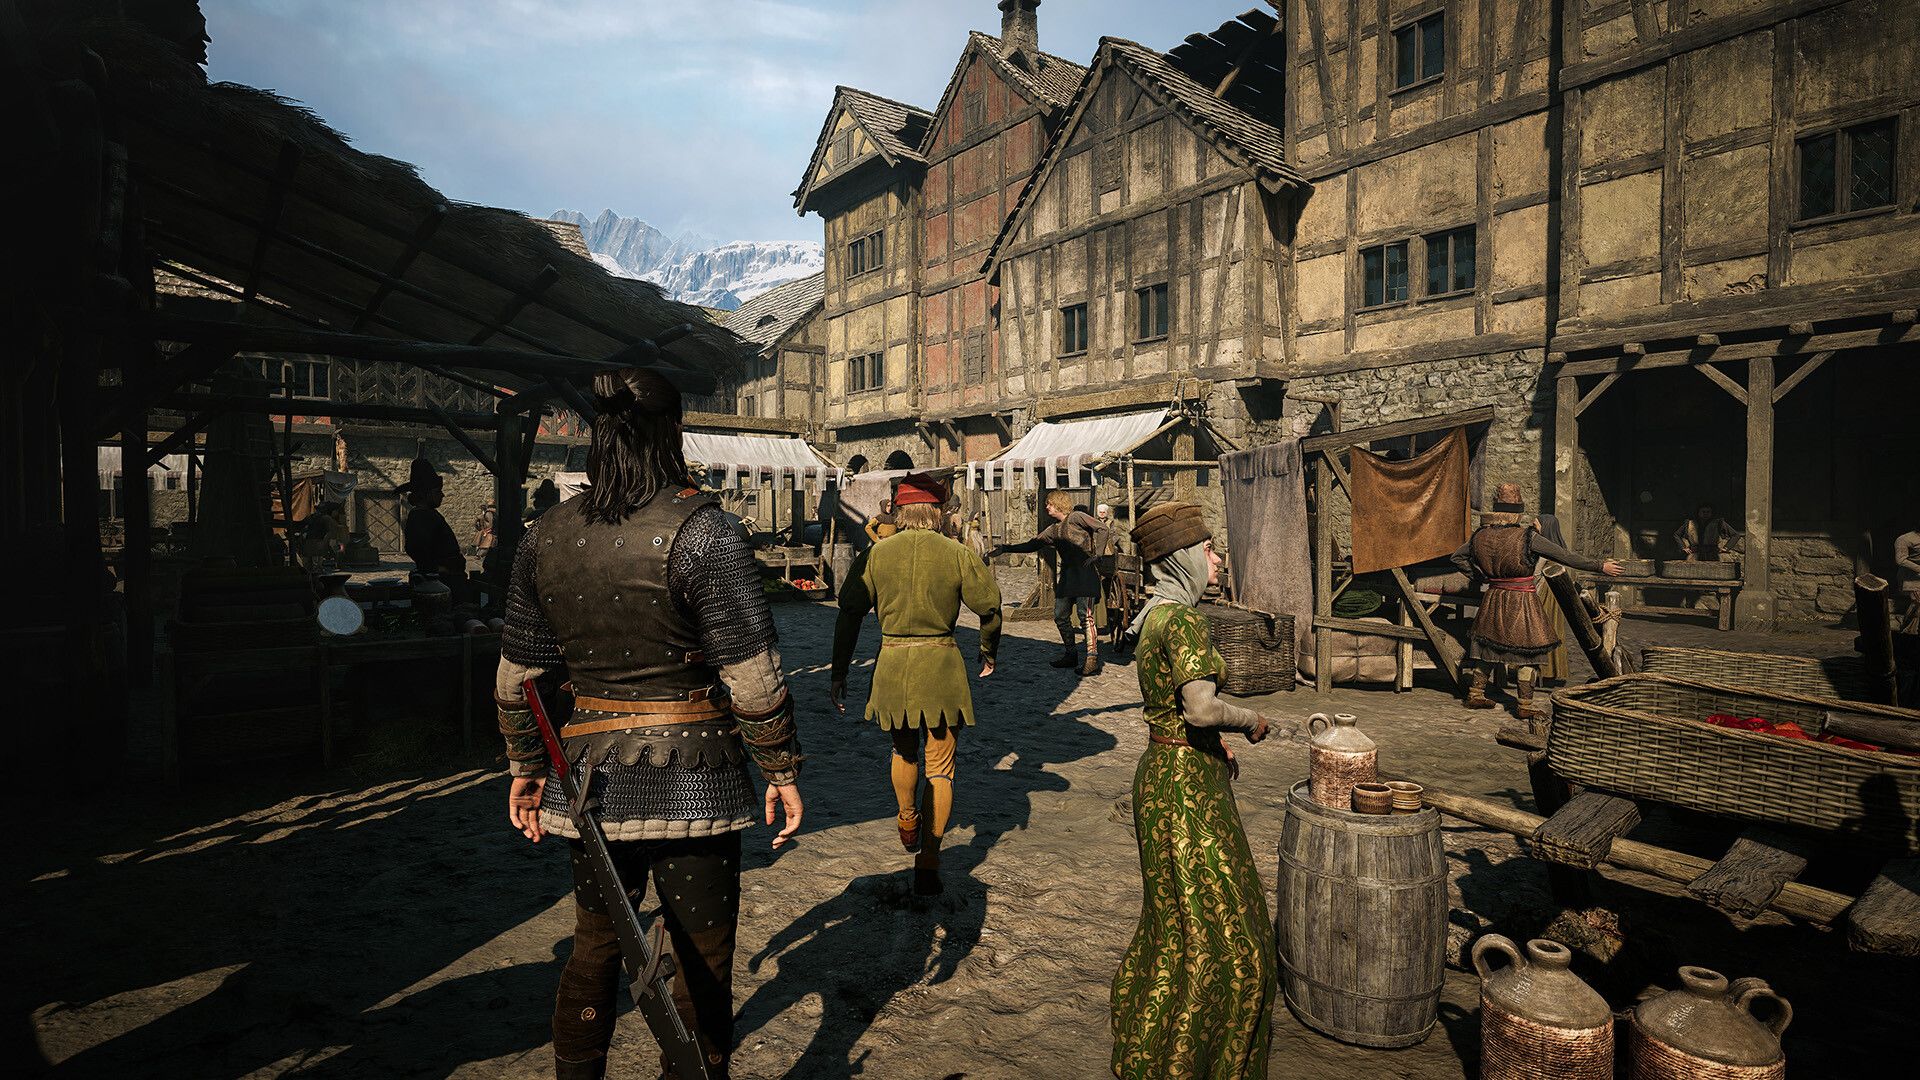
The three shards are spread across Vale Sangora with no waypoints pointing you directly at them. Once you find one cave and inspect its mural, the other two appear on your map. Below is each location and the fastest way through it.
Shard 1: Do Not Disturb (north of Maragir Wealds)
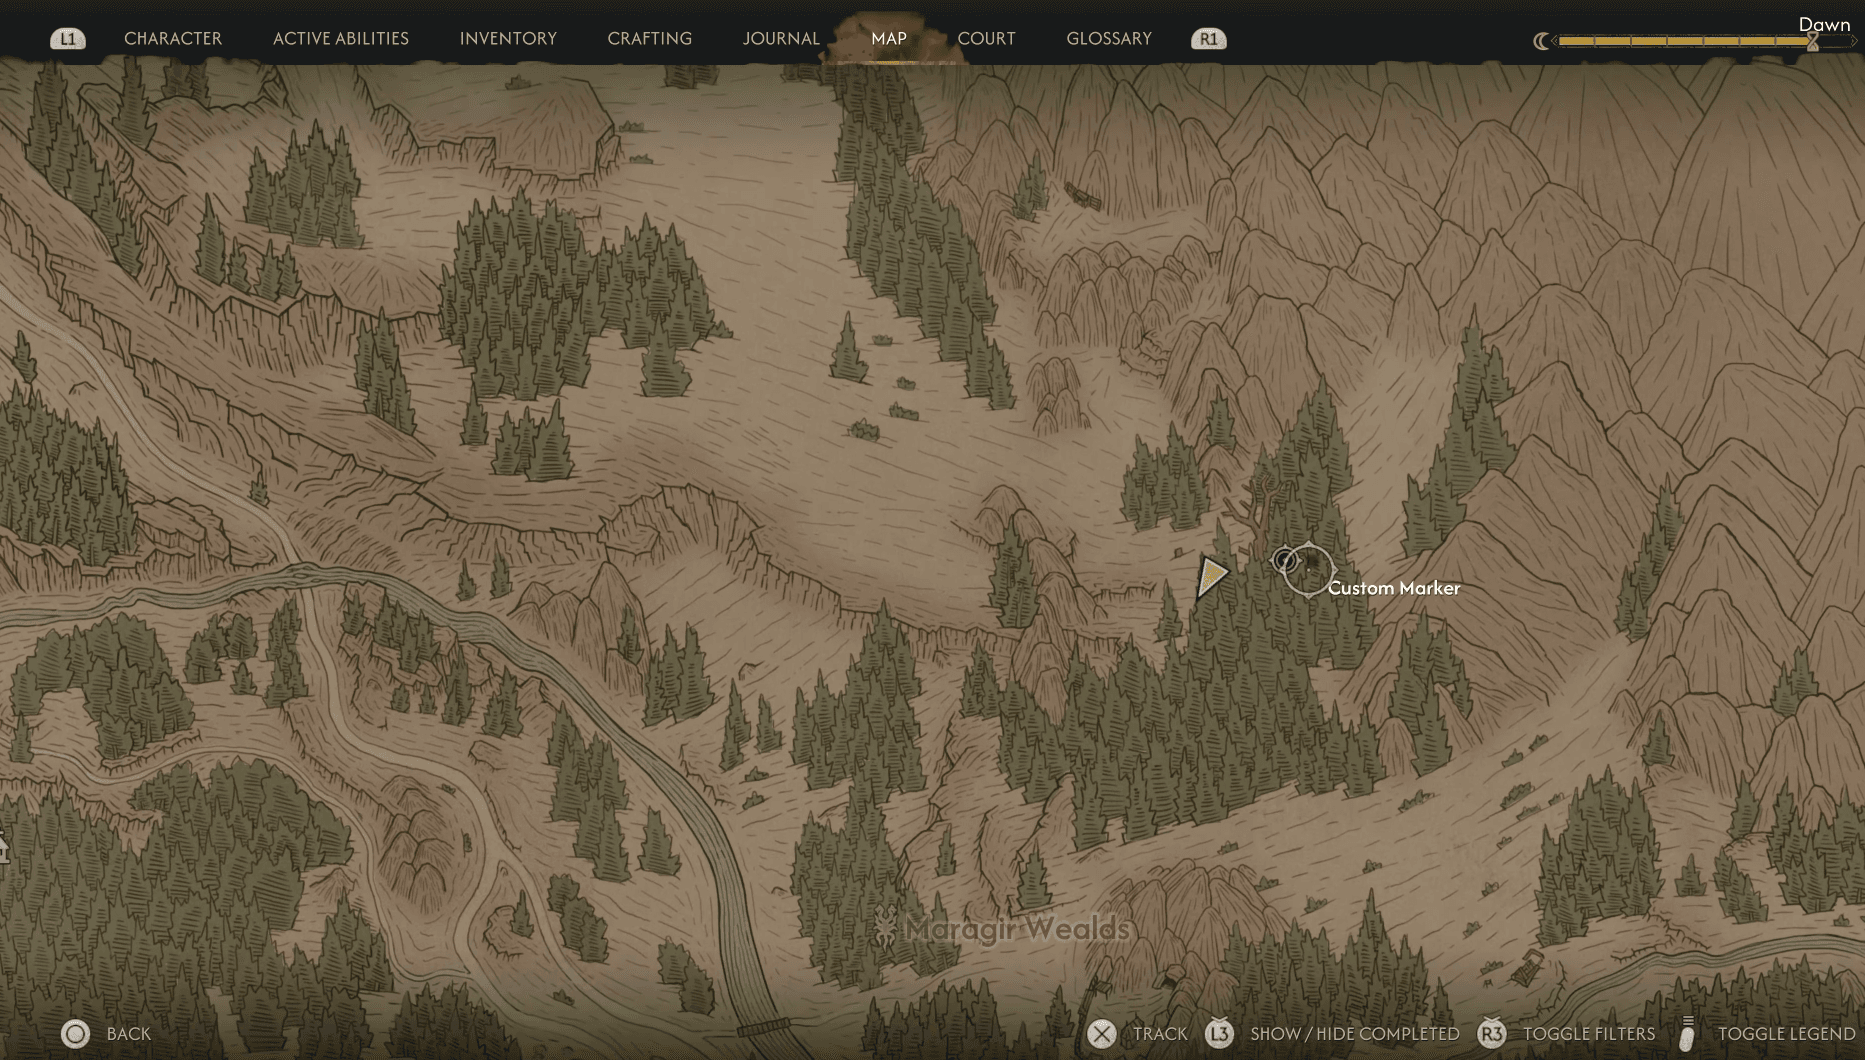
Head just north of the Maragir Wealds map marker. Look for a large slanted rock formation and pass underneath it. The path leads into a kobold cave. Clear the pack outside, then push into the cavern to handle the remaining creatures. The shard sits in the nest once the area is clear.
This is the most straightforward of the three, no tricks required. Pick it up, inspect the mural on the wall to mark the other two caves, and move on.
Blood of Dawnwalker Guide: All Sword Shard Locations
Shard 2: Executive Order (southeast ridges near Tantari)
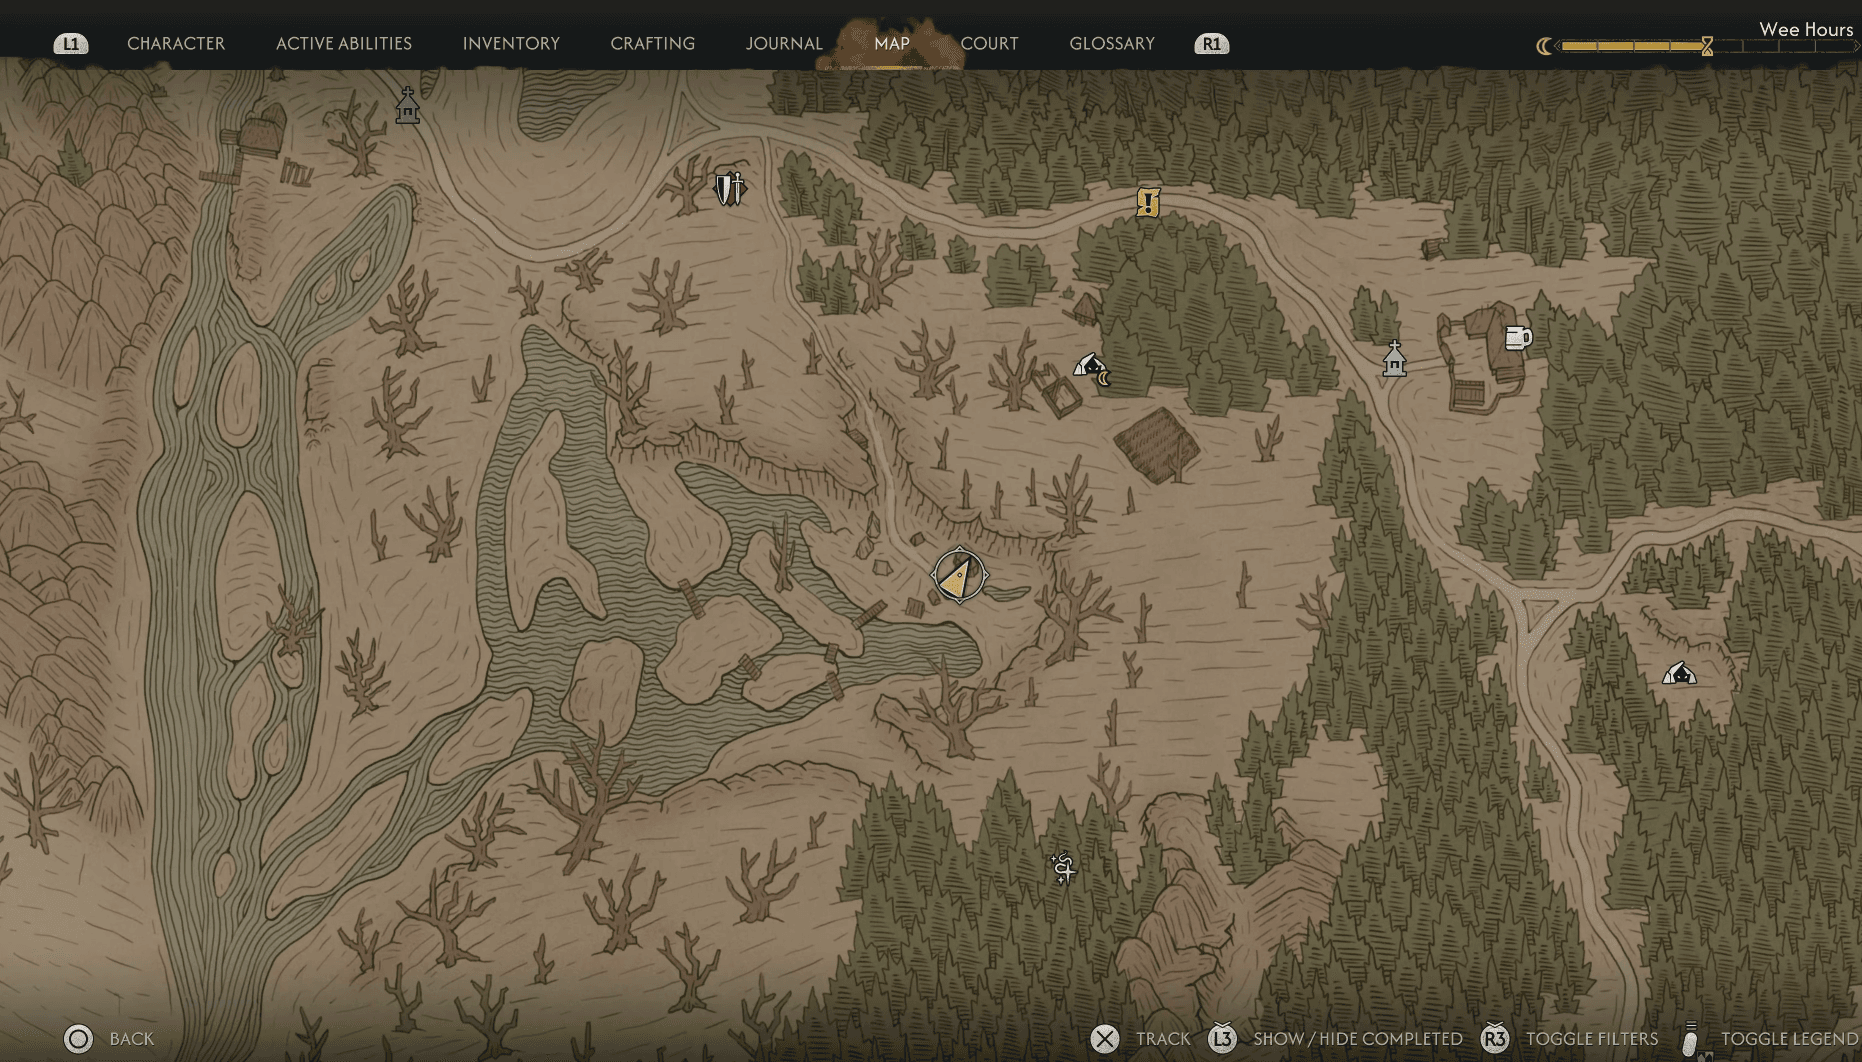
The cave southeast of Tantari in the ridges is already empty when you arrive. Xanthe's soldiers cleared out the kobolds and took the shard back to a camp located southwest of Tantari. A note inside the cave confirms this.
The camp is heavily guarded, and fighting through everyone head-on is a rough time. Here's the approach that works:
- The shard is inside the main tent in the center of camp.
- Move to the northern edge of the camp and attack a single soldier to pull the whole group up the sloping path away from the tents.
- Wild boar in the area may join the chaos and keep the guards occupied longer.
- Once the guards are drawn out, sprint around through the swamps to break aggro, then slip into the main tent and grab the shard before anyone returns.
Blood of Dawnwalker Guide: All Sword Shard Locations
Shard 3: Hostile Takeover (southwest of Boar's Back)
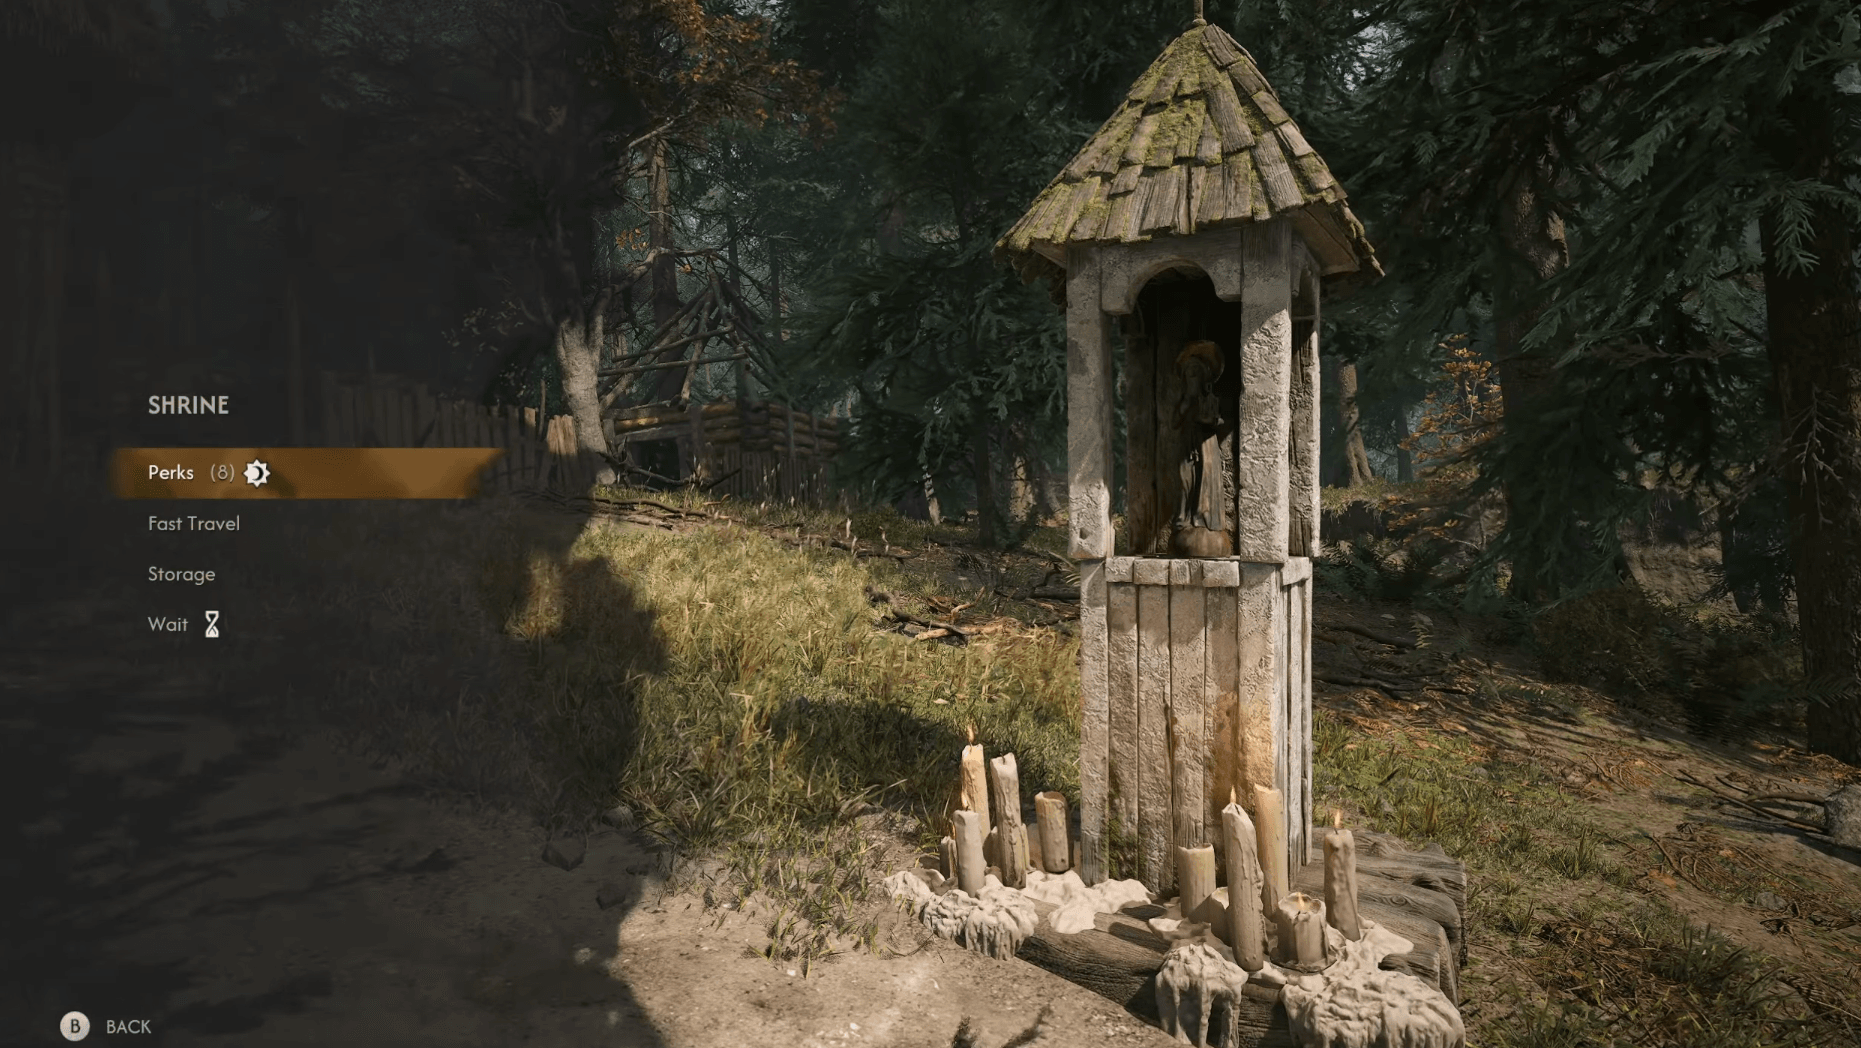
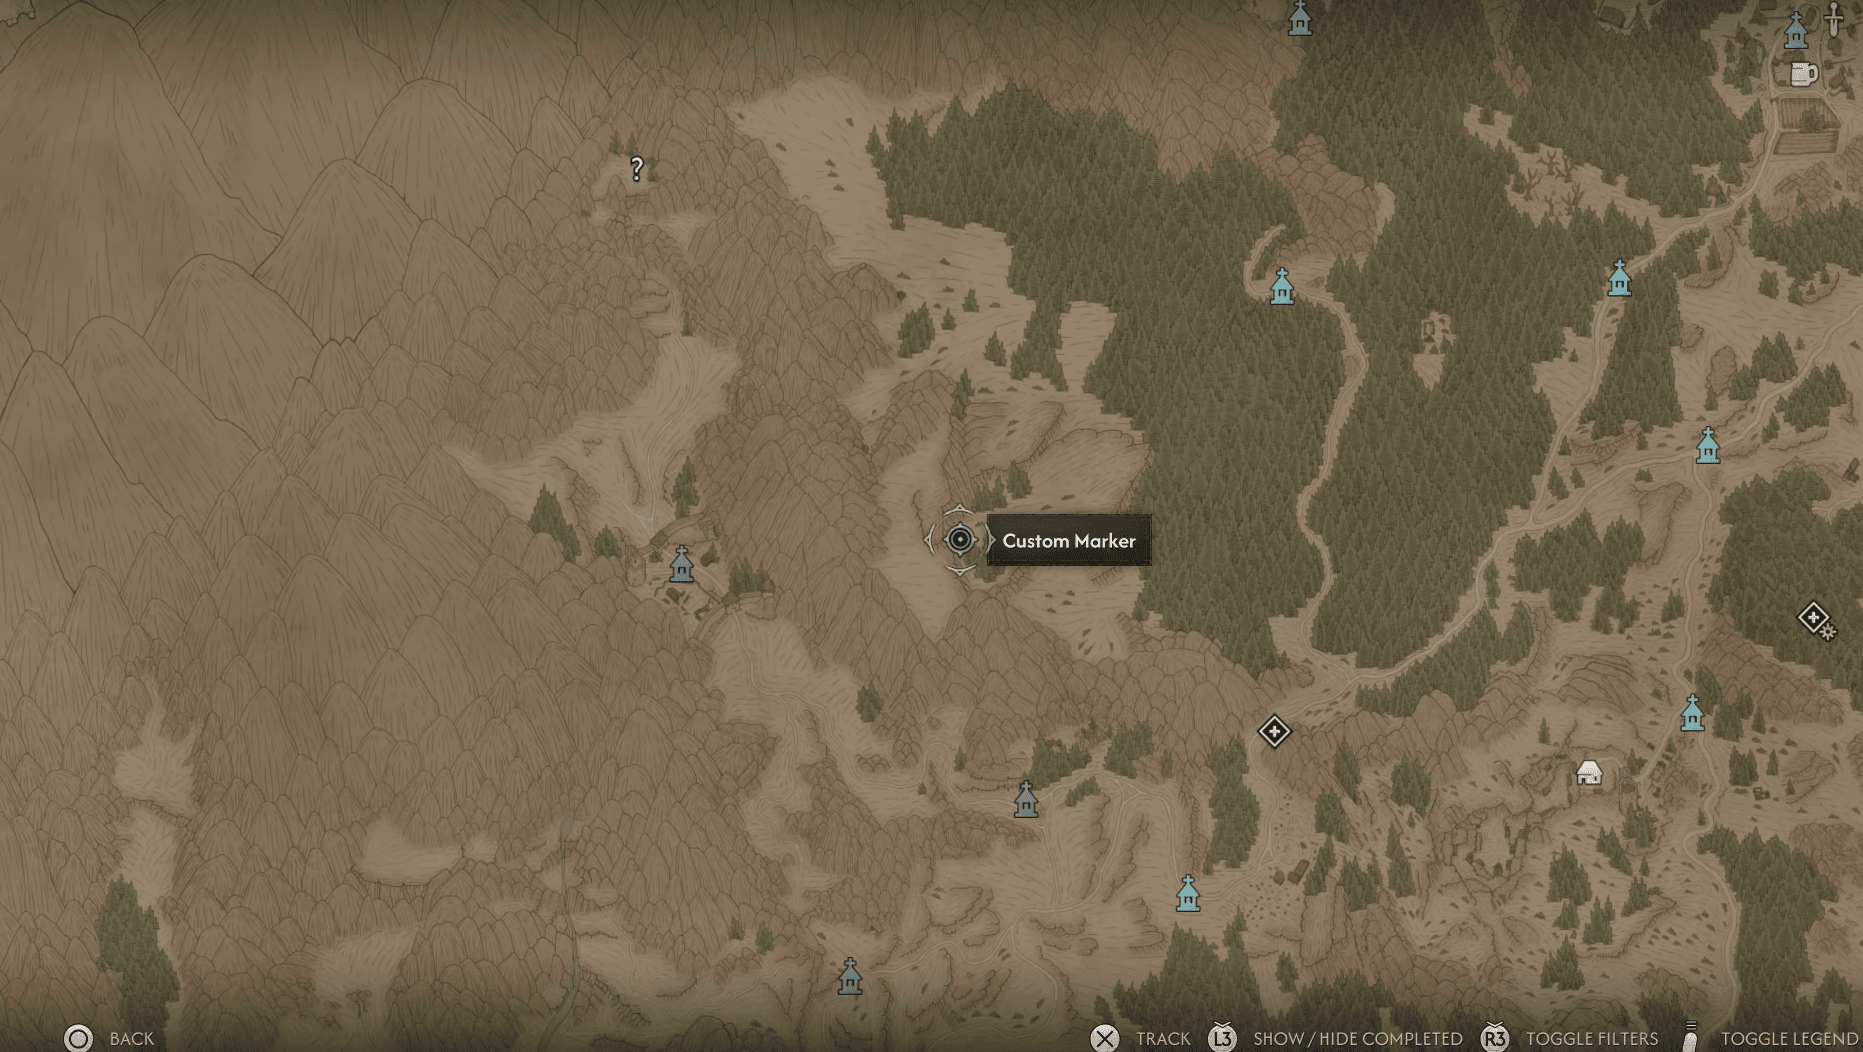
Travel southwest of Boar's Back, past the Giant's Pawns shrine. The cave here is a kobold nest, but the thing guarding the shard isn't a standard kobold. It's Munch-Munch, a Wrongs variant miniboss.
Munch-Munch hits with poison on both its claw swipes and its breath spew. Both attacks apply the debuff, so staying aggressive without a plan to dodge or block consistently will drain your health fast. Block and dodge through every attack pattern. The good news: Munch-Munch is susceptible to Dirty Trick, which gives you an opening to deal meaningful damage. Claim the shard from the nest once it's dead.
Blood of Dawnwalker Guide: All Sword Shard Locations
Where is the Uriash Blacksmith?
With all three shards collected (plus the broken sword and its hilt from the A Monk and a Saint questline), head to the far northwest of the map, past the Briar Sloughs area. The Uriash Blacksmith operates a rune-powered forge there. She won't engage with you outside of the Forge It Anew quest context, so don't worry if she brushed you off during earlier exploration.
One thing to watch: using haste-based vampire powers near her makes her scared and temporarily unresponsive for a few seconds. Keep your abilities in check during the conversation.
Blood of Dawnwalker Guide: All Sword Shard Locations
Handing over the broken sword, its hilt, and all three shards produces the Restored Sword of St. Mihai, an epic-tier weapon. That's not the end, though. The blacksmith points you toward a cave slightly further northwest where the blade can be tempered into something genuinely legendary.
If you're building out your arsenal alongside this quest, our guide to all legendary weapon and armor locations covers every other top-tier piece worth chasing in Vale Sangora.
How do you temper the Sword of St. Mihai into its legendary form?
From the blacksmith's location, sprint northwest to a cave entrance blocked by red vines. Coen cuts through them automatically. Inside, the environment has the same red supernatural glow you'll recognize from other ancient sites in the game.
Navigate a short platforming sequence while dealing with spectral enemies, including an Echoing Anger miniboss. Clear everything, then interact with the altar at the innermost chamber.
Performing the ritual costs another 3 Time Segments and triggers one of the hardest encounters in the game: multiple waves of undead variants in a confined space. It's a slog. The waves keep coming and the enemies are tanky. Stay patient, manage your resources, and don't burn cooldowns on the first wave.
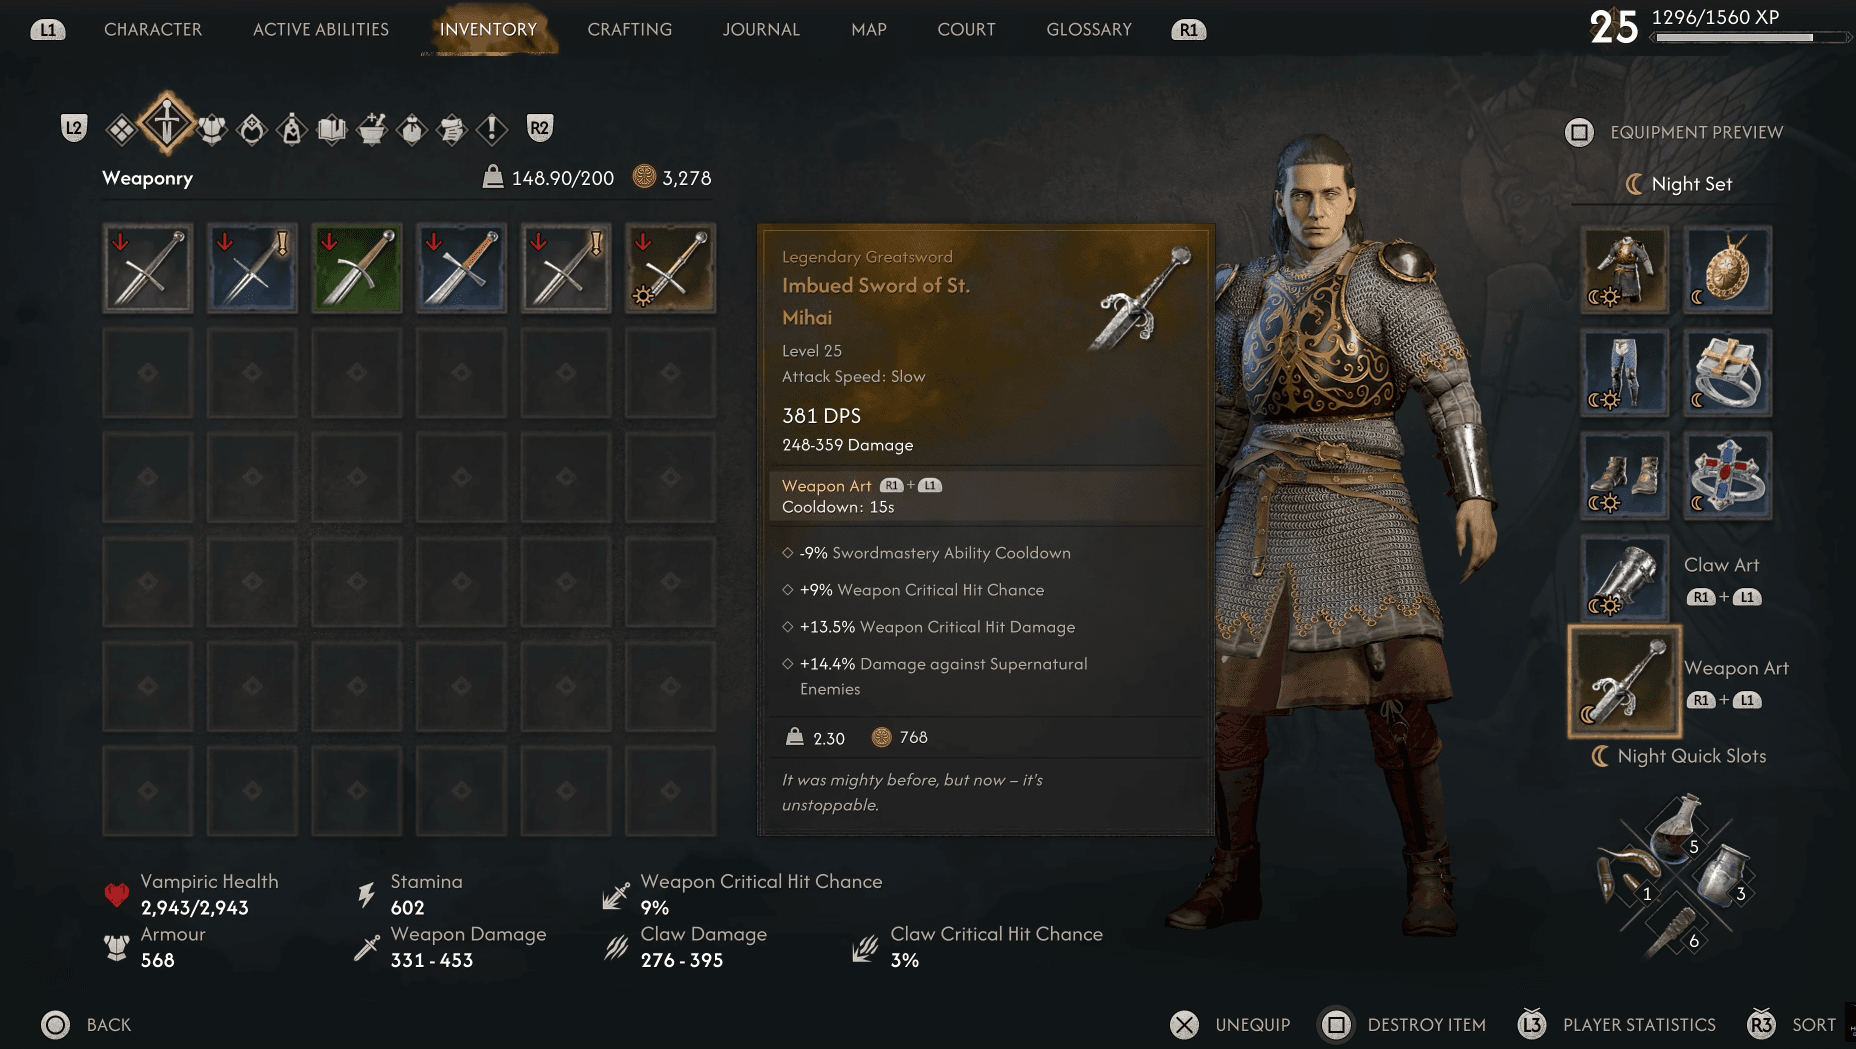
Survive it all and the altar transforms the Restored Sword into the Imbued Sword of St. Mihai, a legendary-tier greatsword. Its exact level scales to your own when you complete the ritual, so finishing this later in the game produces a stronger version. The weapon provides:
- Swordmastery ability cooldown reduction
- Weapon critical hit chance bonus
- Weapon critical hit damage bonus
- Increased damage against supernatural enemies
- A wide-area weapon art
Completing the full quest also unlocks the Arbiter's Blade achievement.
What else should you do after forging the sword?
The Imbued Sword of St. Mihai pairs best with a Swordmastery-focused build, since the cooldown reduction on its stat line directly benefits sword abilities. Getting the most out of it means having the right skill tiers unlocked. Our guide on how to find Manuals fast is worth reading before you commit to a build, since Manuals gate every Swordsmanship and Witchcraft skill tier in the game.
The sword also has a damage bonus against supernatural enemies specifically, which makes it excellent for the back half of the game against vrakhiri and undead-type bosses. If your build leans heavily on vampire claws, the bonus won't translate as cleanly, but the critical hit stats still hold up across combat styles.
For everything else happening in Vale Sangora, the full Blood of Dawnwalker strategy guide collection has location guides, quest walkthroughs, and build resources to keep you moving forward.