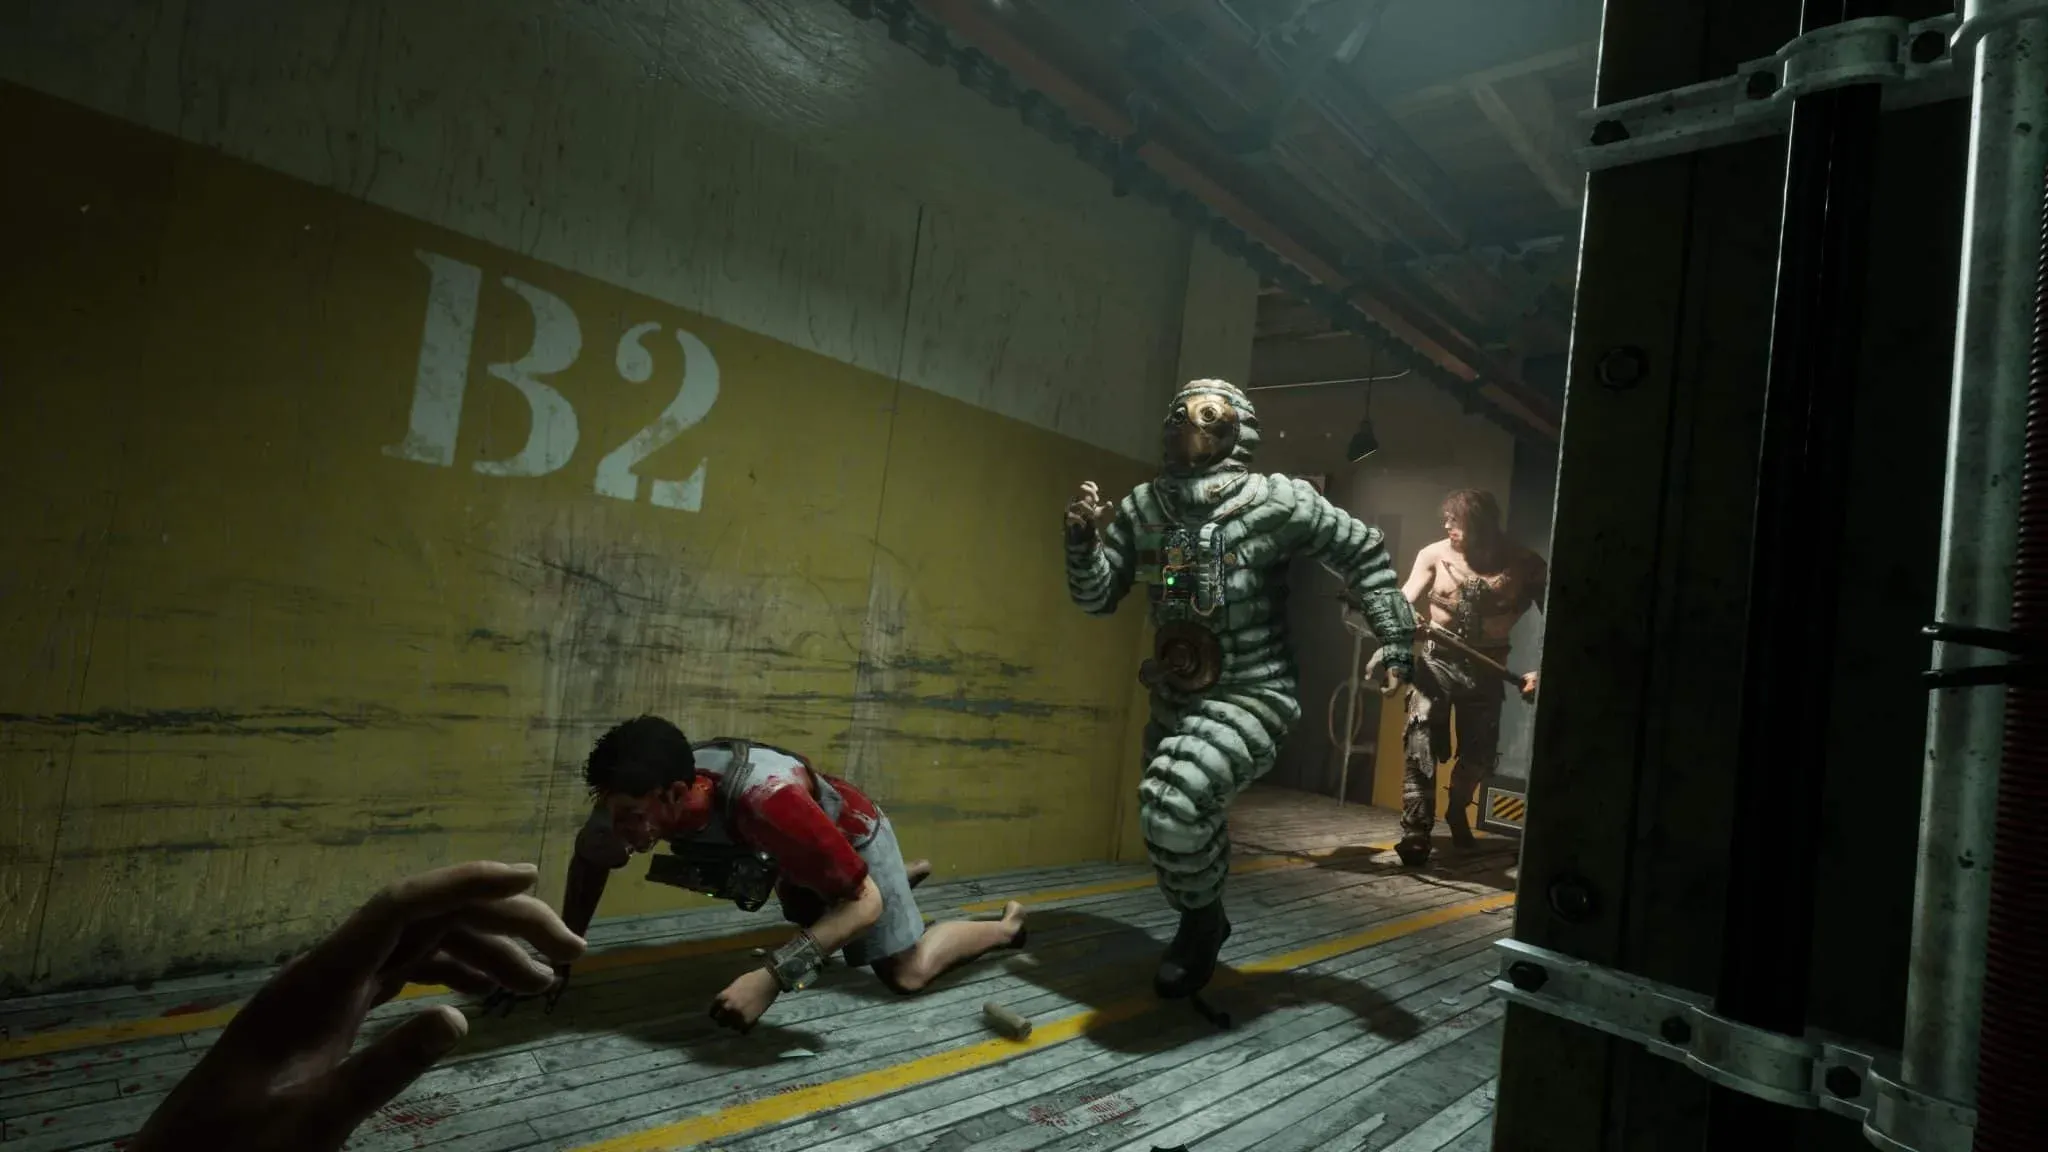

Your loadout in The Outlast Trials determines how fast you move through objectives, how well you survive Prime Asset encounters, and whether you walk out with an A+ rank or a shameful D. The right Rig and AMP combination turns a desperate scramble into a controlled run. The wrong one leaves you cornered with nothing to show for it. This guide breaks down the single strongest loadout available, explains why each piece earns its slot, and covers the best alternatives for specific situations.
What is the best overall loadout?
After running this setup across multiple Trials, the combination below consistently delivers the best balance of survivability, map mobility, and objective speed.
| Loadout Slot | Pick | Cost | Unlock Level |
|---|---|---|---|
| Rig | Stun | 2 Vouchers | Available at Engineer |
| Tool AMP | Slippers | 2 Vouchers | Level 10 (Shadowy Dame) |
| Skill AMP | Smash | 2 Vouchers | Level 45 (Shadowy Dame) |
| Medicine AMP | Boosted | 2 Vouchers | Level 50 (Shadowy Dame) |
Every piece costs 2 Vouchers, so there are no budget surprises. The Prescriptions are permanent passive unlocks and sit outside this loadout structure entirely.
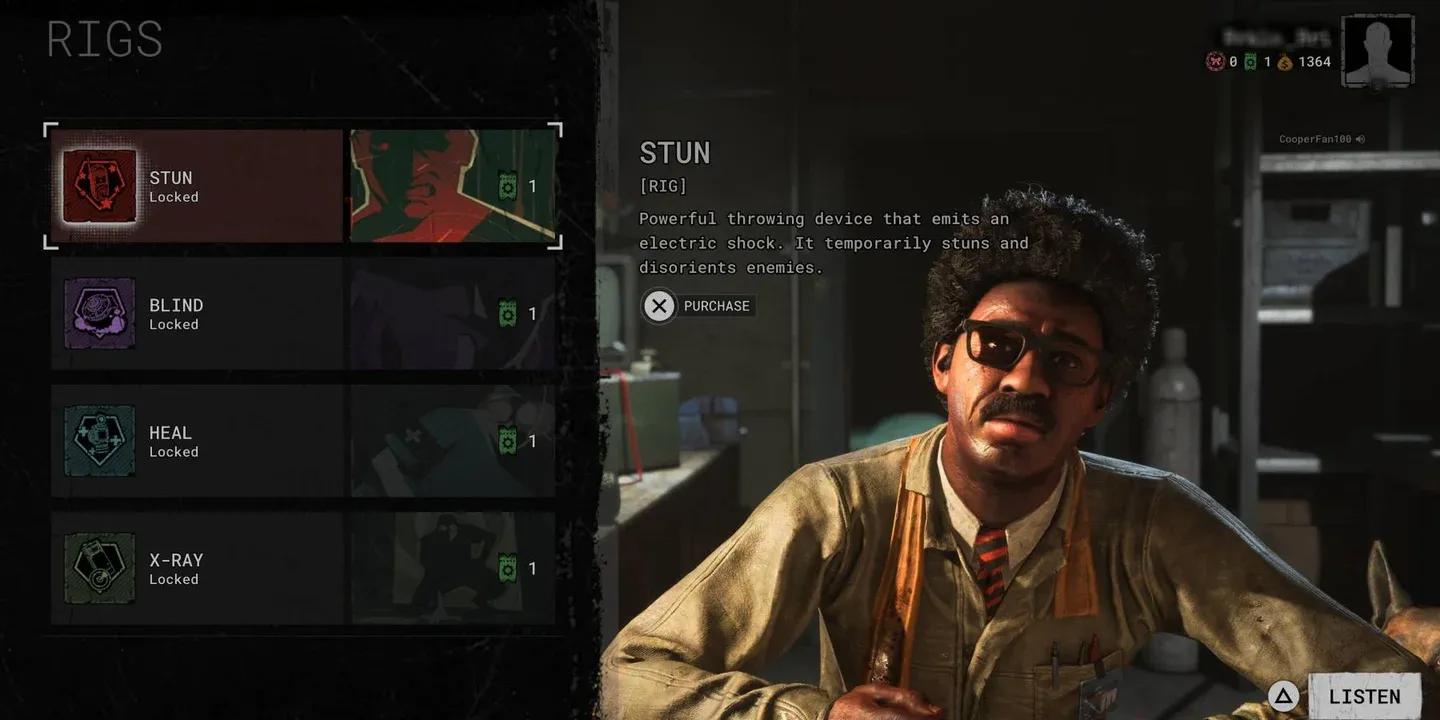
Stun Rig loadout selection
Why the Stun Rig is the best choice
The Stun Rig is a throwable device that emits an electric shock on impact, temporarily stunning and disorienting enemies. Its main value is as a safety net. When a Prime Asset or an Ex-Pop catches you mid-objective, one well-placed Stun buys more than 5 seconds of free movement, which is enough time to break line of sight and disappear into cover.
The recharge time runs over 2 minutes, but that rarely matters in practice. Prime Asset encounters don't stack back to back fast enough to punish the cooldown. Knowing the Stun is ready changes how aggressively you play objectives. Instead of abandoning a task the moment a threat appears, you can commit and use the Stun as an emergency exit.

Stun Rig in active use
Which AMPs should you run?
Tool AMP: Slippers
Slippers removes the noise penalty from walking on broken glass. This sounds minor until you realize how much of each Trial map is littered with glass, and how often stepping on it at the wrong moment pulls an enemy directly onto you. With Slippers equipped, you stop scanning the floor for hazards and focus entirely on the objective and enemy positions.
The alternative worth considering is Noise Reduction, which cuts the sound you produce while sprinting and opening doors. If you're comfortable watching the floor and playing at a slower pace, Noise Reduction edges ahead in stealth value. For players who want to move fast without micromanaging every step, Slippers is the stronger pick.
Skill AMP: Smash
Smash is the most impactful AMP in the game for objective efficiency. Normally, bashing through a door or plank takes two strikes. Smash cuts that to one. The time saved adds up across a full Trial, but the real value is the solo co-op door interaction. Co-op doors are designed for two players, but Smash lets a solo player force them open, which opens up routing options and escape paths that would otherwise be locked.

Smash AMP door interaction
Medicine AMP: Boosted
Boosted starts every Trial with a random booster already in your inventory. The three possible boosts are all genuinely useful:
- Health Booster adds a 5th health bar for the entire Trial
- Stamina Booster adds a second stamina bar for the entire Trial
- Battery Booster greatly extends battery life for the entire Trial
These aren't temporary buffs that fade after a few minutes. They last the full run, which means Boosted is effectively a free permanent upgrade at the start of every Trial. The randomness is the only downside, but all three outcomes are strong enough that the variance doesn't hurt.
The main alternative here is Last Chance, which lets you survive a lethal hit with 1 HP remaining on a 100-second cooldown. This becomes more relevant on Psychotherapy difficulty or during Escalations, where incoming damage spikes hard. For standard Trials, Boosted outperforms it.
How to unlock the full loadout
All four pieces are purchased with Vouchers from two vendors:
- Engineer: Sells the Stun Rig
- Shadowy Dame: Sells all three AMPs, gated behind level requirements (Level 10 for Slippers, Level 45 for Smash, Level 50 for Boosted)
The Boosted and Smash AMPs require the most grinding to reach. If you're working toward this loadout, Slippers is available early and worth picking up immediately. Smash and Boosted become the priority once you're past Level 40.
Situational swaps worth knowing
This loadout handles most content, but two situations call for adjustments:
- Psychotherapy difficulty or Escalations: Swap Boosted for Last Chance. The ability to survive a lethal hit on a 100-second cooldown becomes more valuable when enemies hit harder and more frequently.
- Stealth-focused runs: Swap Slippers for Noise Reduction if you're playing a slower, more deliberate style and are confident managing glass on the floor manually.
The Stun Rig and Smash AMP stay in every build. They're too strong in too many situations to justify replacing.
For more strategies across every Trial type, the The Outlast Trials strategy guides cover everything from XP farming to difficulty-specific tips. The Outlast Trials sits comfortably among the better co-op adventure games released in recent years, and getting your loadout right is the fastest way to start enjoying what it does well.