
Most reagents hit a wall somewhere around badge 15. The problem is rarely skill — it's strategy. The Outlast Trials has 27 total badges spread across seven categories, and a chunk of them require either specific co-op coordination, obscure cumulative stat thresholds, or grinding actions that feel completely invisible during normal play. Completing all of them earns you tradeable rewards at the Director's office in the Sleep Room, including bonus XP and exclusive cosmetics. This guide breaks down every badge, the most efficient farming methods for each category, and how to avoid the burnout that kills most completionist runs.
Why are so many badges so hard to finish?
The short answer: the game tracks everything through account-bound cumulative stats, and most players have no idea how far behind they are on specific counters until they check. Spend 10 hours in night vision? That's the Tapetum Lucidum badge. Consume 200 medicines? Hypochondriac. Lose 10,000 total health points? Hemophiliac. None of these milestones announce themselves during a normal run.
Three patterns cause most badge stalls:
- Ignoring utility spam. If you are not actively using your Rig, throwing bricks, and consuming batteries every single run, your lifetime action counts barely move.
- Playing exclusively solo. Three badges — Together We Are Strong, Sawbones, and Crowd Control — cannot be completed without a co-op partner. There is no workaround.
- Rushing objectives. Sprinting to the exit without looting toolboxes, medical cabinets, or picking up throwables leaves collection-based badges completely stagnant.

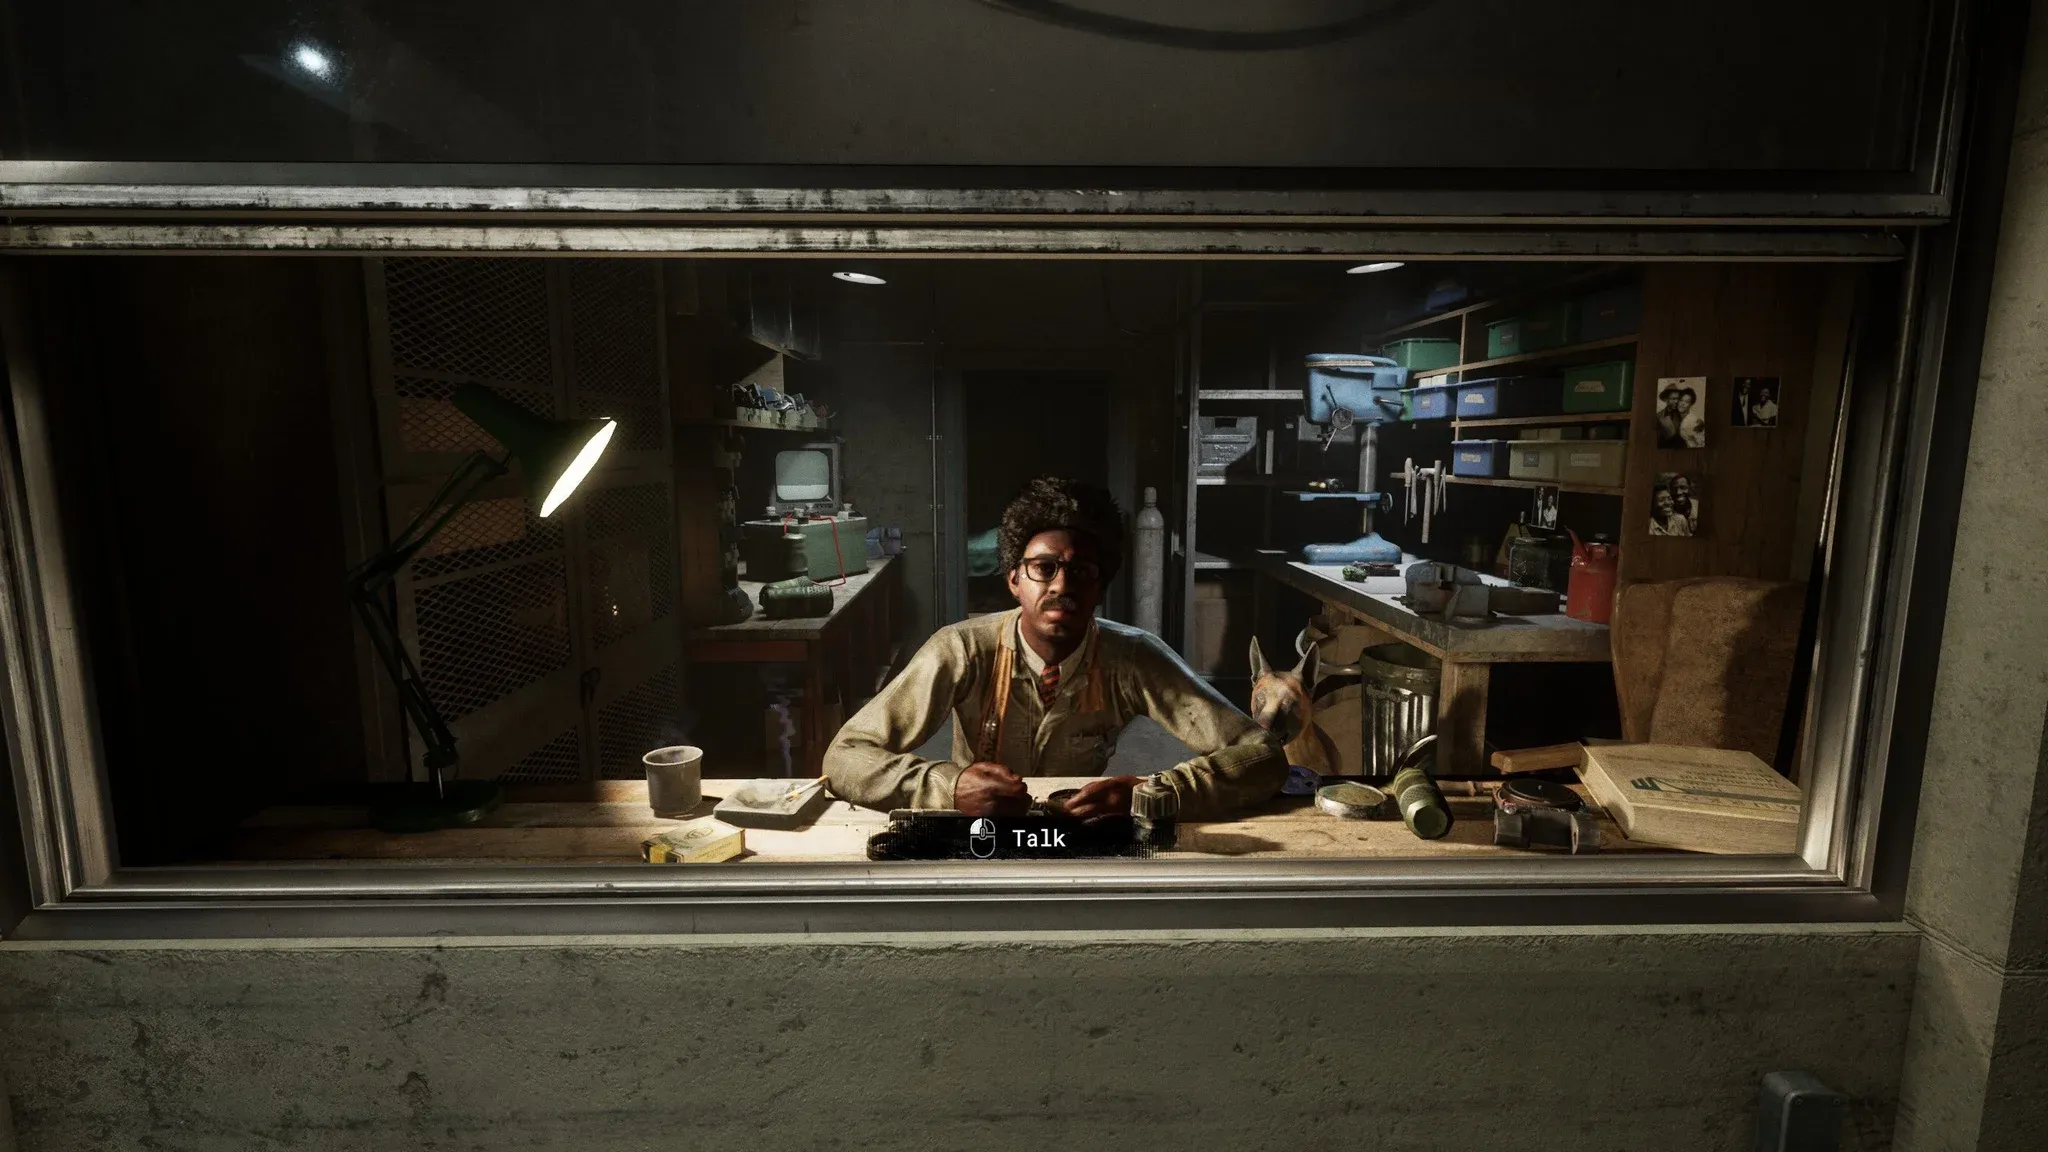
Trade badges at the Director
All 27 badges by category
Exploration and looting badges
Big Saver requires collecting 15 evidence documents, which spawn randomly on shelves and tables throughout every trial. Equip the X-Ray Rig to spot them through environmental clutter without wasting time searching manually.
Sleight of Hand demands 100 total container unlocks. Open every toolbox and medical box you pass, and use lockpicks on jammed ones. This one accumulates naturally if you stop skipping containers.
Hoarder tracks 1,000 total item pickups. Pick up every battery, throwable, and consumable you encounter. Do not leave anything on the floor.
Utility and Rig mastery badges
This category contains some of the most time-consuming badges in the entire list.
Mechanophiliac needs 100 Rig uses. The X-Ray Rig has an exceptionally short cooldown, making it the best choice for spamming this counter quickly.
Power Surge tracks 100 battery uses. Keep night vision active to drain power faster, then grab and consume batteries from shelves and toolboxes throughout each run.
Toastmaster requires 50 Rig recharger uses. Find the leather-pouched battery rechargers inside toolboxes and consume them whenever your Rig is on cooldown.
Tapetum Lucidum is the longest grind in this category: 36,000 cumulative seconds (10 full hours) of night vision use. Keep your goggles active every time you are exploring dark corridors, and this counter will eventually close.

Night vision drains batteries fast
Combat, throwables, and crowd control badges
Bullseye requires 50 headshots with throwables. Bricks are the best tool here since each one can hit twice. Aim directly at the heads of Ex-Pops or Prime Assets.
Major League Player tracks 100 total throwable hits against enemies. Any landed brick or bottle counts, regardless of where it connects.
Bamboozler needs 50 enemy distractions. The key distinction here is that you need to throw near an enemy to trigger their investigation response, not actually hit them.
Crowd Control demands 50 co-op enemy kicks. Play with a friend, let a Pusher grab them, then kick the enemy off. This pairs cleanly with your co-op farming sessions.
Survival, healing, and psychosis badges
Hypochondriac requires consuming 200 medicines. Take damage from traps or enemies, then heal with bandages and health bottles from medical cabinets. Pairing this with Hemophiliac (lose 10,000 total health points) makes both badges progress simultaneously.
Breathe in tracks 100 antidote uses. Stack antidotes and consume them immediately after stepping on Trip Mines or getting sprayed by Pushers.
Vision Quest needs 600 cumulative seconds in full psychosis. The most reliable method: load Sabotage the Lockdown on Introductory difficulty, let a Pusher spray you, run until health is low, use an antidote, and repeat the cycle.

Psychosis timer counts toward Vision Quest
Movement and stealth badges
Chicken in a Pot tracks 100 hiding spot uses. Jump in and out of lockers, barrels, and storage chests. Twenty-five entries per run on a short Introductory trial clears this in four sessions.
Slip and Slider requires 120 cumulative seconds of sliding. Purchase the Slide prescription from the Nurse, then sprint and slide repeatedly. Two minutes total is not a heavy ask once you have the prescription.
Marathoner tracks 3,600 seconds of running (60 cumulative minutes). Use stamina boosters to accelerate progress during normal runs.
Hunchback also requires 3,600 cumulative seconds, but crouched. Equip the Incognito Medicine AMP to boost crouch speed by 30%, making this far less tedious to grind out.
Doors, traps, and environmental badges
Trigger Happy needs 50 door trap disarms. Spot booby-trapped doors by their red warning light, open them slowly to the opposite side, and disarm the wire.
Anger Issues requires breaking down 50 locked doors. Lock a door using the latch above the handle, then bash it repeatedly until it shatters. Repeat.
Together We Are Strong tracks 50 co-op moves — pulling teammates up ledges, lifting garage doors, crossing gaps together. Any team action counts.
Sawbones needs 50 co-op revives. Play on Introductory difficulty with a friend, let them get knocked down, and revive them. Pair this with Get Down (knocked down 50 times) so both players are progressing simultaneously.
Trial completion and milestone badges
Glutton for Therapy requires completing 25 total trials. Fast MK-challenges like Sabotage the Lockdown are the quickest way to tick this off.
Can't Touch This demands 10 damage-free trial completions. Run Sabotage the Lockdown on Introductory difficulty 10 times while avoiding every enemy hit and trap. It is genuinely straightforward on the lowest difficulty.
Completionist Grand Master unlocks once all other 26 badges are earned.

25 trials earns this badge
How do you avoid burnout on the grind?
The badges that destroy completion runs are the ones players try to hammer in a single session. Spending three hours doing nothing but jumping in and out of lockers is a reliable way to quit the game entirely.
A smarter approach: pick one or two background badges to track during your regular trial runs. Let Marathoner and Hunchback accumulate passively while you play normally. Save the active grinds (like Tapetum Lucidum or Hemophiliac) for dedicated short sessions with a specific goal, then stop.
For the co-op badges, find a partner who is also hunting completion. Trading revives and co-op moves on Introductory difficulty takes roughly 30 to 45 minutes to clear all three team-based badges if both players coordinate efficiently.
Frequently asked questions
Do badges give rewards beyond the achievement unlock? Yes. Every completed badge can be turned in at the Director's office in the Sleep Room for in-game XP and exclusive cosmetic rewards. The Director is the only place to claim these.
Can all badges be earned on the lowest difficulty? Most can. Introductory difficulty is actually the recommended setting for farming dangerous or precise badges like Can't Touch This and Vision Quest. The game places no difficulty restriction on badge progress.
Can the same trial be replayed for completion badges? Absolutely. Sabotage the Lockdown can be repeated indefinitely, and every run counts toward trial completion totals, container openings, and item collection milestones.
For more strategies across every aspect of the game, the The Outlast Trials strategy guides collection covers builds, rankings, and progression tips in detail. If you enjoy the psychological horror and co-op survival formula, there is plenty more to explore in the broader adventure games space.