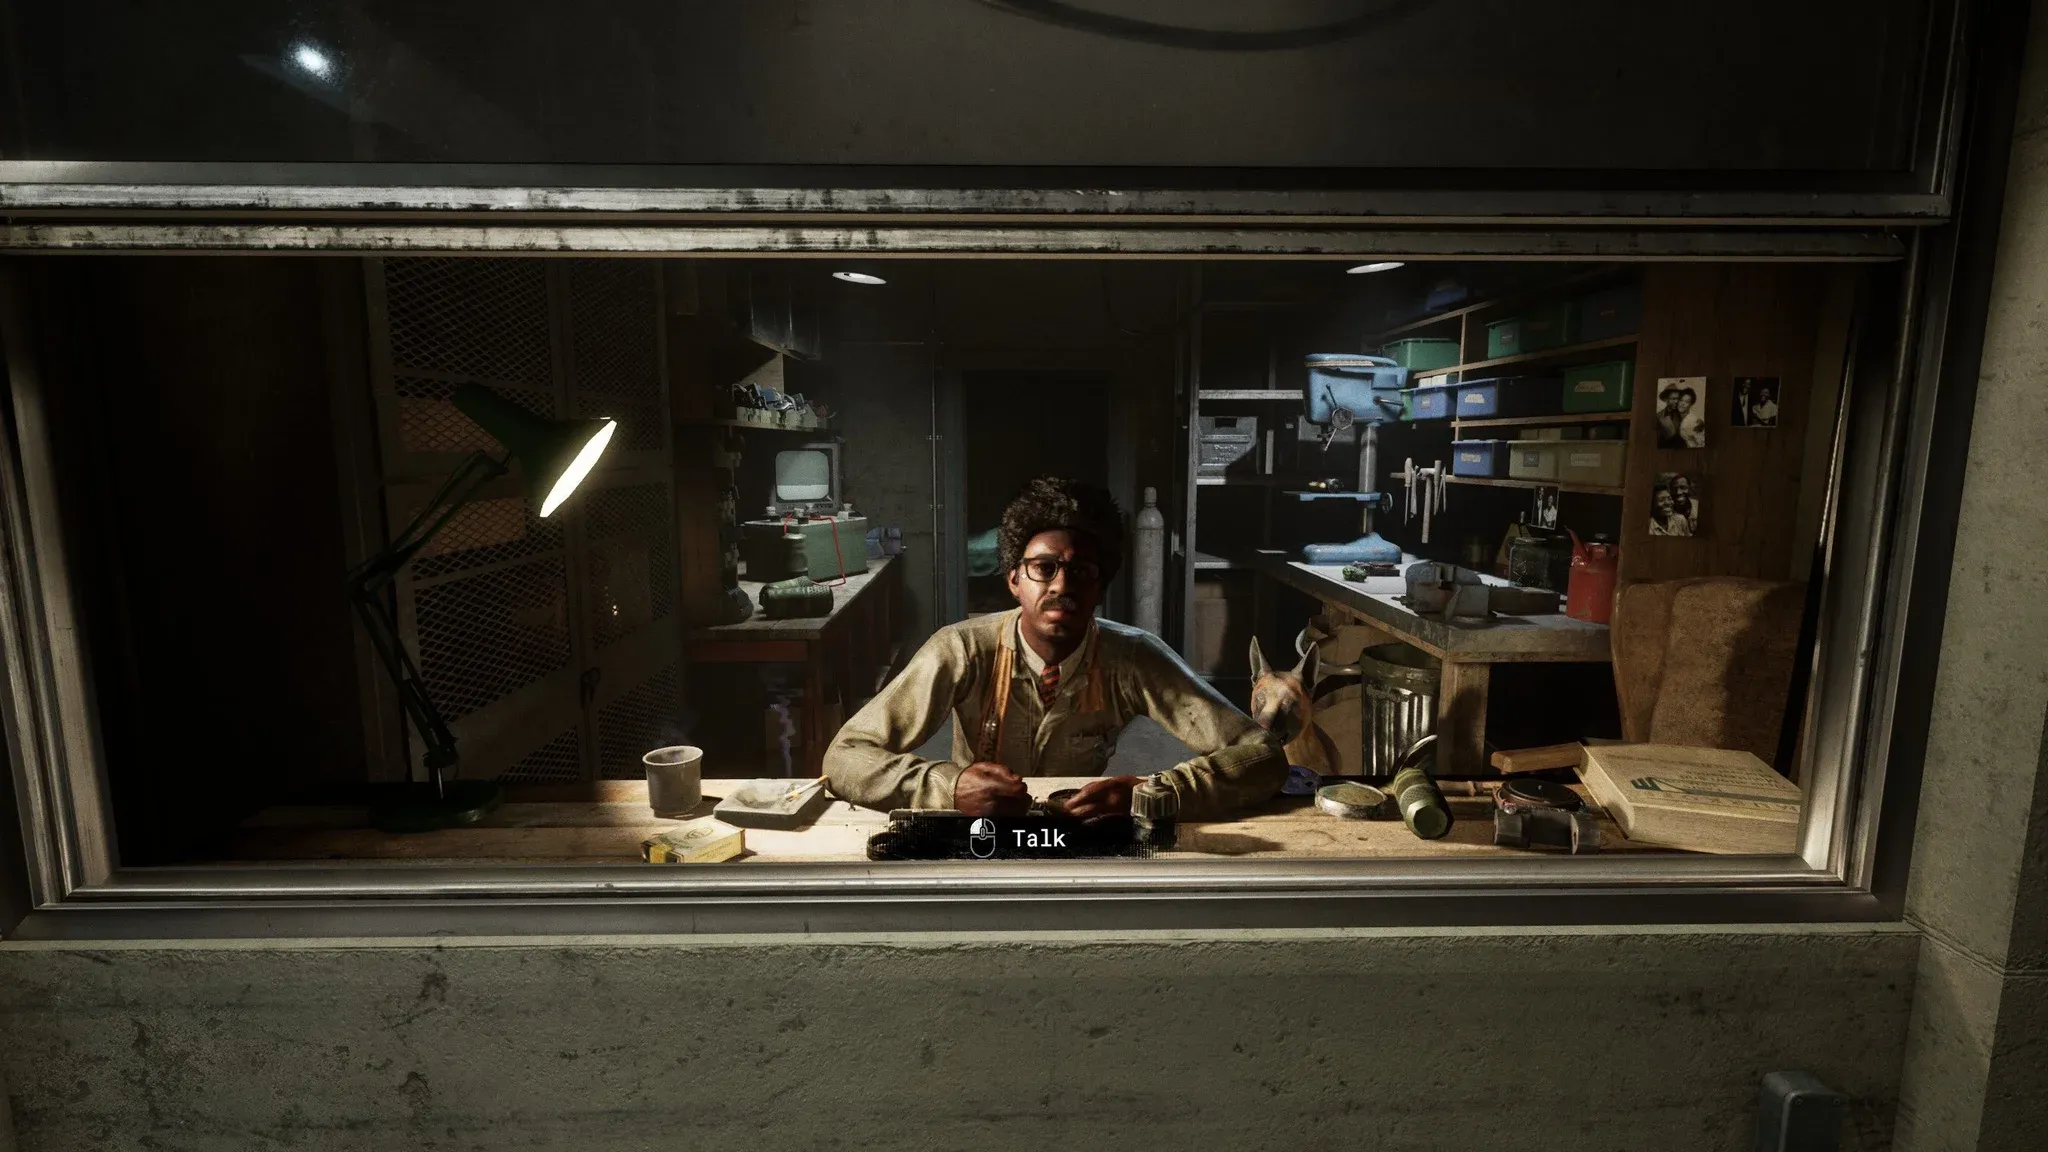

The Outlast Trials is brutal about making you earn your progression. Therapy milestones gate your best AMPs, tier upgrades, and cosmetic unlocks behind a wall of XP that standard trial runs barely dent. The grind feels designed to break you, and for most players it does, until they find the right method. The good news: one specific MK-Challenge on the lowest difficulty setting can net you over 3,000 XP every 6 to 10 minutes, and it is repeatable as many times as you want.
Why does leveling feel so slow in The Outlast Trials?
The XP problem in this game is not just about time, it is about how the scoring system actually works. Your final payout splits across two layers: base completion and a performance score built from positive actions. Most players focus entirely on finishing the objective and ignore the second layer completely, leaving hundreds of bonus XP untouched every single run.
Three habits kill progression faster than anything else:
- Rushing straight to the exit without interacting with the environment
- Jumping into higher-tier programs before your rig is optimized, leading to failed runs and minimal rewards
- Never using your active Rig during a trial, which costs you consistent performance score boosts
The game does not tell you any of this explicitly. You are expected to figure it out through failure, which is exactly why so many players stall out after the first few hours.
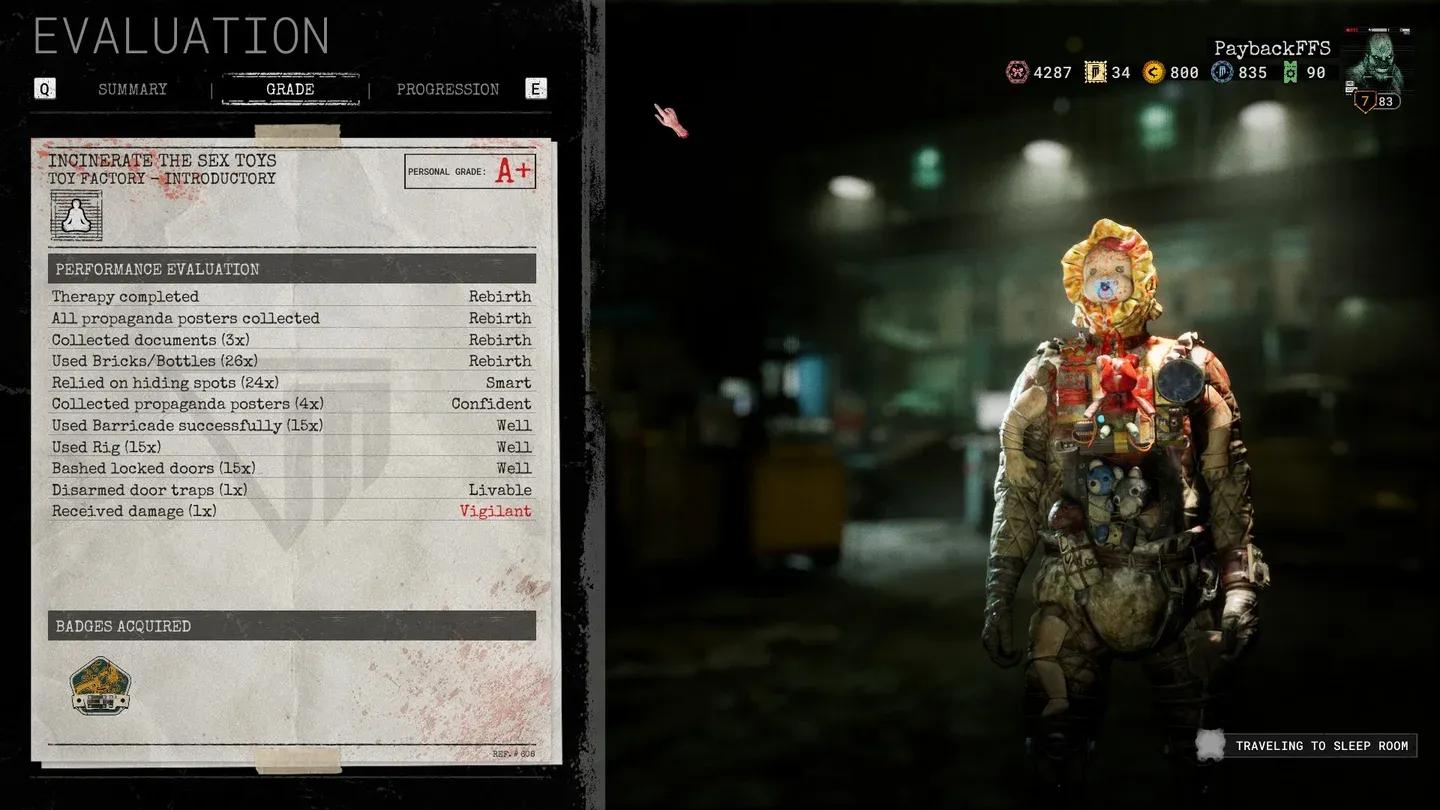
Performance score after a trial run
The fastest XP farm: Sabotage the Lockdown on Introductory
The method that actually works centers on a single MK-Challenge called Sabotage the Lockdown, set inside the Police Station. Run it on Introductory difficulty. That setting caps enemy spawns to just Coyle and a Pusher, making the map safe enough to move through quickly and farm actions without constant threat.
The rig you bring matters. Equip the X-Ray Rig for its short cooldown, which lets you activate it repeatedly throughout the map for free performance points. If you prefer a safety net against Coyle, the Stun Rig works as a substitute, though you will spam it less frequently.
How to run the farm correctly
Setting up before you load in
Open the Trial Board and find Sabotage the Lockdown under the Police Station category. Set difficulty to Introductory, slot in the X-Ray Rig, and load in. Nothing complicated here, but skipping the rig selection is the single most common mistake players make when attempting this farm.
Navigating the map and grabbing the gas canister
Once you are in, locate the primary objective gas canister immediately. The optimal path runs left, cutting through targeted windows and shortcut doors toward the generator room. Keep your eyes on the ground as you move. Loose items like bricks and bottles are scattered throughout the map and you need them.
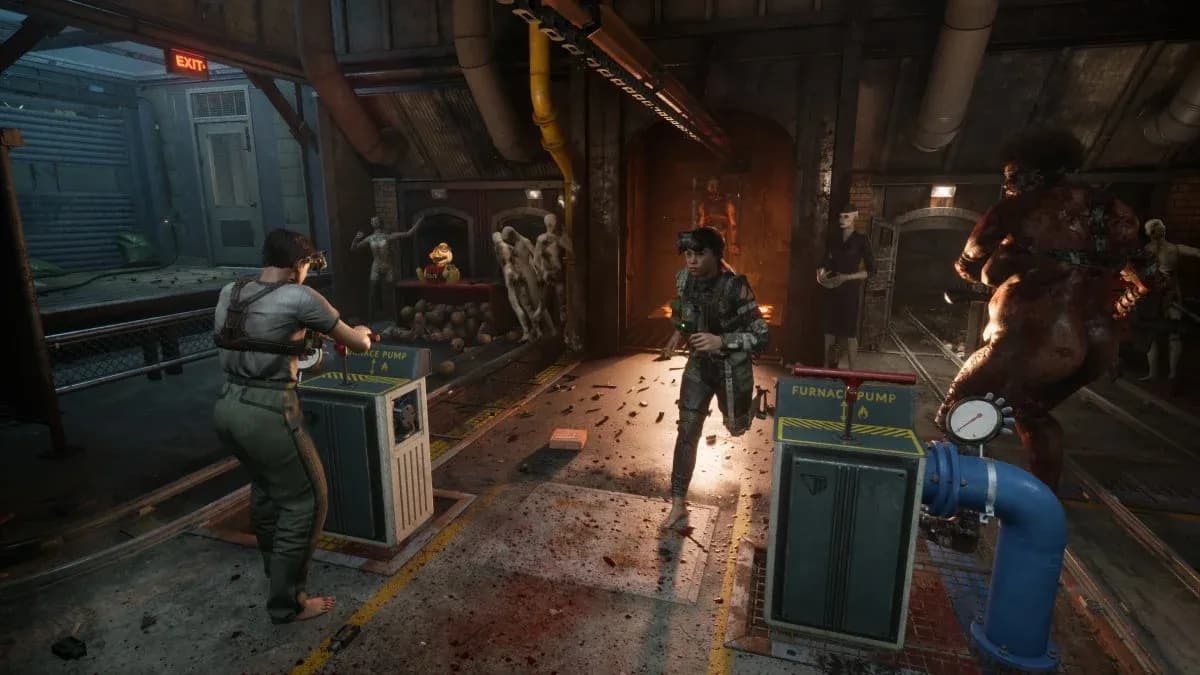
Gas canister primary objective item
Farming positive actions for maximum XP
This is where most of your XP actually comes from. Before you deliver the gas canister, spend time working through every positive action category available:
- Propaganda posters: Find and collect all 3 hidden around the map. This alone adds a flat +500 bonus to your secondary objective score.
- Throwables: Pick up bricks and bottles and throw them at walls, traps, or enemies. This action caps at 25 repetitions. A useful trick: throw a brick at your feet, pick it back up, and repeat. You can safely farm throws while waiting for extraction without needing to chase enemies.
- Hiding spots: Jump in and out of lockers, barrels, and chests up to 25 times. Each entry counts toward your performance score.
- Environmental interactions: Bash locked doors, disarm door traps, use batteries, and activate your Rig constantly.
Completing the objective and extracting
Once you have farmed every positive action category, deliver the gas canister to the generator and power it up. Use any remaining time before the extraction shuttle arrives to throw leftover bricks or activate your Rig one more time. Board the shuttle, wait for the performance breakdown screen, and repeat.
A full farming run with all positive actions takes 6 to 10 minutes. If you skip the farming and just rush the objective, you can clear it in a couple of minutes, but the XP payout drops substantially. The extra time is worth it every time.
What are the best alternative methods for late-game XP?
Once the Police Station loop starts feeling repetitive, two alternatives are worth your time. Escalation Protocol runs offer strong XP returns and push your adaptability with randomized modifiers, making them genuinely engaging rather than mechanical. Invasion Programs through rotating event playlists provide fresh objectives while keeping your progression speed competitive.
Neither matches the pure efficiency of the Introductory Sabotage farm for raw XP per minute, but both are solid options when you need a change of pace.
How to avoid wasted runs
Two habits will kill your efficiency faster than any enemy:
- Skipping secondary objectives. The propaganda posters are not optional if you want an A+ grade. Missing them costs you the flat bonus and the grade multiplier.
- Taking unnecessary damage. Negative performance points from trap hits and avoidable enemy contact eat directly into your final score. Play cautiously, use your Rig to spot threats, and route around traps rather than through them.

Locker hiding spot interaction
For more strategies across every aspect of the game, the strategy guides collection covers everything from loadout optimization to rank requirements. The Outlast Trials sits firmly in the adventure games space that rewards players who understand the systems underneath the horror, and this XP method is one of the clearest examples of that. Master the farm, unlock your Vouchers, and stop letting the grind slow you down.