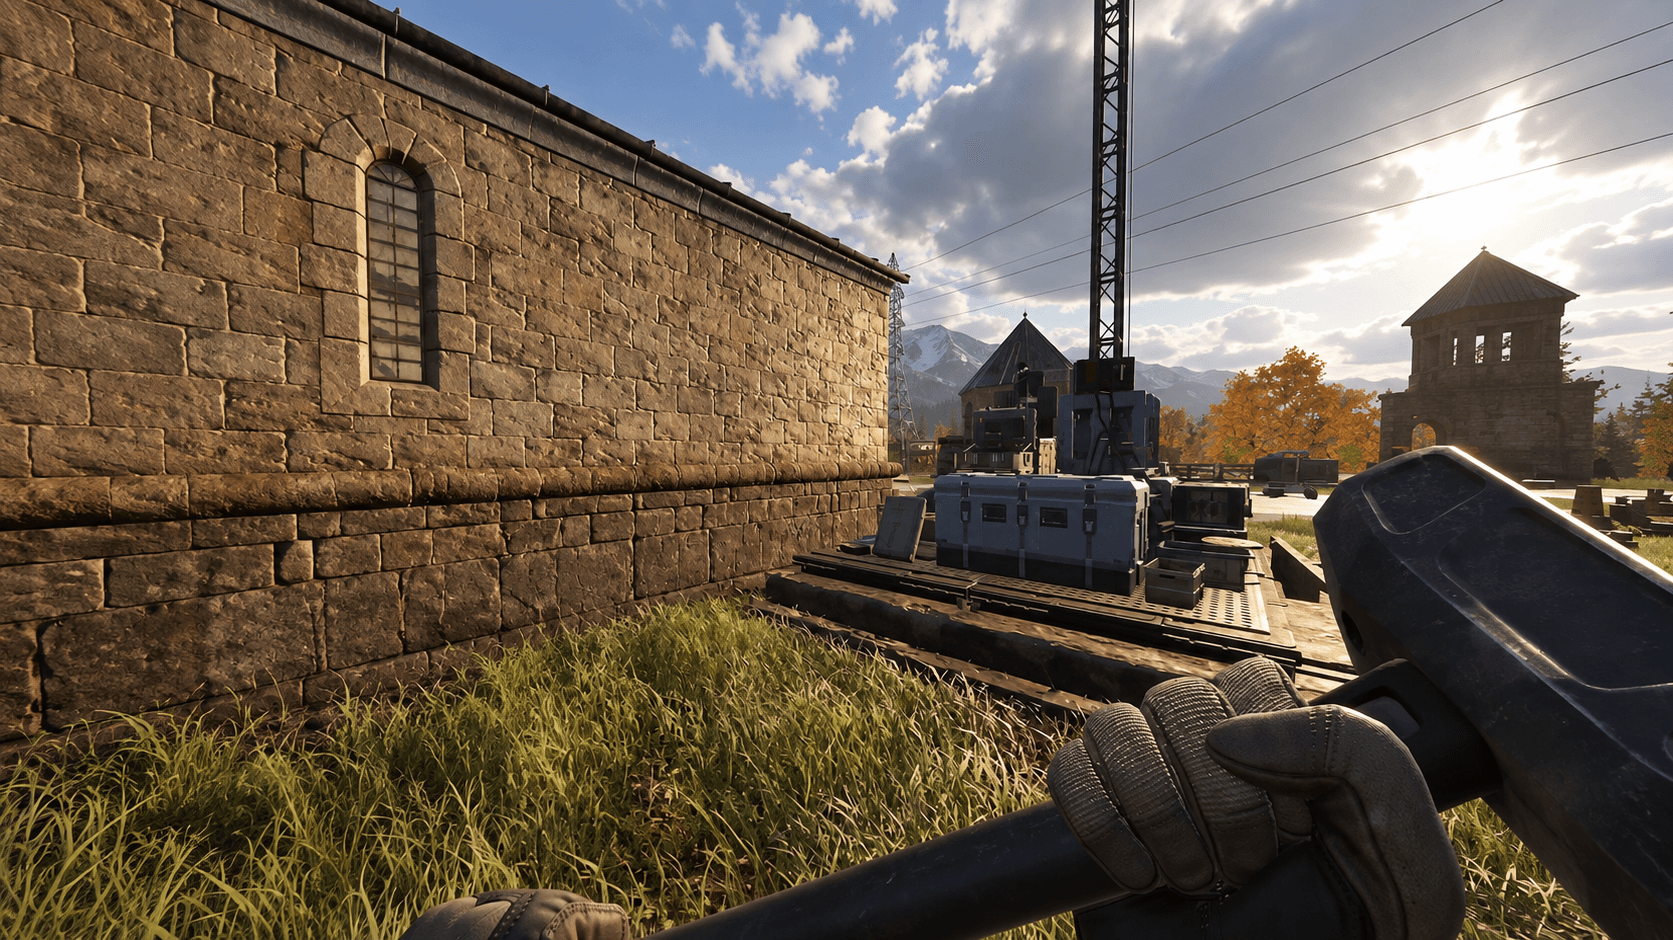


Forward Operating Bases are the backbone of any serious team position in WARDOGS. Drop one in the right spot with the right supplies, and your team has a forward hub that can hold ground, repair vehicles, and sustain a fight. Drop one in the wrong spot without any supplies, and you have an expensive target that enemies will happily hack while you're nowhere near it.
This guide covers everything you need to know about FOBs: what they do, how to place them, what supplies they need, how to keep them stocked, and how to stop them from falling into enemy hands.
What does a FOB actually do in WARDOGS?
A Forward Operating Base is the central hub for construction and resource storage in the field. Once placed, it creates a defined area around it where your team can build fortifications, defensive emplacements, and support structures. It also holds a shared stockpile that any nearby player can draw from.
One thing that trips up new players: the FOB is not a respawn point. Respawning works through your HQ and forward spawn vehicles, not the FOB itself. Think of it as the engine room of a forward position rather than a spawn beacon. Its job is to enable construction and keep the position supplied, not to bring players back into the fight.
How to place a FOB
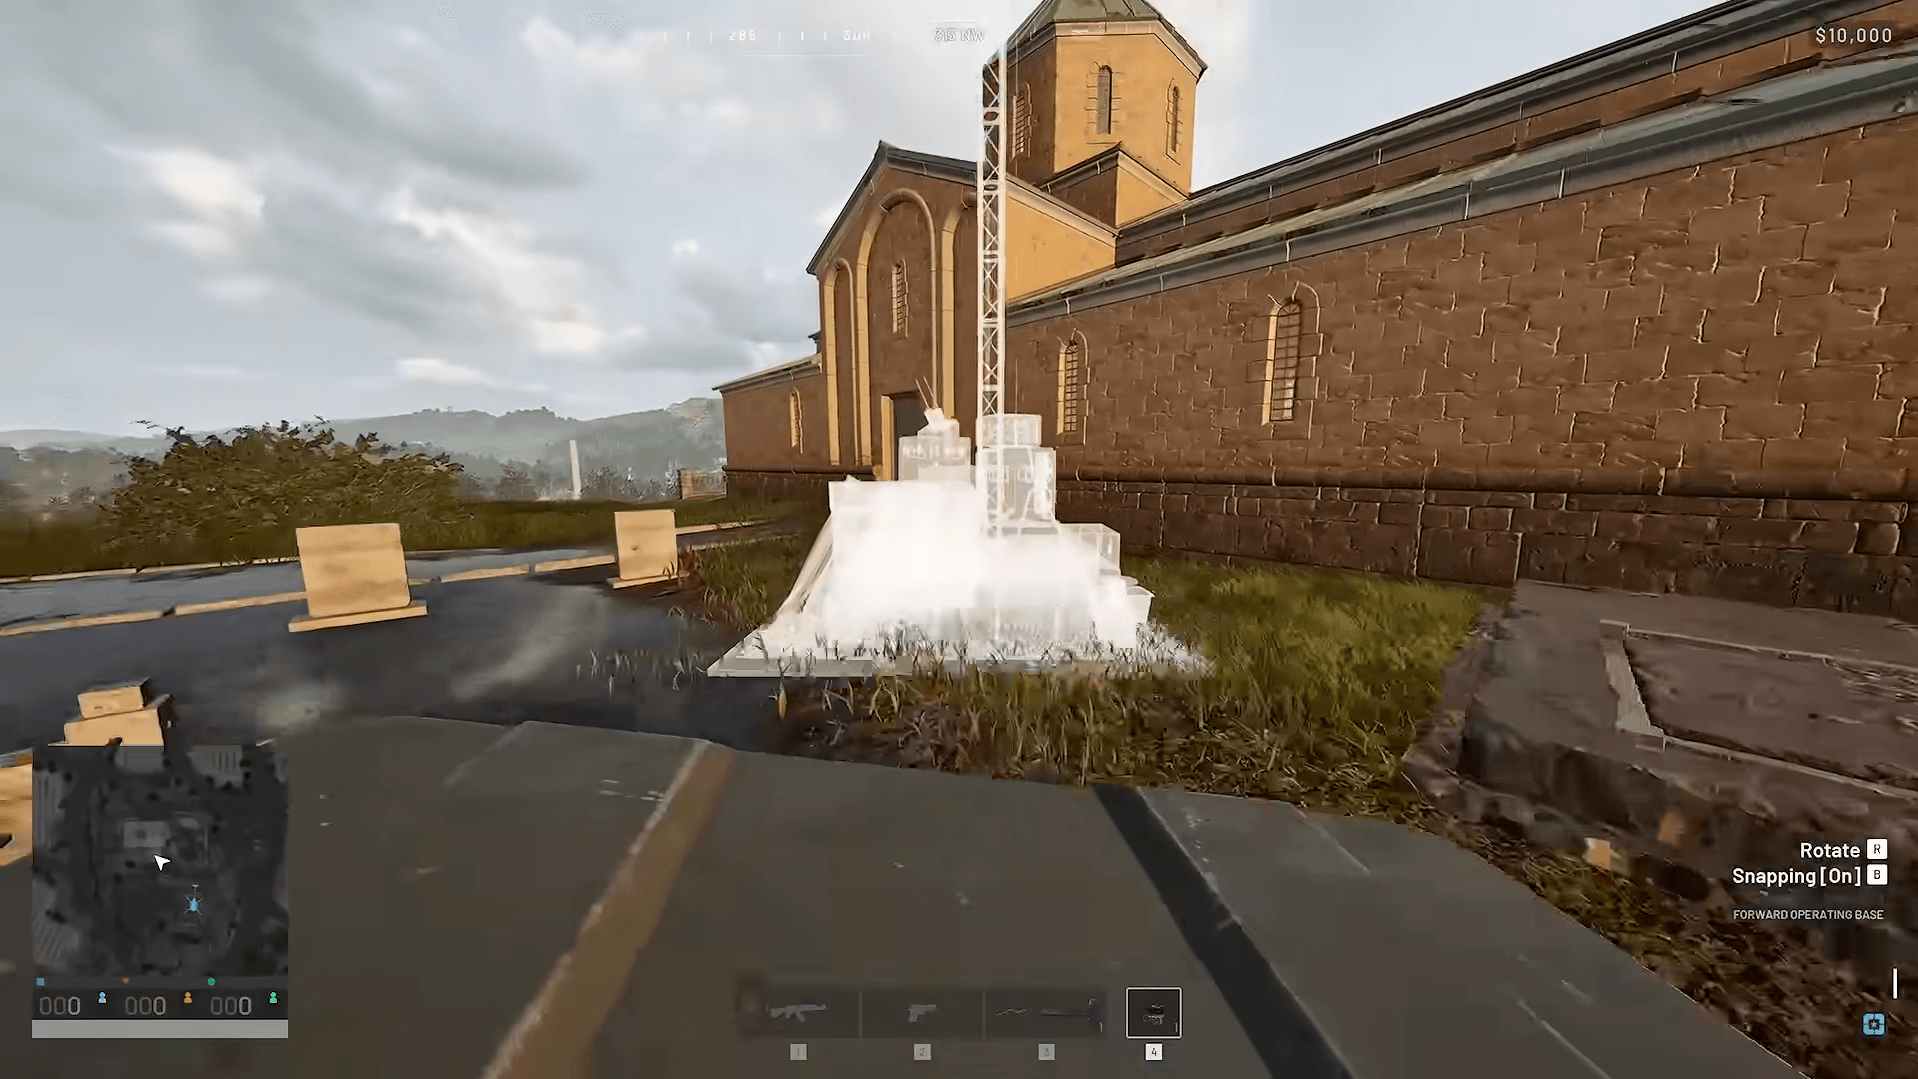
FOBs are available through the Building section of the vendor. Once you have one, carry it to your chosen location and place it on suitable ground. The FOB does not need to sit inside a Control Zone, which gives you real flexibility when picking a spot.
After placement, a marked radius appears on the minimap showing the area where FOB-supported structures can be built. Every wall, gate, and emplacement tied to that FOB needs to stay inside this boundary.
Place the FOB before you start hauling construction equipment to an area. Everything else depends on where that radius lands, so getting the FOB down first saves you from having to reorganize later.
WARDOGS FOB Guide: How to Place, Supply, & Defend Your FOB
What are the FOB supply types?
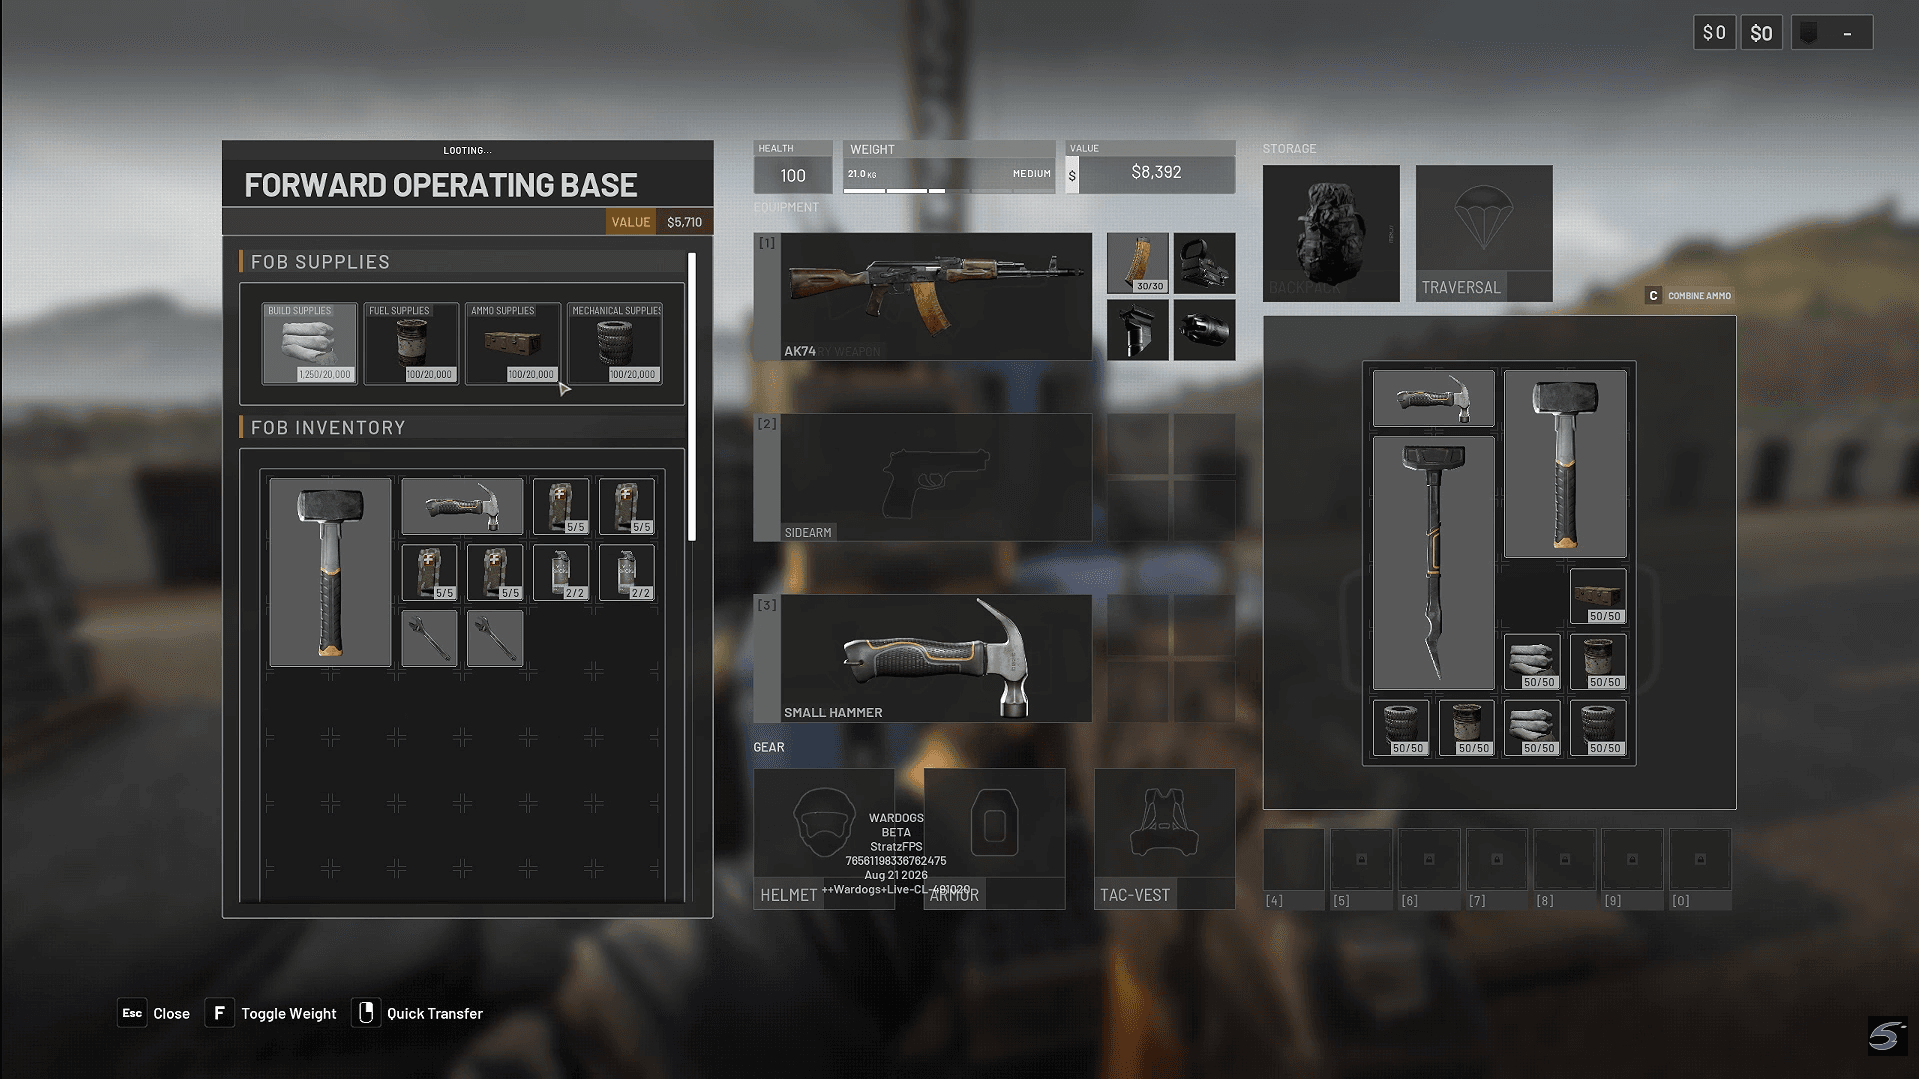
FOBs run on four distinct supply types, and keeping the right ones stocked matters more than just dumping whatever you have available.
Build Supplies are the resource you'll burn through fastest when expanding a position. Ammo Supplies keep your defensive emplacements firing. Fuel Supplies matter once vehicles are using the position regularly, and Mechanical Supplies handle repair support for anything mechanical at the base.
Check what the FOB actually needs before making a supply run. Delivering a full pallet of Build Supplies when the position is out of Ammo or Fuel wastes a trip and leaves a gap that enemies can exploit.
WARDOGS FOB Guide: How to Place, Supply, & Defend Your FOB
How do you resupply a FOB?
Players can carry supplies on foot, but vehicles are the practical answer for keeping a forward position stocked. Logistics vehicles can carry supply pallets loaded with whichever resource the FOB needs, moving large amounts in a single run.
The resupply process has a few steps that are easy to miss. Driving a pallet to the FOB and leaving it on the ground does nothing. Supplies need to be unloaded from the vehicle and then transferred directly into the FOB's stockpile before they count.
The loop looks like this:
- Buy the supplies you need
- Load them onto a logistics vehicle
- Drive to the FOB
- Unload the cargo from the vehicle
- Transfer the supplies into the FOB stockpile
If no pallet is available, you can move supplies from your personal inventory directly into the FOB. It's slower, but it works when you're in a pinch.
For a deeper look at earning the cash you need to keep supplies flowing, the WARDOGS money guide covers every cash-earning method in the game.
Where should you place a FOB?
There is no universal answer, but three factors should drive every placement decision: access, protection, and usable space.
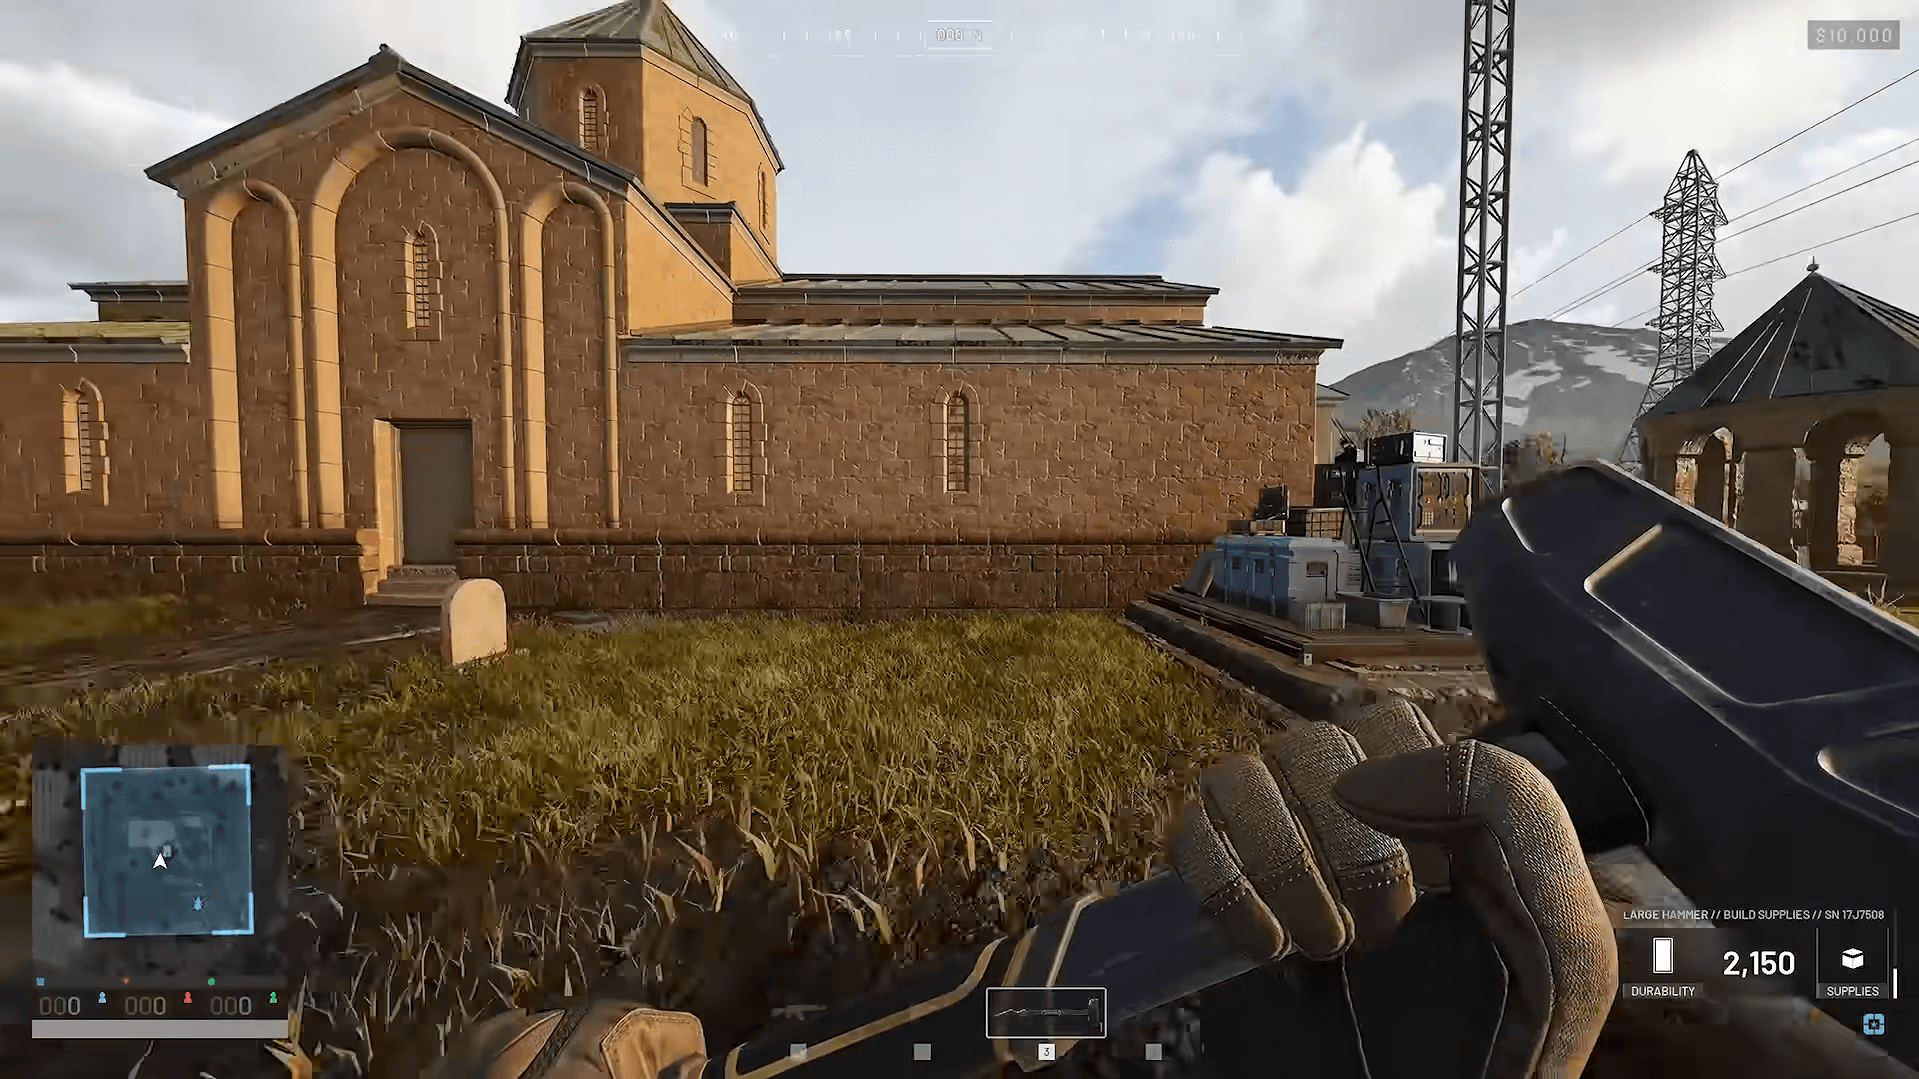
Access means trucks and helicopters can actually reach the position to deliver supplies. A FOB tucked somewhere visually safe but logistically awkward will starve. Protection means enemies cannot immediately see or reach the terminal. And usable space means the build radius gives you room to construct a real position rather than a cramped cluster of walls.
WARDOGS is built around teams fortifying strategic positions near the Control Zone, so a FOB placed far from the action just to keep it safe defeats the purpose. The goal is a forward position that supports the fight, not a hidden base that never gets used.
WARDOGS FOB Guide: How to Place, Supply, & Defend Your FOB
How do you protect a FOB from enemies?
Enemies who reach your FOB can attack it directly and, more dangerously, attempt to hack the terminal and take control of your position. A hacked FOB can cost the team everything built around it.
The FOB terminal should never sit completely exposed. It does not need a massive fortress around it, but keeping enemies away from the core is the difference between a position that holds and one that flips. Basic cover, choke points, and players watching the terminal go a long way.
Full wall layouts, gate setups, and defensive emplacement strategies are their own topic, covered separately in a dedicated base-building guide.
Is building a FOB worth the investment?
Yes, when the team is actually coordinating. A FOB gives your squad a forward construction hub, shared resource storage, and vehicle support capability that you simply cannot replicate otherwise. Teams that keep their FOB supplied and defended can hold positions that would otherwise be impossible to sustain.
The mistake most players make is placing a FOB and treating it as done. A useful FOB needs a good location, consistent resupply, and someone willing to defend it. Without those three things, it becomes a liability faster than it becomes an asset.
If you're still getting a feel for how the game's systems connect, the WARDOGS beginner's guide breaks down scoring, Hot Zones, loadouts, and cash in one place. For everything else, the full WARDOGS strategy guides collection has you covered.