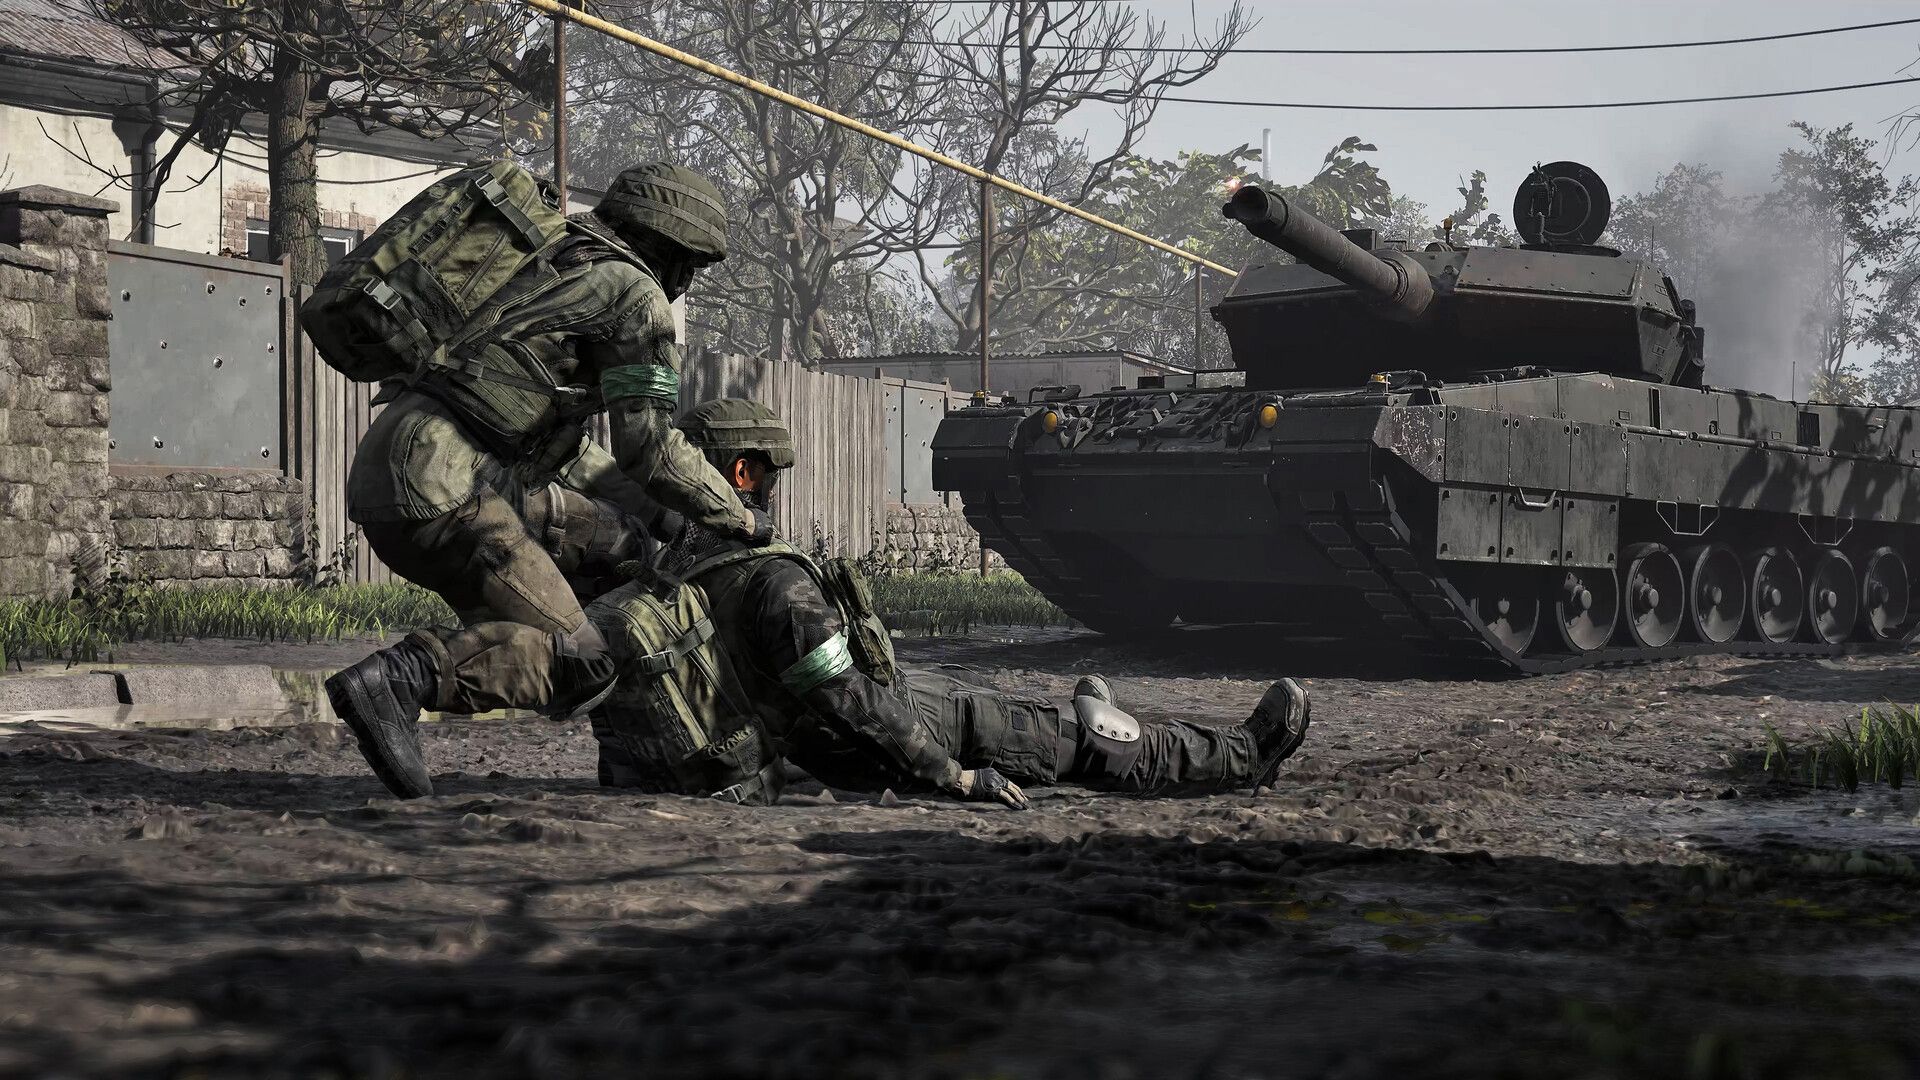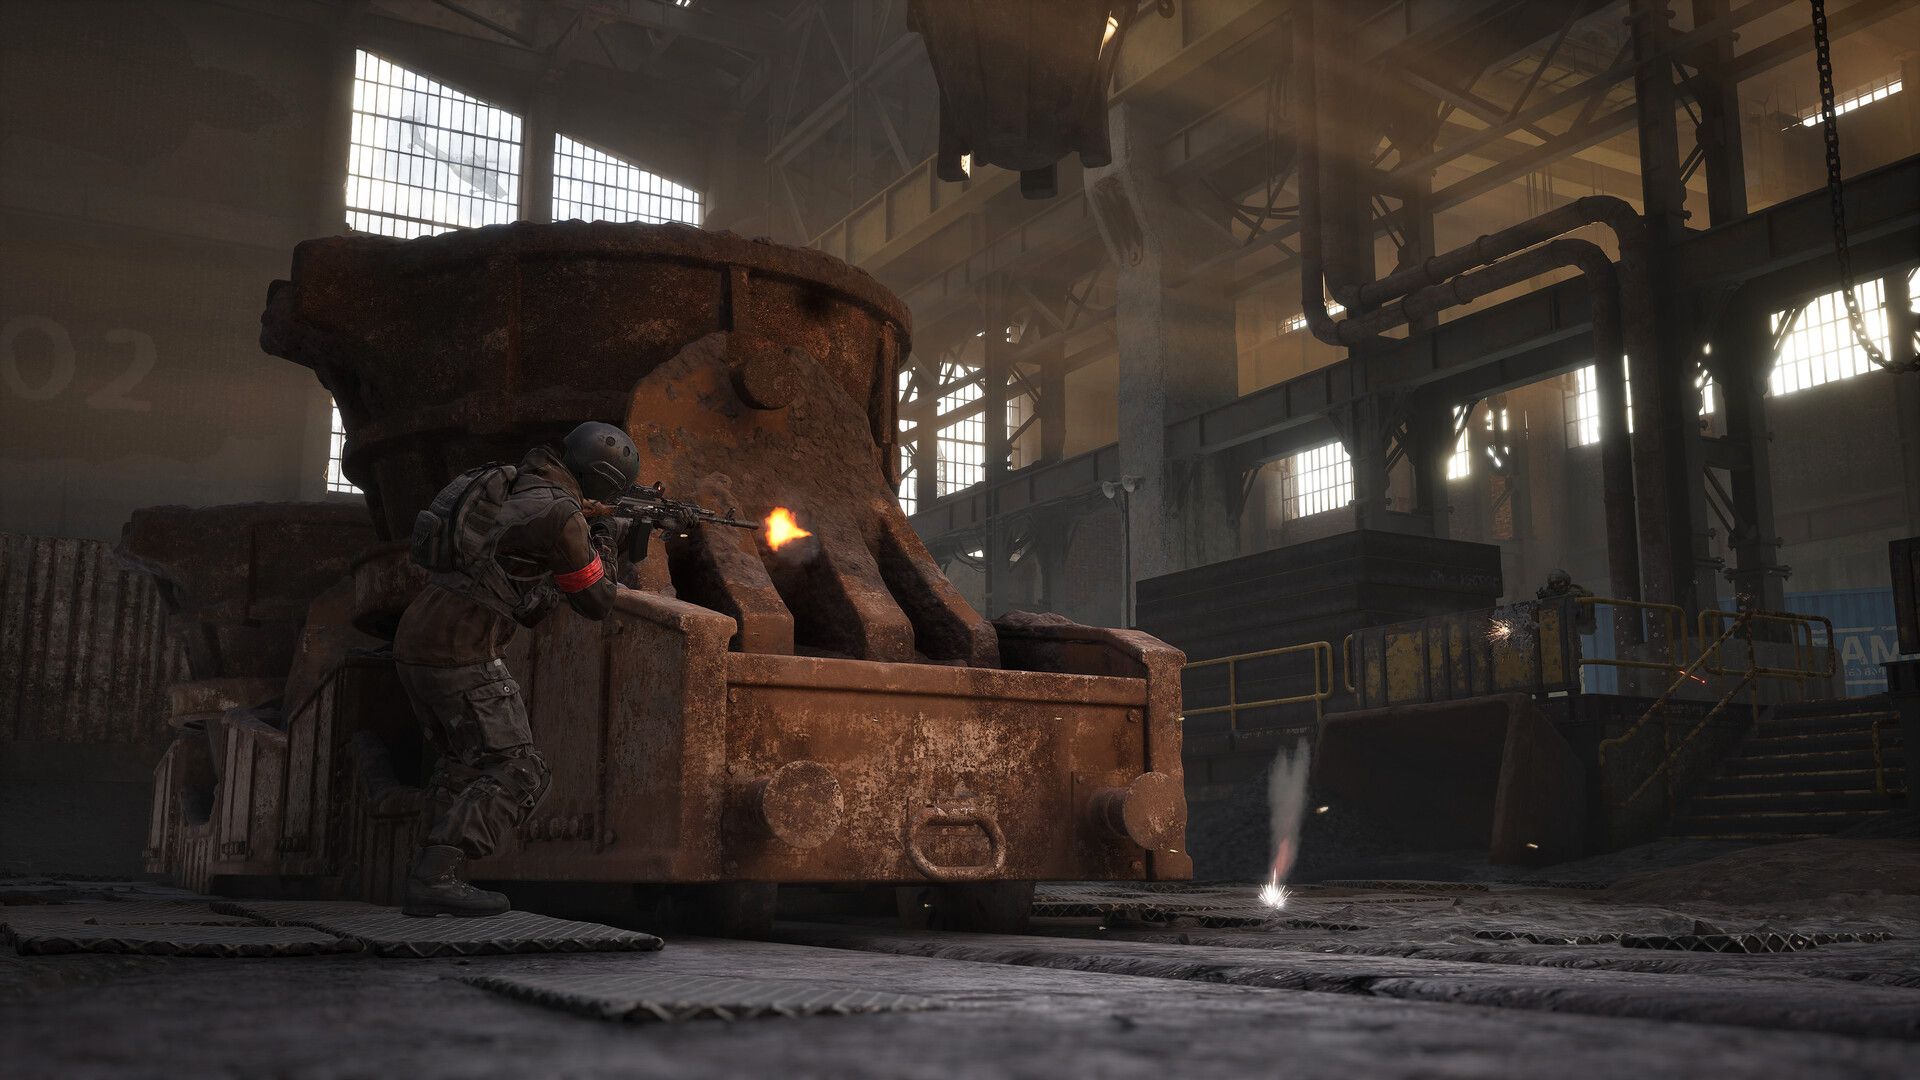

The L81 Mortar is one of the most punishing tools in WARDOGS. A well-placed mortar crew can flatten an enemy FOB, suppress a tower approach, or force an entire squad off an objective without ever seeing them directly. The problem is that most players drop it, fire two blind shots, and wonder why nothing dies. This guide covers everything from construction to rapid-fire barrages and keeping the shells coming.
How do you build a mortar in WARDOGS?
You cannot place a mortar with a standard hammer. You need a Large Hammer from the equipment vendor. Once you have one, your team needs an active FOB already placed, and you need 91 Building Supplies in your inventory.
With those in hand, equip the Large Hammer, look for the mortar on the third page of the construction menu, and place it within FOB range. After placement, hit the structure with your hammer to build it. You can speed up construction by striking the yellow X markers on the structure. Once it is finished, walk up and interact with it to climb in.
The Firing Range is the best place to practice all of this for free before a live match. Build the mortar there, run through the controls, and get comfortable with the aiming screen before you spend real resources.

How do you aim the L81 Mortar?
The aiming system is the part that trips up new players the most. Here is the short answer: you need a distance and a direction before you fire anything useful.
Setting direction and range
When you right-click inside the mortar (or use the aim function), you enter the aiming screen. Use A and D (or your mouse left and right) to rotate the barrel and set your azimuth, which is the horizontal direction toward your target. Use W and S (or mouse up and down) to adjust the range, which controls how far the shell travels.
The left side of the scope shows your current range setting. The right side shows the projected distance. Neither value tells you whether you are on target until you fire.
Using map pings for solo targeting
If you do not have a spotter, open your map and middle-click to drop a ping marker on the target location. Hover over a scanned enemy position to read the range in meters. Use that number to dial in your initial range setting, then rotate the barrel toward the marker. This will not be perfect on the first shot, but it gives you a starting point that is far better than guessing from the horizon.
Using a spotter
A teammate with any Recon item can scan enemies and mark them on the map. Once a target is highlighted, the gunner can hover over it for range and orient the barrel accordingly. After each shot, the spotter calls the correction: short, long, left, or right. Change one variable at a time between shots. Changing both range and direction at once makes it impossible to know which adjustment worked.
What is the fastest way to fire multiple mortar rounds?
This is the technique that separates a mortar crew that suppresses from one that actually destroys things.
The 3-round rapid barrage
The mortar holds up to 3 rounds in the tube. When you fire, an animation plays that follows the shell to its impact point. Most players sit through this animation before loading the next round. That is the mistake.
Press C to cancel the shell-follow animation immediately after firing. This lets you load and fire the next round right away. Do this three times and you drop all 3 shells on target in rapid succession before the enemy has time to react to the first impact.
On the final shot of a volley, let the animation play out so you can observe where the rounds landed and confirm corrections. Then spam R to reload all 3 tubes as fast as possible for the follow-up barrage.
The workflow looks like this:
- Fire one ranging shot, let the animation play, observe the impact.
- Correct direction and range as needed.
- Fire round 2, press C to cancel animation, fire round 3, press C to cancel.
- Let round 3 animate to observe final impact.
- Press R to reload and repeat.
How do you keep the mortar supplied with ammo?
Firing the mortar draws from the FOB's ammunition resources. The mortar does not have its own independent supply. If the FOB runs dry, the mortar stops firing.
Ammo Supplies can be purchased from HQ and delivered to the FOB via item crates or an Ammo Supply Pallet. Before committing to a sustained fire mission, confirm the base has enough ammunition stocked. Tell your logistics players in advance when a long barrage is planned so they can prioritize resupply runs.
A built mortar sitting next to an empty FOB is useless. The supply chain is part of the mortar crew's job, not just the support player's problem. For a deeper look at keeping your FOB stocked and running, the WARDOGS money guide covers how to fund those resupply runs without bleeding your loadout budget dry.
Mortar tactics: applying pressure to a FOB or tower
What to target
The most effective mortar targets are not the center of an enemy FOB. Target observed activity: a delivery route, clustered defenders near a spawn asset, an exposed repair area, or the approach stairs to a tower. Shelling decorative walls does nothing. Shelling the path a vehicle crew uses to resupply does a lot.
For tower pushes specifically, mortar fire on the approach forces defenders back inside and creates a window for your ground team to move. Coordinate the barrage with a push rather than firing independently and hoping something good happens.
Crew composition and positioning
Run at least a gunner and a spotter. A third player covering the site or running supplies dramatically increases how long the position stays viable. Place the mortar where the crew has cover, clear supply access, and an exit route planned before the first shot.
Do not place the mortar directly on the most obvious part of your FOB. Distance from the FOB core means one reconnaissance pass does not reveal every team asset at once.
When to relocate
Every shot gives away your approximate firing direction through sound and visual cues. Move after a successful fire mission, after enemy recon spots the position, when supplies become unsafe to deliver, or when the objective shifts beyond your effective range. A mortar crew that stays in one spot too long gets raided.
Three-faction matches make this especially relevant. A crew focused entirely on one enemy FOB can be flanked by the third faction without warning.
How do you counter enemy mortars?
Receiving mortar fire is not a death sentence if you react correctly.
| Counterplay Method | What It Does |
|---|---|
| Spread out | Reduces the number of players caught in a single impact |
| Leave repeated impact points | Mortar crews walk rounds onto static targets |
| Use hard cover and terrain | Reduces blast damage from near misses |
| Disrupt the spotter | No accurate corrections means wasted ammo |
| Interrupt ammo delivery | Cuts off sustained fire at the source |
| Scout likely firing sites | Sound direction and rhythm help narrow the position |
| Counter-battery fire | Use your own mortar or artillery to suppress their crew |
The most durable counter is pressuring the system, not just the mortar tube. Remove the spotter, block the supply route, or force the crew to defend itself. Smoke and movement can break observation during a correction cycle.
Quick mortar reference
| Step | Action | Key |
|---|---|---|
| Rotate barrel | Aim direction left/right | A / D or mouse |
| Adjust range | Change firing distance | W / S or mouse |
| Fire | Launch a mortar round | Left-click / fire button |
| Cancel animation | Skip shell follow camera | C |
| Reload | Load next round | R |
For everything else you need to get started in the game, the WARDOGS guides collection covers loadouts, FOB building, towers, and more in one place.