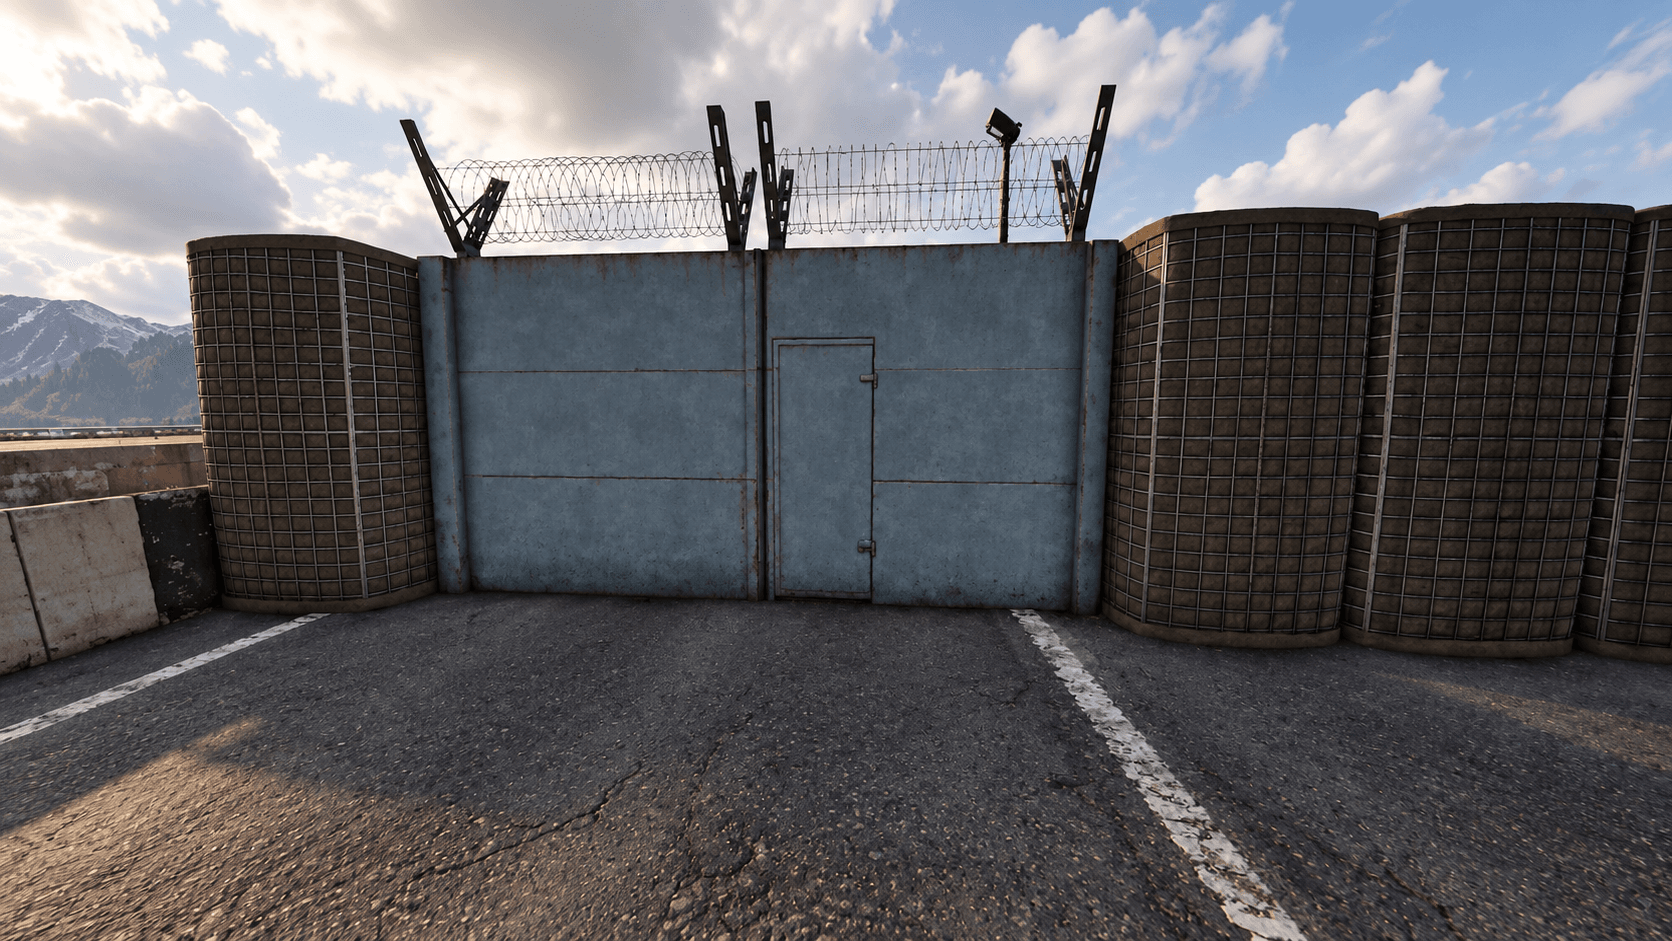


Building a base in WARDOGS is not just about surrounding a Forward Operating Base with walls and hoping for the best. A base that actually holds needs controlled entrances, clear firing angles, and a protected core that enemies cannot reach without a fight. The building system also scales with hammer tier, so knowing which structures unlock when makes a real difference in how quickly you can set up a defensible position.
What do you need to start building a base?
Every base starts with a Forward Operating Base, or FOB. Placing one creates a build radius where your team can construct walls, gates, defenses, and support structures. All construction draws from the FOB's Build Supplies, so the size of your base is directly limited by how many supplies are available.
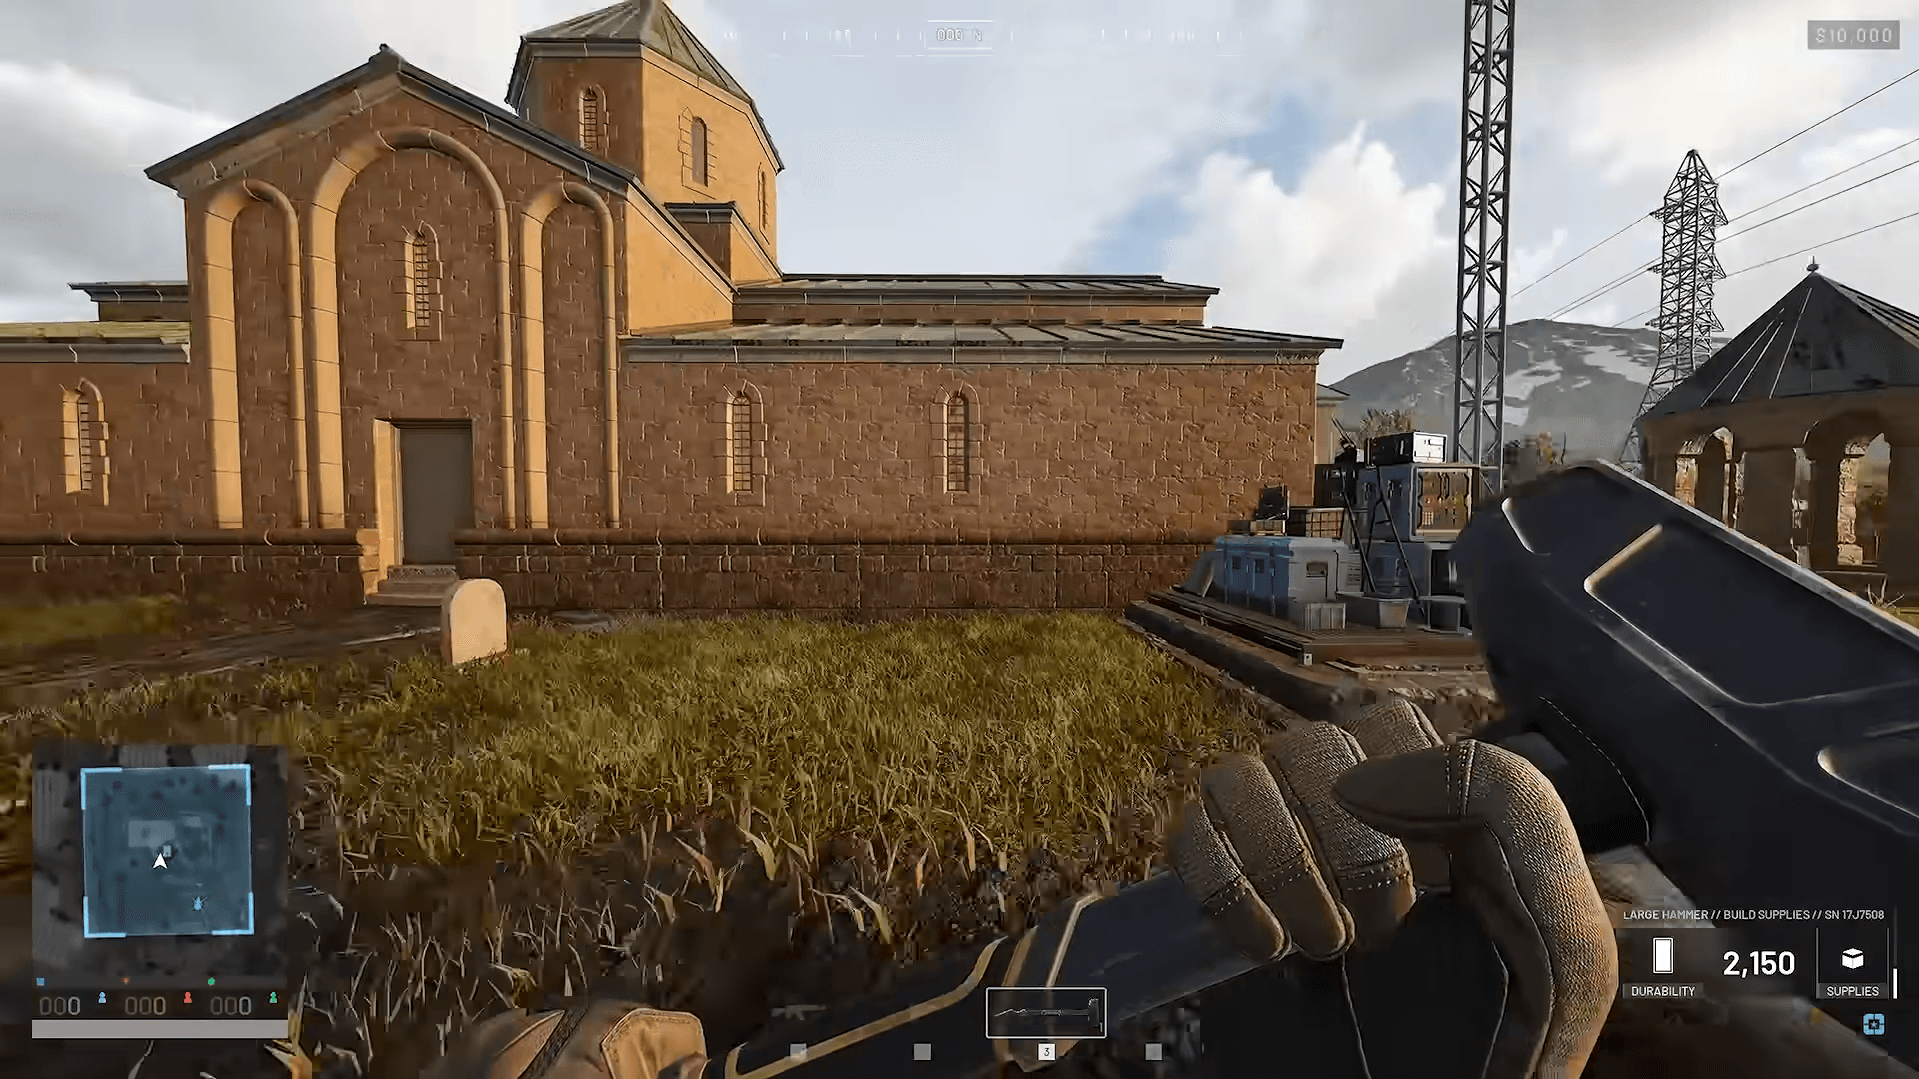
You also need a hammer. WARDOGS has three main tiers, and the one in your hands determines what you can place:
The Large Hammer is where serious base building happens. It unlocks at Support Level 8 in the current Season 1 build, so players who want access to mortars, anti-air systems, and heavy emplacements need to invest in the Support role. Check out this WARDOGS XP guide for leveling every role fast if you want to reach that unlock sooner.
WARDOGS Base Building Guide: Build & Defend Your FOB
Protect the FOB first, expand second
The instinct when building is to go wide immediately, throwing up a big perimeter and filling it in later. That approach leaves your FOB exposed while you work on the outer edges.
The smarter order is to secure the center first. Walls should block direct access to the FOB while still leaving enough room for teammates to reach its terminal and storage. Once the core is protected, expand the perimeter outward from there.
Attackers should have to pass through at least one defended area before they can touch the FOB. If they can walk straight in from any direction, the base is not a base yet.
How many entrances should a base have?
Fewer than you think. A base with too many entrances splits defender attention and makes it nearly impossible to know where a push is coming from.
A practical setup uses one main Gate for vehicle access and a small number of Doors for infantry movement. Both are Medium Hammer buildables. This keeps enemy entry points predictable and lets a small team cover them properly.
The Gate also needs a clear approach from outside the perimeter. Supply trucks and other friendly vehicles need to get in and out without getting stuck on walls or obstacles. A base that cannot receive supplies will run dry no matter how solid the walls look.
How do choke points improve base defense?
A straight path from the entrance to the FOB is a problem. Enemies who break through the Gate have a clear run to the center with no obstacles slowing them down.
Walls and secondary doors can fix this by creating a short choke point between the entrance and the interior. Instead of walking straight in, attackers have to navigate a predictable path where defenders can cover them from multiple angles.
Adding a second Door or wall section behind the main Gate gives you a backup defensive line. If the first entrance falls, attackers still have another layer to deal with before reaching the FOB.
Building the perimeter with HESCO walls
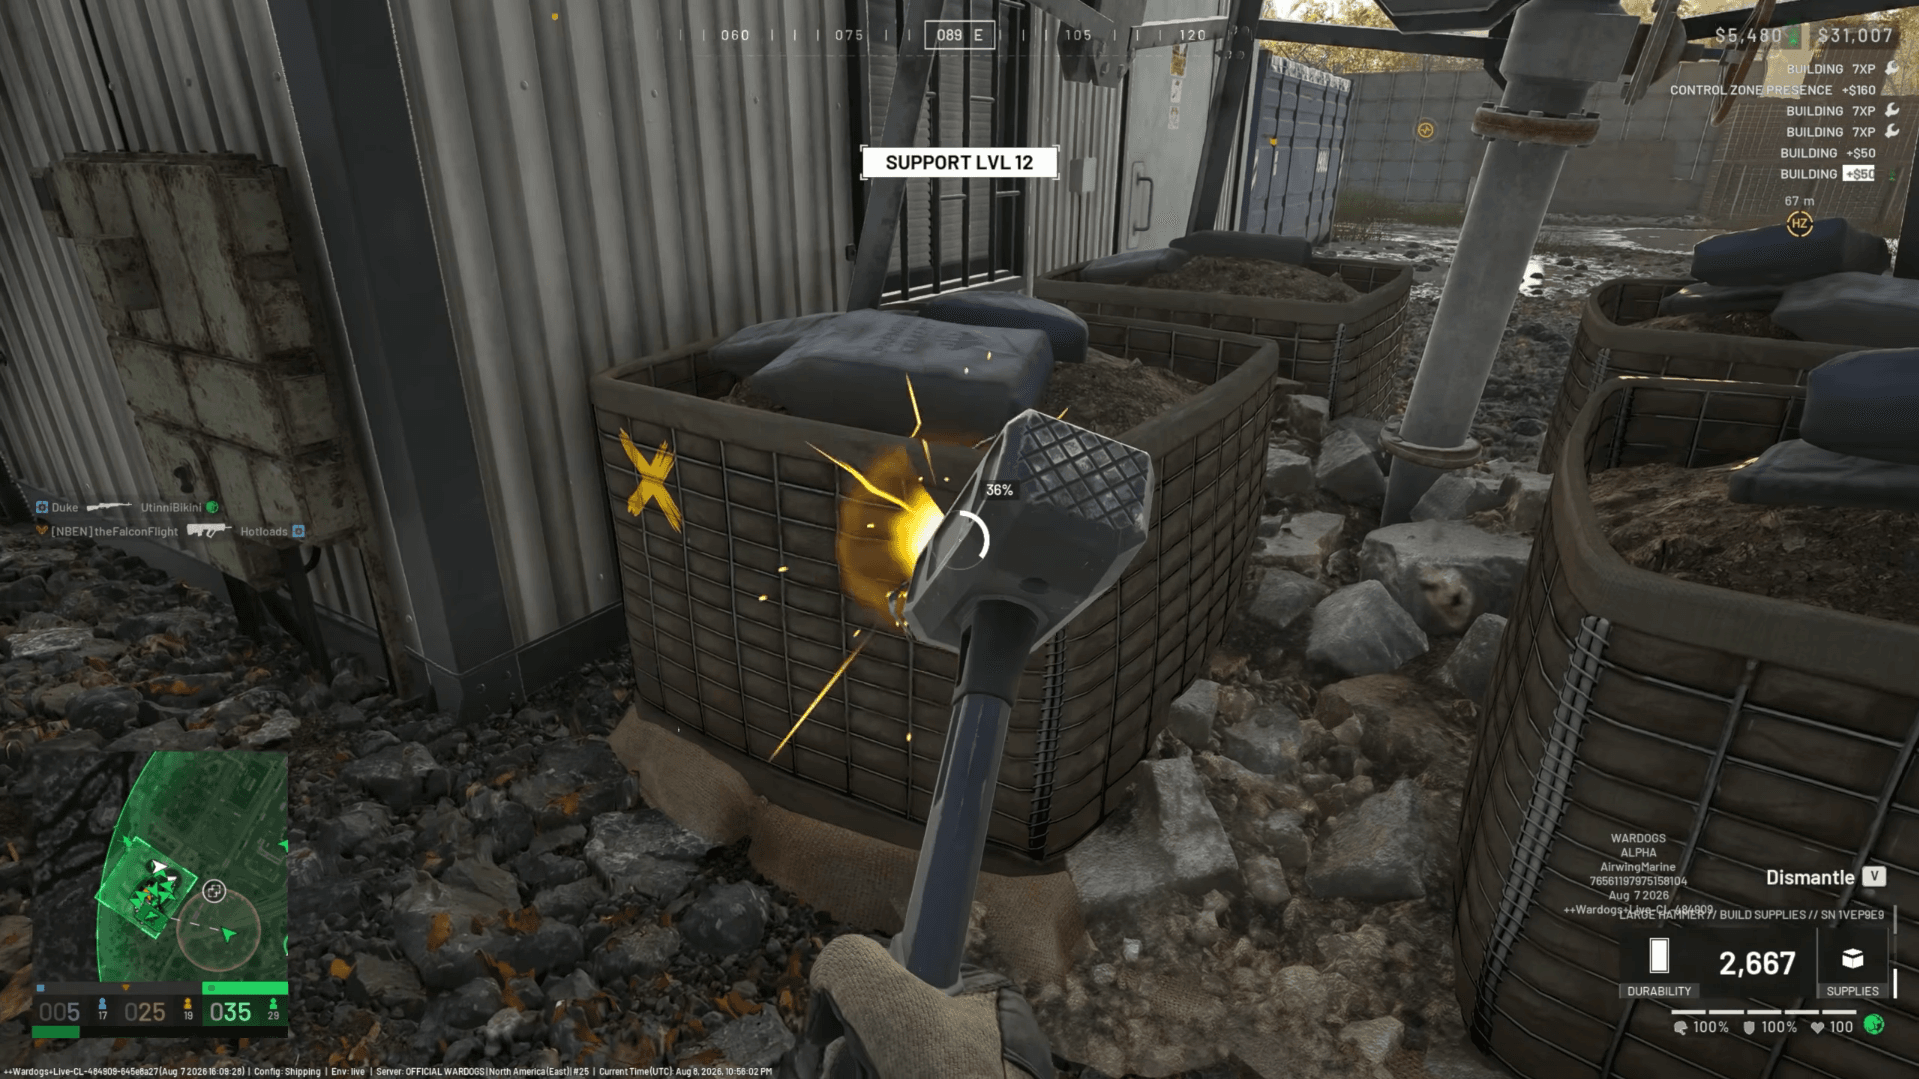
HESCO Walls are the main perimeter option in WARDOGS. The building catalog includes HESCO Block (Small), HESCO Block (Large), and HESCO Wall, giving you several ways to close gaps and block sightlines around the base.
Large HESCO pieces work well for the outer wall because they cover more ground and are harder to breach quickly. Use the game's snapping system where possible since walls placed close together snap into cleaner sections, which makes it easier to build a consistent perimeter without gaps.
One thing worth keeping in mind: a smaller base with better firing angles is easier to defend than a massive perimeter with nobody watching half of it. Build to the size your team can actually cover.
WARDOGS Base Building Guide: Build & Defend Your FOB
Where should you place Barbed Wire?
Barbed Wire costs far fewer Build Supplies than heavier fortifications and does a specific job well: slowing enemy infantry. It does not stop a push on its own, but it forces attackers to slow down and move awkwardly, which gives defenders more time to shoot.
The most useful placements are:
- Gaps beside walls where enemies might squeeze through
- Areas where attackers could climb onto structures
- Approaches to the FOB itself
- Less-watched sides of the base
- Entrances where you want to slow a rush without blocking vehicle access
Barbed Wire works best as a supplement to walls, not a replacement for them.
How do Recon Towers help defend a base?
The Recon Tower is a two-storey structure with elevated firing positions accessible by ladder. Placing one near a key entrance gives defenders a height advantage and a clear view of anyone approaching from outside the perimeter.
This matters because one of the biggest weaknesses in any base layout is attackers who can stand against the outer wall without being seen from inside. A Recon Tower positioned near a corner can watch more than one side of the base at once and eliminates that blind spot.
Do not place them randomly. A tower that cannot see outside the perimeter is not helping the defense. The goal is to watch the ground directly outside the walls, not the interior of the base.
WARDOGS Base Building Guide: Build & Defend Your FOB
What advanced defenses should you add with the Large Hammer?
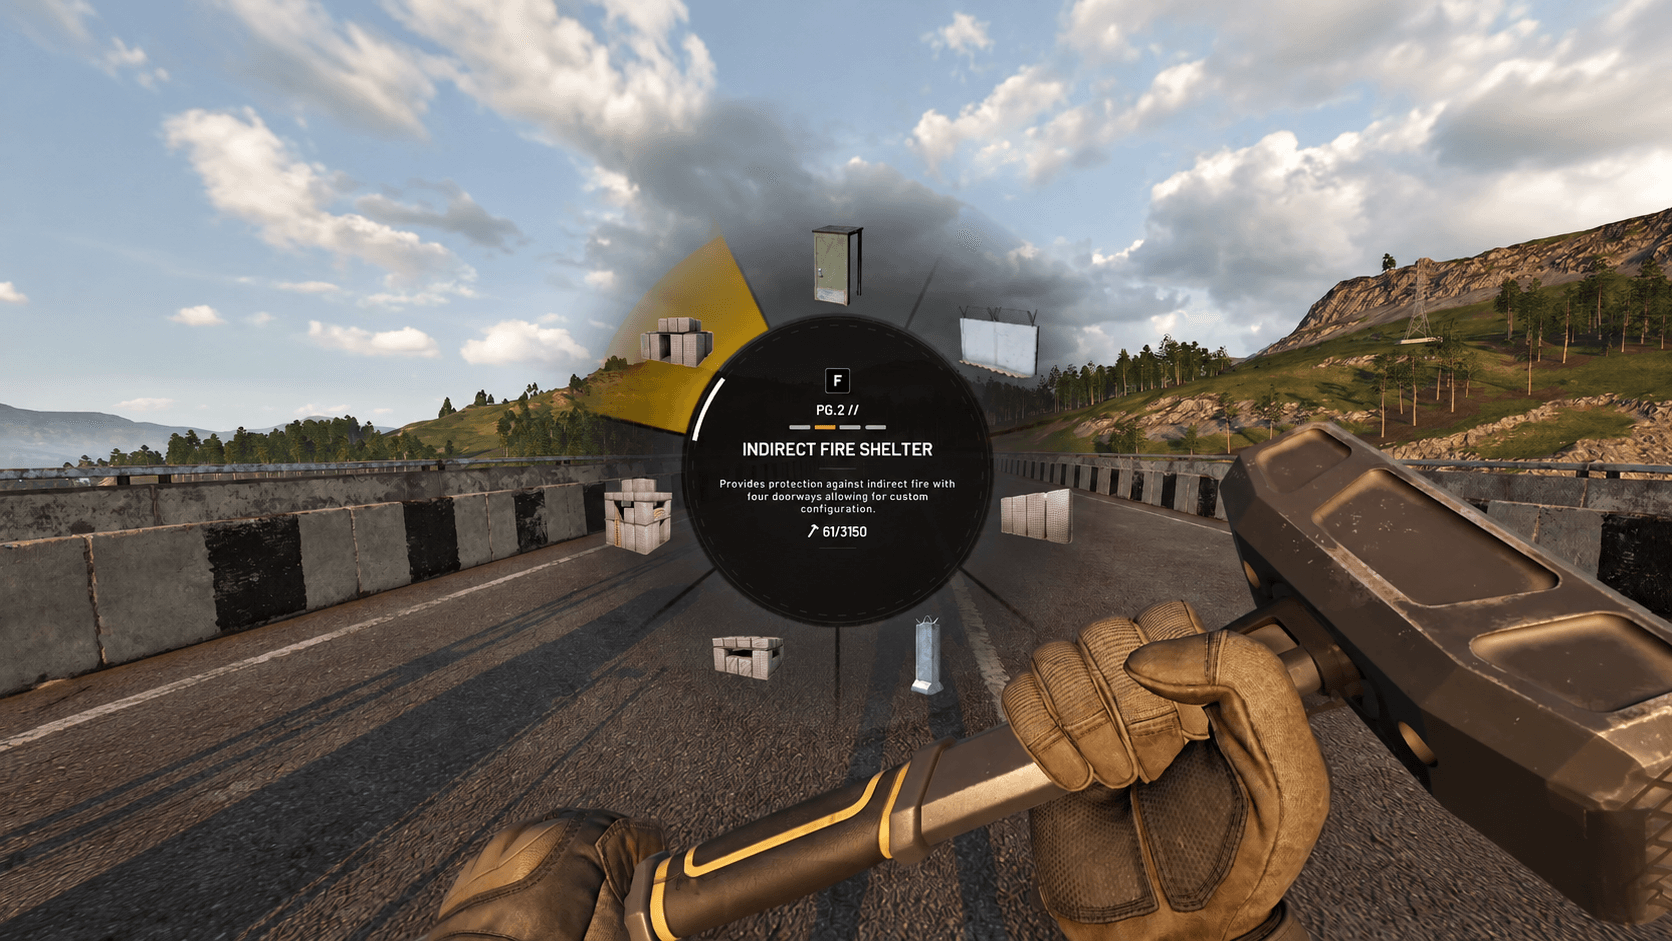
Once the basic perimeter is secure, the Large Hammer opens up heavier defensive options. Current buildables include:
- L81 Mortar
- Stingray
- Talon 9K-SAM
- Vanguard CIWS
- Indirect Fire Shelter
These cost significantly more Build Supplies than walls and Barbed Wire, so they should come after the important parts of the base are already protected. There is no point spending heavily on anti-air if enemy helicopters are not a factor in the current fight, and mortars are only useful if someone is spotting targets.
Build what the fight actually needs, not what looks impressive on paper.
Recommended base build order
For a clean, defensible setup without wasting Build Supplies, this order works well:
- Place the FOB
- Protect the FOB core with walls
- Create the main entrance with Gate and choke point
- Build the outer HESCO perimeter
- Add Doors for secondary infantry access
- Place Barbed Wire around vulnerable areas
- Position Recon Towers at key entrances and corners
- Add advanced defenses once the basics are covered
This keeps the most important structure protected from the start instead of leaving the FOB exposed while you work on the outer edges.
How should you defend a base once it's built?
Defenders who sit directly beside the FOB and wait for enemies to arrive are playing the wrong game. By the time attackers reach the center, the outer perimeter has already failed.
Recon Towers and elevated positions should watch the likely approach routes. Players near the entrances are the first line of defense, not the last. If attackers break through the outer wall, fall back toward the FOB rather than abandoning it to chase the breach.
The FOB itself is the priority. Walls and emplacements can be rebuilt if supplies allow, but losing the center puts the whole position at risk.
Quick tips for stronger bases
After testing various layouts, a few patterns consistently produce better results:
- Smaller bases with one controlled entrance are easier to hold than large ones with multiple open sides
- Keep some Build Supplies in reserve for repairs and adding defenses mid-fight
- The Gate needs a clean vehicle approach from outside the perimeter
- Recon Towers near corners cover more ground than towers placed along straight wall sections
- Barbed Wire near the FOB approach gives defenders a last-second slowdown if the perimeter breaks
Base building connects directly to how well your team can sustain a position across a match. If you are still getting familiar with how resources and loadouts work together, the WARDOGS money guide covers every cash-earning method so you can keep your operation funded. For everything else, the full WARDOGS strategy guides collection has you covered.