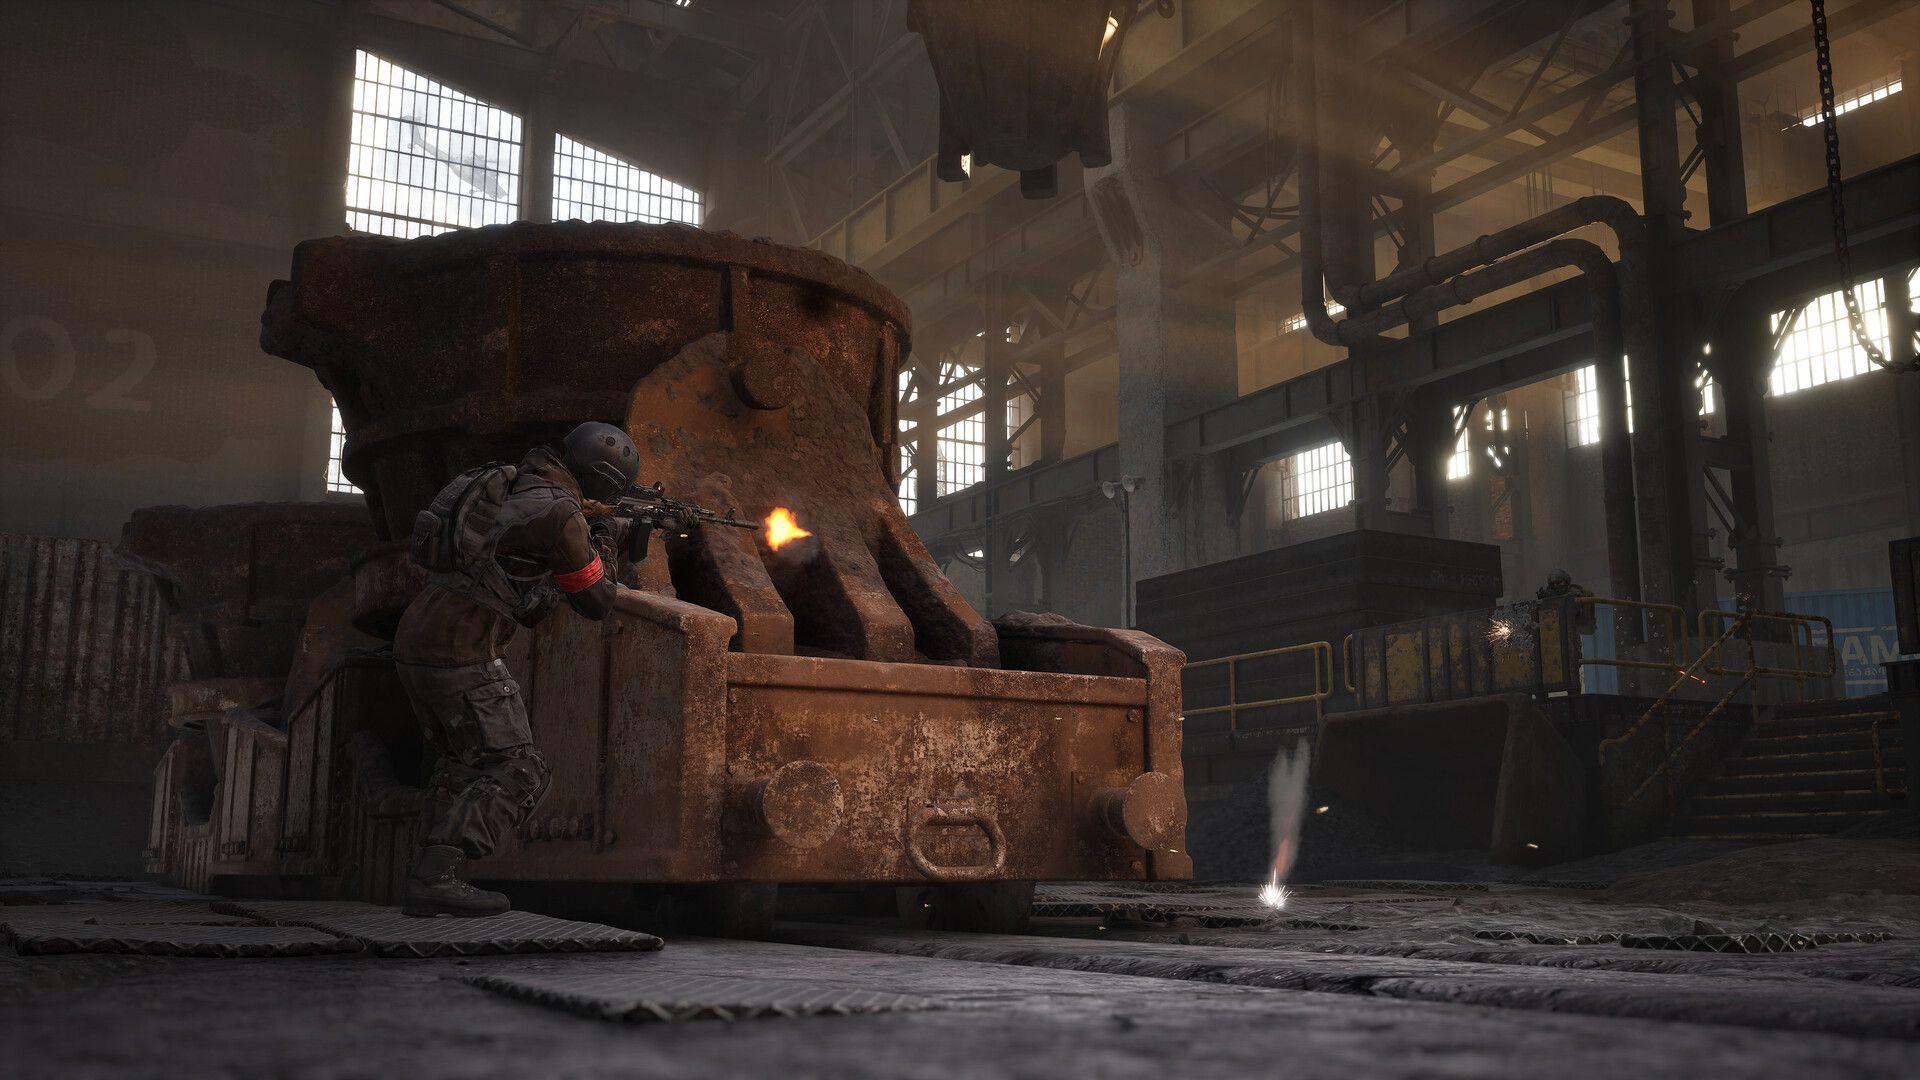


Drill Towers are one of the most overlooked systems in WARDOGS, and that oversight costs teams matches. While most players chase the Hot Zone wherever it moves, the factions that actually win are the ones pulling it toward ground they already own. That's exactly what Drill Towers let you do, and this guide breaks down every step of the process.
What are Drill Towers?
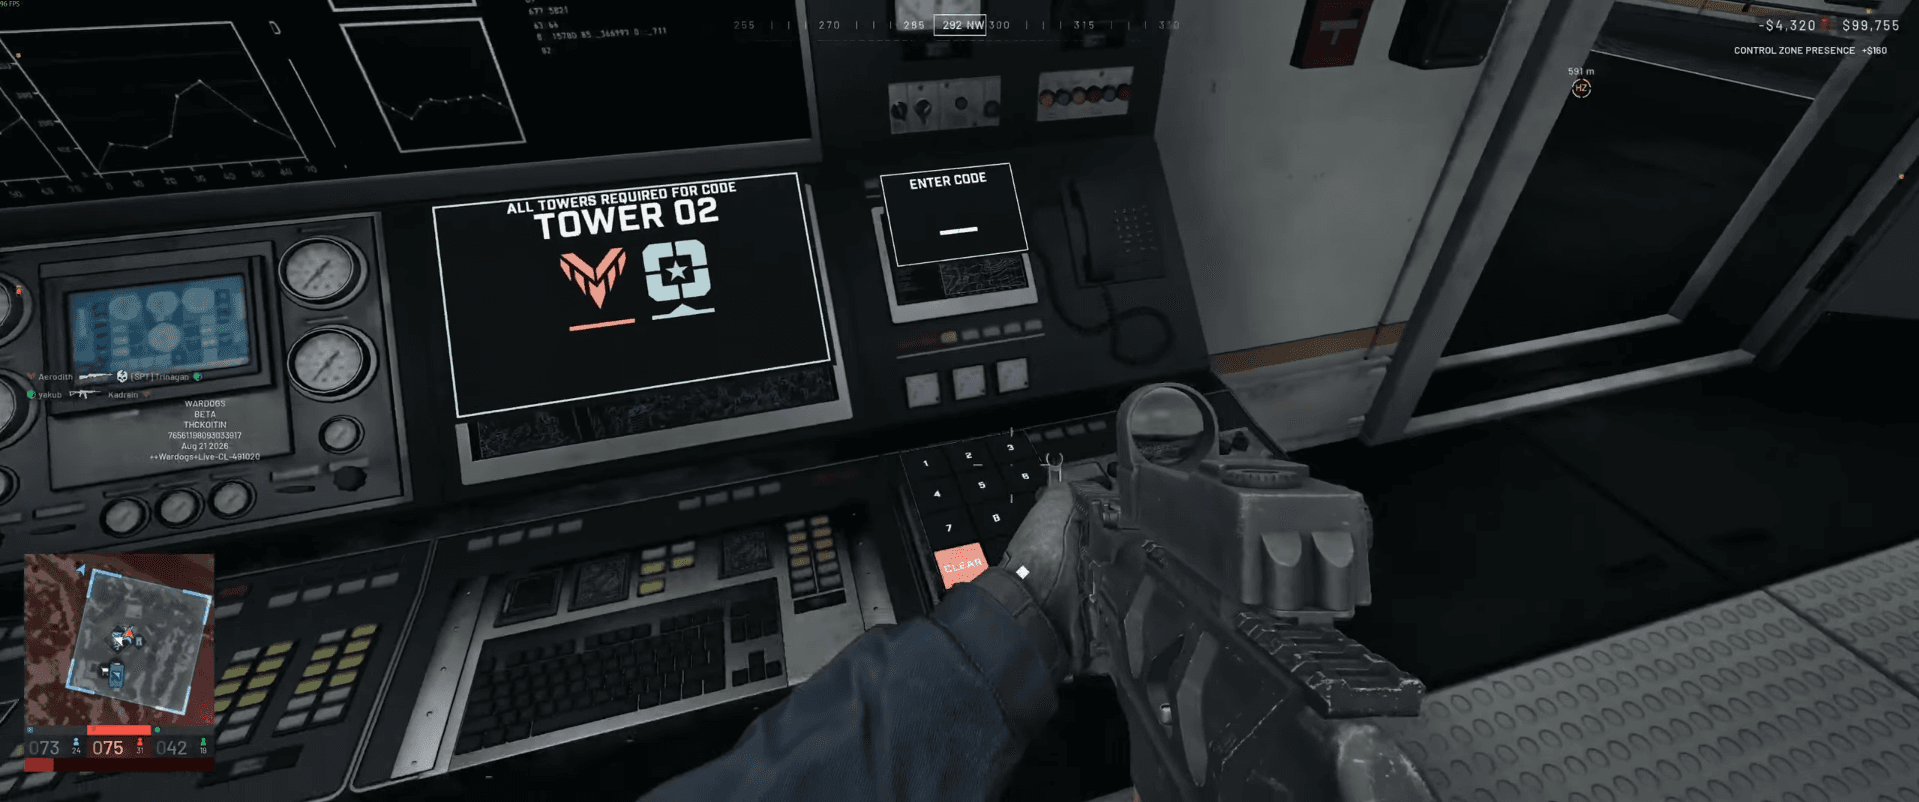
Drill Towers are capturable structures scattered across the battlefield. Each one contains a terminal you can interact with once you've cleared or reached the structure. Capturing a tower hands your faction control of that position and reveals a piece of the numerical code needed to influence the Hot Zone.
The towers themselves don't generate points directly. Their value comes from the code system they feed into and the positional control they represent on the map. Tower layouts vary between maps, but the core mechanic stays consistent.
How to capture a Drill Tower
Reaching the terminal inside the structure is the first step. If enemies are holding the area, clear them before you interact with anything. Trying to capture while under fire just hands the enemy a free kill at an objective.
Sending a single player to cap a tower near an active fight is usually a mistake. A small group of two or three can hold the approaches while one player works the terminal, which keeps the capture from being interrupted.
Once the capture completes, the tower belongs to your faction and contributes a code piece toward the full sequence.
WARDOGS Towers Guide: How to Capture & Move the Hot Zone
How do tower codes work?
Capturing individual towers reveals fragments of a larger numerical code. Your team needs to gather enough pieces from towers around the map before the complete sequence becomes usable.
The completed code is then entered at a Drill Tower your faction controls. Communication is the difference between doing this efficiently and having three players waste time revisiting the same tower. Share code information in voice or text chat so teammates know what's already been collected.
How to move the Hot Zone with Drill Towers
The Control Zone and the Hot Zone are two distinct parts of the main objective. The Control Zone is the broader contested area where teams earn points. The Hot Zone is a smaller, higher-reward zone inside it that shifts position during a match.
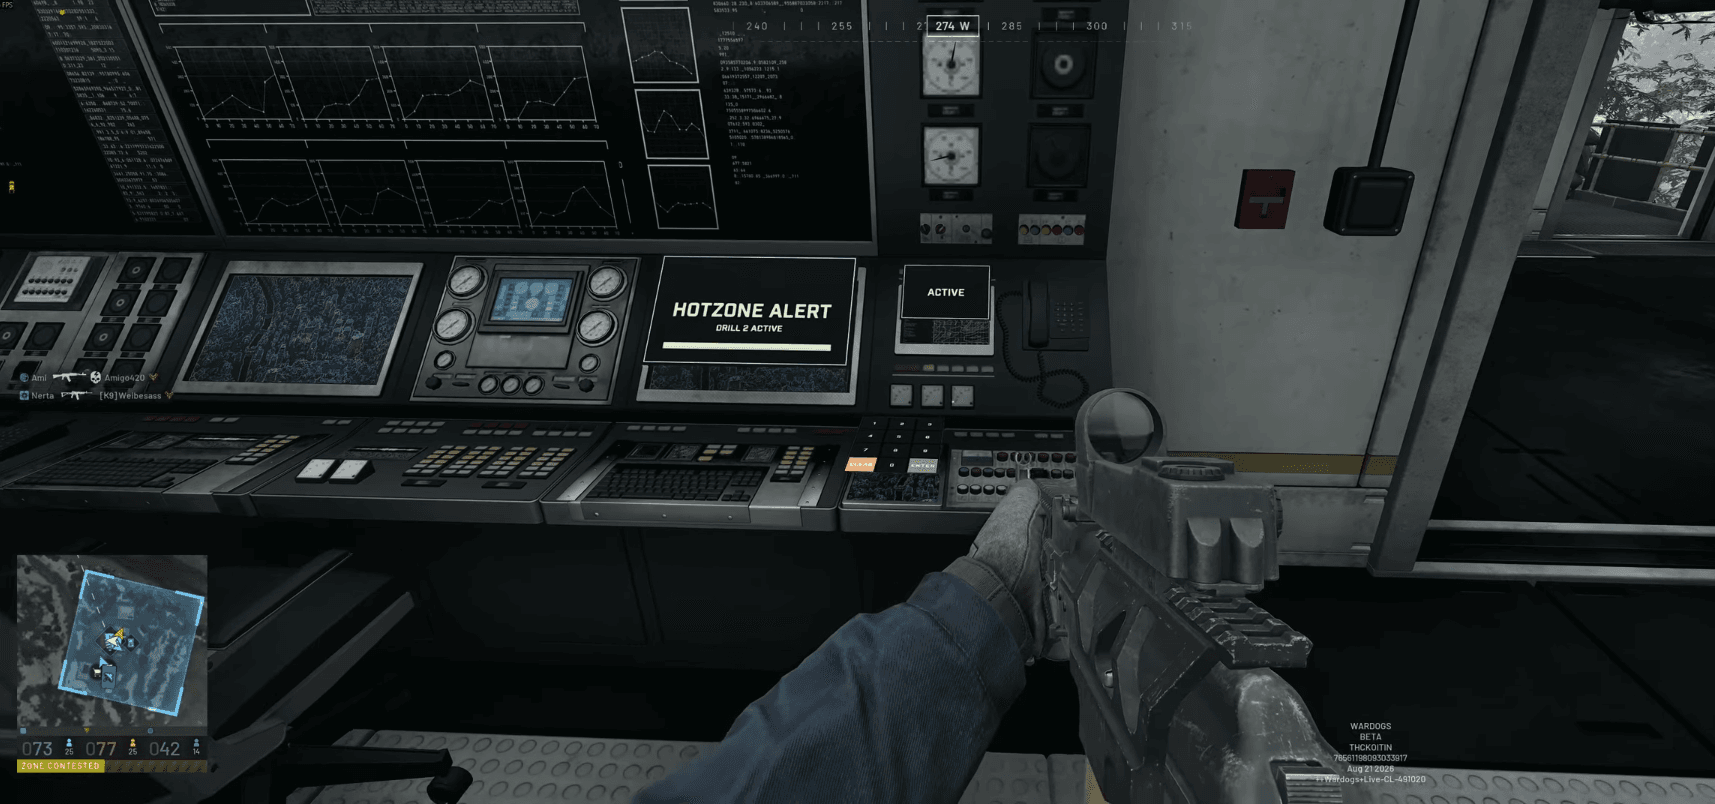
Once your faction has assembled the full tower code, entering it at a controlled Drill Tower pulls the Hot Zone toward that tower's position. This is the core payoff of the entire system: instead of chasing the objective, you bring the objective to you.
Here's the sequence in practice:
- Secure the Drill Tower you want to use as your anchor point.
- Have other teammates collect the remaining code pieces from other towers.
- Return to your controlled tower and enter the completed code at the terminal.
- Wait for the Hot Zone to begin moving toward your position.
- Rotate additional teammates into the area before the objective arrives.
- Hold the tower and surrounding ground as both enemy factions converge.
WARDOGS Towers Guide: How to Capture & Move the Hot Zone
Why does Hot Zone position matter so much?
The Hot Zone awards increased rewards for actions performed inside it. Holding it consistently means more cash, more pressure on the enemy economy, and more control over the pace of the match. Teams that ignore the tower system spend the whole game reacting instead of dictating.
A well-chosen tower position becomes a force multiplier when it offers:
- Strong natural cover and clear sightlines
- Safe transport routes for reinforcements
- Nearby teammates already in position
- Access to a supplied Forward Operating Base
- Defensive positions that are hard to approach from multiple angles
Once the Hot Zone locks onto your tower, enemy factions have to come to you. That's a significant advantage if you've prepared the ground properly.
Should you build a FOB near a Drill Tower?
Sometimes, not always. A nearby FOB can provide supplies, vehicle support, and defensive emplacements before the Hot Zone arrives, which makes the position much harder to dislodge. If you're planning to use a specific tower as your code entry point, setting up infrastructure nearby is worth the investment.
The mistake is building around every tower you capture. That spreads your logistics thin and creates multiple FOBs that none of your team can properly defend. Pick the tower with the best terrain and sightlines, then build around that one.
For the full construction process, the WARDOGS base building guide covers walls, gates, choke points, and everything else you need to fortify a position before the Hot Zone arrives.
Drill Towers vs Drill Rigs: what's the difference?
Drill Towers aren't the only way to pull the Hot Zone. A properly supplied FOB can also deploy a Drill Rig to shift the objective toward its position. The two systems serve the same general purpose but operate through completely different mechanics.
Both options reward teams that plan ahead. The tower system is more map-objective-focused, while the Drill Rig ties directly into your FOB infrastructure. Teams that understand both have more flexibility in how they control the Hot Zone.
How to defend a tower effectively
Capturing a tower means nothing if you lose it before the code gets entered. Watch the entrances and avoid leaving the terminal completely exposed. Elevated positions inside or near the structure improve visibility, but sitting in an obvious high spot makes you a priority target for snipers.
The whole squad doesn't need to camp one tower. A smaller group holds the position while other players handle code collection or fight inside the Control Zone. Once the Hot Zone starts moving toward your tower, rotate more players back in to reinforce before the enemy push arrives.
Is capturing towers worth the effort?
Yes, consistently. Ignoring Drill Towers means your faction is always reacting to where the Hot Zone moves rather than deciding it. The code system takes coordination, but the payoff is bringing the most valuable part of the objective to terrain you've already prepared.
The real edge isn't owning the most towers on the map. It's collecting the required code, picking the right tower to anchor on, and having your team ready to hold that ground when the Hot Zone arrives.
For players still learning the broader systems, the WARDOGS beginner's guide covers the three-team scoring structure, cash mechanics, and loadouts that all feed into how well you can execute a tower strategy. Once you're comfortable with those fundamentals, the WARDOGS guides collection has everything else you need to build on.