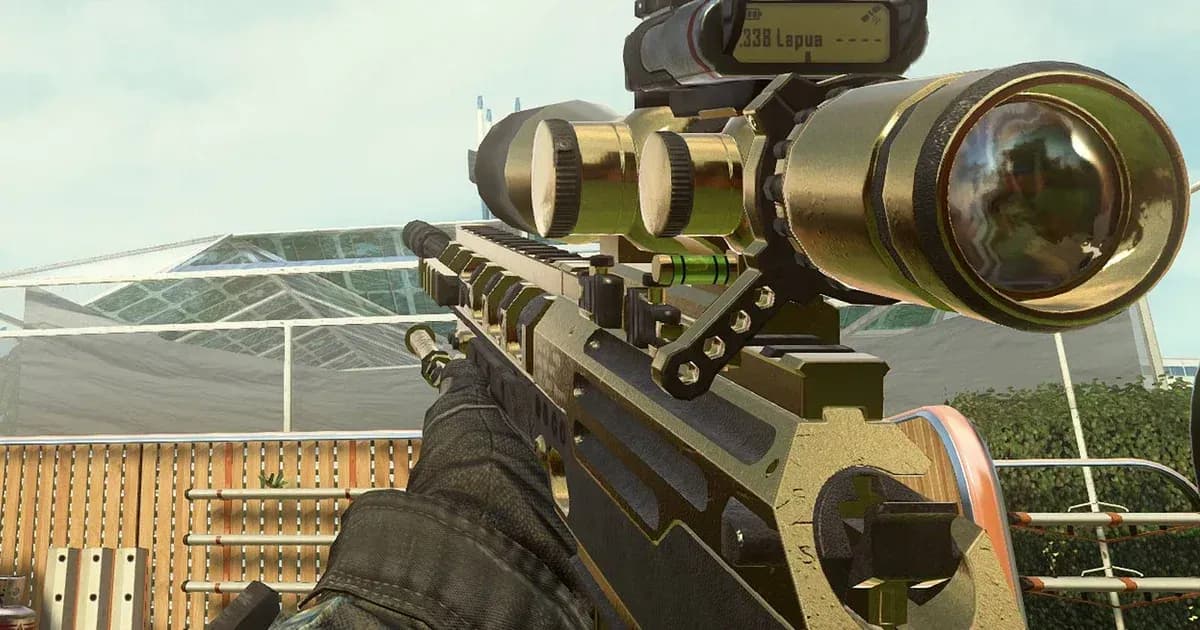

The Ballista is one of the strongest sniper rifles in Call of Duty: Black Ops II multiplayer, and players jumping back in on PS4 or PS5 are already running into it constantly. If you keep getting one-shotted across the map and want to be on the other end of that exchange, this guide breaks down the exact setup that keeps the Ballista performing at its peak without overcomplicating the loadout.
What makes the Ballista worth running?
The Ballista earns its spot in the meta through raw stopping power and accuracy. Unlike some sniper rifles that need a stack of attachments to feel competitive, the Ballista only needs two to reach its ceiling. That efficiency is the whole point of this build. Keeping the attachment count low frees up picks for perks and a reliable secondary, which matters more in most game situations than squeezing a third barrel attachment onto a gun that already one-shots cleanly.
One thing to know before equipping a Suppressor or FMJ: both hurt more than they help here. The Suppressor cuts damage range, which is the last thing you want on a sniper, and FMJ's benefit (shooting through surfaces better) rarely outweighs that same damage range penalty. Stick with the two attachments below.


Best Ballista attachments
| Attachment | Slot | Effect |
|---|---|---|
| Ballistic CPU | Primary | Reduces weapon sway while aiming |
| Fast Mag | Primary | Faster magazine reload speed |
The Ballistic CPU is the attachment that makes this build tick. Sway on a bolt-action sniper is the difference between a clean kill and a frustrating near-miss, and removing as much of it as possible makes the Ballista feel far more consistent, especially at longer ranges. Pair that with Fast Mag to cut down the reload downtime between shots and you have a rifle that stays accurate and stays ready.
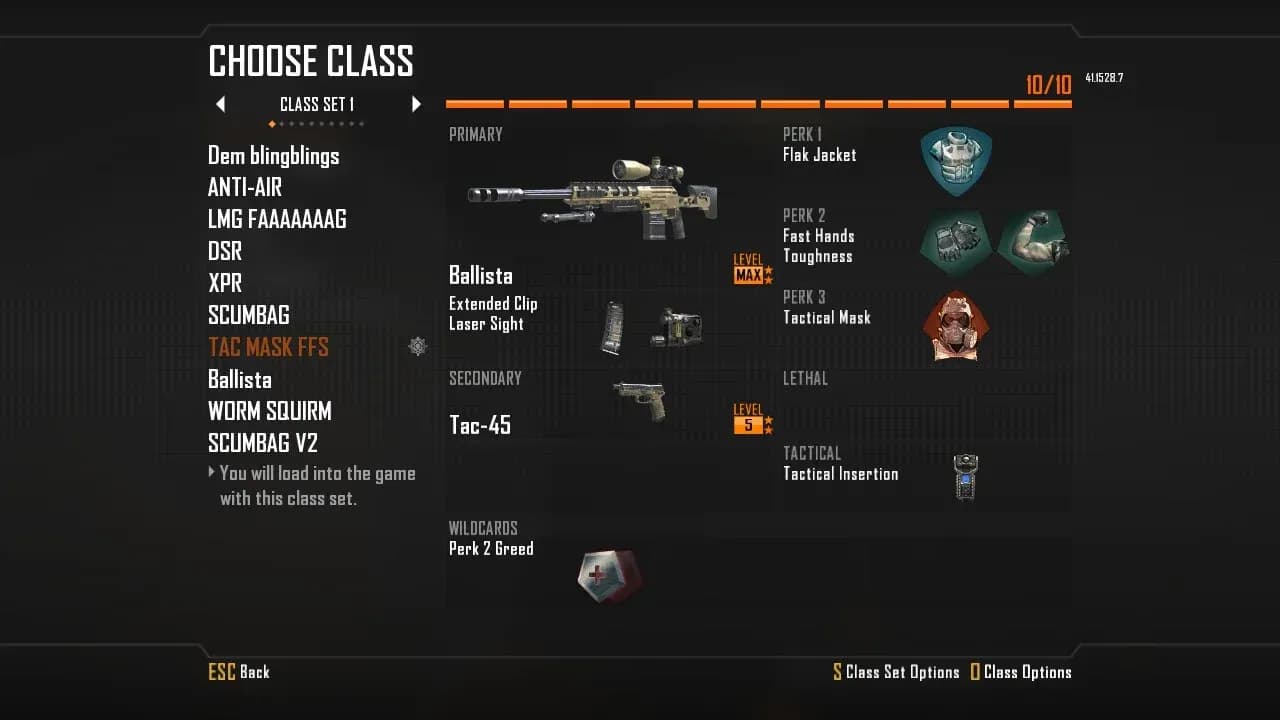
Ballista attachment setup screen
What secondary should you use with the Ballista?
The B23R with an Extended Clip is the right call here. It's a burst-fire pistol with solid damage and enough rounds to handle any player who closes the distance on you. Snipers are inherently vulnerable up close, and the B23R gives you a fast, punishing option when someone rushes your position.
The KAP-40, a full-auto machine pistol, is a reasonable alternative if you prefer automatic fire in panic situations. That said, the B23R's burst damage feels more reliable in practice and the Extended Clip keeps you from running dry at the worst moment.
Best perks for the Ballista class
This build uses the Perk 3 Greed Wildcard to slot two Perk 3 options simultaneously, which gives you more flexibility in the third slot without sacrificing anything meaningful elsewhere.
| Perk Slot | Perk | Why It Works |
|---|---|---|
| Perk 1 | Hardline | Earn scorestreaks faster |
| Perk 2 | Toughness | Reduces flinch when taking damage |
| Perk 3 | Dexterity | Faster ADS speed out of sprint |
| Perk 3 (Greed) | Awareness | Hear enemy footsteps more clearly |
Hardline and Toughness are the anchors. Hardline keeps your scorestreak progression moving, and Toughness is especially valuable on a sniper because any flinch while you're mid-scope can throw off a shot entirely.
Dexterity solves one of the Ballista's natural weaknesses: the time it takes to get your scope up after sprinting. With Dexterity active, that transition is noticeably snappier. Awareness rounds out the build by letting you hear approaching enemies before they're on top of you, which gives you time to switch to the B23R rather than getting caught reloading.
This loadout keeps the Ballista accurate, reloading fast, and backed by a secondary that covers its close-range blind spot. The perk stack handles flinch, sprint-to-fire speed, and situational awareness without any wasted picks. For anyone playing shooter games looking to run a sniper that actually holds its own in competitive lobbies, this is the build to start with.
For more loadout guides and strategy breakdowns across the full game, the Call of Duty: Black Ops II strategy guides collection covers everything from SMG setups to Zombies Easter eggs.