
Relics are the quiet backbone of Castlevania: Belmont's Curse. Rose Belmont's whip and spells get all the attention, but the 36 passive items scattered across Paris and its surrounding zones do more to shape how a run feels than almost anything else in your loadout. Miss them and you will hit walls. Find them and fights that felt punishing suddenly become manageable.
What exactly are relics and how do they work?
Relics are passive equippable items that modify Rose's stats and combat behavior without requiring any active input. Each one slots into your equipment screen and stays active as long as it is equipped. The effects range from flat damage bonuses tied to specific conditions, like hitting a full-health enemy, to defensive conversions that reduce incoming damage as your mana drains. You can only equip a limited number at once, so choosing which relics to carry matters.
Many relics are locked behind traversal abilities you earn through natural progression. The Smash ability, earned by defeating Talos in the Clock Tower, is the single biggest key for backtracking. Several chests that looked unreachable early in the game open up the moment you have it. The Double Jump and Aerial Rush abilities similarly gate a handful of relics in later zones.


Paris Streets relics
The opening zone holds four relics, and two of them are among the most immediately useful passive bonuses in the game.
- Crypt Key (Seer's Hovel): Fully restores Rose's health and mana when she opens a chest. Head to the northeast corner of Seer's Hovel, move west to the upper floor, wait for the slime to drop, then whip the anchor point above the doorway.
- Obsidian Fang (Guard Level): Grants 45% extra damage for 3 seconds after breaking an enemy's guard. Found at the end of a platforming challenge in the Guard Level area.
- Shadow Veil (Burned District): Raises Rose's defense by 33% when her HP drops below 33%. Located in the Burned District.
- Twilight Gem (Central Sewer Drain): Deals 30% more damage for 3 seconds after casting a spell. Sit on the top ledge near the entrance after completing the platforming puzzle below.
- Thrilling Eye (Hospital): One of the three Eye relics needed to open the Gate of Flesh. Found in the center of the Hospital's bottom floor. This one is a mandatory pickup if you want to reach Mammon.
- Dark Sigil (Morgue): Requires Double Jump. Drop into the combat room in the Morgue, clear the enemies, then use the anchor on the east wall and double jump up to the ledge.
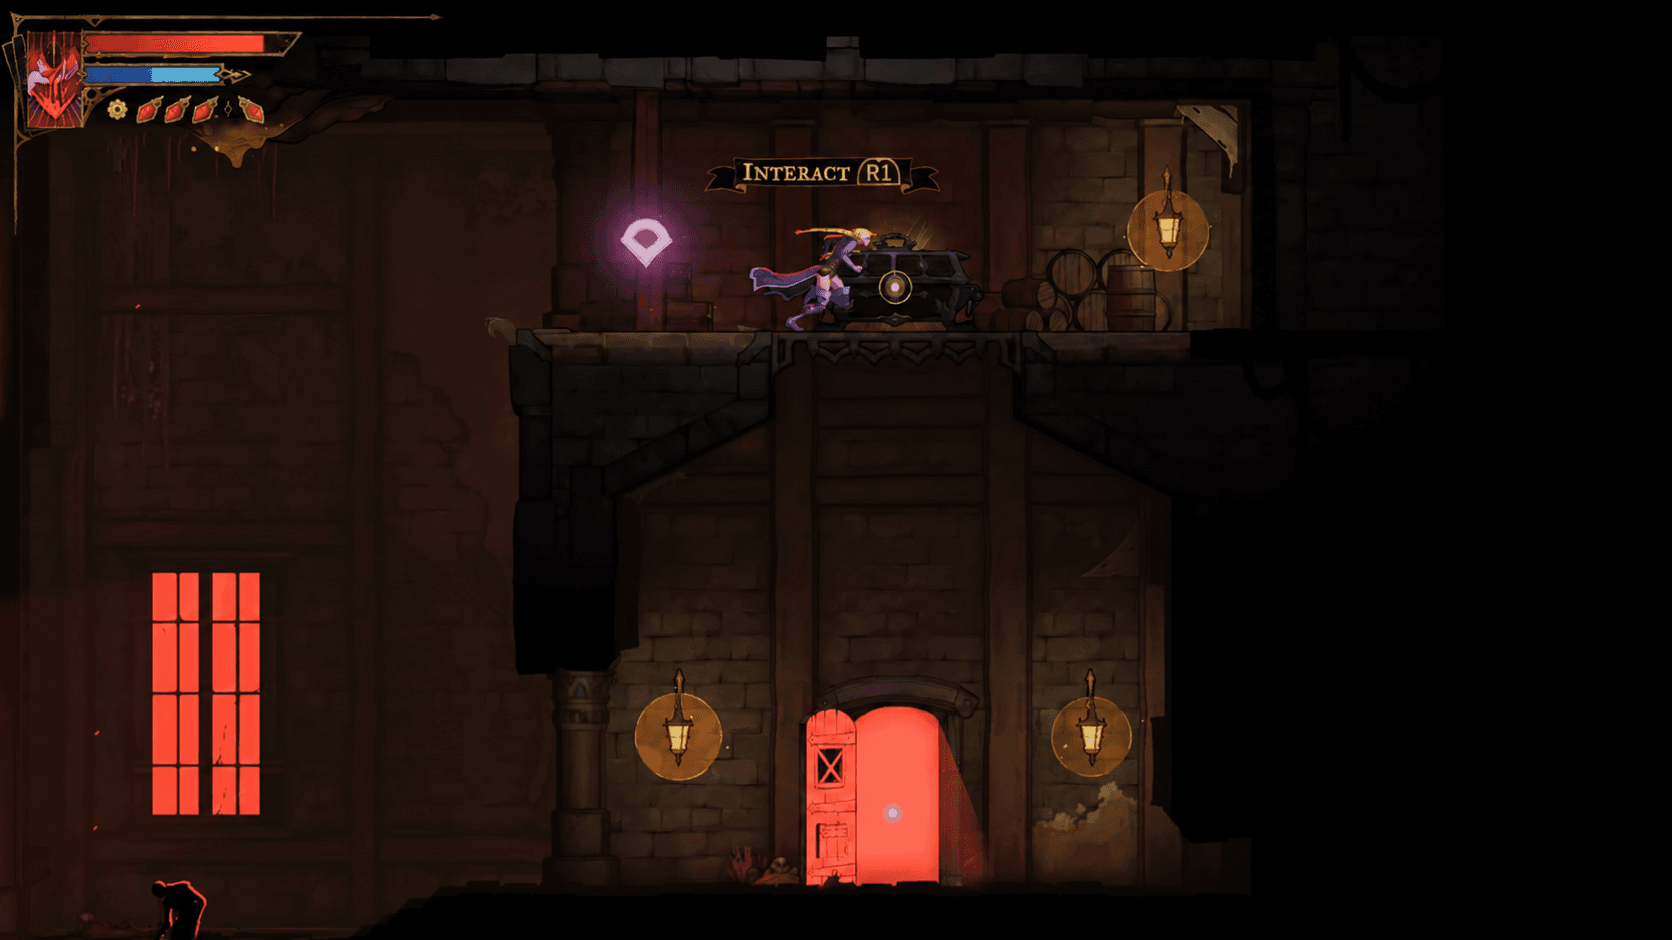
Castlevania: Belmont's Curse Guide: All 36 Relics Locations
Holy Innocents' Cemetery relics
The Cemetery is where the relic density picks up noticeably. Several of these require ability unlocks, so plan a return visit.
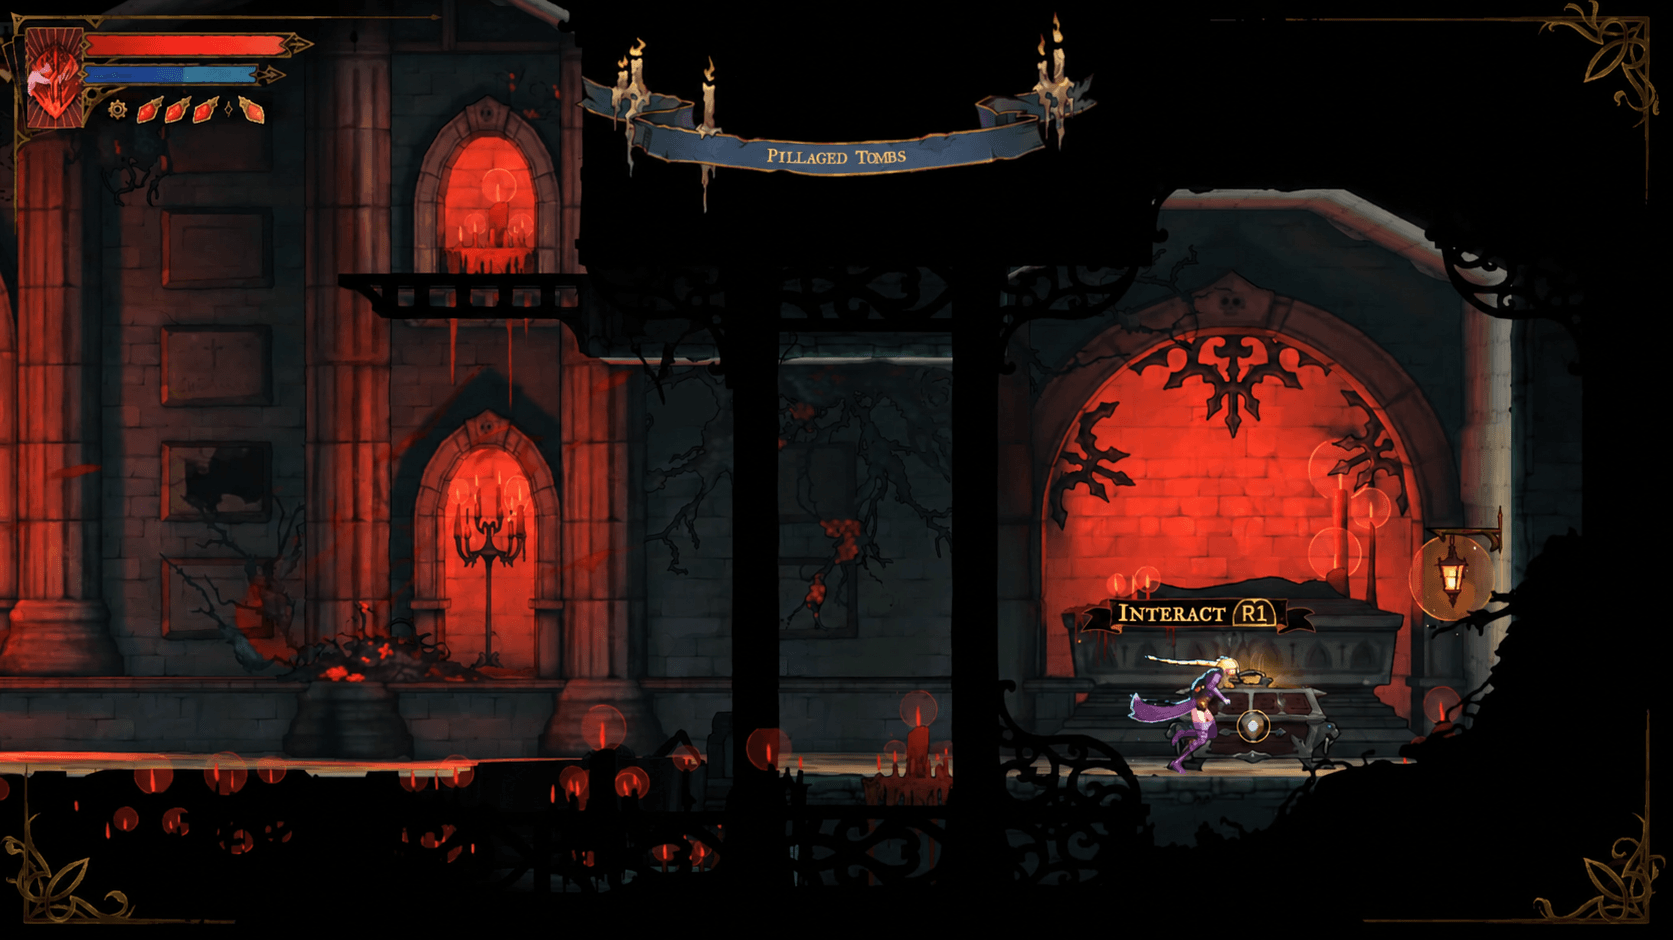
- Nightshade (Pillaged Tombs): Using a healing potion recovers 40% of maximum mana. Found in a chest on the east side of the Pillaged Tombs room.
- Abyssal Eye (Cemetery Entrance): Rose deals 35% more damage to controlled enemies. Head west from the upper platform, use the anchor point to reach the ledge above, activate Holy Light while sliding under the gap to the east, then whip the two anchor points in the air.
- Trembling Eye (Pillaged Tombs): One of the three Eye relics for the Gate of Flesh. Located in the center of a hidden room inside the Pillaged Tombs.
- Pale Thorn (Hot Springs): Requires Aerial Rush. Found at the end of a platforming challenge in the Hot Springs room.
- Vampire's Fang (Serpents' Lair): Located in a locked chest below the Fountain of the Lost. Break the seal by destroying five sealed coffins in the area first.
Castlevania: Belmont's Curse Guide: All 36 Relics Locations
Catacombs of Paris relics
The Catacombs hold some of the most combat-relevant relics in the game, and the routing here is less forgiving than earlier zones.
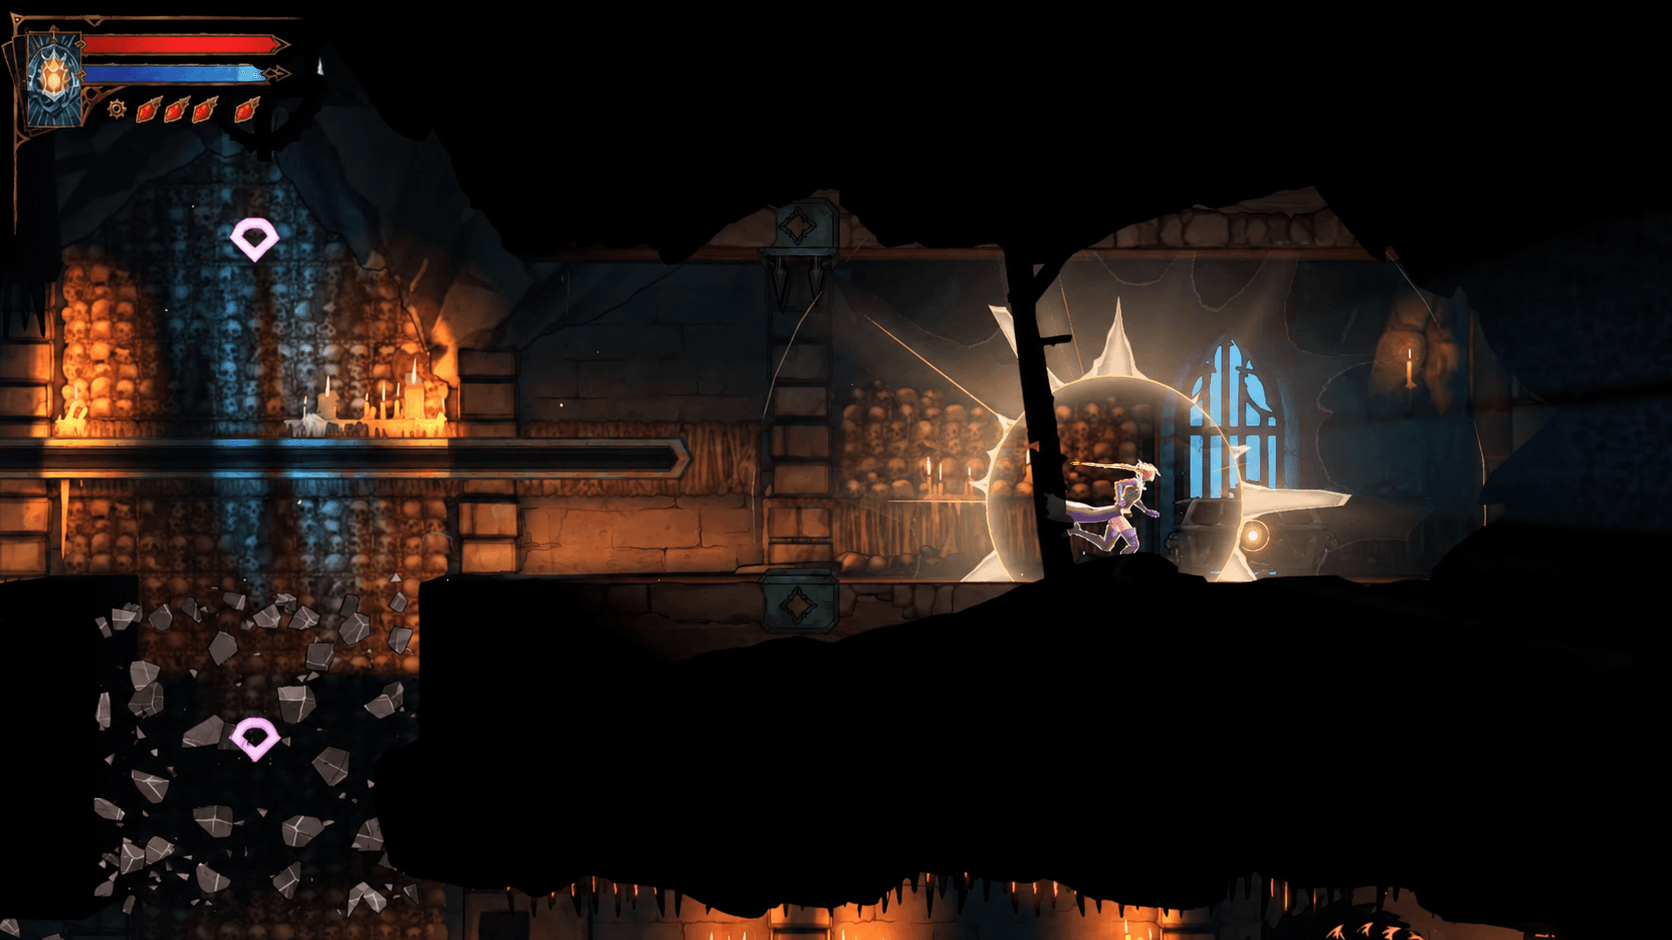
- Mourning Bead (Path of the Abyss): Killing an enemy increases movement speed by 35% for 7 seconds. Reach the top of the room and hit the lever on the ceiling to the left of the door to lower it, then access the chest.
- Specter's Whisper (Charnel Galleries): Rose inflicts 30% extra damage while her life is below 20%. Make your way to the top of the Charnel Galleries to the left of the chest and loop around to it.
- Necro Charm (Jaws of Limbo): Deals 25% additional damage for 3 seconds after a kill. Complete the platforming challenge in the Jaws of Limbo.
- Ebony Claw (Throat of Hell): Breaking an enemy's guard stuns them for 50% longer. Swing on the Anchor Lock multiple times in the Throat of Hell to reveal a hidden area to the northwest, then swing to the chest.
- Oozing Eye (Catacombs): The third Eye relic needed for the Gate of Flesh. Check behind concealed walls near the lower sections of this zone.
For the full walkthrough on collecting all three Eye relics and opening the Gate of Flesh, the Gate of Flesh guide covering all three Eye relics has everything you need.
Castlevania: Belmont's Curse Guide: All 36 Relics Locations
Main Hall relics
- Witch's Knot (West Hall): Healing potions restore 100% of Rose's health. Head to the southwest of the room, pull the lever, then use the anchors to reach the chest in the northwest.
- Ghostly Pendant (Abandoned Workshop): Use the Portrait anchor to launch yourself into a hidden area above the Abandoned Workshop.
- Banshee's Wail (Servants' Quarters): Exit the Servants' Quarters to the northeast, drop to the bottom of the next room, follow the path west past the Mirror of Life, and work around to reach the wall from the other side.
Clock Tower relics
The Clock Tower has the highest concentration of relics in any single zone, and most of them require either Smash or specific puzzle solutions.
- Sinister Rune (Eastern Access Shaft): Rose deals 40% more damage when hitting an enemy at full health. Navigate to the northeast and work around the room anticlockwise. A combat challenge sits in the center of the room.
- Vile Trinket (Daedalus Crossing): Hit the Cog near the eastern exit to reveal a hidden room to the west. Defeat enemies, use the switch on the left to rotate the beams, then wall jump on the right to reach the chest.
- Phantom Ring (Western Ascent): Requires Smash. Use Smash on the first switch to access two breakable blocks. Break the leftmost block first for height, then break the right block. Activate the middle switch then the left switch to open the chest.
- Hollow Bone (Daedalus Crossing): Use the clock at the top of the Steps of Time room and take the elevator down from the west. Use Smash to break the destructible block below, run west, wait for the first crashing block to drop and rise, then sprint to the chest.
- Moonlit Shard (Path of the Builder): Use Double Jump where the block slams down, wall jump to the top, clear the enemy challenge room, and continue west.
Library relics
- Lich's Mark (Rhetoric Shelves): Casting a spell within 1.5 seconds of the previous one reduces its cost by 40%. Break the wall to the southwest and use the rotating bouncy orbs to reach the chest on the ledge to the northwest.
- Midnight Tear (Rhetoric Shelves): Rose suffers less damage as her mana decreases, up to 50% damage reduction at zero mana. Found at the end of a platforming challenge in the hidden room within the same area.
- Revenant's Shard (Curiosity Cabinet): Located in the southeast corner behind a locked door. Head west and attack the lever on the far west wall to open it.
Notre-Dame relics
- Beelzebub's Seal (Chapel of Patience): Head up to the right, drop down a platform, use the lever, defeat the two Knights that activate, then claim the chest.
- Soul Fragment (Nave): Enter from the upper east exit. Time your swings west to avoid lasers, hit the lever to create a shortcut, then swing to the far northeast corner and hold the anchor until the platform reappears and the lasers drop.
- Infernal Medallion (Reliquary): Requires Double Jump and Aerial Rush. Jump and dash through a spike challenge. At the final spikes, perform a second jump to cling to the wall and hit the switch. Drop down past the EXP Statue to find the chest.
- Eldritch Talisman (East Gallery): Use the anchors to gain height, then Smash the block to access the chest.
- Witch's Brew (Transept): Drop from above and cling to the western wall, then break the wall to your left.
Hall of Mirrors relics
- Crystallized Blood (Dead-End Tower): Found at the top of Dead-End Tower.
- Haunting Relic (Steps of Misdirection): Complete the platforming challenge in the Steps of Misdirection to unlock the small locked room in the southwest corner.
- Sand Charm (Servants' Refectory): Unlock the Anchor below using the lever on the west side of the Servants' Refectory, fling yourself into the hidden passage on the left, then use the warp door at the end to reach the corridor on the right.
Master's Quarters relics
- Gloomstone (Sanctuary of Solitude): Located in a chest on the east side of a hidden room at the top of the Sanctuary of Solitude.
- Dusk Amulet (Delived Level): Inside a hidden room in the northwest corner of the area with two Destructible Blocks. Use the warp door in the room below the blocks to reach it.
Which relics are worth prioritizing?
After testing across multiple builds, a few relics consistently outperform the rest depending on your playstyle.
| Relic | Effect | Best For |
|---|---|---|
| Obsidian Fang | +45% damage for 3s after guard break | Aggressive melee builds |
| Twilight Gem | +30% damage for 3s after a spell | Spell-heavy arcana builds |
| Witch's Knot | Potions restore 100% HP | Survival and exploration |
| Sinister Rune | +40% damage vs full-health enemies | Opening burst on bosses |
| Lich's Mark | -40% spell cost on rapid casts | Mana-efficient spellcasting |
| Midnight Tear | Up to -50% damage at zero mana | High-risk low-mana playstyles |
| Ebony Claw | +50% guard break stun duration | Control-focused combat |
| Specter's Whisper | +30% damage below 20% HP | High-risk aggressive runs |
If you want to see how relic choices connect to the endings you can unlock, the all endings guide covering the Bad, Normal, and True endings explains which routes require specific preparation. Relics alone will not determine your ending, but having the right passive bonuses equipped before the Four Virtues trials makes a significant difference.
How do you get all 36 relics efficiently?
The most reliable approach is to play through the game naturally and mark any chest you cannot reach. Most locked chests become accessible once you have Smash, Double Jump, or Aerial Rush. After beating Talos and earning Smash, do a full sweep of the Clock Tower before moving on. Then backtrack to Paris Streets and the Cemetery to pick up anything gated behind Double Jump.
The Eye relics deserve special attention because missing any one of the three means the Gate of Flesh stays shut. The Thrilling Eye in the Hospital and the Trembling Eye in the Pillaged Tombs are easy to find on a first pass. The Oozing Eye in the Catacombs is the one most players miss.
For everything else the game has to offer, including boss strategies, skin unlocks, and puzzle solutions, the complete Castlevania: Belmont's Curse strategy guide collection covers it all in one place.