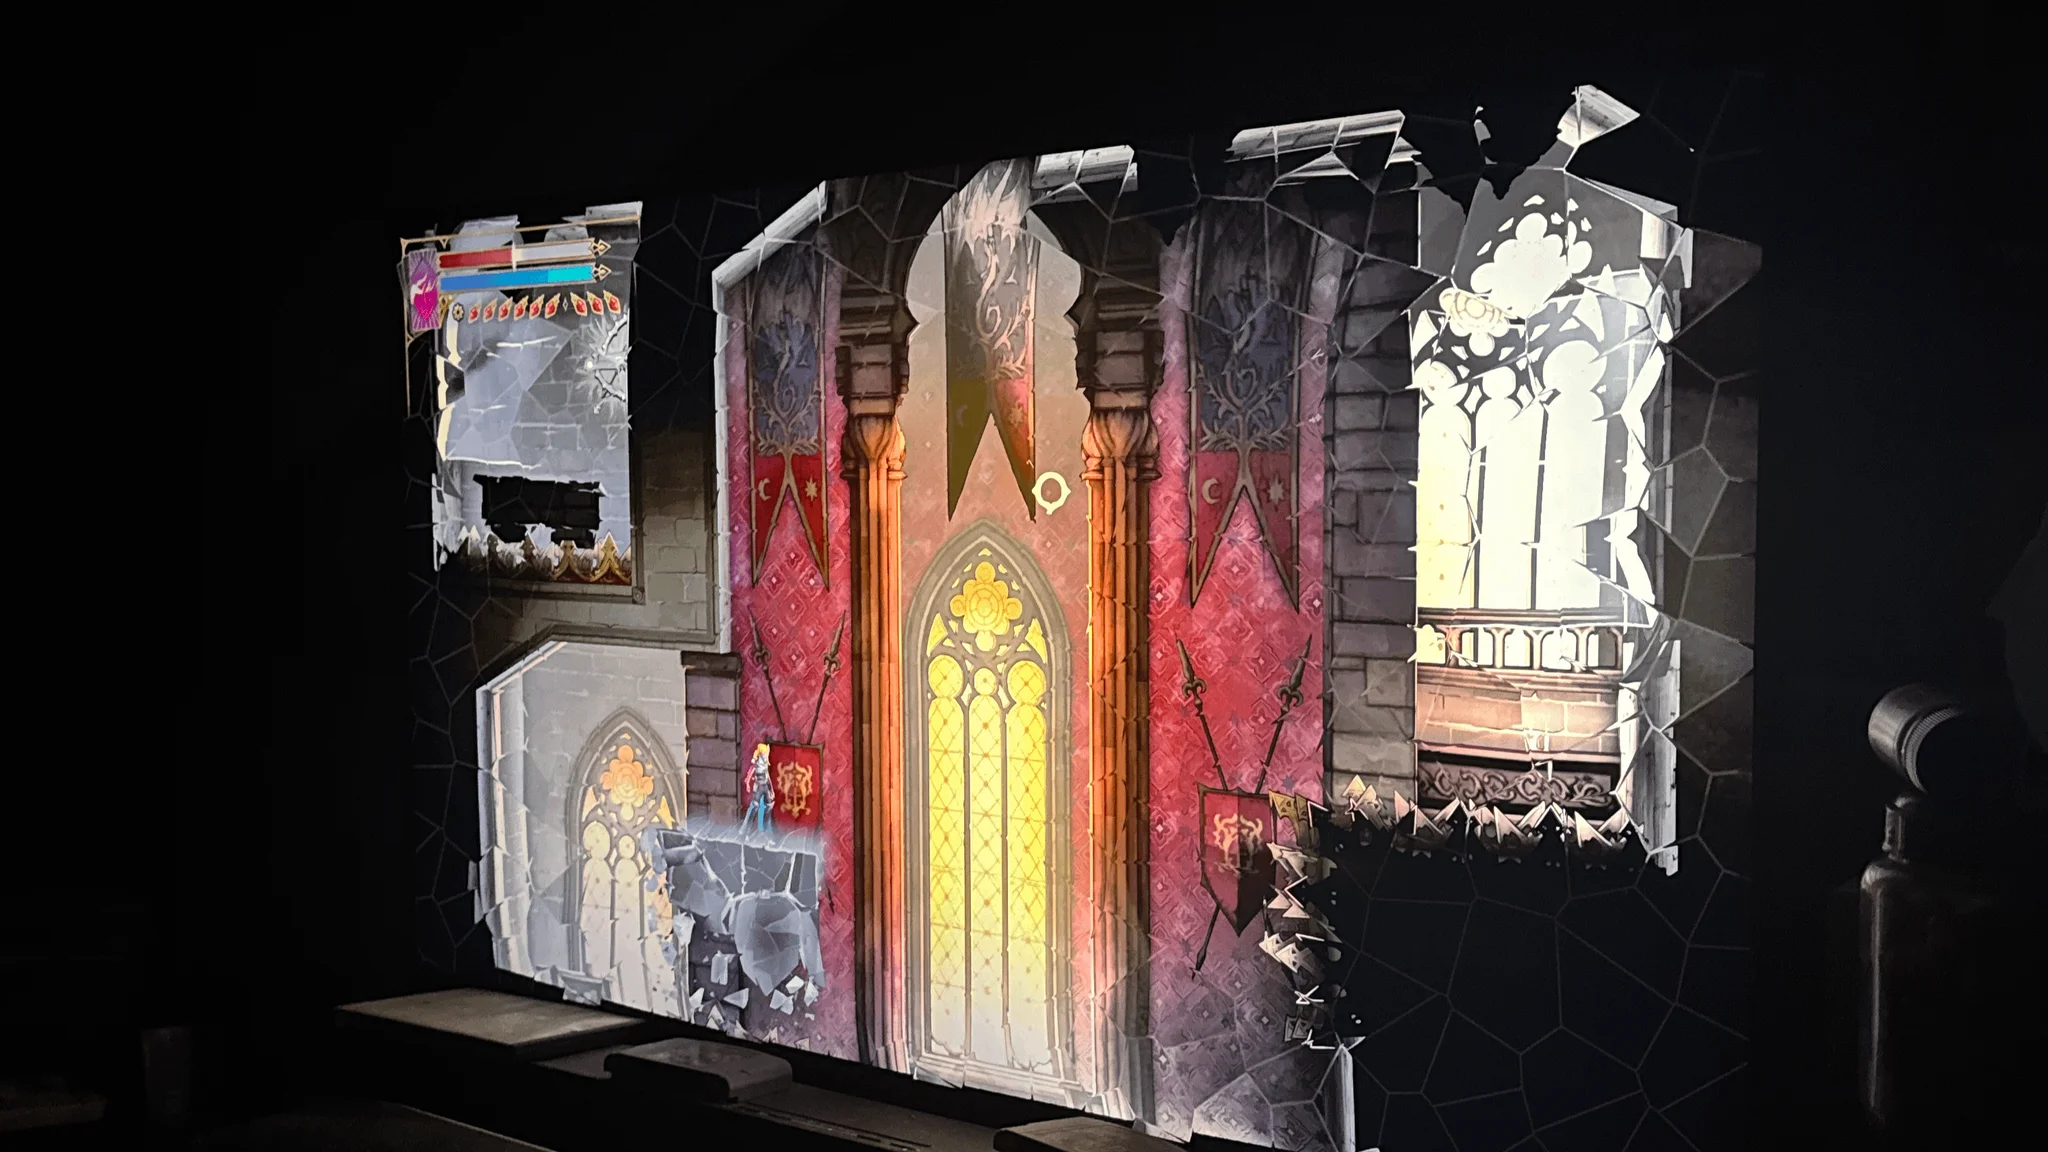
Castlevania: Belmont's Curse hides its health upgrades well. Brave Heart Fragments are scattered across every major area of Paris, tucked behind platforming puzzles, chaos shard gauntlets, timed levers, and ability gates that will turn you away the first time you visit. There are 23 in total, and collecting them all is one of the more satisfying hunts in the game. This guide covers every single one, organized by area, with the ability requirements you need to know before you waste a trip.
What are Brave Heart Fragments and why should you collect them?
Brave Heart Fragments are permanent health upgrades for Rose Belmont. Each one you find increases your maximum HP, and the cumulative effect across all 23 is significant enough to change how you handle late-game boss encounters. Many fragments are locked behind abilities you won't have on your first pass through an area, so expect to backtrack. That's by design, and having a full list sorted by location makes the revisits much faster.

Brave Heart Fragment collected

Catacombs fragments (2 total)
Fragment 1: Catacombs Entrance
The first fragment is the most straightforward. Head to the Catacombs Entrance and complete the platforming challenge in the room above the entry point. No special abilities required, making this one of the cleanest early-game pickups.
Fragment 21: Circle of Greed
Deep in the Catacombs of Paris, the Circle of Greed holds a fragment in its northeast corner. A short platforming section stands between you and it, nothing elaborate, but you need to reach this part of the Catacombs first, which comes later in the run.
Blood Pits and Sewers fragments (3 total)
Fragment 2: Blood Pits hidden area
This one demands both movement skill and the Holy Light ability. Drop into the hidden area at the bottom of the Blood Pits, then wall jump up the Chaos Shards. At the top, activate Holy Light to slip through the barrier and reach the fragment. Miss the timing and you'll fall back to the bottom.
Fragment 5: Central Sewer Drain
In the Central Sewer Drain, an anchor point sits in a room blocked by chaos shards on both sides. Use that anchor to reach the top ledge. The fragment sits up there waiting.
Fragment 6: Chaos shard platforming challenge
This is one of the more involved sewer pickups. From the entrance, swing northeast on the arcane point, release, then swing again heading west. Grapple the next arcane point while holding Holy Light to pass through the chaos shards, then release when you're positioned above them. Latch onto the anchor point above, use Holy Light again, and move east to the next anchor. Wall jump off the chaos shard surfaces until you reach the small ledge between the two spike sets on the east side. From there, activate Holy Light and jump west through the chaos shards to claim the fragment on the western ledge.

Chaos shard sewer navigation
Clock Tower fragments (4 total)
Fragment 3: Serpent Pinion summit
At the very top of Serpent Pinion inside the Clock Tower. Strike the Cog to unlock the path upward, then climb to the summit. The fragment sits at the peak.
Fragment 4: Chandelier room
This one sits on a small ledge near the ceiling at the center of the room. Use the anchoring point near the western exit to get above the main floor, then jump across two chandeliers. Latch onto another anchoring point to reach the ledge. You can approach from the east side as well if the western approach gives you trouble. If you knock the chandeliers out of position or miss, exit and re-enter the room to reset them.
Fragment 11: The Gauntlet
Activate the Clock at the top of the Steps of Time, then head all the way east to The Gauntlet room. The fragment waits at the eastern end. Activating the Clock is the unlock condition, so don't skip that step.
Fragment 12: Eastern Steps
Climb to the top of the Eastern Steps room in the Clock Tower, then drop down the second-to-last path. Halfway down, activate Holy Light and use Aerial Rush to dash west. Once you clear the chaos shards, latch onto the anchor point and continue west to find the fragment.
Library fragments (3 total)
Fragment 7: Platforming challenge lever room
At the end of a platforming challenge, sitting next to a lever. The challenge itself is the obstacle here, not any specific ability gate.
Fragment 8: Library Foyer hidden path
Inside the Library Foyer, follow the hidden path to its end. The fragment is the reward for finding and completing the route.
Fragment 10: Planetarium puzzle
On the upper northwest ledge of the Planetarium inside the Library. The puzzle on the floor below spawns a bouncy orb when solved, and that orb is the only way to reach the upper ledge. Solve the puzzle first, then ride the orb up.
Main Hall fragments (3 total)
Fragment 9: Main Hall Balcony
Reaching the Balcony of the Main Hall requires going through a door in the Torture Chambers that exits on the balcony side. You must have the Smash upgrade before any of this area opens up. The Balcony also holds a Wise Heart Fragment, so this detour rewards you twice.
Fragment 22: Mirror Rooms
In the southwest of the Mirror Rooms inside the Main Hall. A linear platforming challenge leads directly to it, no branching paths to worry about.
Fragment 23: Armoury
The Armoury fragment involves a multi-step lever sequence. After using the second Lever in the room, stand on the rising platform and hit the lever on the side wall. This raises the floor in the target area, letting you cross to a third Lever on the far side. Hit that Lever, drop left, and slide under the gap to find the fragment.
Holy Innocents' Cemetery fragments (2 total)
Fragment 15: Ancient Sewers northeast room
Next to the northeast room in the Ancient Sewers section of Holy Innocents' Cemetery. Smash is required to reach this one, so come back once you have it.
Fragment 16: Mausoleum of the Kings
A timed challenge. Hit the time-based lever in the northeast corner of the room in the Mausoleum of the Kings, then sprint to the southwest before the door closes. The fragment is in the small room on the southwest side.
Notre-Dame fragments (3 total)
Fragment 13: Tree of Saints
At the Tree of Saints in Notre-Dame, sitting on a platform on the eastern wall. Relatively straightforward to spot once you're in the right section.
Fragment 17: La Flèche summit
At the very top of La Flèche. This tower is much harder to scale on your first visit because of the lasers. Come back after unlocking Double Jump, which removes the laser hazard and makes the climb significantly faster.
Fragment 19: The Forest corridor
Head to the eastern end of the long corridor in The Forest area of Notre-Dame to find a hidden entrance. Follow the inner path to its far end while avoiding lasers, and you'll emerge at the fragment's location.
Hall of Mirrors fragments (2 total)
Fragment 18: Steps of Misdirection
At the top of the Steps of Misdirection area in the Hall of Mirrors. Work your way up from below.
Fragment 20: Looping Hallways
At the bottom of the Looping Hallways section of the Hall of Mirrors. The name describes the navigation challenge more than the fragment's position.
Fragment location summary by area
| Area | Fragments | Key Requirements |
|---|---|---|
| Catacombs | 2 | None / Late-game access |
| Blood Pits & Sewers | 3 | Holy Light, Aerial Rush |
| Clock Tower | 4 | Cog strike, Holy Light, Aerial Rush |
| Library | 3 | None / Puzzle solving |
| Main Hall | 3 | Smash upgrade |
| Holy Innocents' Cemetery | 2 | Smash upgrade, Speed |
| Notre-Dame | 3 | Double Jump, Laser avoidance |
| Hall of Mirrors | 2 | None |
What abilities do you need before starting a full fragment run?
Going for all 23 in a single sweep isn't realistic until you have most of Rose's movement kit. The hard requirements are Smash, Holy Light, Aerial Rush, and Double Jump. Without all four, at least 8 fragments will be physically unreachable. The movement abilities guide covers where to find every one of these unlocks and which bosses gate them.
For the fragment in the Blood Pits and the two Clock Tower pickups involving chaos shards, Holy Light isn't optional. It's the only way through. Aerial Rush is specifically called out for Fragment 12 in the Eastern Steps, and Double Jump makes La Flèche in Notre-Dame manageable rather than a laser-dodging nightmare.
How do Brave Heart Fragments fit into your build?
Max HP matters most when you're pushing for the True Ending, where the Four Virtues trials put sustained pressure on your health pool. If you're tracking down every upgrade, the all relics locations guide pairs well with this one since several relics amplify your survivability further. For players working through the all endings guide, a full Brave Heart Fragment count before triggering Absolution makes those final sequences significantly more forgiving.
Collecting all 23 is worth doing before your final boss push. The HP difference between 0 fragments and 23 is large enough to turn close fights into comfortable ones. Check the full Castlevania: Belmont's Curse strategy guides for weapon locations, boss strategies, and everything else you need for a complete run.