
Castlevania: Belmont's Curse has three distinct story outcomes, and the game never tells you how many exist. Defeat Dracula without doing the legwork and you'll roll credits with Rose's curse still intact. Do everything the game asks and you'll watch the sun rise over Paris. Here's the short answer: there are three endings, only two of which actually resolve Rose's story, and the True Ending requires four trials, a shadow boss fight, and precise spell timing during the final Dracula encounter.
How many endings are in Castlevania: Belmont's Curse?
Three. The Bad Ending, the Normal Ending, and the True Ending. All three can be seen in a single playthrough without starting over, since the game lets you resume with your full gear after each credits sequence. The False/Bad ending is essentially a scripted trap that happens early, the Normal ending is what you get for defeating Dracula without completing the extra content, and the True Ending requires the Gallery of Four Virtues plus a specific spell activation window during the final boss.
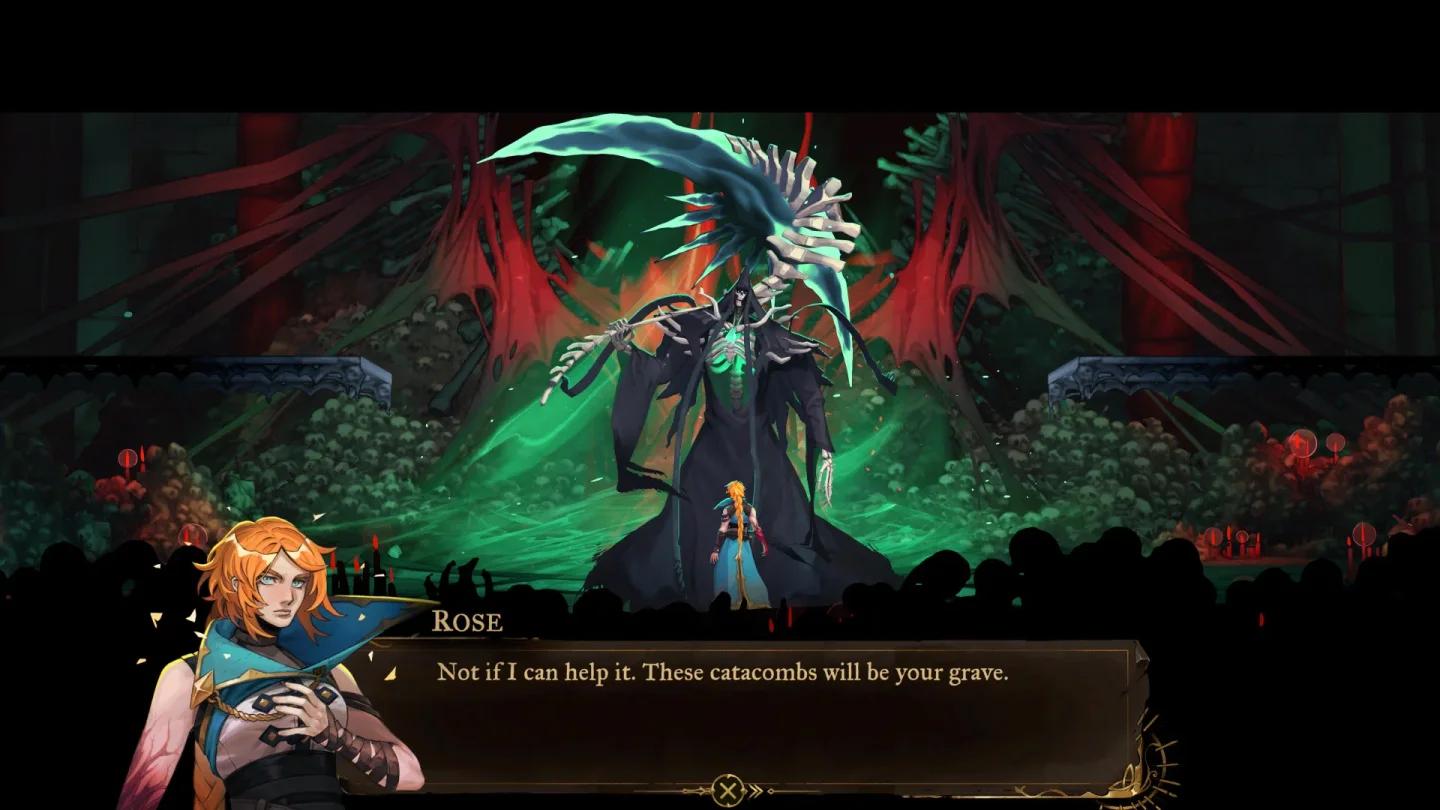
All three endings compared

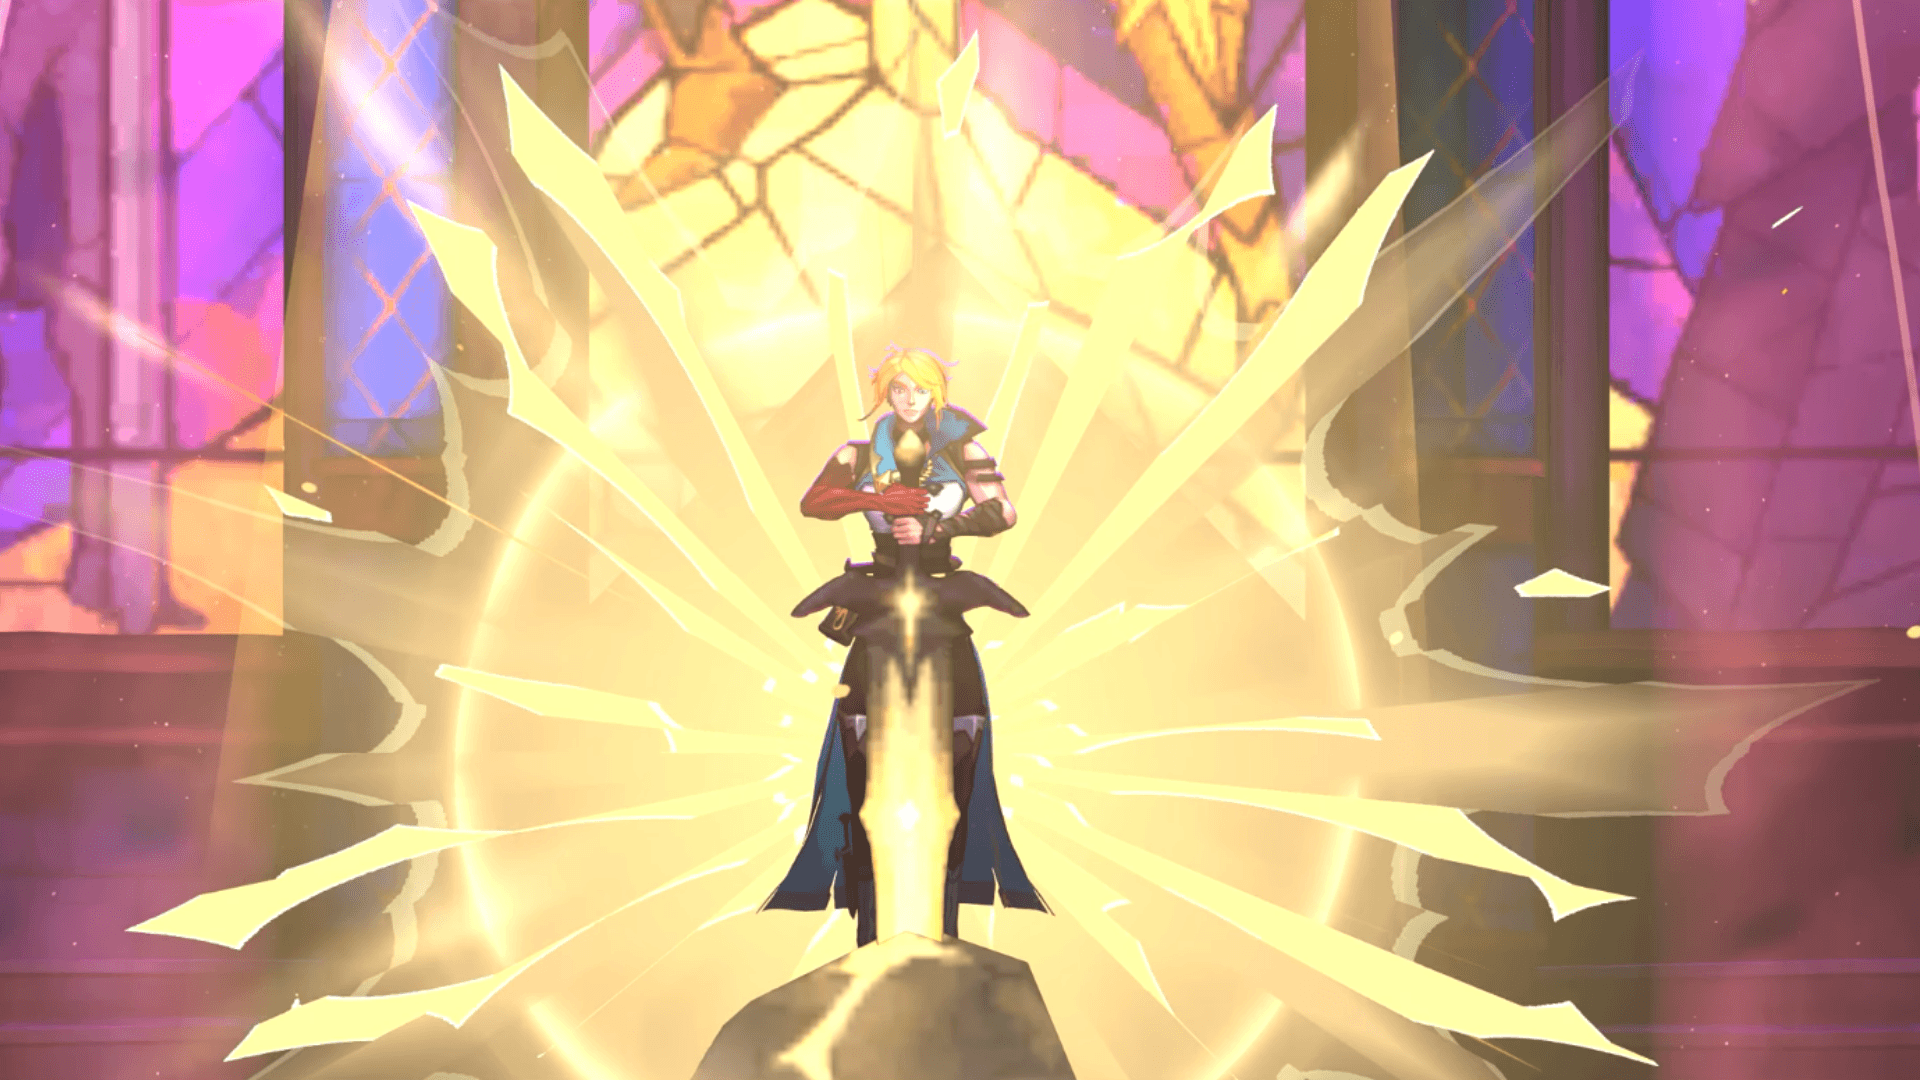
Bad ending: how does it happen?
The Bad Ending is available a few hours before you even reach Dracula's Castle. At that point, the game tasks you with defeating two bosses: Isaac (The Zealot) and Carmilla (The Occultist). The intended path is Carmilla, but heading toward Isaac instead leads to a trap.
Isaac is at the top of the Clock Tower. Get close to his position on the map and a cutscene fires in front of a magical clock called the Cursed Horologium. You're warned to stop. Ignore your allies and push through the door on the left anyway, and Rose ends up face-to-face with Dracula before she's ready. She loses. Credits roll.
This unlocks the Belmont's Fall trophy/achievement and a bonus character skin for Rose. The game then drops you back before the ending so you can take the correct path.
Normal ending: how do you reach it?
To bypass the Bad Ending trap, you need to interact with the Cursed Horologium and pay attention to what Rose says about Death's magic. That's the hint: equip Death's Arcana with the Soul Harvest spell, then interact with the clock to disarm the trap and open the correct route forward.
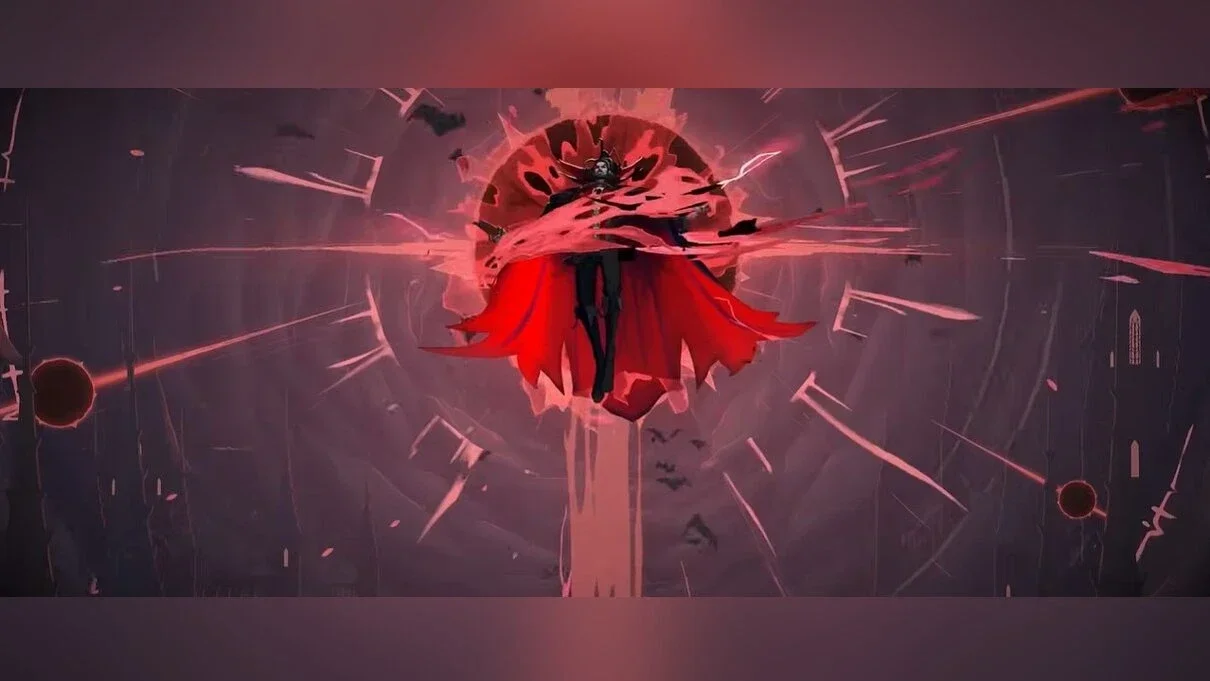
From there, a platforming and enemy gauntlet leads to the real Dracula fight, which runs across two phases. The first phase is his humanoid form inside the Throne Room. The second is a much larger winged demonic transformation. Beat both and you'll see the Normal Ending, earning the "The Hunt Goes On" trophy/achievement.
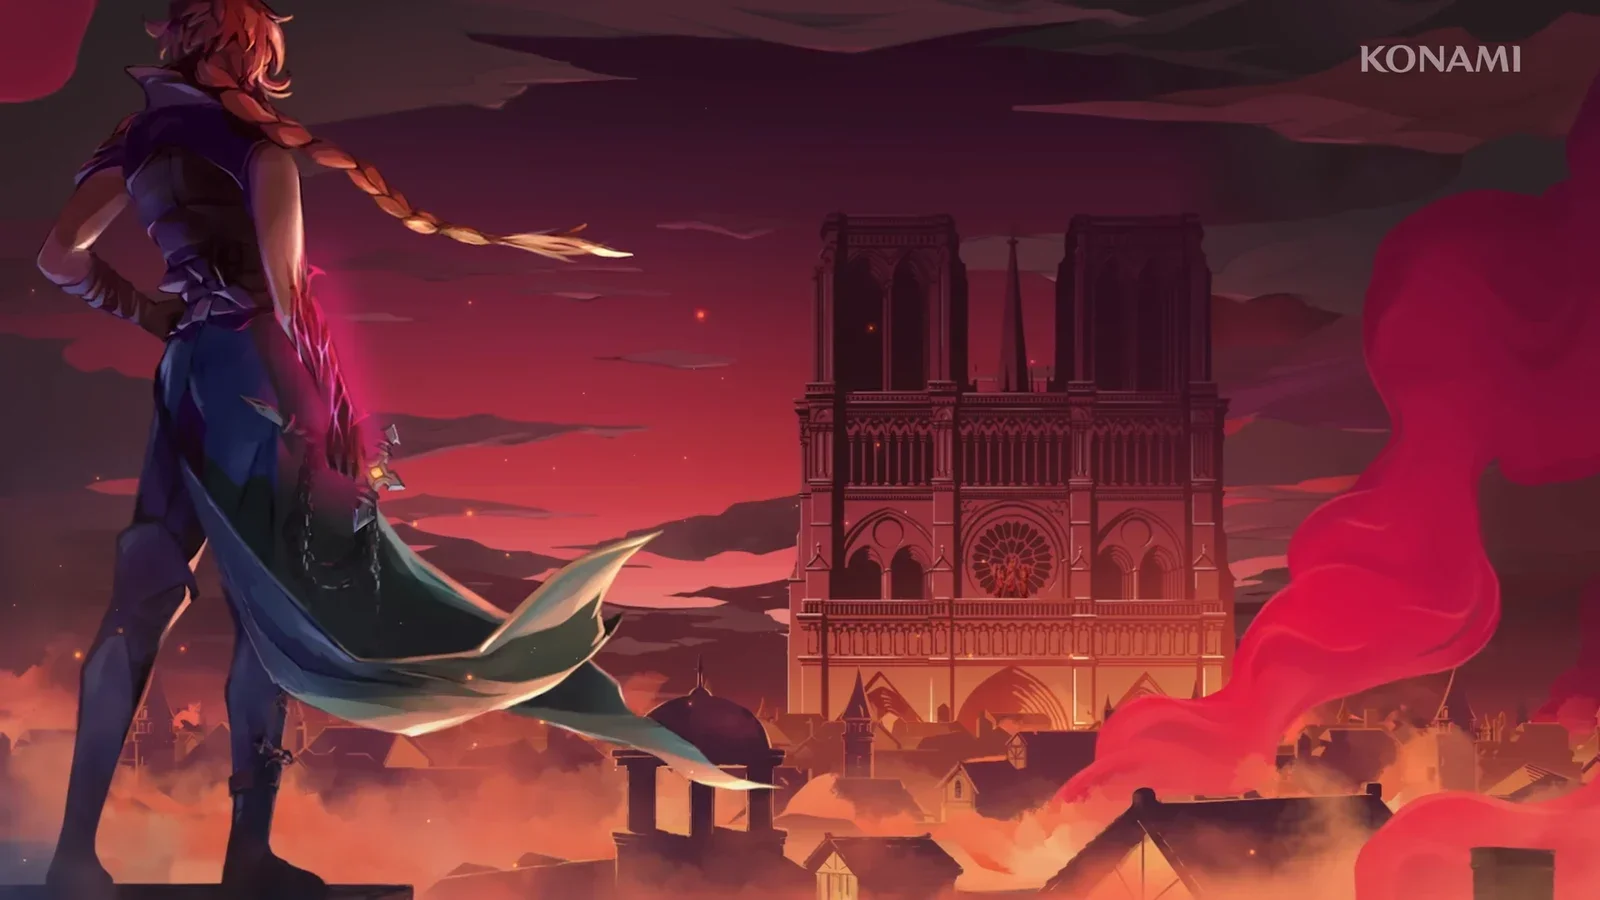
The ending makes it clear Rose's job isn't finished. Dracula's curse on Paris persists. Select Resume after the credits and you'll wake up near a Mirror of Life with your inventory intact, ready to tackle the True Ending content.
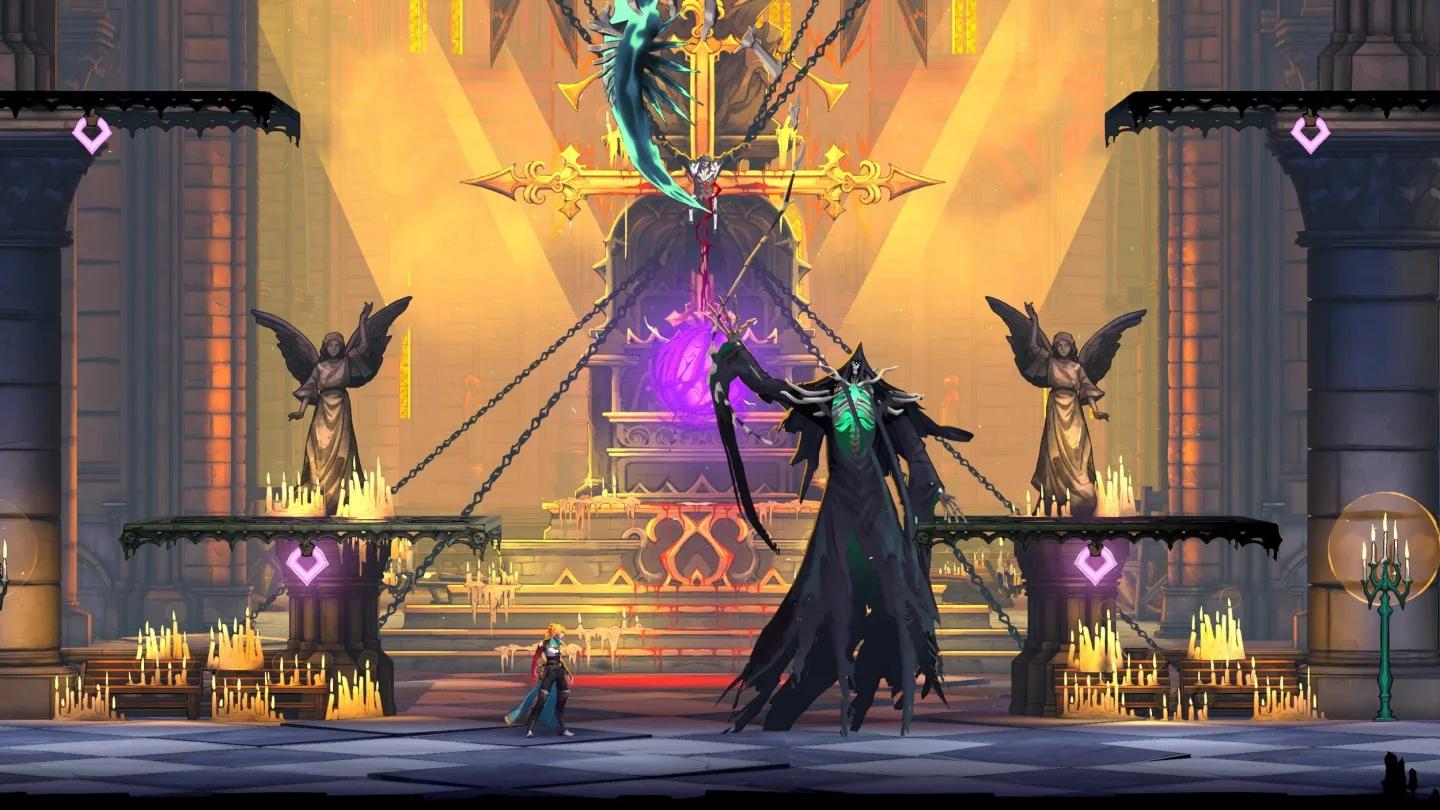
Dracula's two-phase finale
True ending: what do you need to do?
The True Ending requires four things beyond beating Dracula normally: completing all four Virtue trials in Notre Dame, defeating Rose's shadow (The Cursed), obtaining The Self Arcana and its Absolution spell, and then activating Absolution during a roughly 12-second window at the end of the final Dracula fight.
The Four Virtues trials can technically be done before your first Dracula fight if you want to front-load the work. Most players will tackle them after the Normal Ending.
Where is the Gallery of Four Virtues?
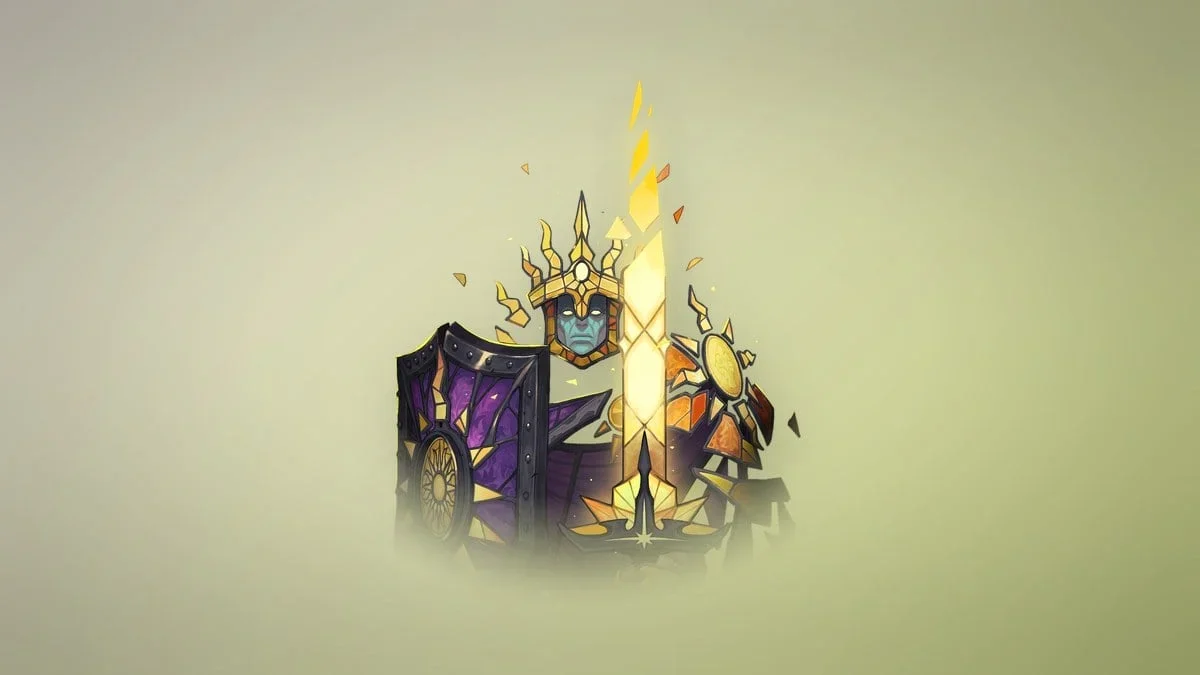
Head to Notre Dame and find the Gallery on the leftmost side of the cathedral. Four stained-glass windows line the room, each leading to a separate trial. A golden altar in the center carries the prophecy: "Only when the Bells of Virtue ring and humanity overcomes its Self will cursed darkness lift and restore the blessed light." That's your checklist.
Each trial door stays locked until you have the correct Arcana equipped. Owning the spell isn't enough. You have to have it slotted in your active loadout before the window will respond.
How do you complete all four Virtue trials?
Here's a breakdown of every trial, its required Arcana, and what you're actually doing inside:
| Trial | Required Arcana | Spell | What It Is |
|---|---|---|---|
| Courage | The Warrior | Infernal Pyre | Boss fight: rematch against Joan of Arc |
| Justice | The Judge | Chains of Justice | Arena combat: three waves of enemies in a spike-filled bell tower |
| Temperance | The Whisperer | Freezing Path | Platforming: climb above a Sea of Souls floor |
| Prudence | The Sage | Mirror Walk | Obstacle course: saw blades, movement mechanics, spell knowledge |
Trial of Courage is the hardest of the four. Joan returns with a larger health pool and several new moves. Watch for three specific attacks: her ground cleave (she shouts "for the glory of France" as the tell), flame pillars that trigger when she has accumulated six orbs, and her ultimate where she becomes airborne and crashes down. For the ultimate, position yourself behind her as she lands. Sword and shield builds work well here because staying close lets you dash behind her to dodge most of her regular swings. Weapons like Arondight and Lancelot's Shield (found in Notre Dame) or Alucard's Sword and Shield (behind a secret door in the main hall) are strong options.
Trial of Justice sends you through three arena fights with saw blades and wall spikes restricting your movement. Expect skeleton variants, harpies, axe armors, floating swords, golems, and a werewolf in the later waves. Whip weapons are particularly effective here for hitting aerial enemies. Save a flask or two for the golem and werewolf encounters that appear in the third and fourth fights.
Trial of Temperance is the most forgiving. The floor becomes a Sea of Souls and you climb to the top of the chamber. No enemies worth worrying about, no frame-perfect jumps. If movement abilities are giving you trouble, the Chronomantic Dive can slow time to make tricky sections more manageable.
Trial of Prudence is the most punishing. You need both the Holy Light skill (earned from Joan during your first encounter) and the Mirror Walk spell from Eleanor (found in the Mausoleum of the Kings at the Holy Innocents' Cemetery). The trial tests movement mechanics, environmental awareness, skill knowledge, and spell usage across four distinct sections, with saw blades throughout. Take it slow and learn each section's pattern before committing.
After completing each trial, ring the bell at the end of the room. Once all four bells have been struck, the large rose window in the gallery illuminates completely.
For more on Rose's full arsenal and which weapons work best for these fights, check out the complete weapon locations guide.
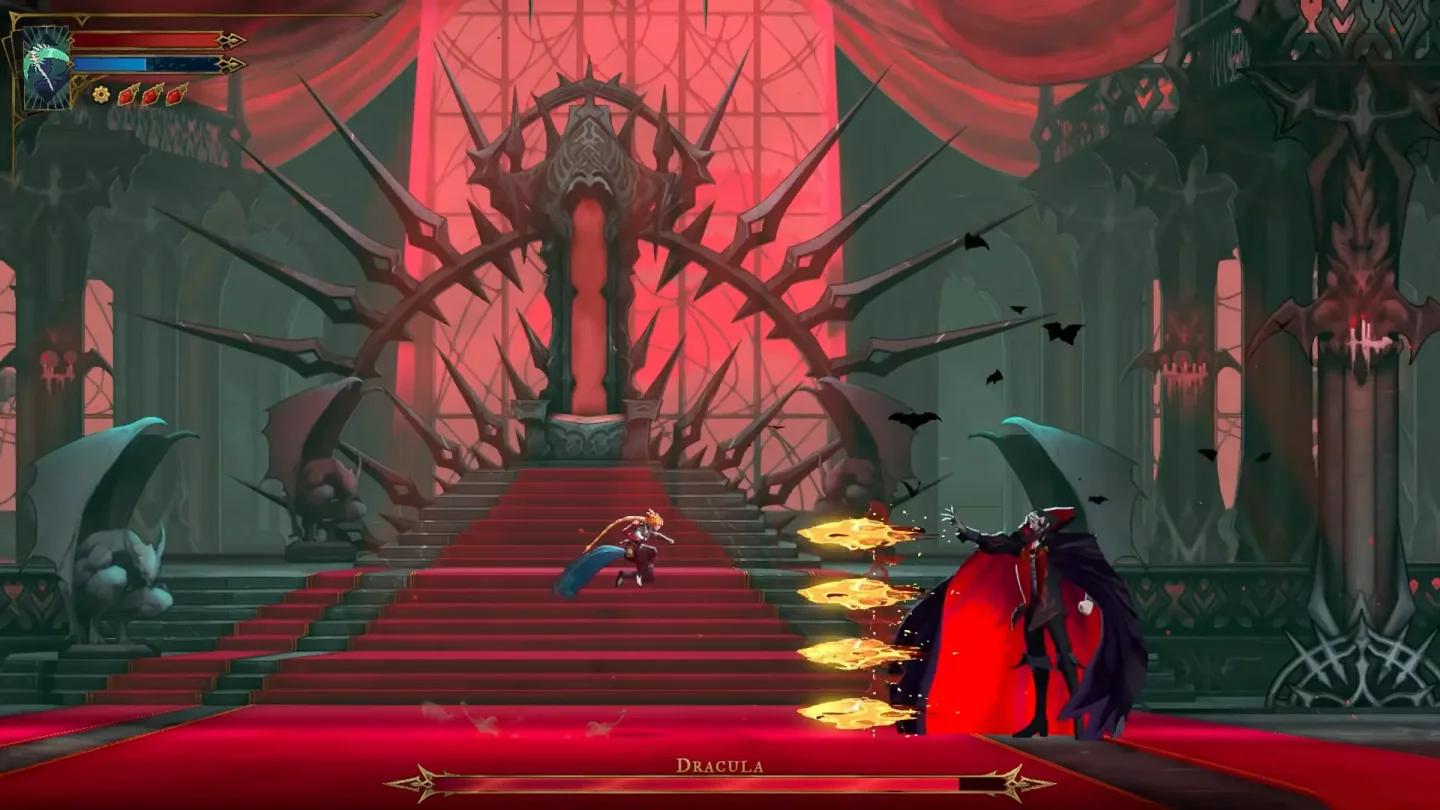
Gallery of Four Virtues location
How do you defeat Rose's shadow?
With all four blessings collected, interact with the altar beneath the glowing rose window. This transports Rose to a separate chapel where The Cursed (listed as ??? in-game) waits. This is Rose's doppelganger and it has access to her full moveset.
Make sure your armor and weapons are fully upgraded before this fight. The shadow hits hard precisely because it mirrors your own abilities. If you're hitting a wall, Custom Mode difficulty settings can be adjusted without blocking the achievement.
Beating the shadow rewards you with The Self Arcana, the Absolution spell, the Shadow Work achievement, and another character skin. Absolution absorbs the curse from nearby enemies, deals significant damage, and restores health for each target it hits. It's one of the strongest spells in the game, and it's the key to the True Ending.
After the fight, collect the golden sphere left behind and interact with the altar again. Sypha's spirit appears, letting Rose speak with her mother and close out this part of her journey.
If you want context on the Notre Dame area before tackling these trials, the Notre Dame Piano Puzzle guide covers the Zodiac Organ puzzle and the legendary War & Famine dual swords hidden in the same cathedral.
How do you activate the True Ending?
With Absolution equipped, return to Dracula's Throne Room through the Master's Quarters and Grand Staircase. The fight plays out identically to the Normal Ending: defeat Dracula's humanoid form, then his winged demonic transformation.
The difference happens immediately after the second phase ends. When the dialogue about stopping Dracula's curse concludes, you have approximately 12 seconds to hold the spell button and activate Absolution. Miss that window and the Normal Ending plays instead, even if you've done everything else correctly.
Activate it in time and Rose channels the power earned from defeating her own shadow, permanently breaking Dracula's curse. The sun rises over Paris. The "Curse Lifted" achievement unlocks.
The mistake most players make here is forgetting to equip The Self Arcana before entering the Throne Room. Equip it at the Mirror of Life beforehand so Absolution is ready the moment the dialogue ends.
Quick ending comparison
| Ending | Trigger | Trophy | Extra Reward |
|---|---|---|---|
| Bad | Ignore allies, face Dracula unprepared | Belmont's Fall | Rose character skin |
| Normal | Defeat Dracula after disarming Clock Tower trap | The Hunt Goes On | None |
| True | Complete Four Virtues, beat shadow, activate Absolution | Curse Lifted | Shadow Work achievement + skin |
For everything else you need in Rose's first adventure, the full Castlevania: Belmont's Curse strategy guides collection covers fast travel, boss strategies, and more.