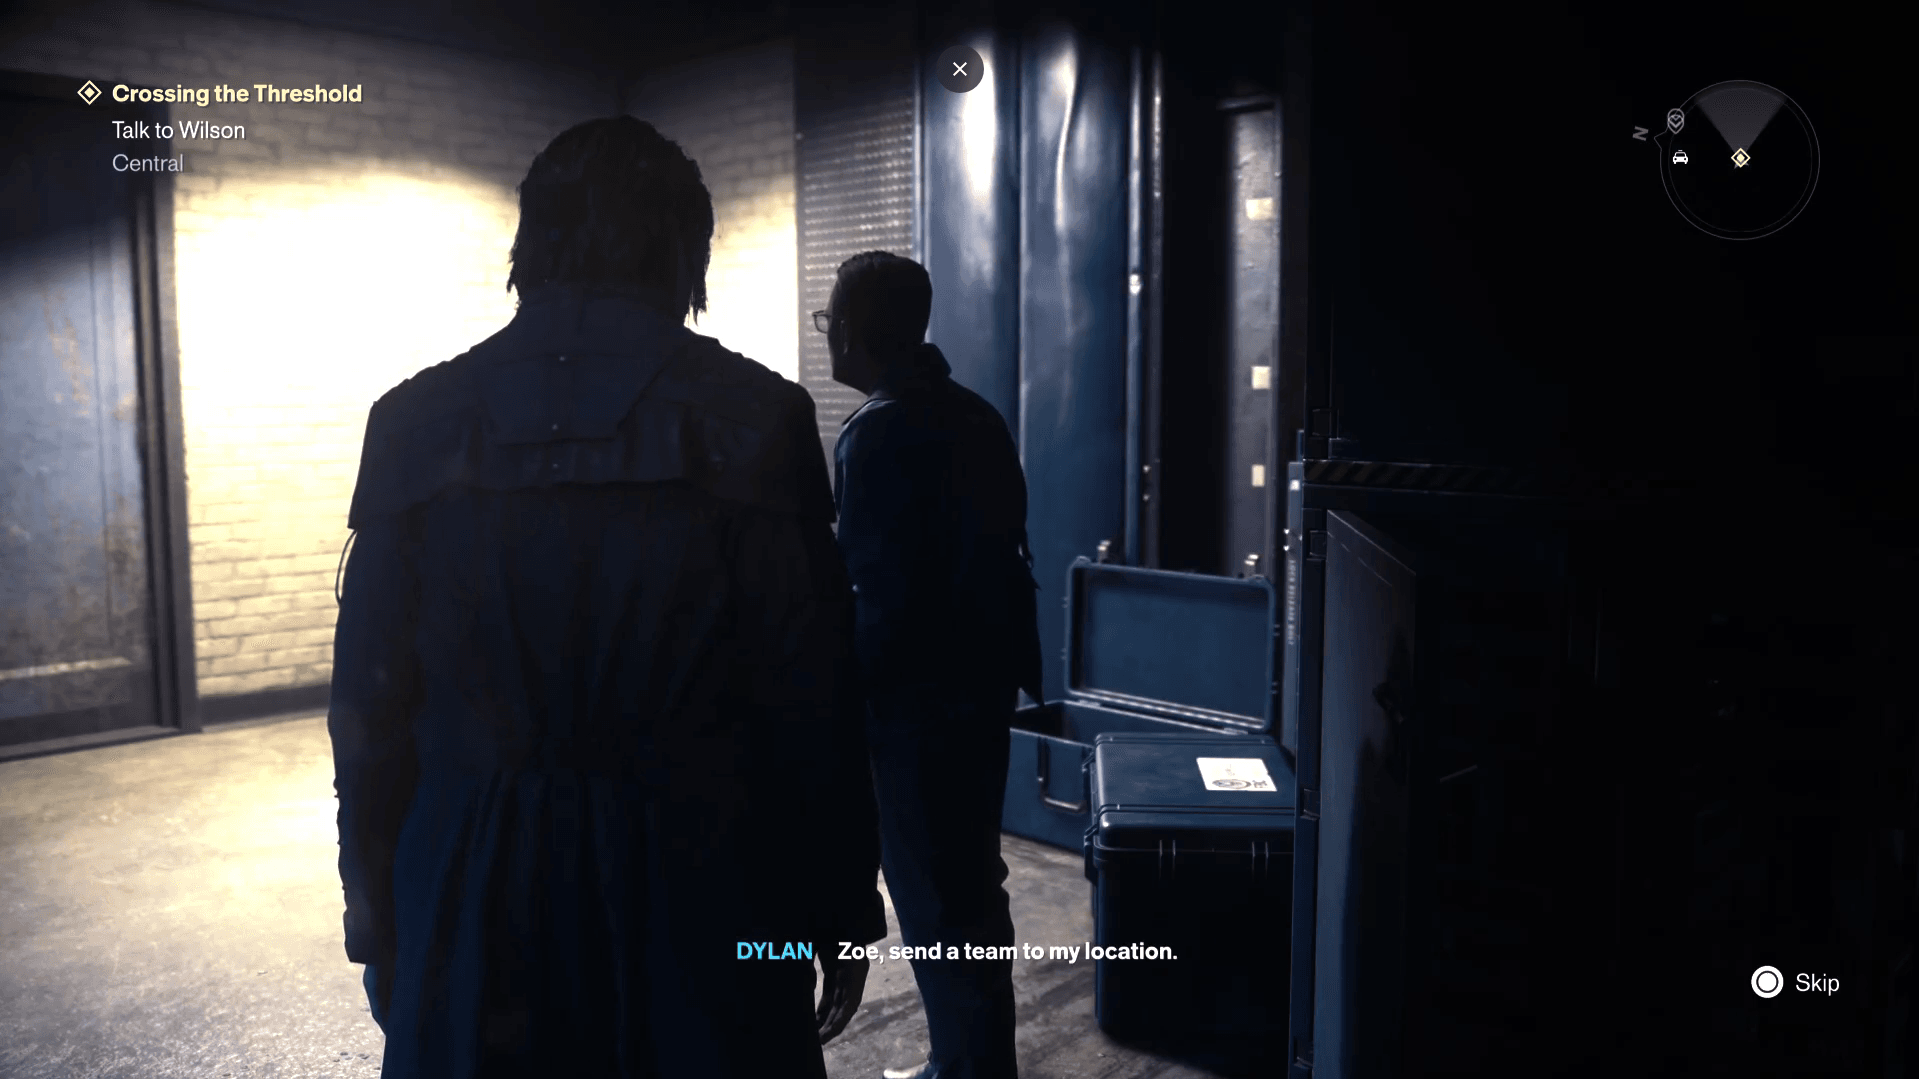


Crossing the Threshold is the first side quest most players stumble into after reaching Central in CONTROL Resonant, and it immediately signals what kind of game this is. A headless FBC employee, a mysterious entity called AVP-3, and a final conversation that only gives you the good rewards if you make the right call. The quest isn't long, but it's easy to waste time heading to the wrong location or miss the security footage step entirely.
How do you start Crossing the Threshold?
The quest becomes available once Dylan has a Level 1 clearance security card and arrives at the FBC Field Base in Central. Head directly to the Field Hospital, which you can now access with your new clearance. Inside, turn the corner and you'll find a body with its head violently destroyed. Use your radio to report it to Zoe, which officially kicks off the investigation.
Before leaving this area, look toward the corner of the loading docks section. There's a surveillance camera blinking steadily. Examine it and report it to Zoe to add a second lead to your investigation. Skipping this is a common mistake that leaves players confused about objectives later.
Control Resonant Guide: How to Complete Crossing the Threshold Quest
Where to go first: the Dig Site or Field Hospital?
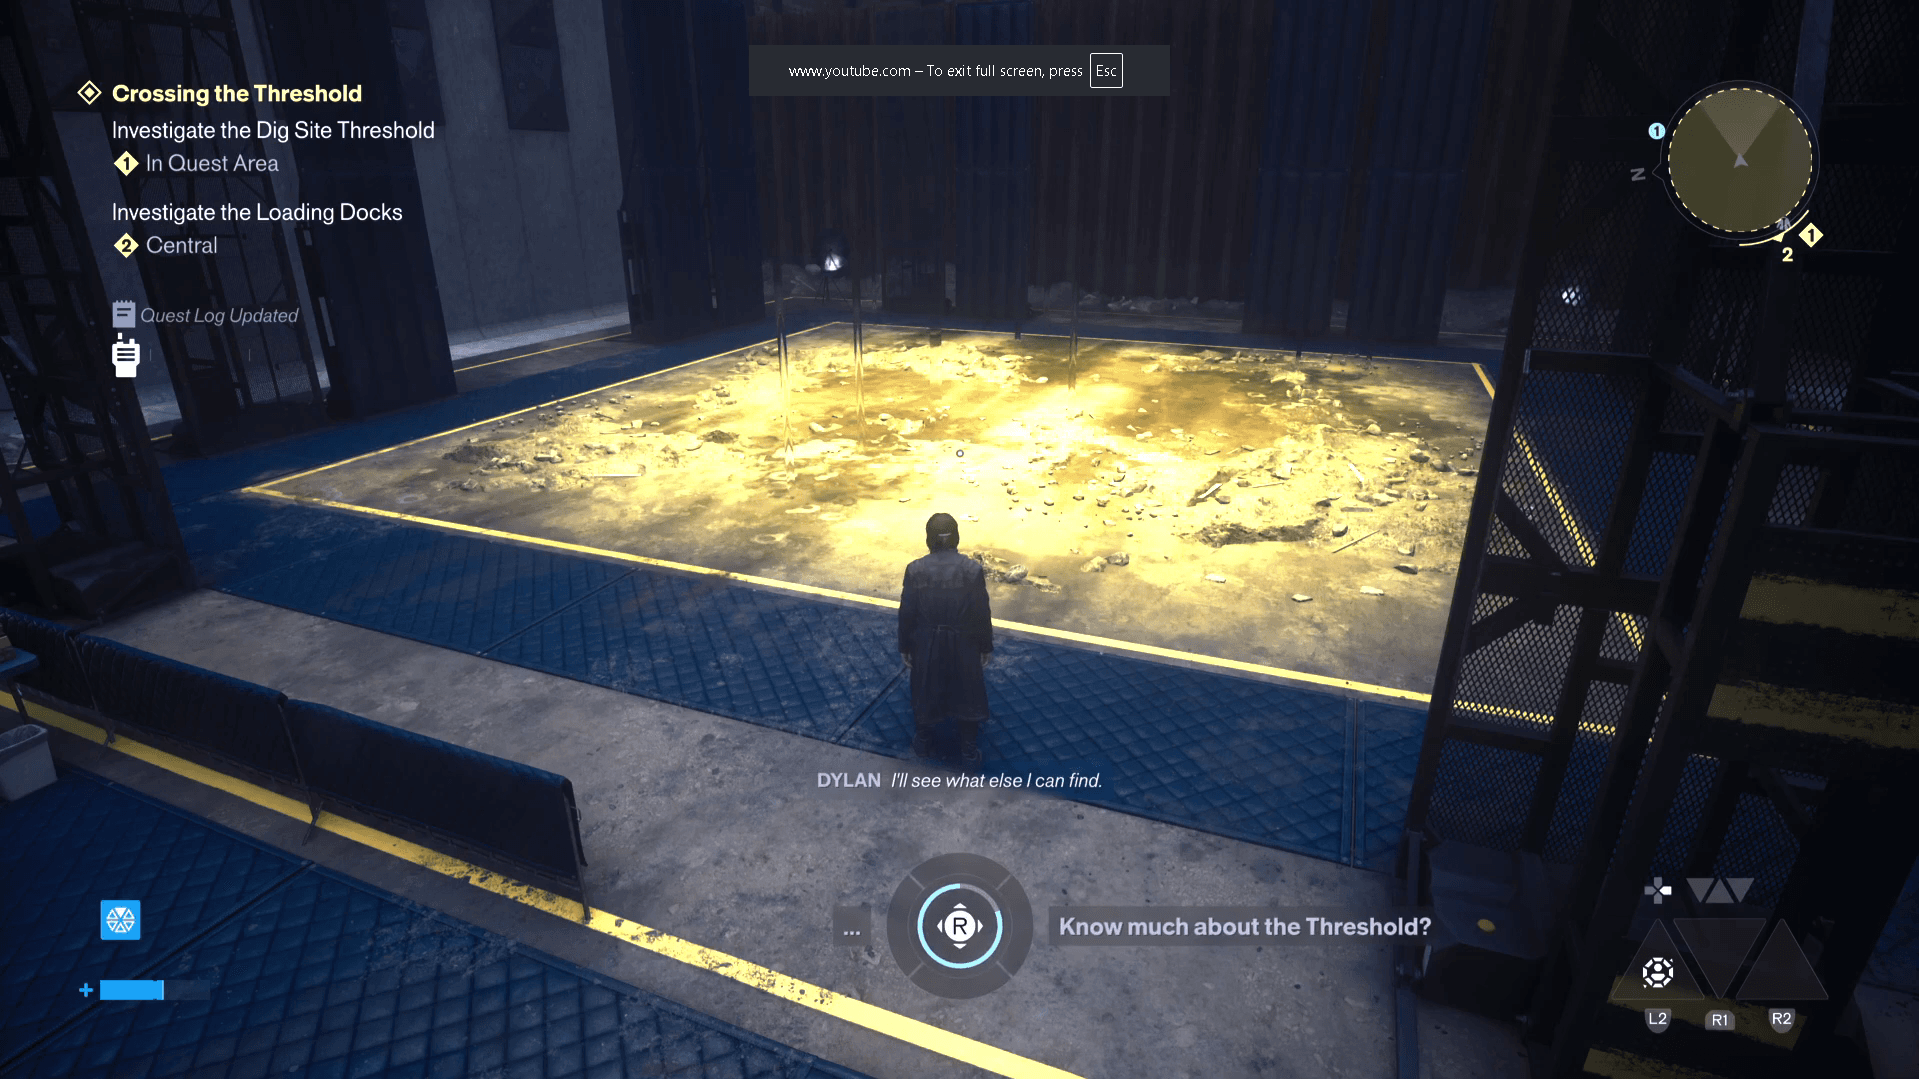
Go to the Dig Site before returning to the Field Hospital. At the Dig Site, report the body you find there, then pick up Wilson's ID card from next to it. That card is your access pass to the container on the elevated platform directly above. Climb up, use Wilson's ID to unlock the container, and grab the Threshold Site Recording inside.
The recording confirms the team moved on to the Field Hospital, giving Dylan his next destination and another layer of context for the deaths.
Now head to the Field Hospital. Report the headless body there and interact with the locked locker. Dylan can't open it yet and will ask about the missing code, adding another objective to the queue.
How to find the locker code and security footage
Both of your next objectives are handled at the Security Station, located directly below the fast travel point. Two computers inside are relevant here.
Interact with the computer straight ahead first and scroll through its display screens until the locker code appears. Then move to the second computer on the right and watch the surveillance footage showing what happened at the loading docks. Both objectives need to be completed before you move on.
With the code in hand, return to the Field Hospital and open the locked locker to finish that part of the investigation.
Control Resonant Guide: How to Complete Crossing the Threshold Quest
Where is Wilson hiding?
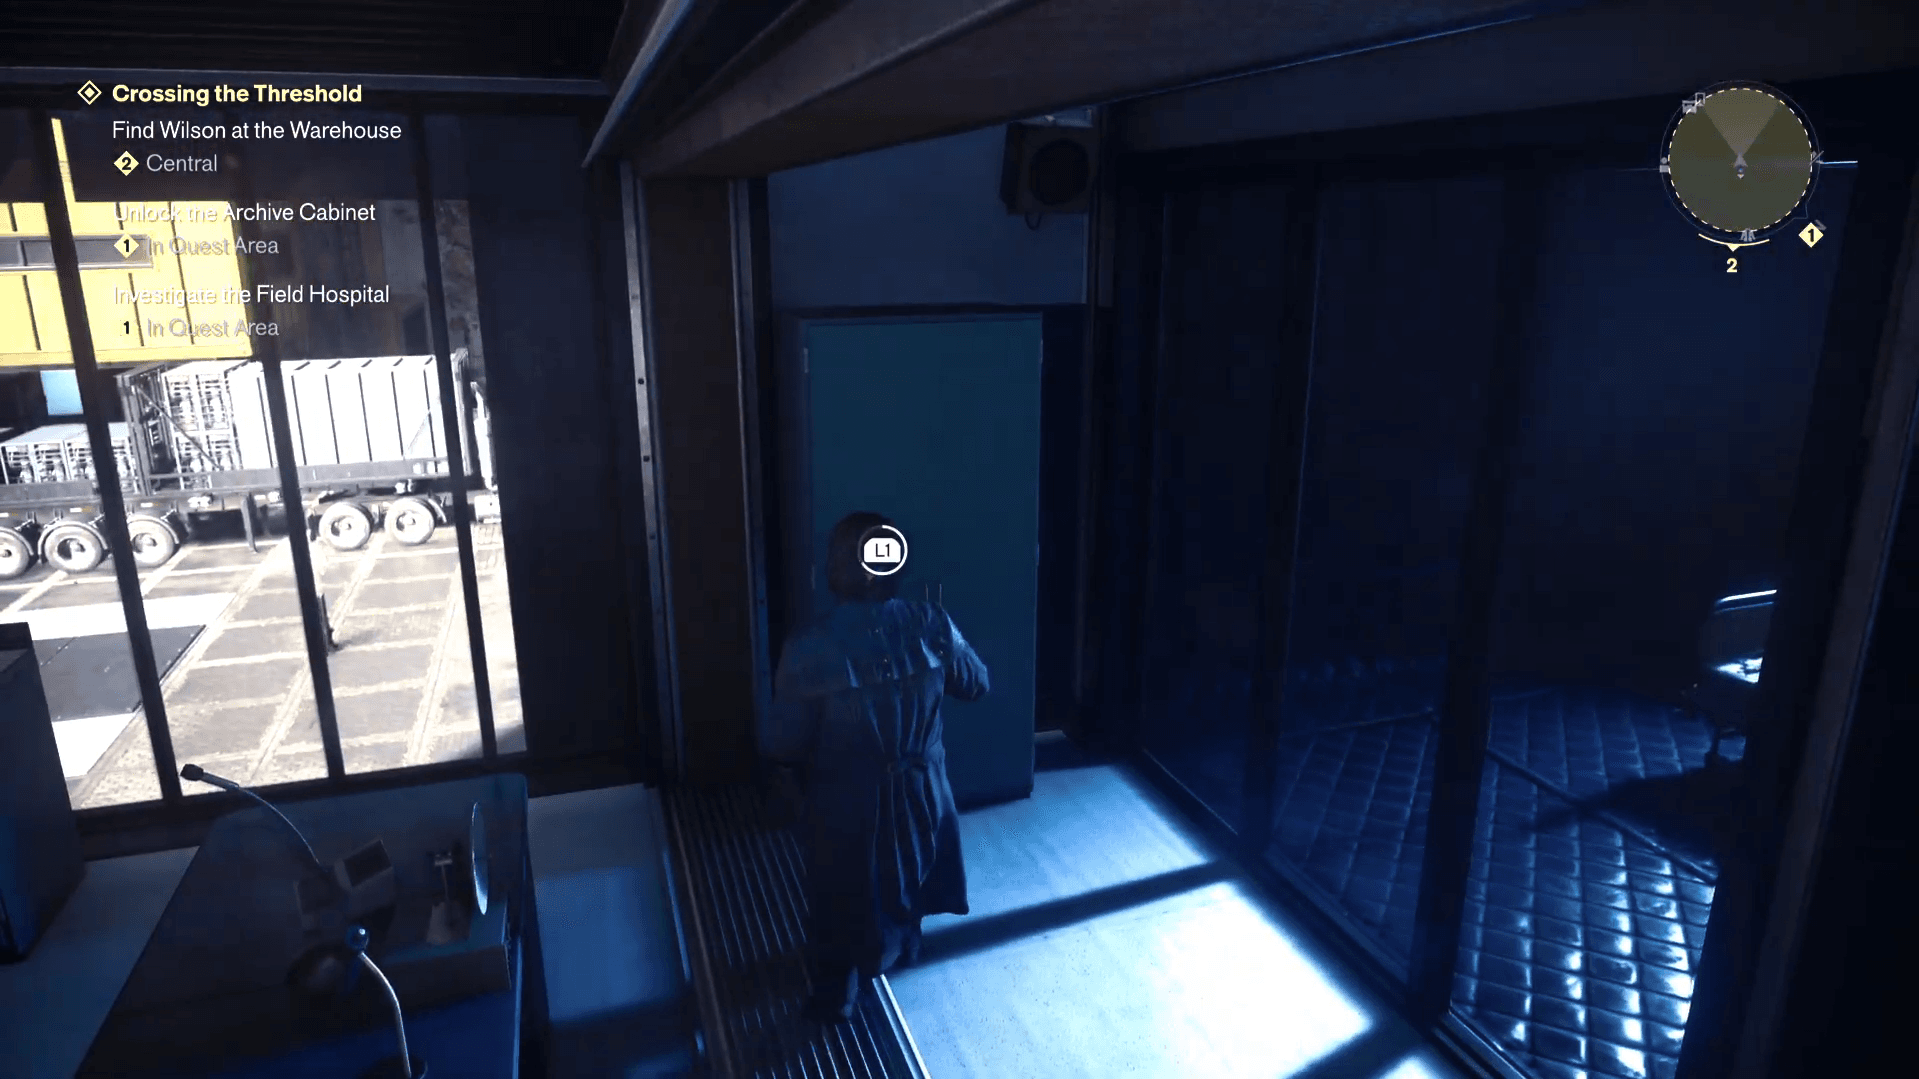
Your final destination is the Warehouse. A group of enemies is waiting inside, so clear them out before approaching the room at the back. Once the area is secure, go through the door to find Wilson.
Speak with him. He explains the situation with AVP-3 and what happened to his team. The conversation leads to a decision point, and this is where Crossing the Threshold branches.
Should you contain AVP-3 or take it yourself?
This is the question the entire quest builds toward, and the answer is clear if you want the rewards.
Paths that give no reward:
- Accusing Wilson of being a murderer
- Telling him he needs to be quarantined
- Believing him, then choosing to contain AVP-3 with Wilson
All three of these options produce the same outcome: AVP-3 takes Wilson as its new host and heads to the Dig Site. You follow the marker there, find Wilson's body in the yellow-tinted center of the area, and the quest ends with nothing to show for it.
The path that gives rewards:
Tell Wilson you believe him. When the follow-up choice appears, select the option to take AVP-3 yourself. Dylan carries the entity and transports it back to the Dig Site personally. Complete the transfer and the quest concludes. Zoe confirms that Wilson turned himself in afterward because of what happened to his team.
Choosing this path rewards Dylan with:
- Sensory Restraint Hood (Outfit)
- Untapped Practice Knot (Artifact Recipe)
Getting back to the Dig Site efficiently
Once you have AVP-3 and need to return to the Dig Site, the fastest route is to get up onto the roof of the Warehouse and dash across the street toward the marker. From there you can drop directly into the threshold zone rather than navigating around the field base walls, which will block you if you try to cut straight through.
Follow the objective marker to the yellow-tinted center of the Dig Site to complete the transfer and finish the quest.
For more side content worth your time, the Evacuation Zone Art Gallery puzzle is another early-game secret that rewards a Health Upgrade, and the karaoke puzzle guide covers every correct answer needed to save all the dancers and earn the Be What You Want To Be trophy. If you're chasing full completion, the trophy and achievement list has everything mapped out. The full Control Resonant guide collection covers every other quest and puzzle in the game.