
Search games, articles, guides...CtrlK
Sign InGet Started
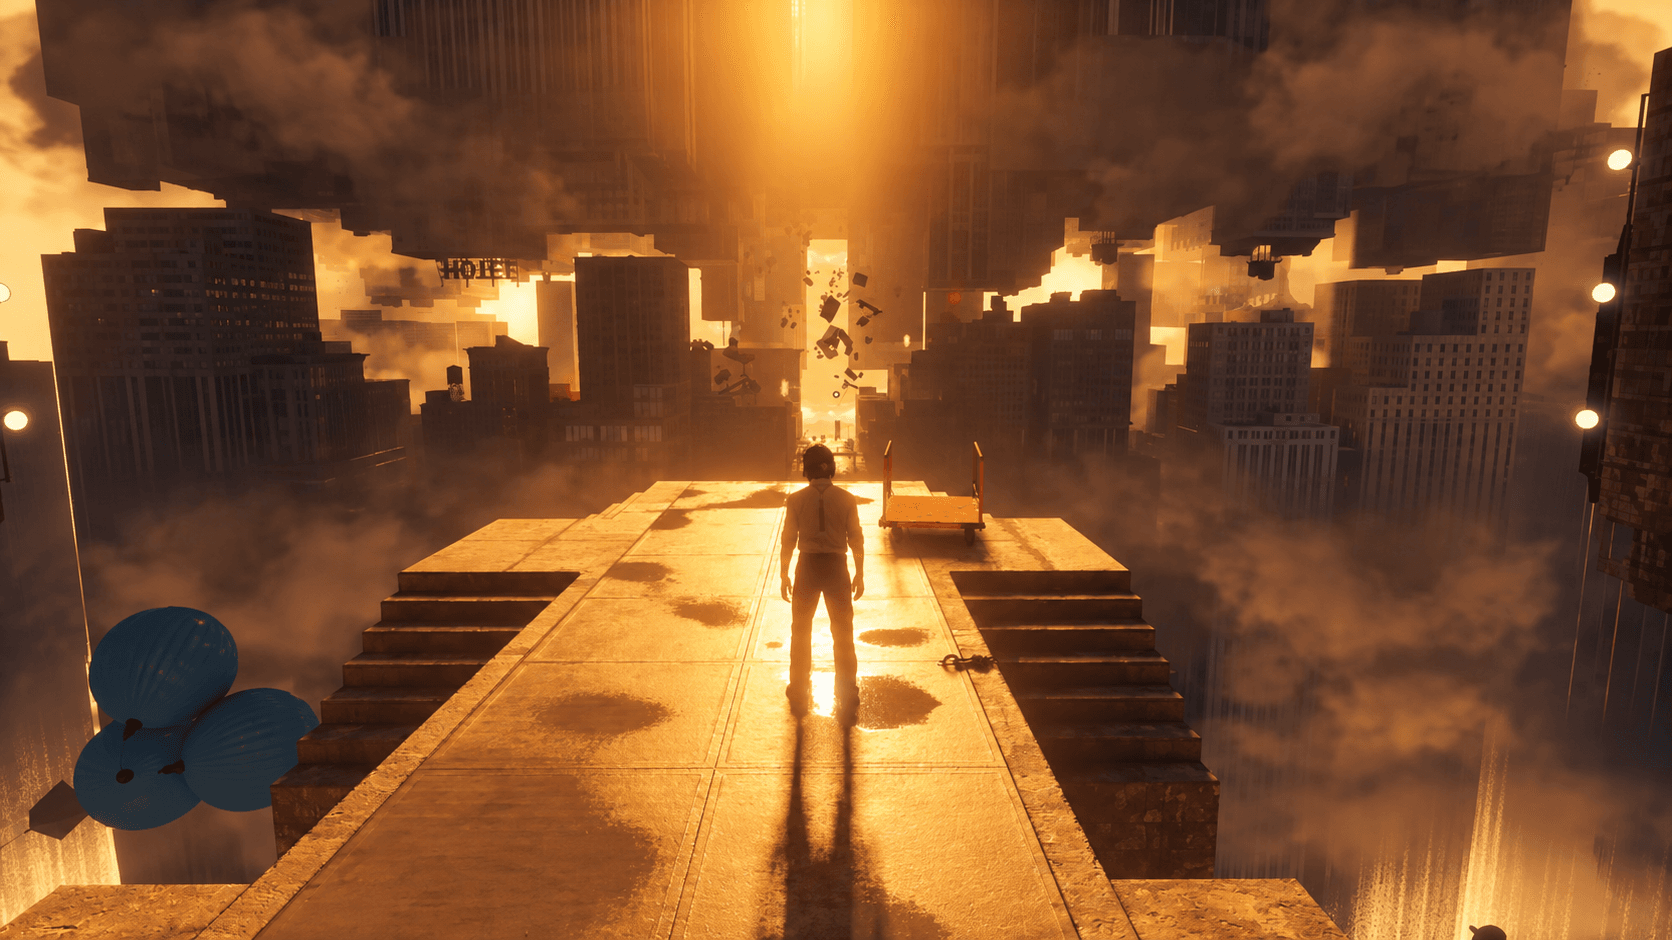
Find all 8 Pope's Research balloons, place every probe relay, and reach Point 0 to earn your Resonant Token reward.
See more GAMES.GG stories on Google
Enjoyed this guide?
Add GAMES.GG as a preferred source and Google will show you more of our guides and news when you search.
updated
October 1st 2026
posted
October 1st 2026
Pope's Research is one of those side quests in CONTROL Resonant that looks simple on paper but turns into a genuine navigation puzzle once the Unknown's gravity-shifting layout gets involved. Emily Pope has scattered 8 research balloons across the zone, and your job is to cut each one down, collect the probe relays inside, and plant them in the red circles nearby. Do all that, investigate Point 0, and you walk away with a Resonant Token you can spend on any Combat Ability.
The quest unlocks automatically after finishing The Hedron Link main story mission and speaking with Pope. She'll task Dylan with heading into the Unknown to study the Patterning spreading through the zone. Completing Pope's Research is not optional if you want to progress the story, since the Gravity Wells you create by placing probe relays are the only way to travel between the Unknown's islands.
Take the elevator in the Oldest House to reach the Unknown. From the moment you step out, the first balloon is already visible to your left.
Most balloons carry 2 probe relays, but Balloon 5 has 3 and the final central balloon has 4. Every relay must go into a red sand circle in the correct order. The light on the antenna turns green when placed correctly.
Step off the elevator and turn left. The balloon is immediately visible carrying a payload beneath it. Climb the cargo platform, press L1 (or LB on Xbox) to untangle it, then destroy the dropped crate to release the two relays.
Placing both spawns a Gravity Well that carries you into the Unknown zone proper. Before chasing the next balloon, consider unlocking the map at the central island first so all remaining balloon positions appear as markers.
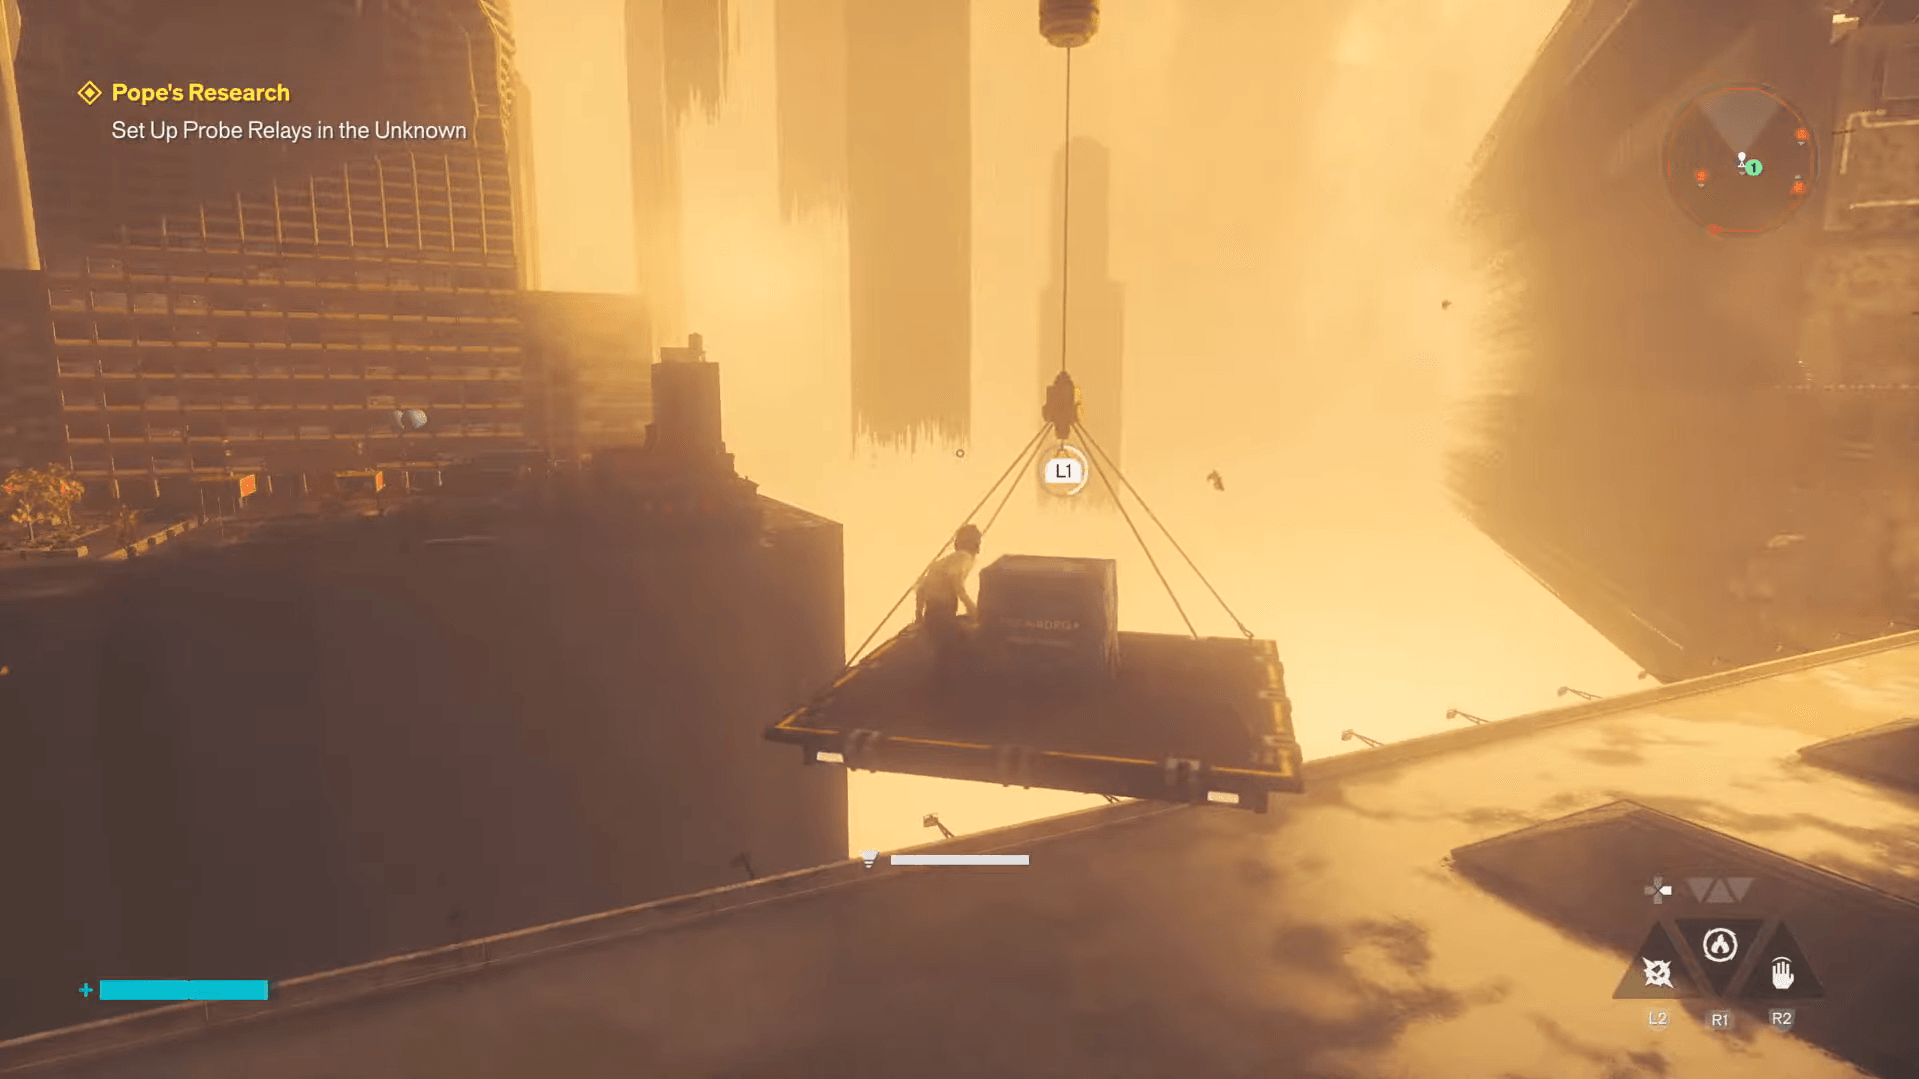
Control Resonant Pope's Research Walkthrough
This balloon sits at the northern end of the main Unknown area. Enemies may be patrolling nearby, so clear them before touching the payload. Use the Elevate ability to cross safely to the first building, then spot the second red circle by walking in the direction of Hedron's eye visible in the sky.
You'll spot this one while falling toward the Factory Island. After landing and defeating any enemies, head into the alley across the street from the balloon. Exiting the alley puts you on a patterned road where the first circle sits. Use Shift while carrying the relay to align yourself to the road surface before placing it. The second circle is at the far end of the road outside the courtyard.
Another balloon visible mid-fall. Enemies guard the payload here, so deal with them first. Take the first relay down the sloping road beside the payload using Shift, cross the market street, and place it in the patterned road circle. The second circle is near the checkpoint beacon. Placing both spawns a Gravity Well to the Patterned Evac Building.
This is the most demanding balloon in the set because it gives you 3 relays and the placement spots require real verticality.
Once done, the Gravity Well here leads directly to the Patterned Field Office. If you haven't tackled The Unknown Resonant quest yet, consider dropping onto the mainland instead.
Reach the northwest section of the Unknown mainland and jump across the Patterned platforms to the island. As soon as you land on the rooftop, use Shift to align to its surface, then fall toward the balloon below.
Relay 2: Head down the road, turn left, and place the relay in the street-level red circle.
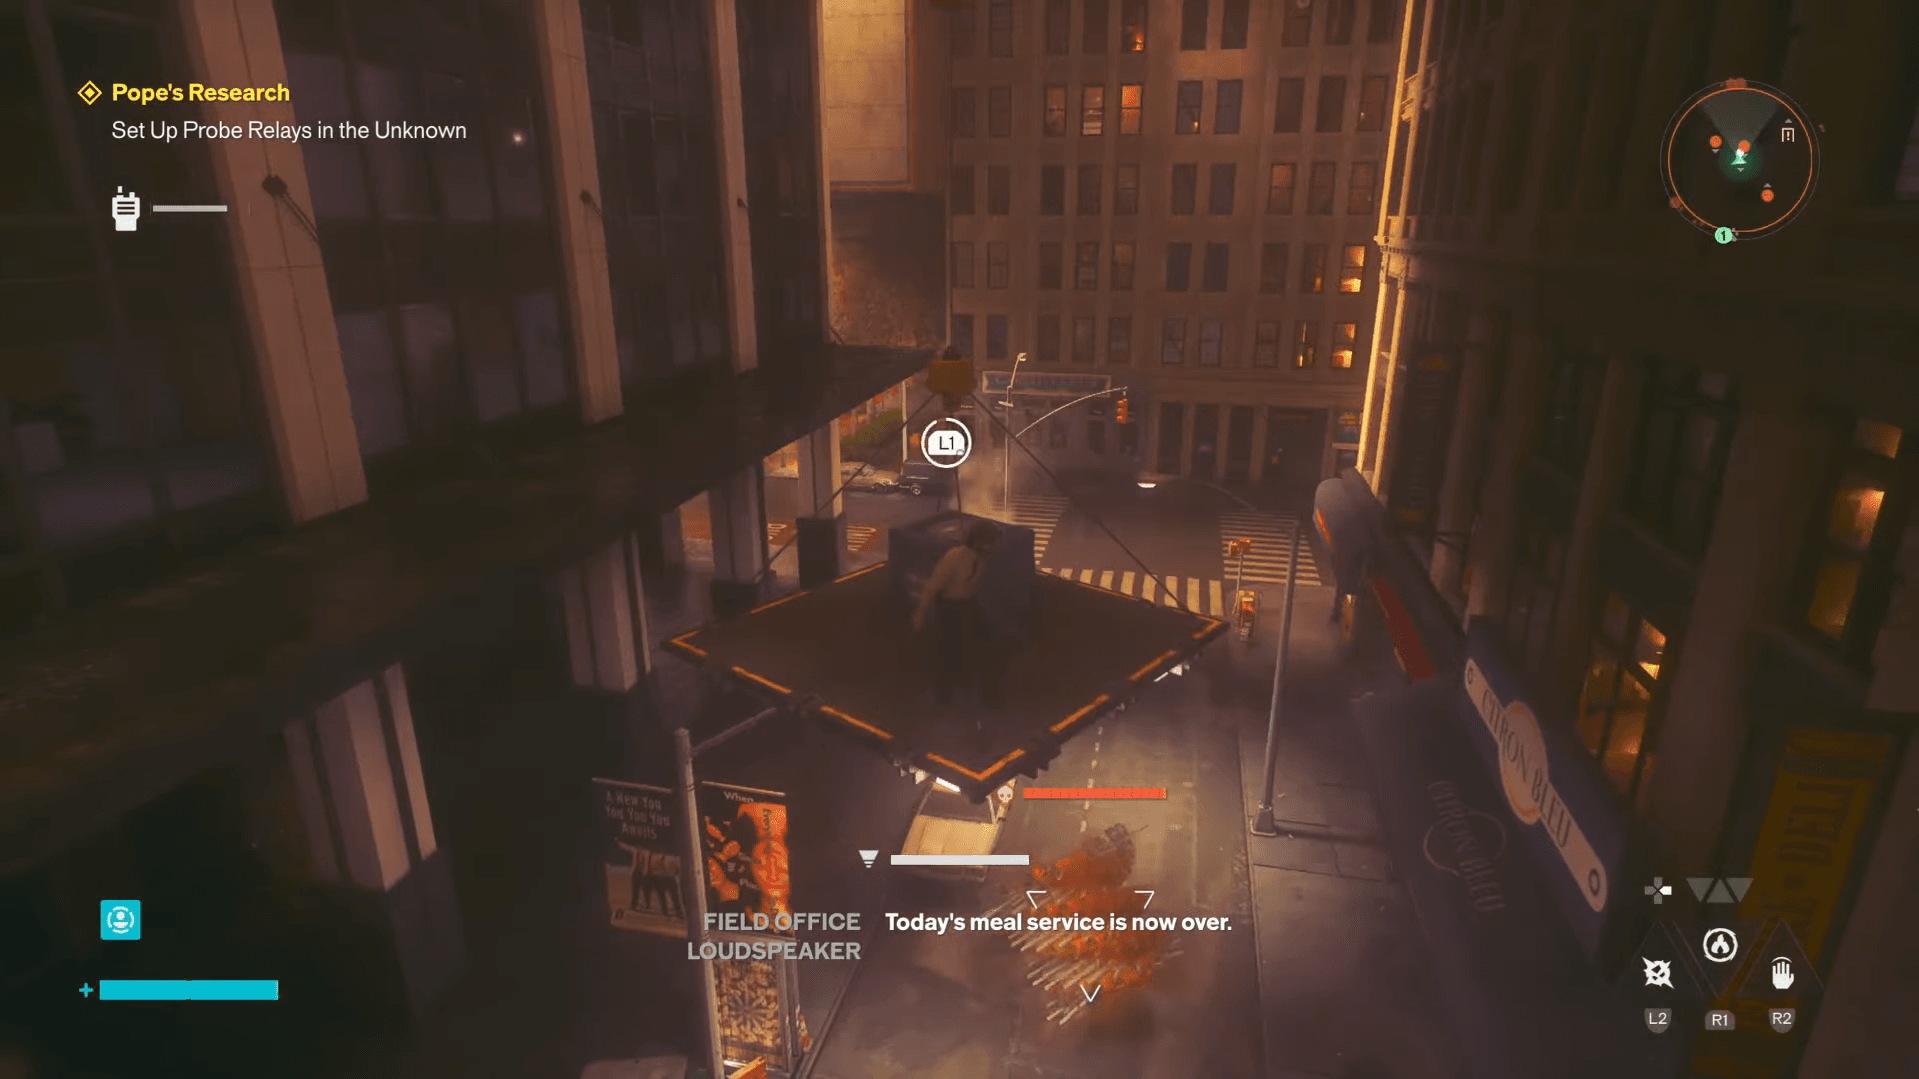
Spot this balloon while falling toward the island. Clear enemies first, then take the first relay all the way up the vertical road ahead using Shift. For the second, climb the building on the left, then use Air Dash and Elevate to cross the gap to the building across the street. Place the second relay next to the checkpoint beacon there, and the Gravity Well will carry you back to the Oldest House rooftop.
Once all 7 outer balloons are complete, Pope sends a final balloon to the center of the Unknown mainland. This one holds 4 probe relays, but the placement is actually the easiest in the quest. All four red circles are clustered at ground level around the drop point in a cross-shaped formation. The catch is that enemies attack while you're placing them.
Clear the hostiles before planting any antennas. Trying to place relays under fire wastes time and puts you at unnecessary risk.
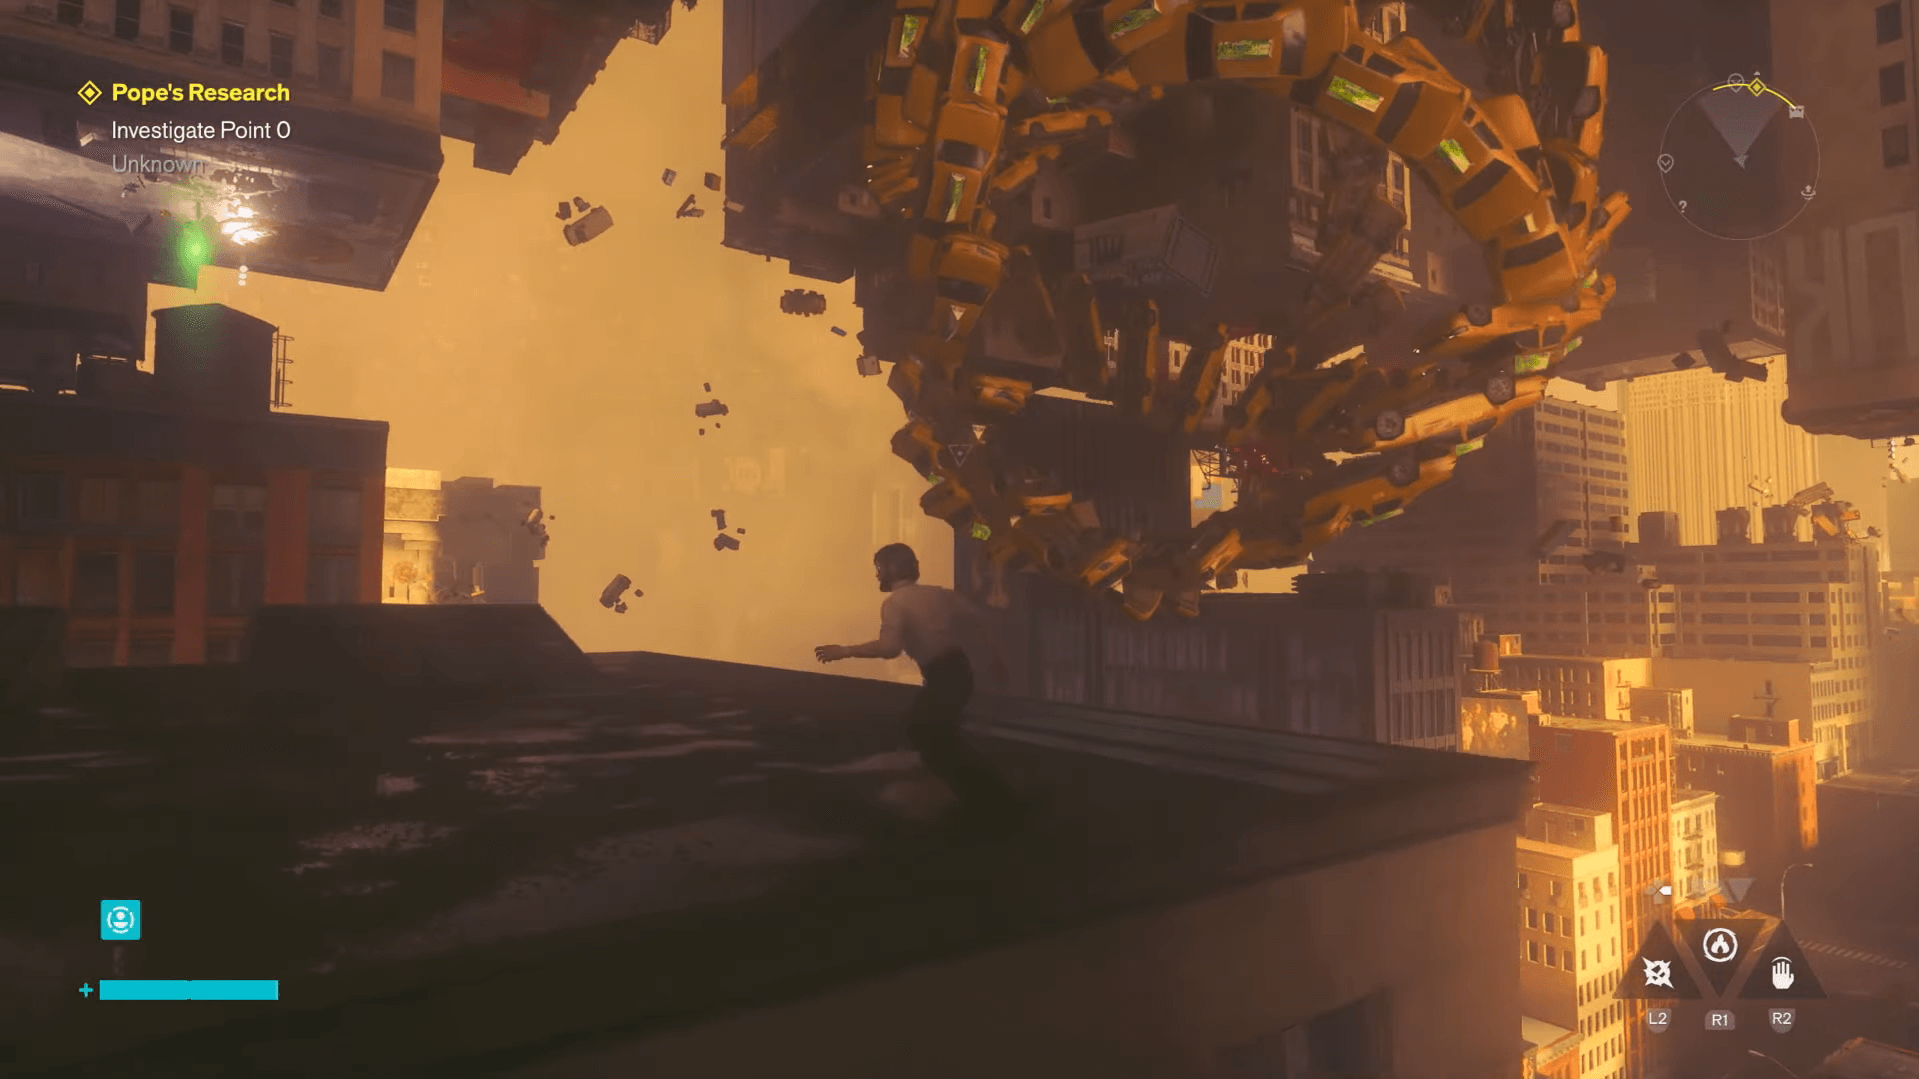
After the final relays connect, Pope detects a new resonance signature in the Patterning that she believes is Jesse's mind. A helix of taxis spawns in the sky with a platform at its center.
Use the surrounding buildings to get close to the formation, then combine Elevate and Air Dash to reach the floating platform. Use the Reach ability to zip onto it, then press the interaction prompt. Dylan hears patterned screaming, and the quest ends.
Reward: 1 Resonant Token plus the Budding Analyst trophy or achievement. The Resonant Token can be spent at the Gap to unlock any Combat Ability from any Resonant boss.
Control Resonant Pope's Research Walkthrough
Several relay placements require specific traversal tools. Here's what gets used across the 8 balloons:
If you're still building out your ability set, the all bosses locations and Combat Ability rewards guide covers exactly which fights unlock which traversal tools before you hit the Unknown.
For players who want more context on how the Unknown zone connects to the broader story, and how to break through the various barrier types blocking shortcuts around it, the ability barriers guide is worth a read before you start. Knowing which ability cracks which surface type saves a lot of backtracking.
The Crossing the Threshold quest walkthrough pairs naturally with Pope's Research if you're working through the Unknown's side content in one session. For everything else in the game, the full CONTROL Resonant guide collection has you covered.
